Harley Davidson Sportster: Why Aren't My Rear Lights Working?
You should never drive around with malfunctioning rear lights. Use this guide to help you find out what causes your rear lights to fail.
This article applies to the Harley Davidson Sportster.
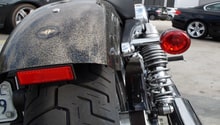
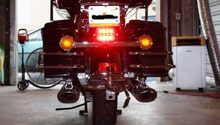
Your Harley Sportster has two different lights located on its rear: the brake and turn signal lights. Each light serve a special and much needed purpose—to signal the driver behind when the bike is turning or stopping. So, when one or more lights stop working, riding can become unsafe. Some common reasons these lights malfunction include a blown fuse, pinched wire or damaged switch. Fortunately, most of these problems can be fixed inexpensively from home.

Materials Needed
- Soldering iron
- Spare fuse
- Electrical tape
- Spark tester
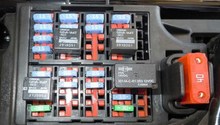
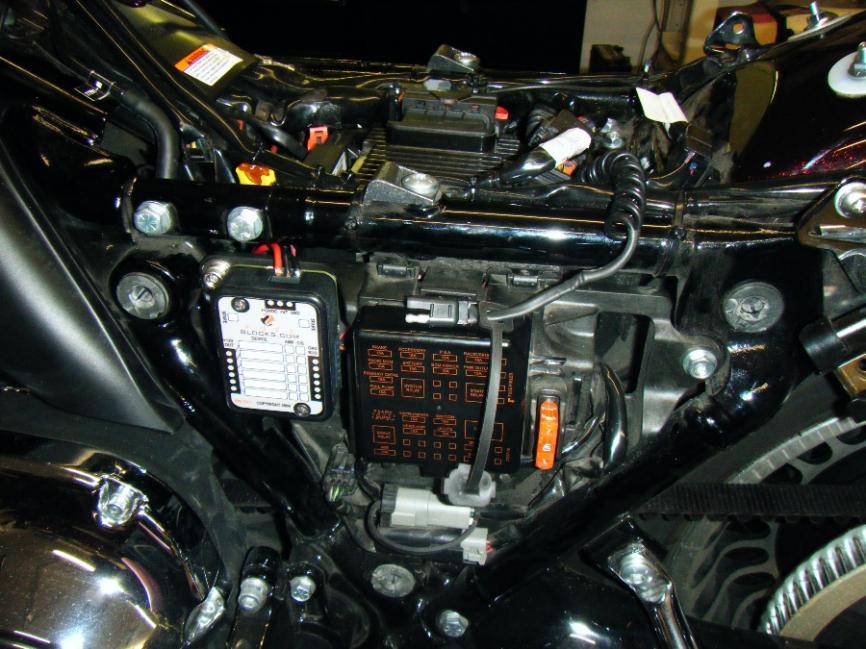
Step 1 – Check your fuses
Fuse may have blown.
Whenever you are dealing with any sort of electrical component, always check your fuses first. The fuse box on most models is located near the battery, but it may also be found under your seat. Locate the accessory fuse and check its prongs. If either tip is burnt, replace it. Also, make sure to use the spark tester and test the fuse while it's in the block, with the engine running. If the fuse reads no power, replace it.
Step 2 – Check the wiring
Wires may be frayed.
Over time, some of the clips and ties that hold the wiring to the frame may snap off, causing the wires to hang close to the exhaust piping. These situations may result in some burnt or frayed wires, which will lead to malfunctioning rear lights. If the wires are burnt, cut the damaged section off and replace it with a new piece of wire. Also, be weary for pinched wires. Some models have a quick connection for the brake lights under the seat that can become snagged when the seat is folded up and down. If the wire is bent or cut, it will not send the current required to turn on each light.

Step 3 – Check the brake switch
The switch may have failed.
Unfortunately, brake switch failure is a common occurrence of Harley Davidson Sportster models. These components fail for a number of reasons, and may result in the switch being replaced several times throughout the year. First, use a test light to ensure the switch is getting power. If the switch is indeed damaged, use these following steps to replace it on your Sportster.
- Cut off the its wire harness.
- Solder the new brake switch to the harness.
- Bleed the brake system.

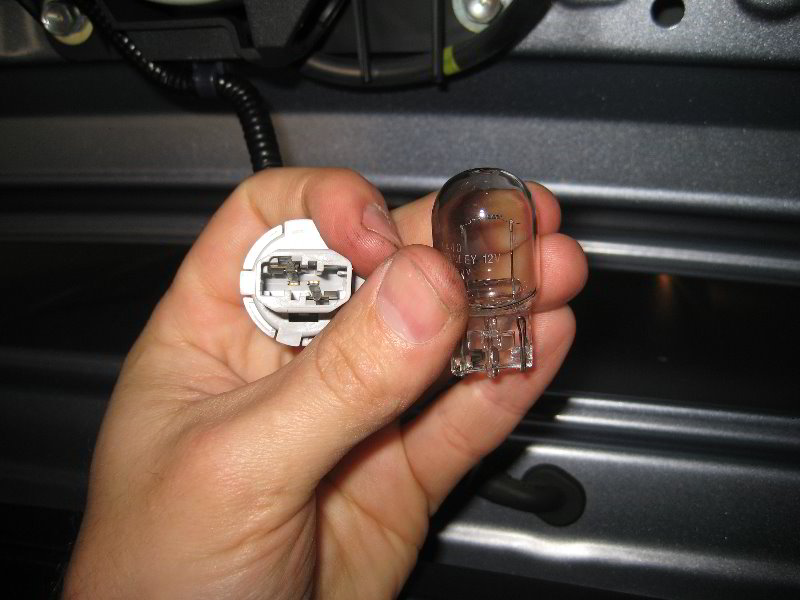
Step 4 – Check the bulbs
The bulbs may have burnt out.
Although it is highly unlikely that all of your bulbs burnt out at the same time, still check them. There may have a been an accident where each bulb received too much power, or there may even be a short in the system. Either way, a burnt out bulb will need to be replaced in order for the light to actually work.
Related Discussions
- Tail Light Not Working... - HDForums.com
- Rear Signals/Running Lights Not Working - HDForums.com
- Rear Lights Not Working on Sportster- HDForums.com