Your battery died; some of the lights don't work; your cruise control doesn't work; all of these can be caused by a fault in the bike's electrical system. Here are a few simple things you can do to identify and maybe fix the problem.
This article applies to the Harley Davidson Touring models.
Modern Touring bikes have more complex electrical and electronic systems than ever before. Many of the problems require sophisticated diagnosis equipment to solve. But there are a few steps you can take to locate the source of many electrical problems.
Material Needed
Volt/ohm/amp meter
Symptom 1 – Battery goes dead after a few days
If your bike hasn't been ridden for a few days, you will find the battery dead or very weak.
Either you have a bad battery or something is drawing current from the battery that shouldn't be.
Fully charge the battery. It should be at least 12.6v with the bike off. Do not start the bike or turn the key on.
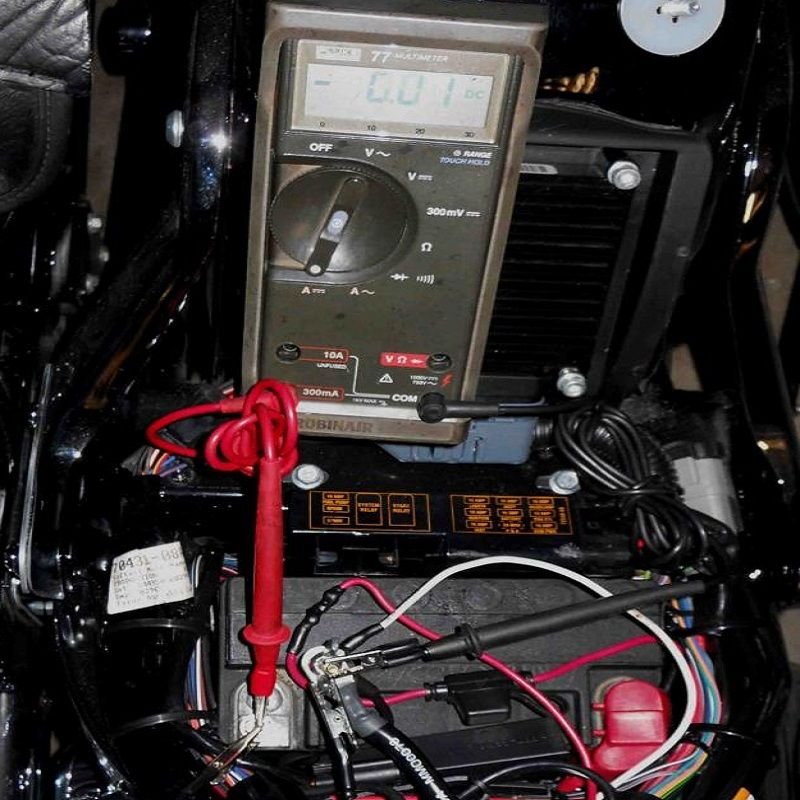
Remove one of the battery leads and connect an ammeter between it and its battery post. If there is a reading over just a few milliamps (mA), there is something drawing current. See Figure 1.
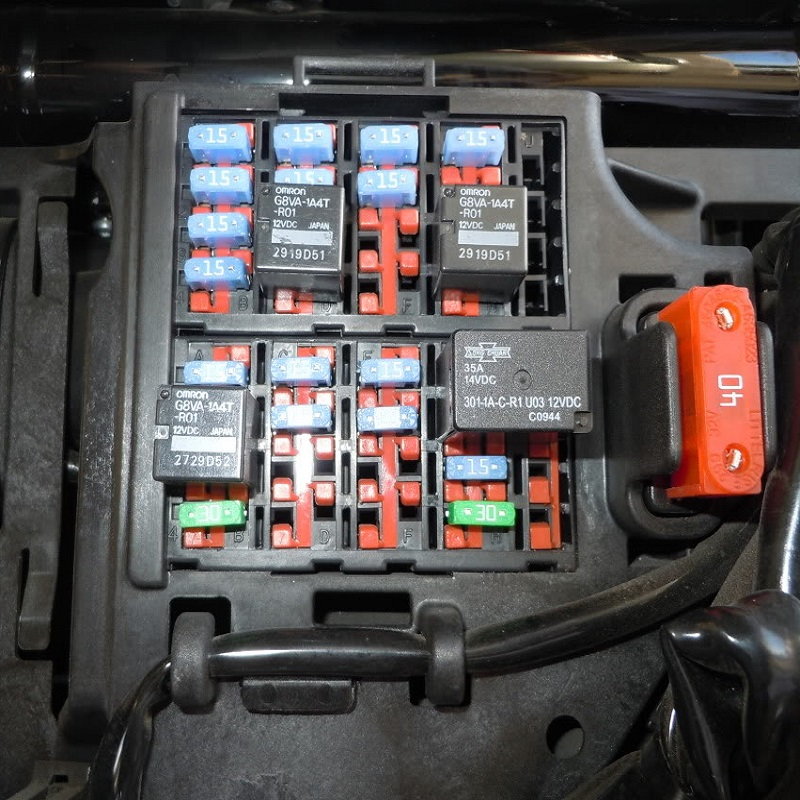
Remove the side cover and take the cover off the fuse panel. See Figure 2.
Pull one fuse at a time and check the ammeter. If nothing changes, replace the fuse and pull the next one.
When the ammeter reading drops to just a few milliamps, you have found the fuse where the problem lies. Read the description of that fuse on the fuse panel cover.
Now you can check the equipment on that circuit for pinched wires or signs of other problems.
If that doesn't find the problem, the battery may not be good. Bring it to an automotive or motorcycle parts store and have it load tested.
Figure 1. Ammeter hooked to battery's negative terminal.
Figure 2. Typical fuse panel.
Symptom 2 – One or more lights don't work
It could be as simple as a blown fuse or a broken wire. Do the following, in order, until you have found the problem.
Turn Signals
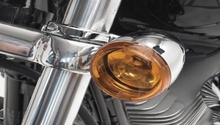
These are single bulbs under a colored lens. Remove two little screws to take off the lens and expose the bulb. Inspect the filament(s), they should be continuous from one side to the other. Tap on the bulb; the filament should not move.
Remove the bulb by pushing in slightly and turning to the left about 1/8 turn. Inspect the bulb socket and pins at the bottom. They should be clean with no visible rust or corrosion.
If that doesn't help, follow the wire back into the bike and look for where it may be pinched, worn or broken.
Figure 3. Front turn signal.
Tail Light
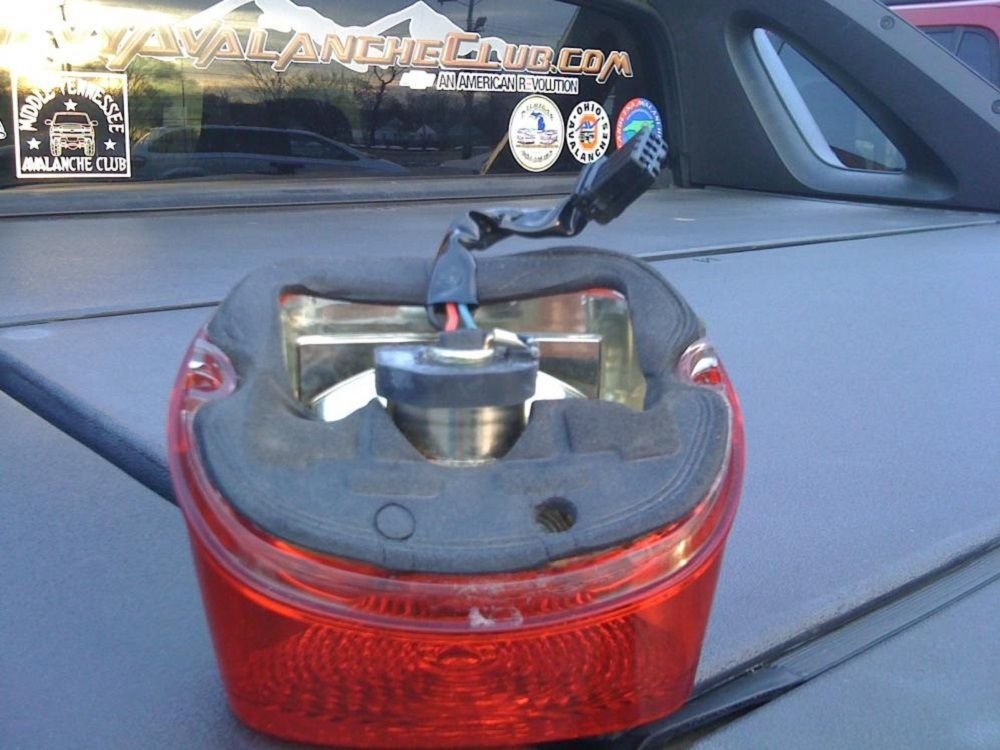
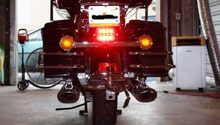
The tail light bulb is attached to the back of the lens assembly. Remove two little screws to remove the lens assembly. Rotate the bulb socket 1/4 turn to the left to remove. Inspect the filaments, they should be continuous from one side to the other. Tap on the bulb; the filament should not move.
Remove the bulb by pulling straight out. Inspect the bulb socket, and it should be clean with no corrosion.
If that doesn't help, follow the wires back under the fender and look for where it may be pinched, worn or broken.
Figure 4. Tail light bulb.
Auxiliary Lamp
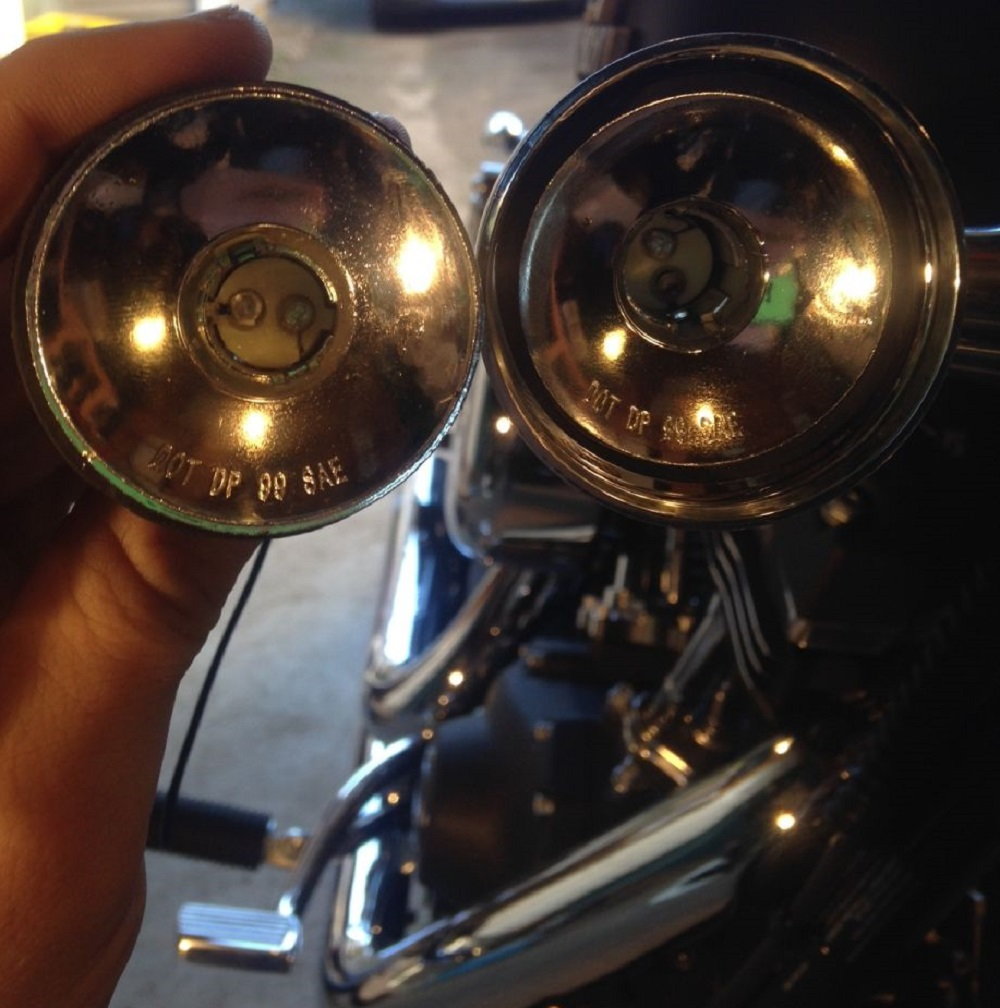
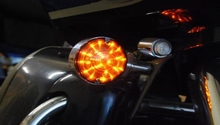
These bulbs, if so equipped, are held in place by the trim ring around the lamp. Loosen screw enough to remove trim ring and lamp assembly.
Rotate the bulb socket 1/4 turn to the left to remove, using caution to not touch the glass. A bad bulb will be blackened.
If the bulb is good, follow the wire back into the bike and look for where it may be pinched, worn or broken.
Figure 5. Aux light socket.
Symptom 3 – Cruise control doesn't engage
Besides the cruise control switches themselves, there are many other components that can prevent your cruise control from engaging.
Check the brake light. If it is on, one of the brake switches is bad. This also disengages the cruise control.
Here's a procedure you can try on bikes prior to 2006 where the ECM controls the cruise control:
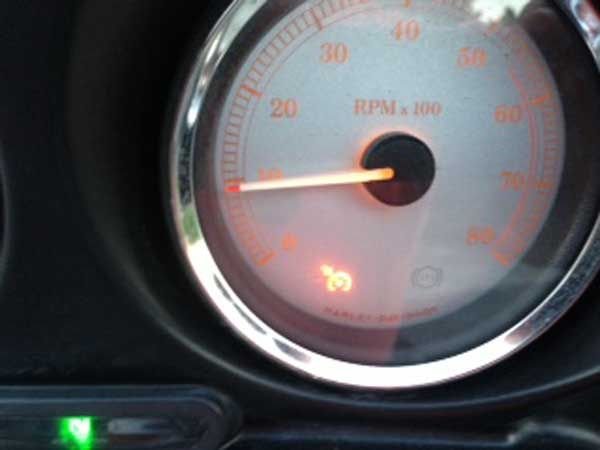
1. Hold cruise switch in the "set" position. 2. Turn the cruise "on." 3. Turn the main power switch on, the cruise light should initially come on and then turn green; release the cruise switch and the light will turn amber. 4. Push the cruise switch to "resume" and the light should turn green; release the switch and the light should turn amber. 5. Roll the throttle "off," making sure you roll it off to activate the cutoff switch for the cruise, and the light should turn green; release the throttle and the light should turn amber. 6. Apply the front brake and the light should turn green; release it and it should turn amber. 7. Apply the back brake, the light should turn green, then hold the brake until the light turns amber; release the brake now, you should hear the cruise motor adjusting itself (taking up the slack).
What you have done is test each of the "switches" that are in the cruise system. If, during any of the tests, the light does not turn green, then that part is at fault.
The back brake switch is often at fault. You can test that by applying the brake and see if the light is already on. If it is, the cruise will not engage.
The front brake switch can be at fault also, as it sometimes gets damaged when work is done on the right hand grip/brake lever assembly and the proper procedure is not followed.
The "roll-off" switch can also be at fault. Check the connections on that.
Harley Davidson Touring Flashing Turn Signals Won't Work
Why Won't Flashing Turn Signals Work?
Are your haywire turn signals keeping you up at night?
This article applies to the Harley Davidson Touring.
A busted ...
Harley Davidson Touring Brake Light Stays On
Why is My Brake Light Staying On?
A brake light that is constantly lit isn't doing its job: warning other motorists you are slowing or stopping.
A brake light that ...
Harley Davidson Touring Turn Signal Bulb Replacement
How to Replace Turn Signal Bulbs
So, your turn signal light blew out! Here is a thorough instruction to help guide you through the signal light replacement ...
Harley Davidson Touring Tail Light Replacement
How to Replace Tail Lights
A busted tail light makes every ride a dangerous one, fix it today!
This article applies to all Harley Davidson Touring models.
Your tail ...
Harley Davidson Sportster Rear Lights Not Working
Why Aren't My Rear Lights Working?
Doityourself, PaulsTravelPictures
Are your rear lights malfunctioning? Click here to find out why.
This article applies to the ...
Harley Davidson Dyna Glide How to Reset the Turn Signal Security Module TSSM
How to Reset the Turn Signal Security Module (TSSM)
Bike won't start? It could be the Turn Signal Security Module.
Is a code on your ...
When you click on links to various merchants on this site and make a purchase, this can result in this site earning a commission. Affiliate programs and affiliations include, but are not limited to, the eBay Partner Network.