Harley Davidson Touring: How to Replace Tail Lights
Not only does a non-op tail light endanger you and limit your visibility to other motorists, it is also considered a moving violation and can be a ticket-able offense.
This article applies to all Harley Davidson Touring models.
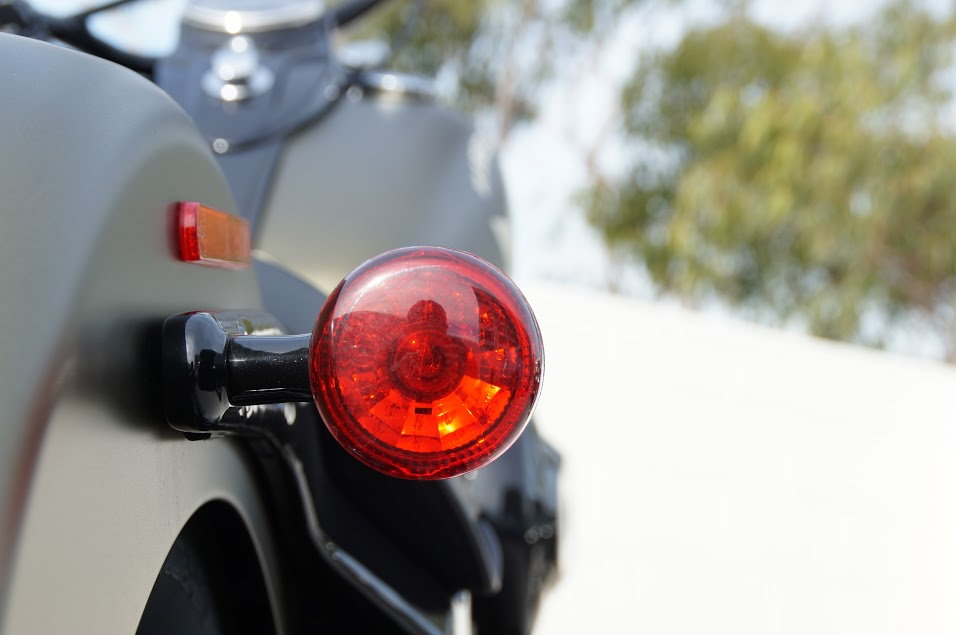
Your tail light is one of the most important parts of your Harley Davidson. It is a dual-purpose light, which means that it serves as both a running light and a brake light. If your tail light is burned out, you are putting yourself and your bike at a serious risk. Fortunately, it's usually just a matter of replacing a worn out light bulb and it can be done in no time, so let's get to it.

Materials Needed
- Phillips/Cross-tip screwdriver
- Replacement 1157A bulb of your choice
Before you begin, make sure that the bike is not running. Also, check to ensure that the bike is not in accessory mode and the ignition is off. I recommend disconnecting the battery, as well. Better to be safe than sorry!
Step 1 – Remove two screws on tail light
The two Phillips screws can be found on either side of the tail light.
Step 2 – Remove tail light lens
Be careful when removing the lens. The tail light bulb is attached to the inside of the lens. Twist the bulb 1/3 of a turn clockwise and remove it from the lens. Set the tail light lens off to the side.
Step 3 – Disconnect and remove bulb assembly
The bulb is attached by a simple electrical connector. Lift up the tab on the top of the connector and pull the bulb assembly off. Throw the bulb away. It's time to replace the bulb.
Step 4 – Connect new bulb assembly
Attach the new bulb assembly. Connect the new bulb assembly to the electrical connector by simply sliding them together. You will hear an audible click as the two ends of the electrical connector seat firmly with each other.
Take this time to test the function of the new bulb before you reinstall the lens. To test the new bulb, turn your motorcycle ignition switch to the ON position and check that the brake light is functioning as a running light. Then, operate both your front and rear brakes independently and verify that the bulb is getting brighter when the brakes are actuated. This means that the brake light function of the dual filament 1157A bulb is functioning properly. If it is not, you may have a bad bulb. It is rare, but new bulbs can come from the factory as a malfunctioning part. Simply replace the bulb from the place you purchased it from.
Step 5 – Install tail light lens
Attach the new bulb assembly to the tail light lens before reinstalling the lens on the motorcycle. Insert the bulb into the tail light lens and twist it 1/3 of a turn counterclockwise. To make sure that the bulb in correctly installed, pull gently on the wires. The bulb should remain firmly seated in the tail light lens. Place the tail light lens back on the light assembly and insert the two long Phillips screws on either side of the lens.
Pro Tip
Do not over tighten the screws; 12 to 15 in/lbs is all that is required.
Related Discussions
- Help Replacing Tail Light - HDForums.com
- Rear Tail Light Assembly Removal - HDForums.com
- Tail Light Bulb Replacement - HDForums.com
- Tail Light Bulb - HDForums.com