Harley Davidson Touring: How to Remove Catalyic Converter
There are a few ways to remove the catalytic converter on your Harley. All of them will keep you cooler and let your motor run more freely.
This article applies to the Harley Touring Models (2010-2016).
A catalytic converter is a ceramic honeycomb inserted in the exhaust pipe, coated with a mix of precious metals, which converts harmful exhaust pollution into less harmful gases and water. While it doesn't diminish performance of a stock motor, it does operate at 800 to 1,200 degrees and it disperses the sound waves that make a Harley sound so good. Many owners prefer to remove the cat from their bikes, even if it increases air pollution.

Note
Dealers are prohibited from eliminating pollution control devices, but most will install aftermarket exhaust for about $100 plus the cost of the system.
Materials Needed
- Sockets: 7/16", 1/2" and deep 9/16"
- Allen wrench: 5/16"
- Hacksaw, sawsall or cutoff wheel
- 1" spade (flat) drill bit, 16" long (optional)
- Welding equipment (or bring to exhaust shop)
- Exhaust gaskets and clamps
- Torque wrench (100-144 in-lbs)
- Torque wrench (20-43 ft-lbs)
You can either remove the catalytic converter from your head pipe or buy one already modified. Many internet vendors sell modified head pipes for $100 to $200. Do not attempt to swap on a 2009 head pipe without the converter, because the oxygen sensor mounting bungs are in the wrong place and are the wrong size.
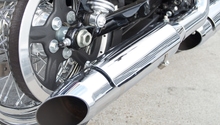
Step 1 – Remove the right side muffler
- Remove the right saddlebag according to your owner's manual.
- Loosen the muffler clamp that is under the heat shield with a 9/16" wrench or deep socket.
- Support the muffler and remove the two 7/16" bolts that attach the rear bracket.
- Wiggle and twist the muffler to remove from the head pipe. Some penetrating oil may be required.
Step 2 – Remove the heat shields
- The heat shields are held on by two screw type hose clamps each.
- Loosen the clamps and remove the loose end from the screw.
- Pull on the head shield to unwrap the clamps from around the pipes.

Step 3 – Remove the head pipe
- Remove the right side cover and unplug the two wires going to the oxygen sensors by squeezing the tab on the connectors. Mark the connectors as front or rear cylinder. Cut the zip ties holding the wires along the way. (Figure 3)
- Remove the right foot board and brackets with a 5/16" Allen wrench.
- Loosen the clamp holding the left side crossover pipe to the head pipe with a 9/16" deep socket. (Figure 4)
- Remove the nut holding the head pipe to the transmission bracket from below with a 9/16" deep socket.
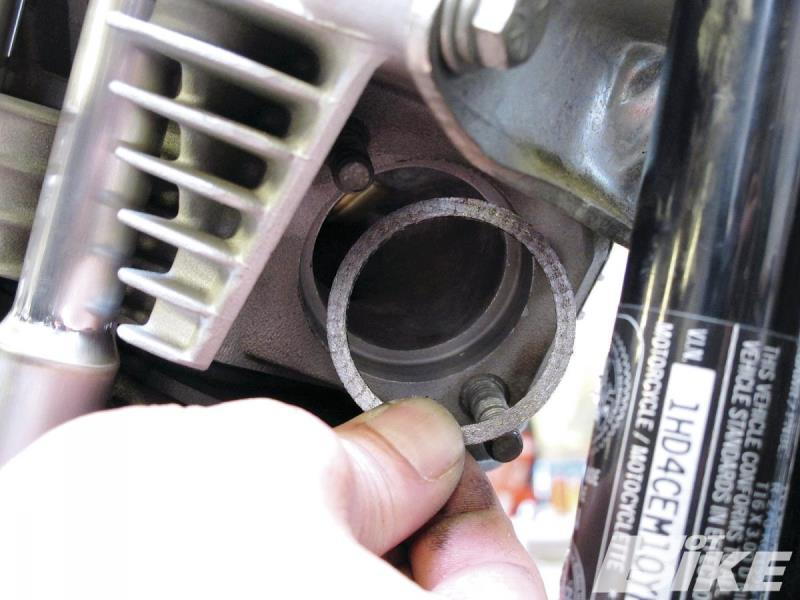
- Remove the four nuts that hold the head pipe to the cylinder heads with a 1/2" socket. (Figure 5)
- Wiggle and pull the head pipe out of the crossover and away from the cylinder heads.
- Note: the left side muffler will drop down because the crossover is no longer supported by the head pipe.
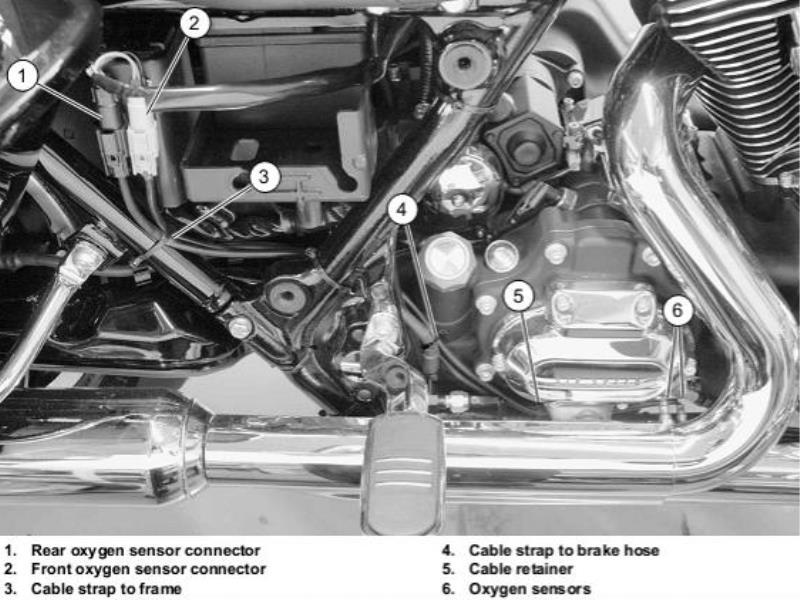
Figure 3. O2 sensor wiring. 
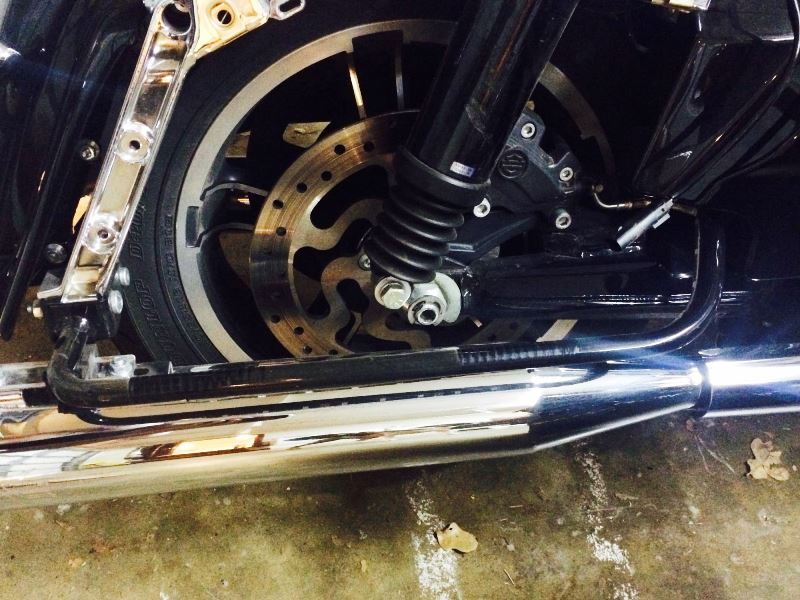
Figure 4. Crossover clamp. 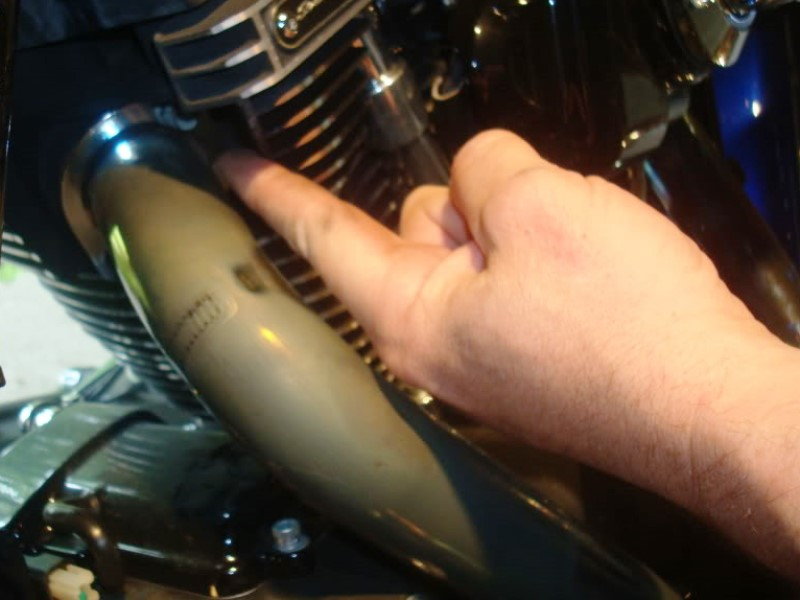
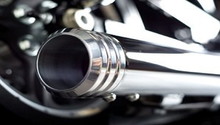
Figure 5. Exhaust pipe head collars.
Step 4 – Remove catalytic converter from head pipe (or buy one)
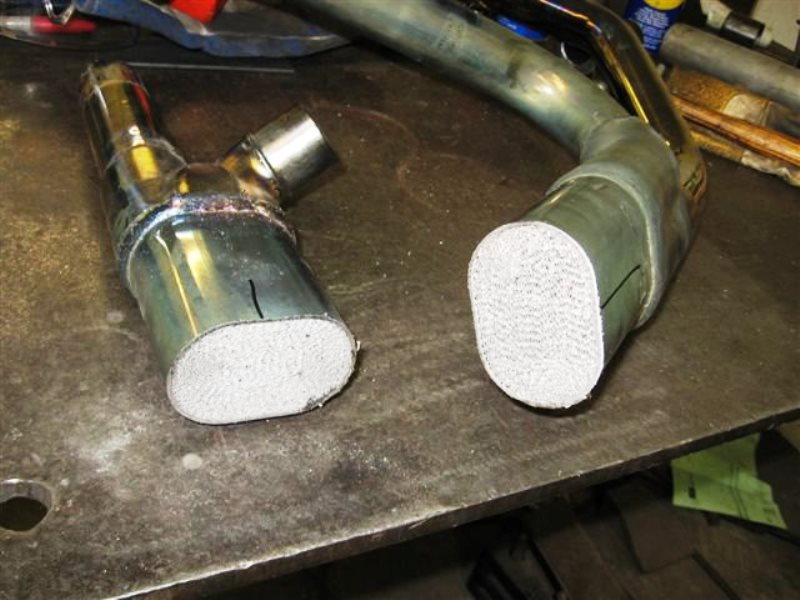
The catalytic converter on the Harley Davidson Touring bikes is contained within the header collector pipe, with no easy way to get to it. If you are removing it yourself, there are three different popular ways to get at the catalytic converter. The first two require cutting and welding. Getting it out just involves breaking it up into pieces and disposing of them.
Method 1
Mark an alignment guide line on the pipe, then cut the head pipe in two. This method requires the most welding, but will be hidden by the heat shield.
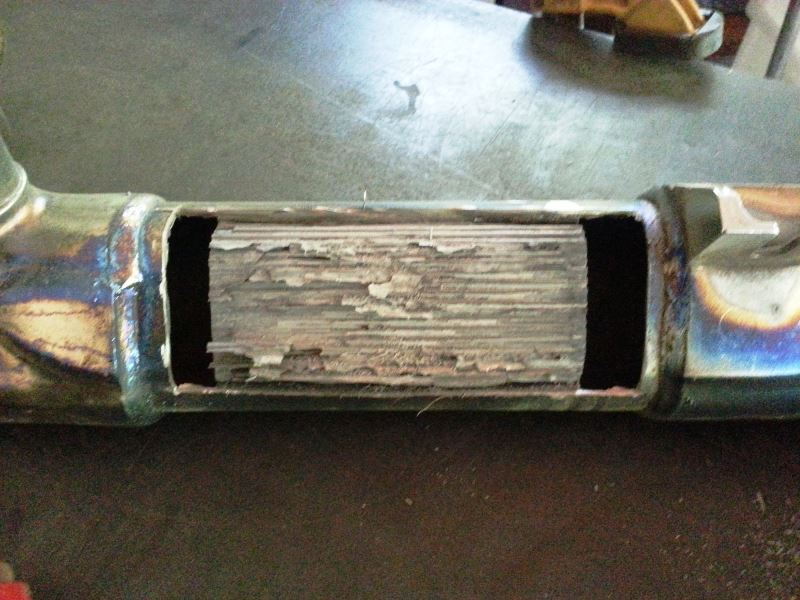
Method 2
Cut a window in the back of the head pipe with a cut off wheel. This method requires less welding to put it back together, but more skill when cutting it open.
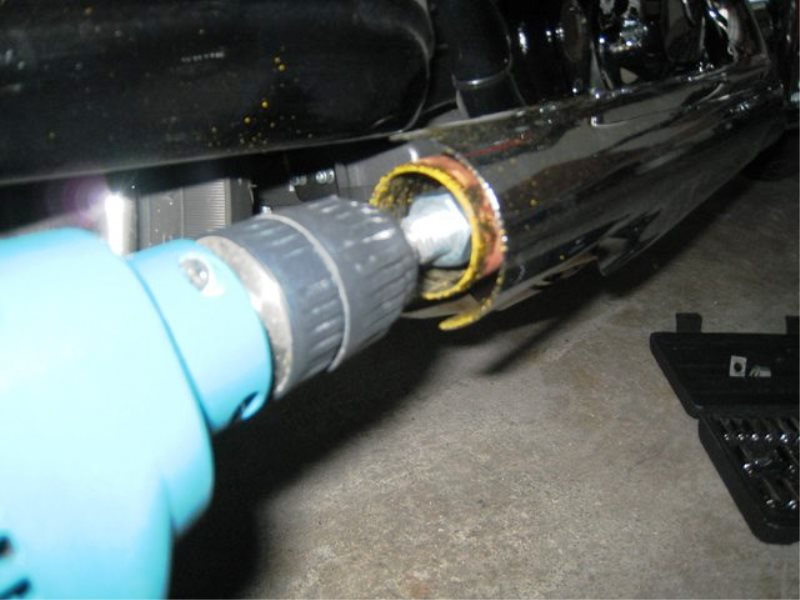
Method 3
Drill out the catalytic converter from the end with a 1" paddle (flat) bit 16" long. This does not require welding, but it is more difficult to get all of the converter removed. The danger of not getting it all out is that it can cause annoying buzzing and rattling until it all eventually falls out while riding. As Figure 8 shows, you can even do this method on the bike, though it is more difficult. If you use this method, you can skip Step 5.
Step 5 – Break and remove cat material
- Use a chisel or large screwdriver to break apart the metal and ceramic honeycomb, then remove it. Clean up with a wire wheel on a drill, or a wire brush as best you can.
- Finally, weld the header back together, making sure to align the halves; or weld the window back in place, depending on the method used.
Step 6 – Reinstall head pipe
You can probably get away with re-using all gaskets and clamps, but for under $50 you can get all new ones. You at least want to use new gaskets.
- Remove the old and install new gaskets in the crossover as well as in the cylinder heads. Press them in with your thumbs and form them tightly to their respective openings.
- Place head pipe in position and start the two nuts on the front exhaust flange.
- Roll pipe into position at rear cylinder, making sure bracket on head pipe is below the transmission exhaust bracket.
- Start the two nuts on the rear exhaust flange.
- Run the O2 sensor wires along frame and up to their connectors. Plug each one into the correctly marked connector.
- Secure O2 sensor wires with new zip ties.
- Insert the carriage bolt through the transmission exhaust bracket and head pipe bracket, then start the nut from below.
- Make sure clamp is on crossover, then wiggle and push it onto the head pipe.
Step 7 – Tighten nuts in the correct order
Tighten the nuts in the following order:
- Snug the bottom nut of the rear cylinder head flange.
- Tighten the top nut to 100-120 in-lbs.
- Tighten the bottom nut to 100-120 in-lbs.
- Snug the top nut of the front cylinder head flange.
- Tighten the bottom nut to 100-120 in-lbs.
- Tighten the top nut to 100-120 in-lbs.
- Tighten the nut on the transmission exhaust bracket to 20-25 ft-lbs.
- Tighten crossover clamp to 25-30 ft-lbs.
Step 8 – Install right muffler
Make sure the clamp is in place, then slide the muffler onto the head pipe, twisting and wiggling as necessary. Line up the right side muffler with the left and install the two hanger bolts. Make sure the muffler is straight, then tighten the bolts to 96-144 in-lbs. Tighten the muffler clamp to 38-43 ft-lbs.
Step 9 – Install heat shields
Starting from the rear, position each heat shield in place, wrapping the hose clamps around the exhaust pipe. Move each worm clamp so the screw is on the outboard side in the most accessible position and snug. After all are in place, adjust positions for best fit and tighten hose clamps to 20-40 in-lbs.
Step 10 – Reinstall right side foot board and brackets
Hold in place, then insert the screws and washers. The longer one goes in the back.
All done! Go for a ride and enjoy.
Pro Tip
After two or three long rides, re-torque the cylinder head flange nuts to 100-120 in-lbs.
Related Discussions
- Catalytic Converter Removal - HDForums.com
- How to Remove Cat on 07 CVO Touring - HDForums.com
- Cat Converter Removal - HDForums.com