Harley Davidson Touring: Paint Modification
If you want your Harley Davidson bagger to stand out from the crowd, you could cover it in chrome accessories, or install a big booming stereo, but one of the best modifications is a unique custom paint job in a color never offered by the factory. Here are some of our favorite options.
This article applies to the Harley Davidson Touring (2000-2016).
We get it. You want to modify the appearance of your Harley Davidson Touring, but you're not sure which direction to go. Don't worry. Whether you're into a murdered out flat black stealth look, a mile deep candy color, or metallic paint with flakes so big you can see each individual one, you just can't make a Harley Davidson look bad. Harley even occasionally offers limited edition custom painted body work directly from the parts department that just bolts on to your bike, and looks amazing. Let's go over the most popular options, as well as discuss price and level of skill required for the job.
Popular Paint Modifications for Your Harley Davidson

A Harley Touring bike is a big expensive piece of machinery, and lets face it, a bad paint job can really effect the resale value. But if you don't care what someone else would pay for your bike because you are going to own it until the day you die, or you've already practiced with a spray gun and consider yourself a competent painter, then the body work of a bike is a great painting project. Unlike trying to paint a car or truck, you can usually remove all the pieces and paint them in a relatively clean space, like a garage or driveway, lined with plastic drop cloths to keep the dust, dirt and bugs away.
Matte/Denim Paint
DIY Cost – $100
Professional Cost – $250
Skill Level – Easy; it will require washing before painting.
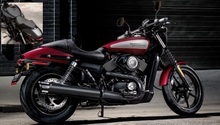
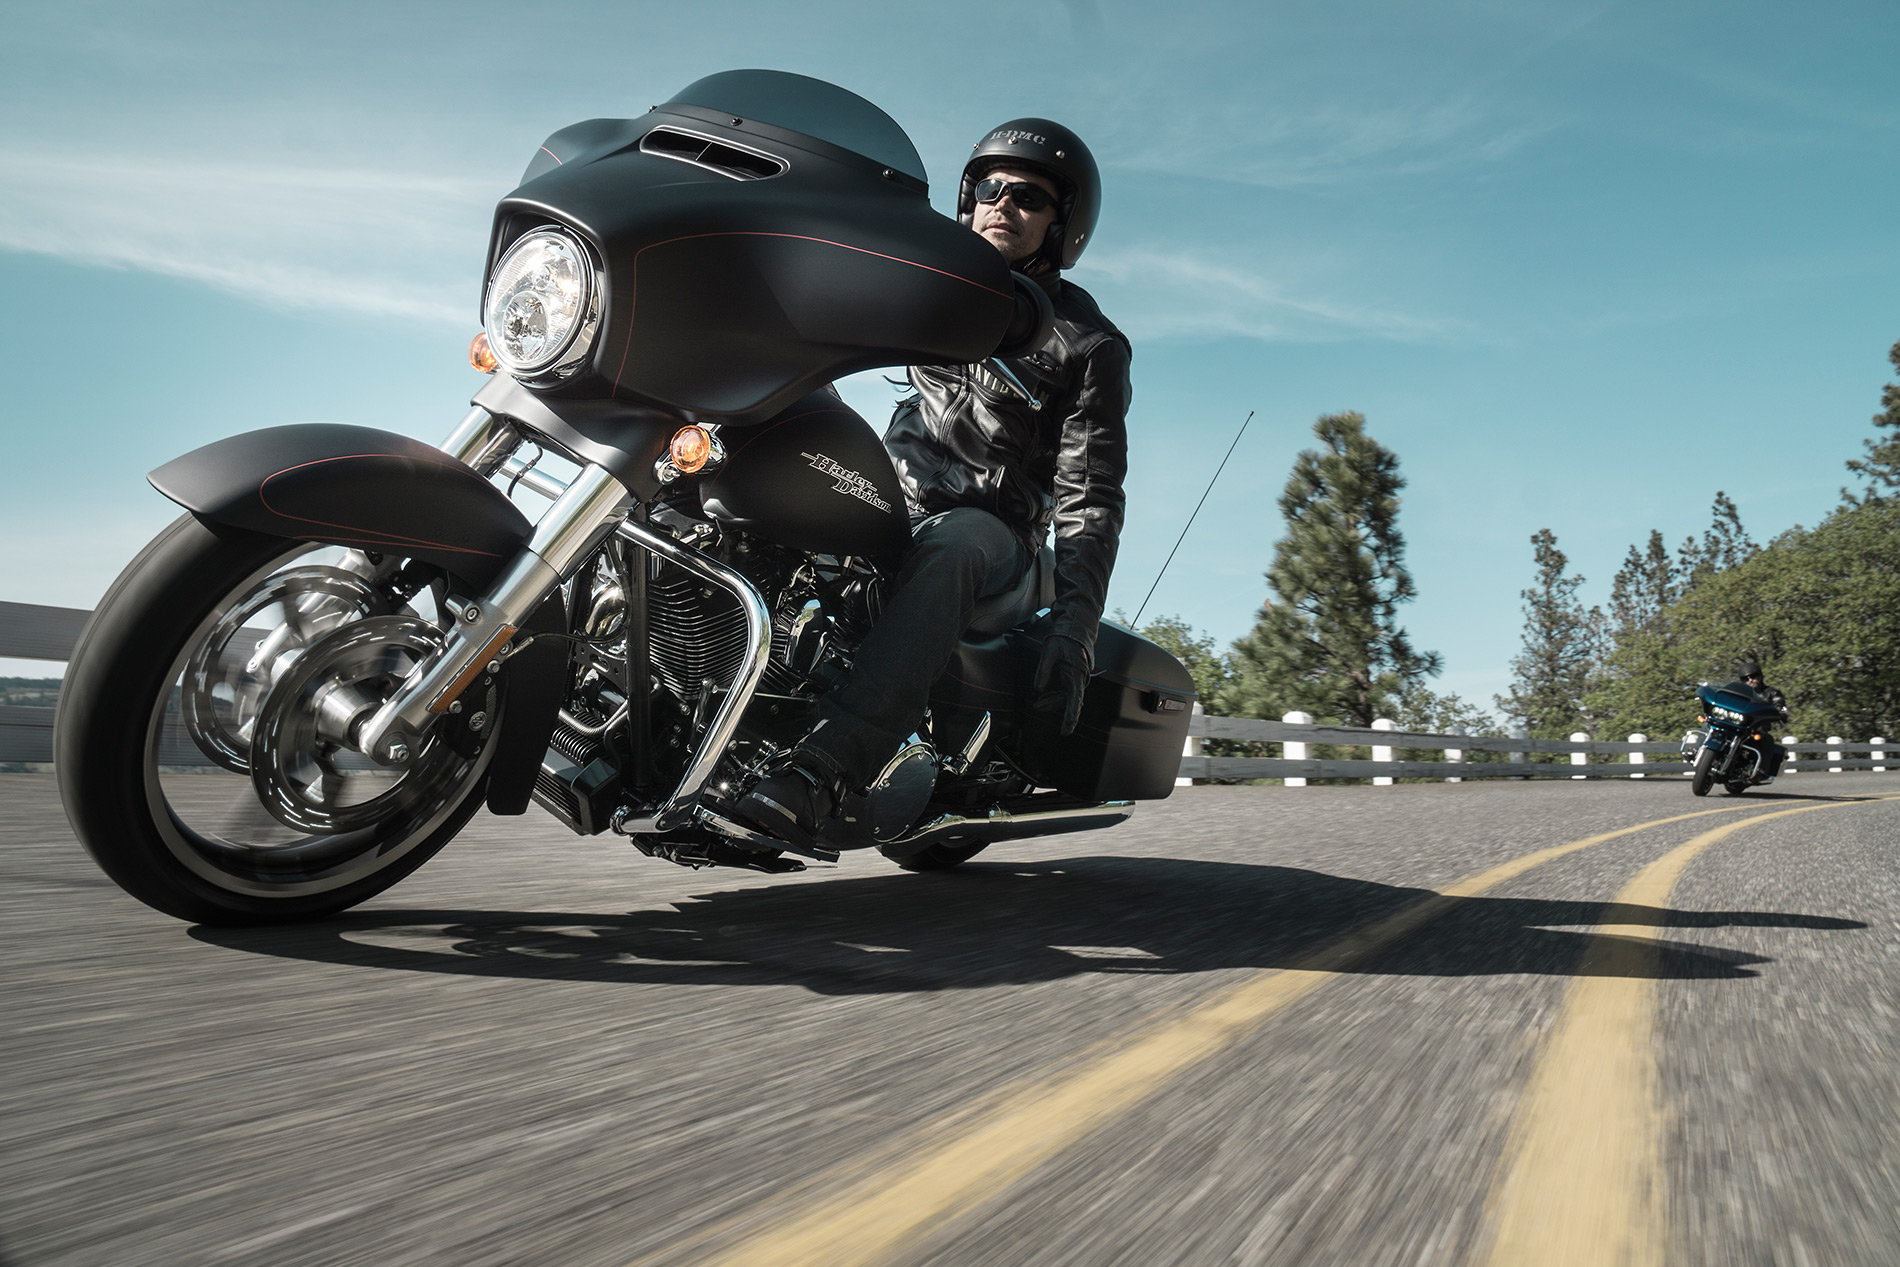
Matte finish paints are so popular that Harley offers a variety of color in what they call "Denim" on all of their bikes. These low shine paints are also about the easiest to apply and give your bike a mean, sinister, outlaw look. For a bike with a cost as high as a Harley Touring rig, I would never suggest spray can paint, but with matte finishes, it really doesn't matter. You can get just as good of finish out of a rattle can as you could by paying someone to do it. If you want to test out a flat black look, you could always apply matte finish clear Plasti Dip to temporarily turn your current paint into a denim finish. It peels off without damaging the underlying finish afterwards.
You can also buy real matte clear spray paint that is permanent, though most spray paint will smudge if you spill fuel on it while filling the tank. Several 2K spray can paints exist, including Rat Rod Satin Black and matte clear from Eastwood, which are as durable as professionally applied paint out of a gun. Before painting over the original factory gloss finish, scuff it with 400 to 800 grit paper for adhesion, wash it and wipe it down with mineral spirits. Be careful with matte finishes though, you can't wax them, and they will get a shiny look to them if rubbed too hard. Where your knees rub on the tank will have to be constantly touched up to keep it matte. Recommended for its easy installation and outlaw look.
Metal Flake

DIY Cost – $250-400
Professional Cost – $500-1,000
Skill Level – Moderate; practice on scrap before trying to paint your bike.
If you want a paint job that reflects the light like the scales of a freshly caught trout, you want to apply metal flake. If you have a compressor and a spray gun, the paints are not all that expensive to apply your own custom metallic finish. You can use any clear or translucent automotive finish, and the flakes to add in cost about $20 for enough to do three bikes. If you don't own the tools to do it, you will have to buy them, but you still come out ahead by doing it yourself. Sure, Harley offers their own Hard Candy metal flake paint colors, but you are only limited by your imagination if you paint it yourself. Like any paint job, prep is important, but with big flakes, it is also extremely important that you move slowly and consistently as you paint. A final wet sanding with 1,000 grit paper and several top coats of clear are also important, or you will be able to feel the flakes and the finish will be orange-peel textured. You can also get very close to a metal flake look with some of the single stage paint available these days, and those lay down flatter without the need for a lot of clear over them. Recommended for its shiny look.
Candy Paints

DIY Cost – $300-500
Professional Cost – $1,000
Skill Level – Difficult; this job is best left to the professionals, as candy paint shows all your mistakes.
The gold standard in the custom paint world is the translucent colors known as Candy, Kandy, or sometimes even Candeez colors. The translucent nature of these colors requires a very steady hand when spraying it, or you end up with what are known as tiger stripes, with darker and lighter color bands. Candy colored paint also is typically applied over a silver or gold metallic base color, which you also have to apply perfectly (unless you already have a factory silver/gold bike) because the candy paint will amplify any mistakes in the base coat as well. But when done right, the candy color gives you a depth that makes it look as if the paint is a foot deep. You can also do effects like ghost flames and stripes under a candy top coat for an endless variety of custom options. Recommended for its range of possibilities.
Related Discussions and Video
- Jeep Blue Pearl Paint on a Road Glide - HDForums.com
- Anyone do a DIY Paint Job? - HDForums.com
- How to Shoot Metal Flake with a Cheap Gun - YouTube.com