Another Tri-Bar Tail light Install
#1
 09-12-2008, 07:30 PM


Join Date: Jul 2008
Location:
Posts: 22
Likes: 0
Received 0 Likes
on
0 Posts
Well, I know this has been gone over a bunch of times and that it's a fairly easy install but after doing a search I didn't find many pictures of the install itself and there are a couple things I wanted to point out for future DIY's...
So here are the pics I took during the install which was straight forward when reading the Instructions that came with the light.
Tools:
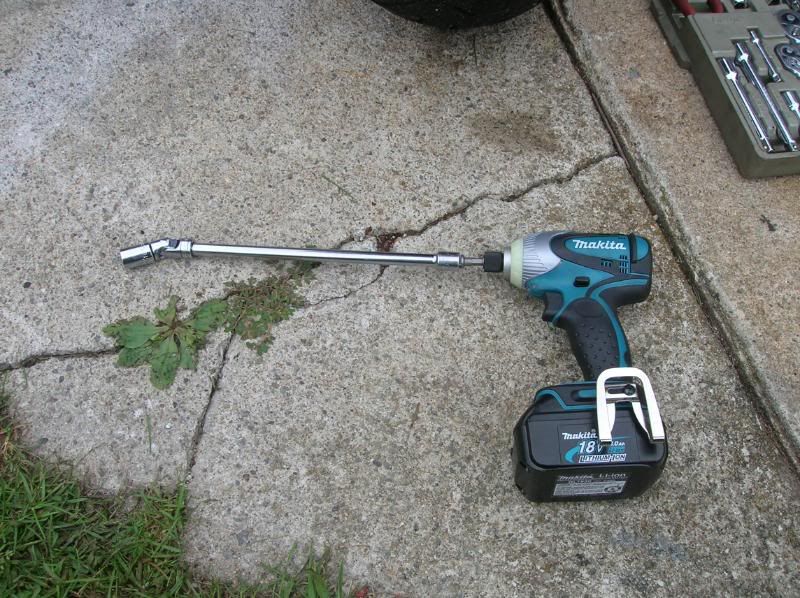
-9/16" Wrench- I used a socket and long extension with a universal joint to give me some angle. Instead of a ratchet I used my Makita impact driver.
-Phillips head screw drivers
-5/32" allen wrech... I believe that is the size anyhow, I'd have to check again though since my tools are away
-Blue locktite
I think that does it for tools... on with the pictures. This is just a few of the steps not all of them.
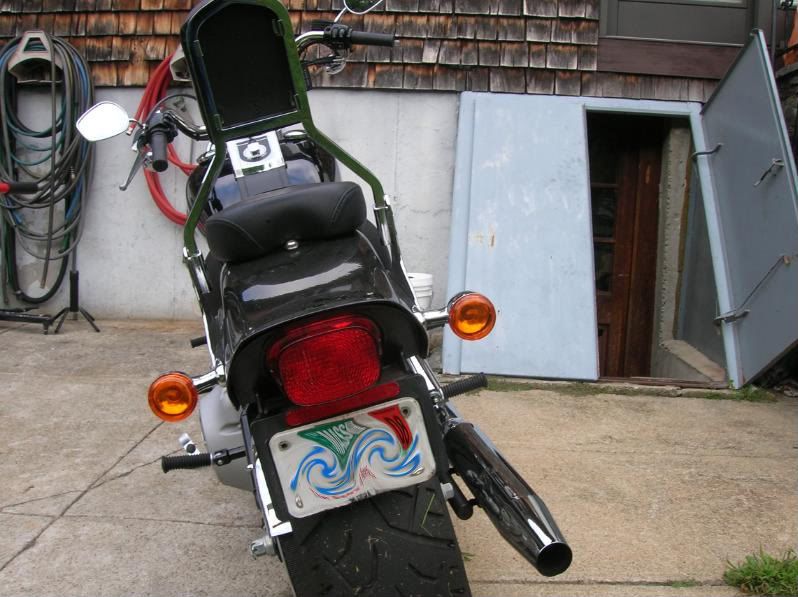
Stock assembly:
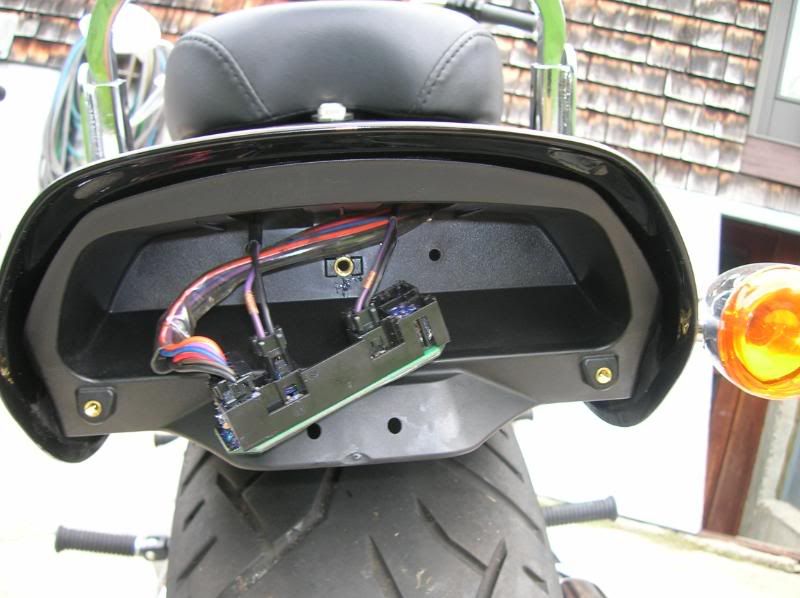
New bracket in position, showing the little clips from a different angle so you can see them. These clips for the blinker connections are typically facing down and you need to depress them with a screw driver of sorts to get release the connector. These are spoken about in other threads but no pictures were taken that I could find, this should help tremendously if you're never around such quick connections. One is all the way in the other is half out (left side) so you can see where you need to depress the clip.
Marked in the terrible red boxes:

Closer but fuzzy look:
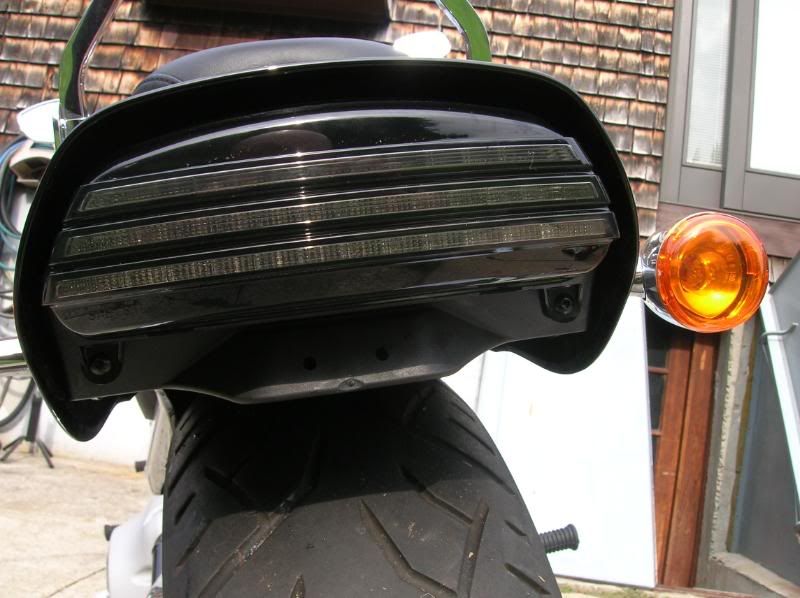
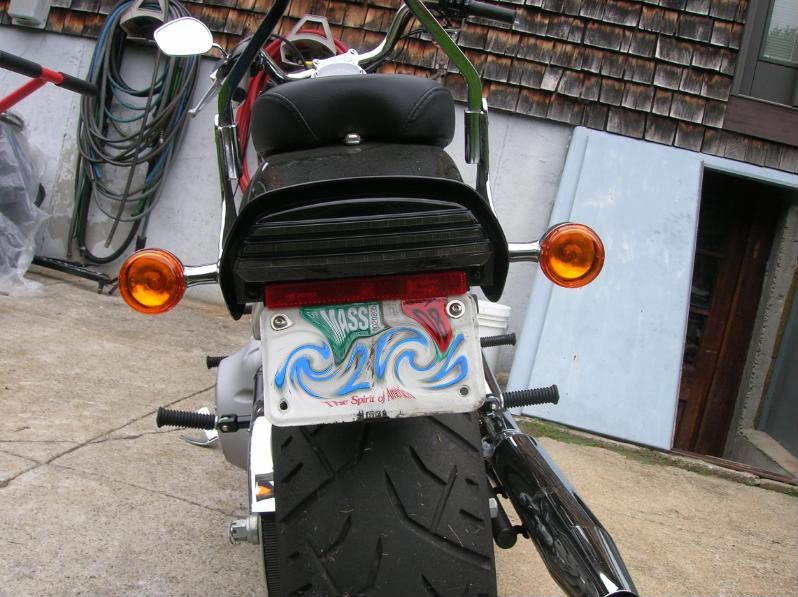
New tail light installed:
With License Plate bracket- I decided to use the supplied reflector for safety purposes as well as to cover up the button head screws that mount the plate bracket... it didn't look right without the reflector IMO...
The Makita impact driver I listed above with tooling:
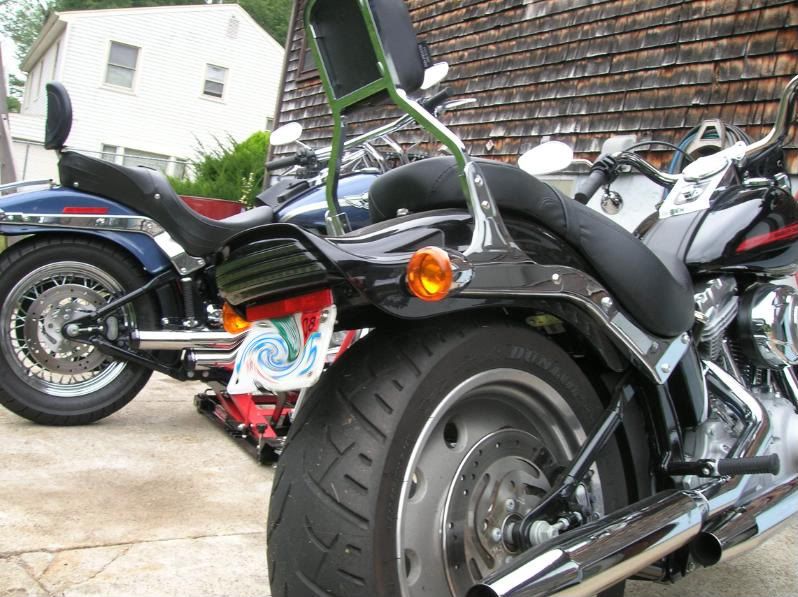
Another angle of the tail light with my brothers FXSTI in the background:
So there you have it.. not really an install guide but just a few pictures, mainly the ones with the little clips on the blinker connections since they seemed to be a trouble for others for the most part. Hope this helps.
Todd
So here are the pics I took during the install which was straight forward when reading the Instructions that came with the light.
Tools:
-9/16" Wrench- I used a socket and long extension with a universal joint to give me some angle. Instead of a ratchet I used my Makita impact driver.
-Phillips head screw drivers
-5/32" allen wrech... I believe that is the size anyhow, I'd have to check again though since my tools are away
-Blue locktite
I think that does it for tools... on with the pictures. This is just a few of the steps not all of them.
Stock assembly:
New bracket in position, showing the little clips from a different angle so you can see them. These clips for the blinker connections are typically facing down and you need to depress them with a screw driver of sorts to get release the connector. These are spoken about in other threads but no pictures were taken that I could find, this should help tremendously if you're never around such quick connections. One is all the way in the other is half out (left side) so you can see where you need to depress the clip.
Marked in the terrible red boxes:
Closer but fuzzy look:
New tail light installed:
With License Plate bracket- I decided to use the supplied reflector for safety purposes as well as to cover up the button head screws that mount the plate bracket... it didn't look right without the reflector IMO...
The Makita impact driver I listed above with tooling:
Another angle of the tail light with my brothers FXSTI in the background:
So there you have it.. not really an install guide but just a few pictures, mainly the ones with the little clips on the blinker connections since they seemed to be a trouble for others for the most part. Hope this helps.
Todd

Thread
Thread Starter
Forum
Replies
Last Post