Thanks to the folks on this forum, I was able to get the info needed to adjust my handlebars forward. Very easy. Using the info here, I removed the ignition switch, then the bolt and two spacers on the ignition shaft and finally, the inner cap (piece that covers the handlebar base). See Harleybill's post below for some excellent illustrated instructions. I covered the tank with a towel and left the inner cap hooked up and hanging to one side. One of the folks here said that they ground down a allen wrench to get to the fork bolts. I did that and it worked great. It is a 1/4 inch allen wrench. Cut and grind down the short arm to about 1/2 inch length. Be sure to use the grinder to square it off. Now it will fit perfectly into the bolts and under the inner fairing.
You will need to remove the ignition switch in the locked position, but switch it to unlocked in order to move the fork for the disassembly process. I used a long handle flathead screwdriver and it worked just fine.
Hopefully, having the following two posts in one place will help you.
great video and ignition comes out easy. how do the collars/spacers come off the ignition shaft though? this should be last piece to get plastic switch cover off for access to clamp bolts. many thanks.
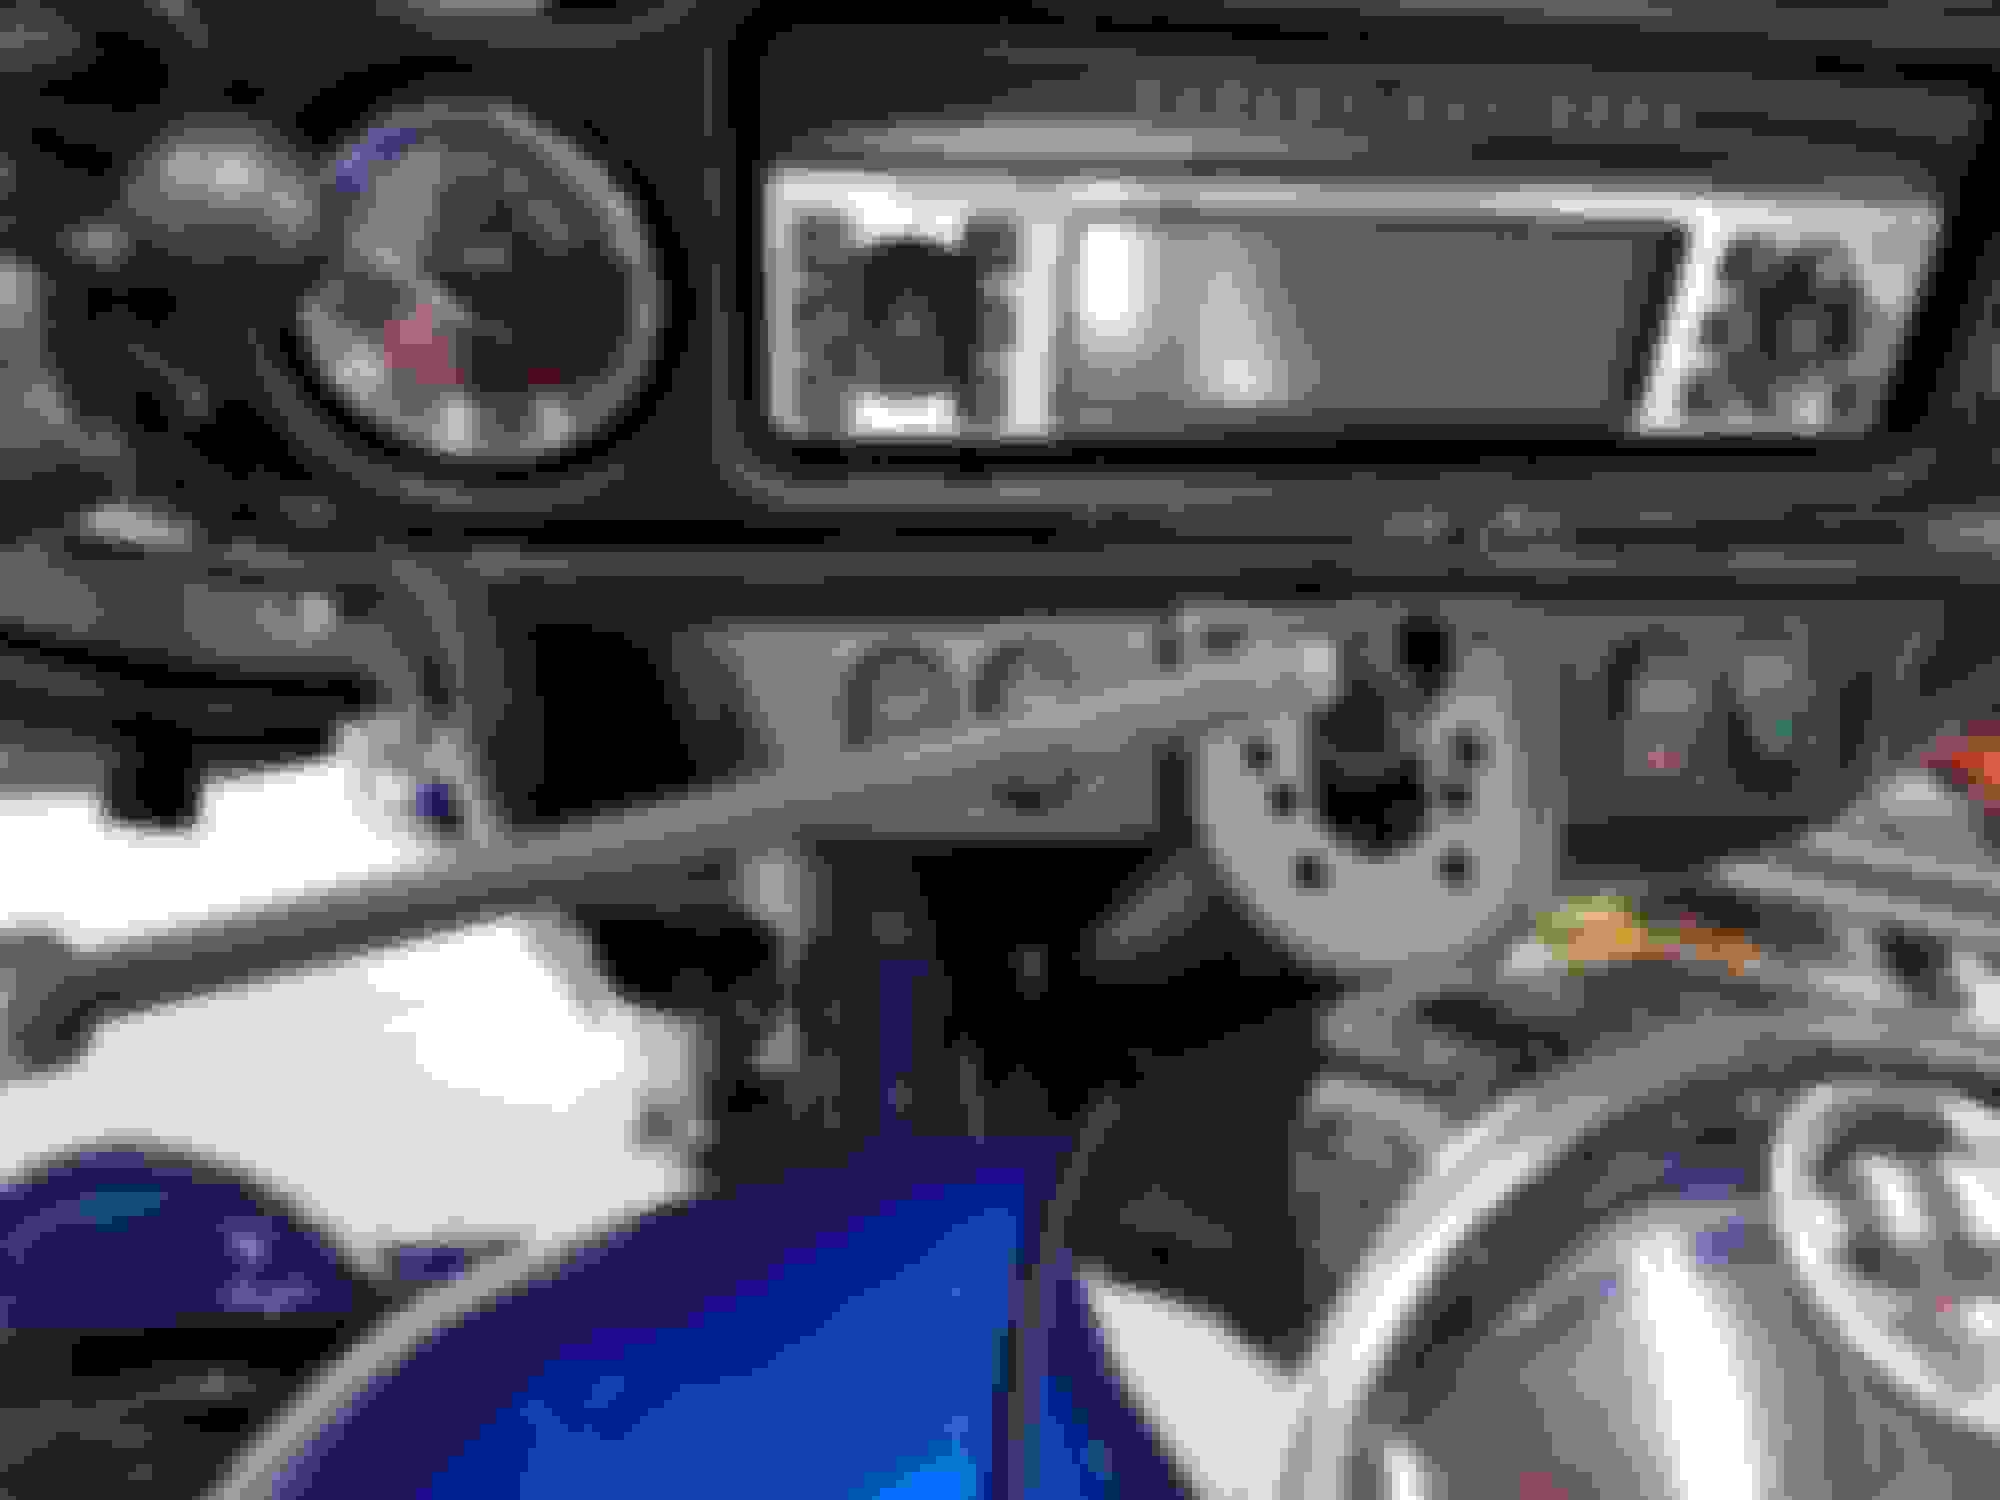
Using info from here and looking at the tools I had on hand I was able to adjust the bars on my 2010 Ultra Classic in about ten minutes. As someone else had mentioned you only need to loosen the two bottom bolts on the clamp. I just loosened the switch cover (didn't even have to unplug the switch clusters) and used a 1/4" ball end allen socket to loosen the two bottom bolts. I raised the bars up about an inch and tightened them back down. Done. Here is a pic of what it looks like:
Hope this helps someone. I didn't want to adjust the bars real bad, but wanted to try a slightly elevated position after changing seats.
If you remove it in the locked position you are much less likely to reassemble it improperly. I saw a video where a guy did that and the bike ran and worked but the steering lock did not work right. What I do is remove it in the locked position as instructed then I take a large flat blade screwdriver, insert it into the lock hole and carefully turn the switch to the position I want. When I am done working I turn the forks to the left and lock them in place then reinsert the lock cylinder. Works every time.
Be real careful when using a large screwdriver to turn the ignition position with the stock switch removed. There are two separate locks that need to be aligned not just one, that's why Harley has a special tool to do that. Don't ask me how I know it can really go south if both pins are not aligned.....That's why you hear guys saying the can start the bike but the fork lock no longer works.
I did! before doing it the first time... of course I did not have the proper tool so I ended up turning just the lock 'drive' in the bottom with a large screwdriver and got screwed when reassembling
next time I did it I just put it in the middle / unlocked and pullet the thing out - much easier... then another time did with it on ACC and all good... hence my confusion.

 02-16-2010, 08:00 PM