Replacing Broken Shifter Centering Spring
#1
 08-16-2015, 10:37 AM

Riding to work one morning, the shifter on my 2012 Road King didn't return to center after a shift. I could manually return it and the tranny shifted normally. There is a spring in the transmission that is supposed to return the shift lever to center and it broke. Apparently this is not uncommon on the 5-speeds, and it happens on some 6-speeds too.
Unfortunately, the transmission gear set has to come out to change it.
For fun, I called the dealer and they said it would cost "over a grand" to replace the spring (which costs $2) because it was 8+ hours labor.
I knew I could to the job, so I ordered all the gaskets and seals that would be disturbed, plus I'd replace the inner primary bearing while I was there. Total cost from Kutter HD (Boardtracker HD now) would have been about $140, but I decided to get a chrome inner primary too. So it came to about $360. Plus $100 of oil, filter, primary and transmission oils.
So then I started stripping the bike. Off came the foot boards, and jiffy stand:
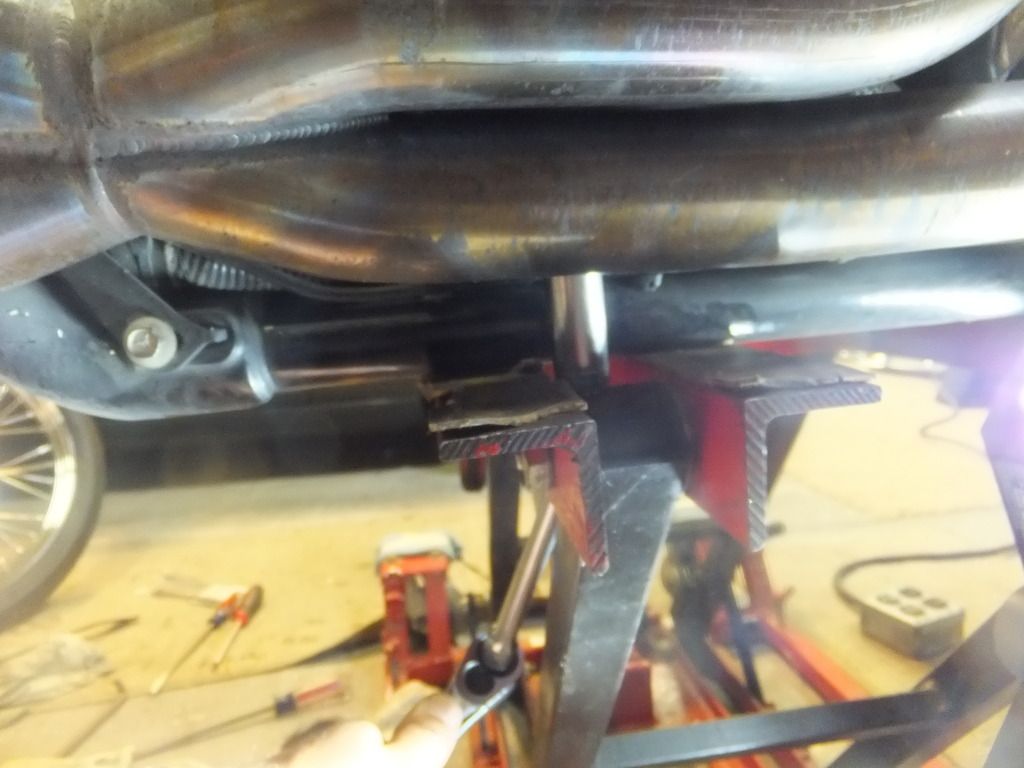
Then the other side. Of course the nut for the exhaust hanger on the tranny was under the stand so I needed a deep socket, universal, and long extension to remove it:
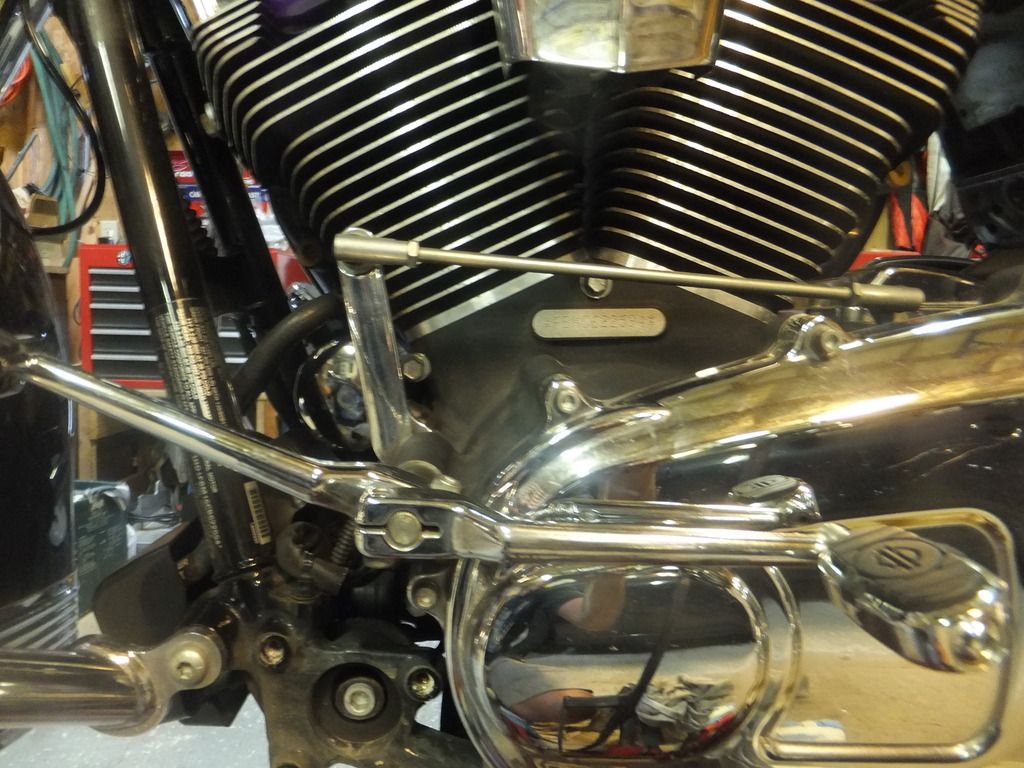
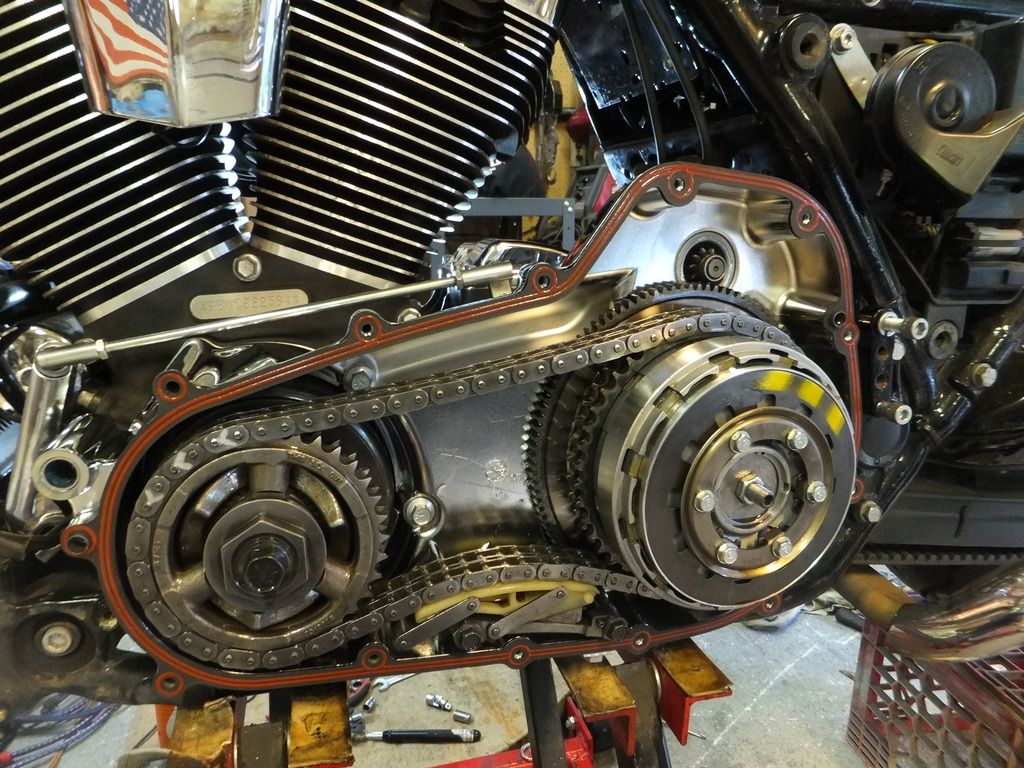
Drained the fluids and removed the outer primary; nice and clean in there:
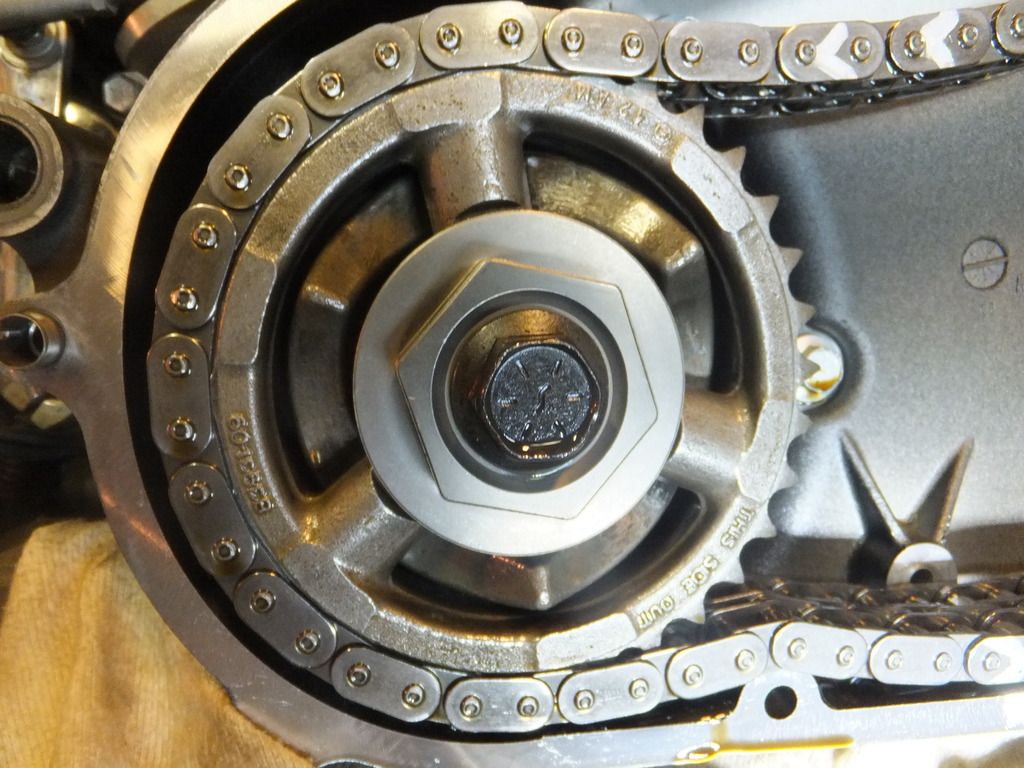
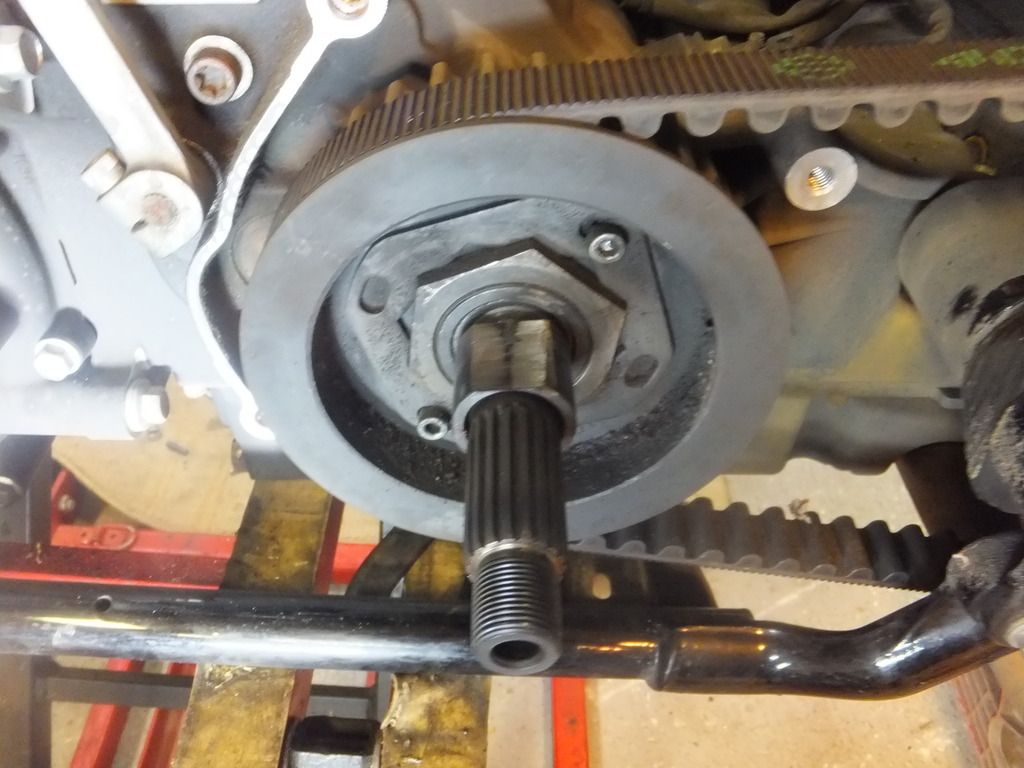
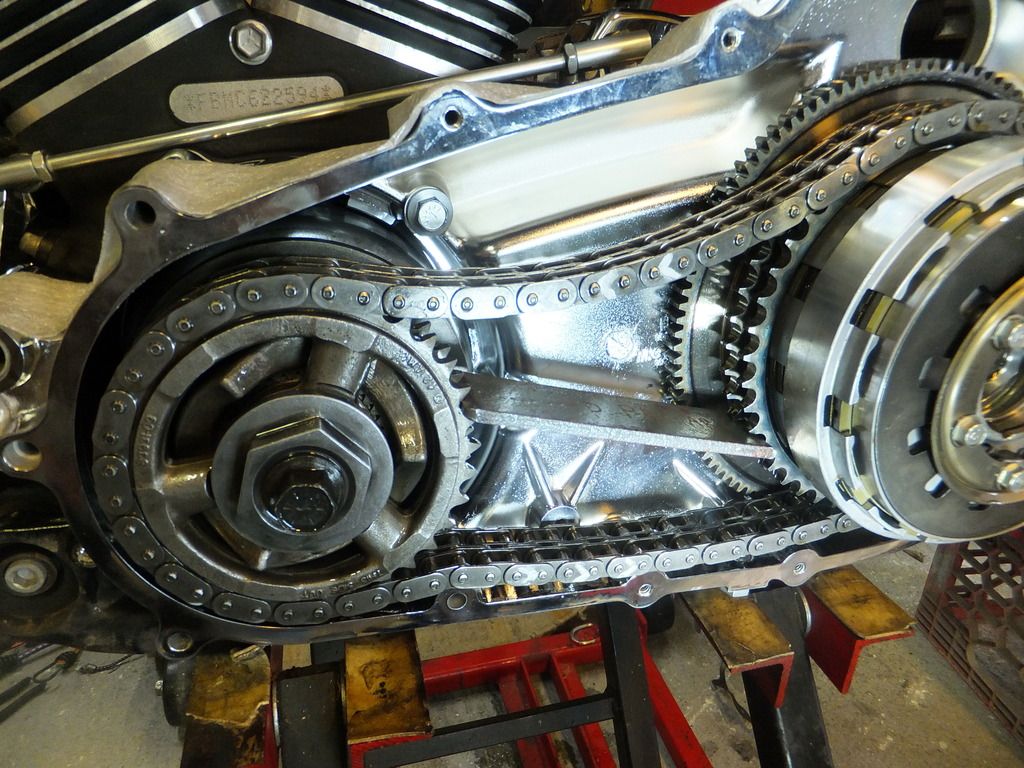
Took a picture of the compensator. That will be handy when reinstalling because when I removed the clutch/chain/sprocket, the back of the compensator stayed on the motor.
Unfortunately, the transmission gear set has to come out to change it.
For fun, I called the dealer and they said it would cost "over a grand" to replace the spring (which costs $2) because it was 8+ hours labor.
I knew I could to the job, so I ordered all the gaskets and seals that would be disturbed, plus I'd replace the inner primary bearing while I was there. Total cost from Kutter HD (Boardtracker HD now) would have been about $140, but I decided to get a chrome inner primary too. So it came to about $360. Plus $100 of oil, filter, primary and transmission oils.
So then I started stripping the bike. Off came the foot boards, and jiffy stand:

Then the other side. Of course the nut for the exhaust hanger on the tranny was under the stand so I needed a deep socket, universal, and long extension to remove it:

Drained the fluids and removed the outer primary; nice and clean in there:

Took a picture of the compensator. That will be handy when reinstalling because when I removed the clutch/chain/sprocket, the back of the compensator stayed on the motor.

#2
08-16-2015, 10:48 AM
Here's what stayed: Lesson learned is to put a paint dab on one point so when it falls off you know what way to put it back. I figured it out by studying the above picture, but it would have been easier if it was marked.
It's important the compensator goes back the same way because the three arms don't wear the same. I wasn't having any problems so I reused it. Some day I may need a Baker but for now this shows how bad it can get w/o problems:
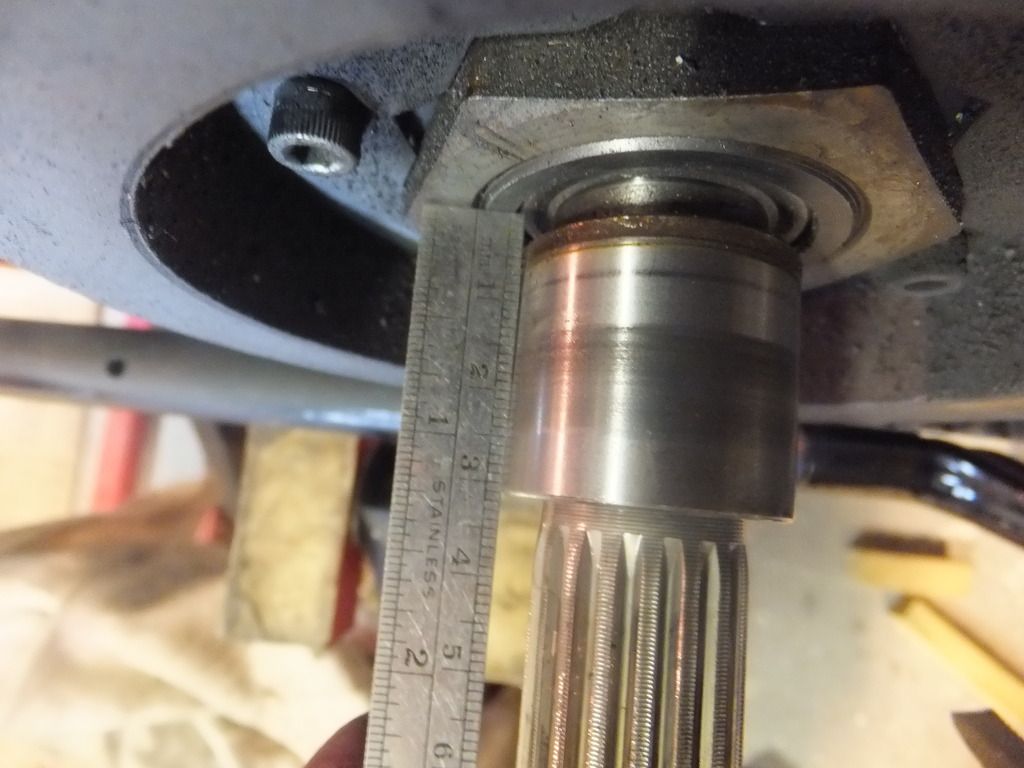
The inner primary bearing race had some wear. I checked the measurement for future reference but the dimension is in the shop manual.
I didn't have or buy the $90 inner primary bearing puller so I ground it down far enough to make a blue line and it popped right off. I went a little heavy at the inner side, but it should be OK. Lesson learned grind slower, be patient:

It's important the compensator goes back the same way because the three arms don't wear the same. I wasn't having any problems so I reused it. Some day I may need a Baker but for now this shows how bad it can get w/o problems:

The inner primary bearing race had some wear. I checked the measurement for future reference but the dimension is in the shop manual.

I didn't have or buy the $90 inner primary bearing puller so I ground it down far enough to make a blue line and it popped right off. I went a little heavy at the inner side, but it should be OK. Lesson learned grind slower, be patient:

#3
08-16-2015, 10:58 AM
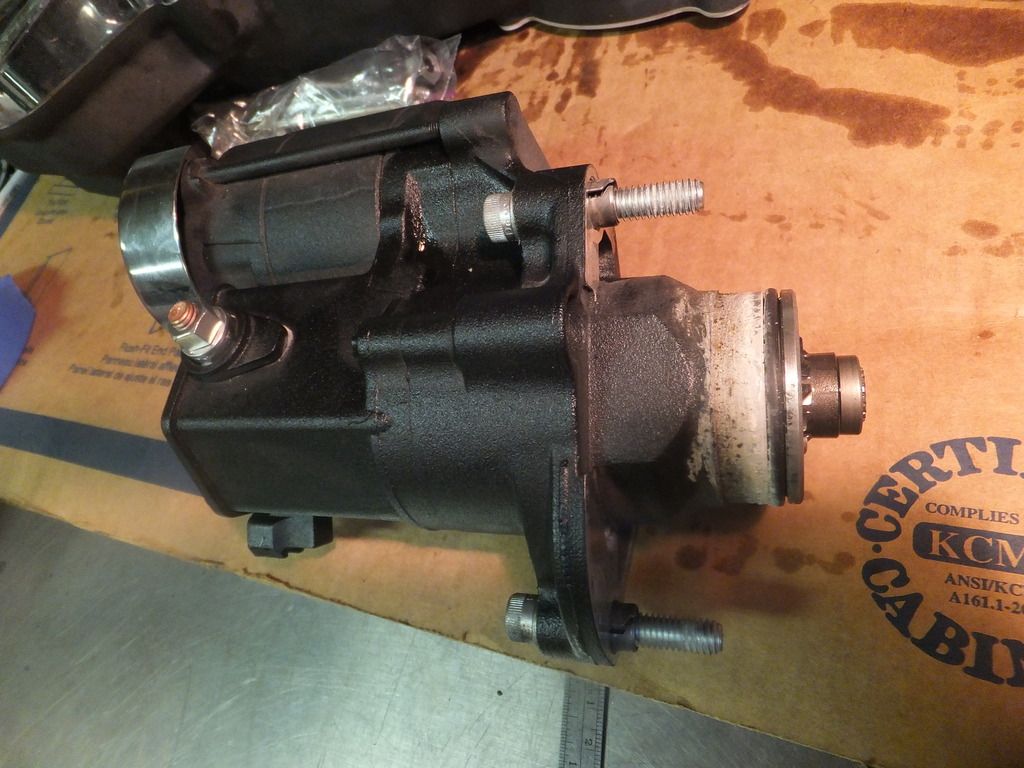
Pulled the starter and popped off the inner primary. That white stuff on the starter is grease or pipe dope. It's important not to lose the hollow dowel rings that align the starter. They are not in there tight:
I waited until now to drain the tranny, and of course the jack was in the way of the drain plug. If I would have done that first I may have been tempted to wait until winter to do this, the broken piece of the spring came out with the plug without a mark on it. But I'm glad I got it done now, so I won't have to manually center the shifter for the next few months.
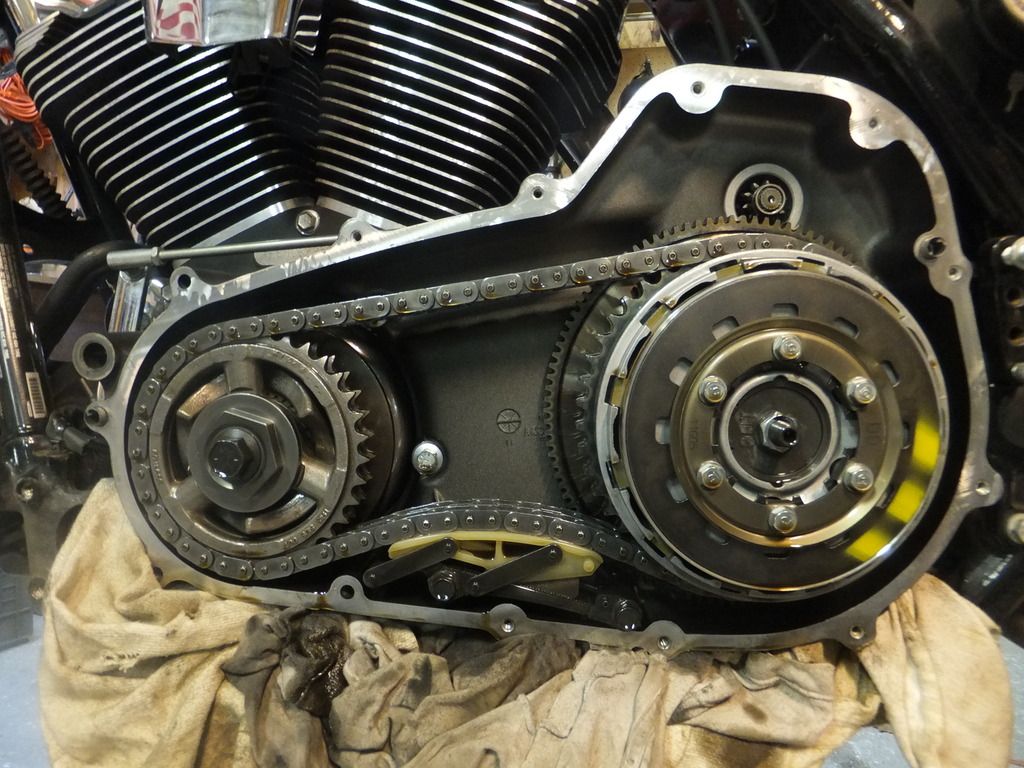
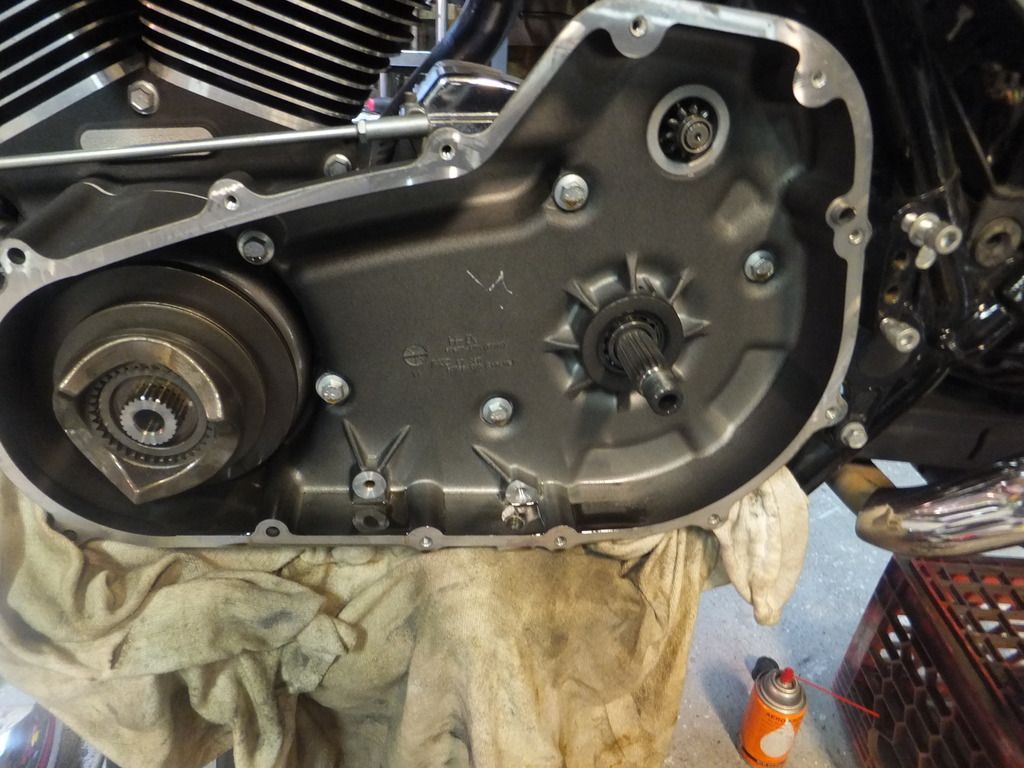
Now for the fun stuff. Off comes the clutch release cover:
Top cover of the tranny is a pain to remove - these screws are hard to get to. I was very close to needing to grind down the end of the wrench to make it shorter:

I waited until now to drain the tranny, and of course the jack was in the way of the drain plug. If I would have done that first I may have been tempted to wait until winter to do this, the broken piece of the spring came out with the plug without a mark on it. But I'm glad I got it done now, so I won't have to manually center the shifter for the next few months.

Now for the fun stuff. Off comes the clutch release cover:

Top cover of the tranny is a pain to remove - these screws are hard to get to. I was very close to needing to grind down the end of the wrench to make it shorter:

Last edited by Joe12RK; 08-17-2015 at 08:11 PM.
#4
08-16-2015, 11:06 AM
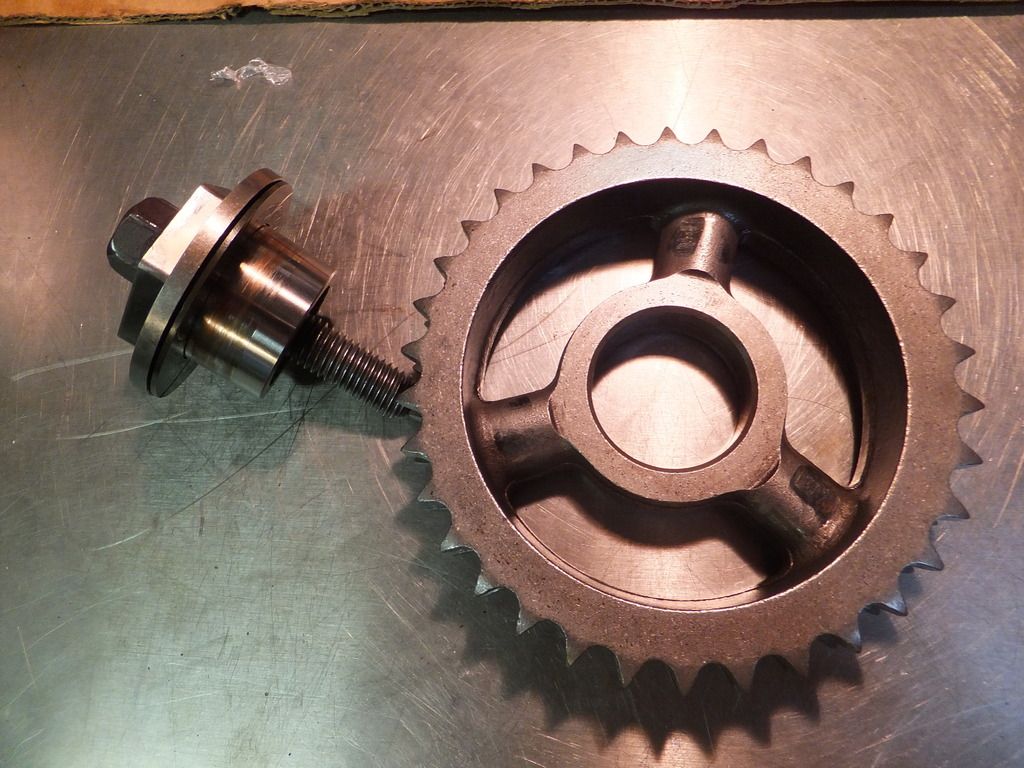
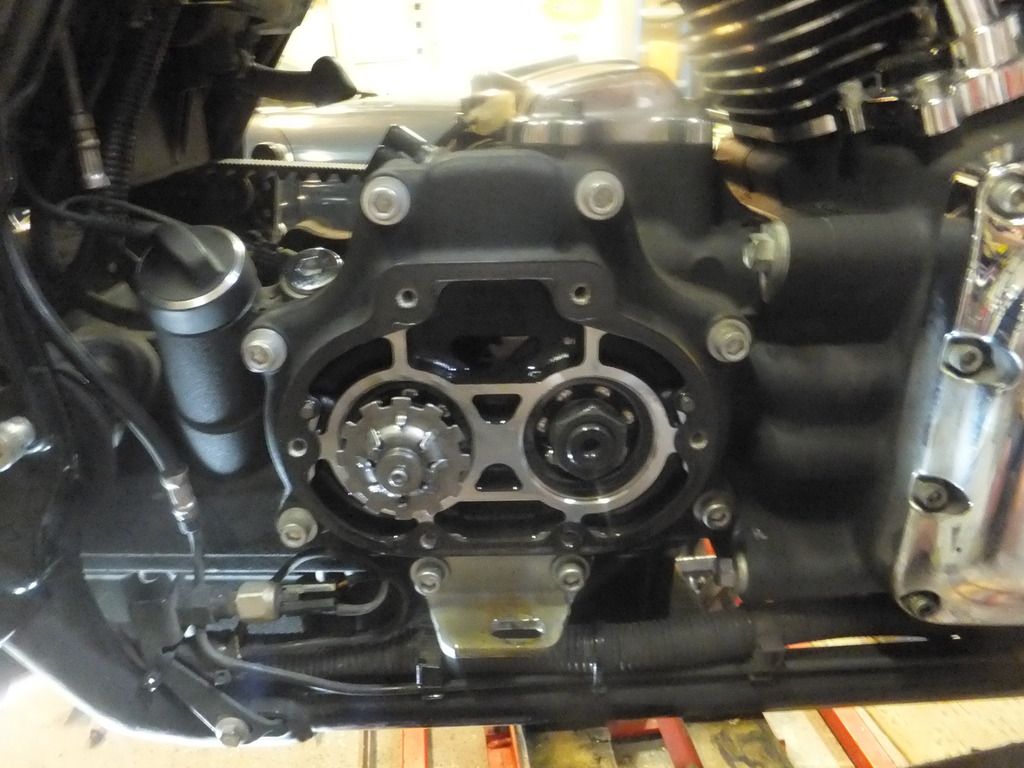
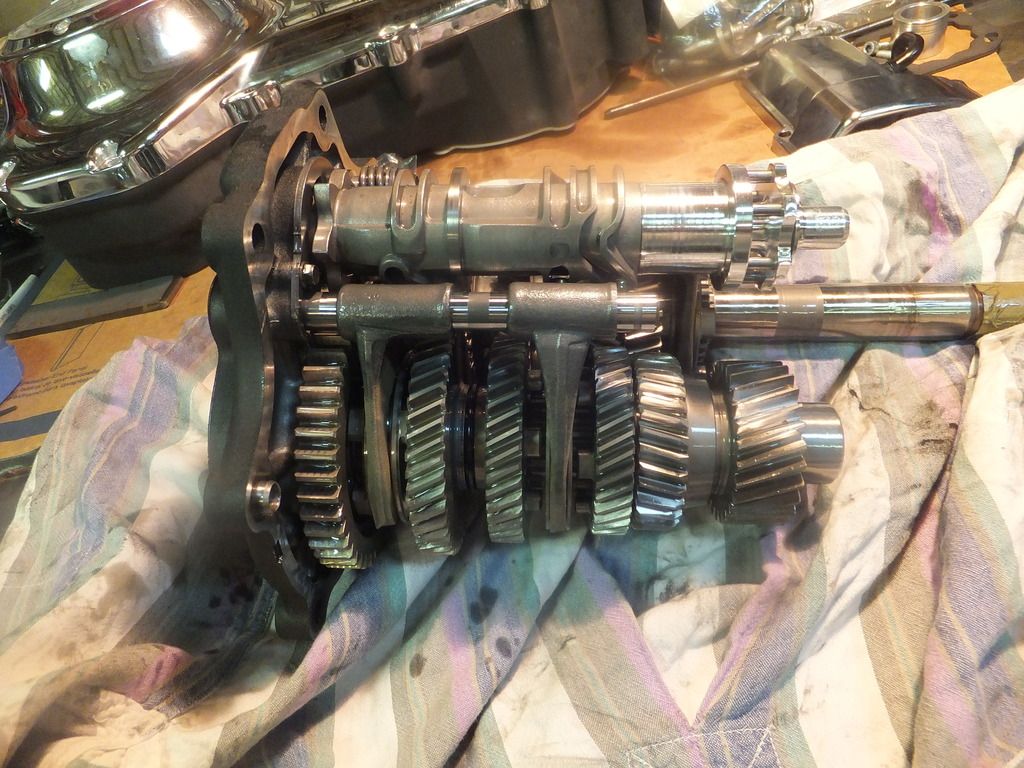
Wrap the input shaft splines in tape to protect the seal, remove a few bolts and the guts of the tranny come out. The main gear and the drive sprocket stay in the case, so I didn't need to remove that big 2 1/4" nut:
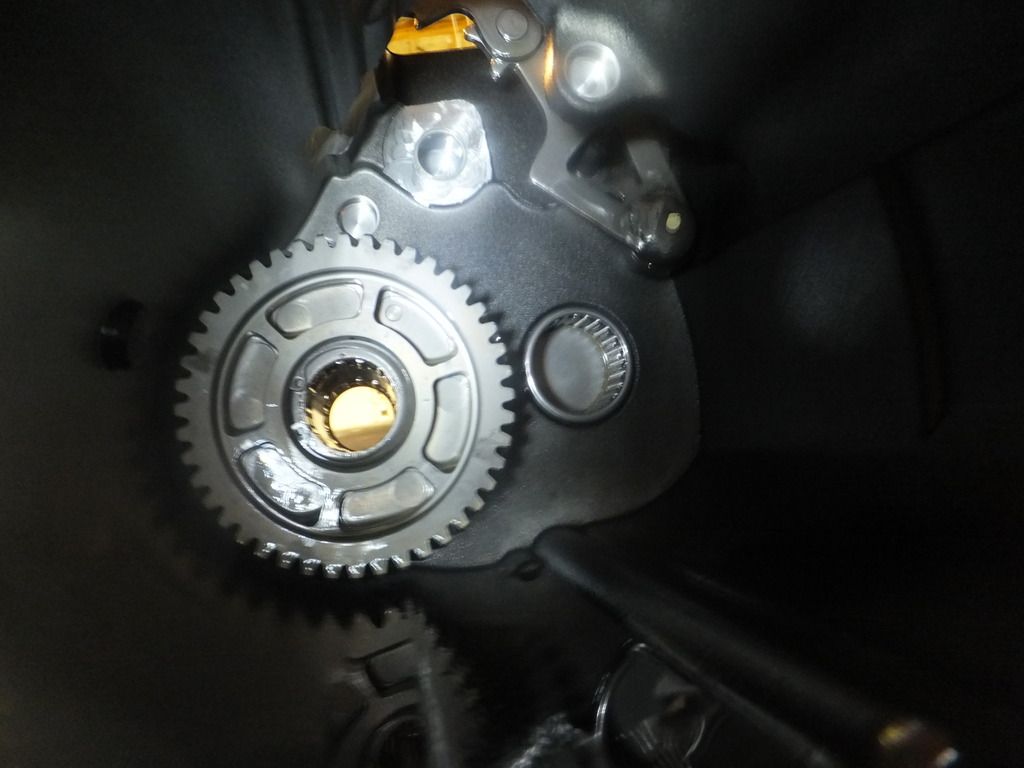
Inside the tranny case looks clean too. The shift pawl assembly and most of the spring is at the top right:
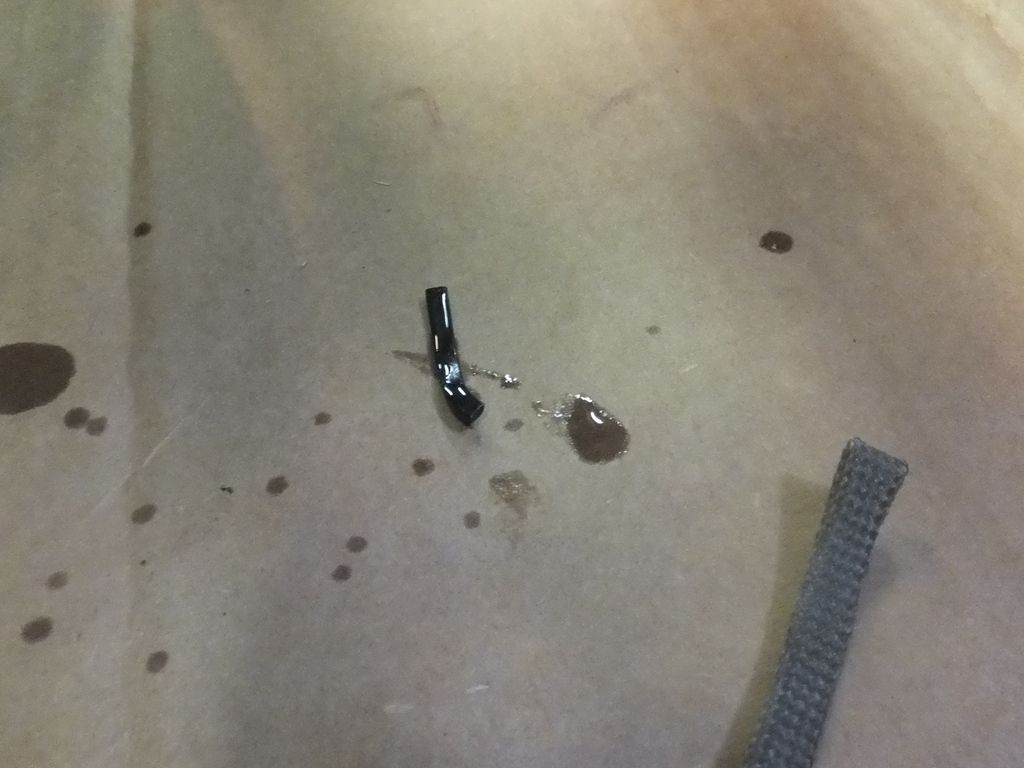
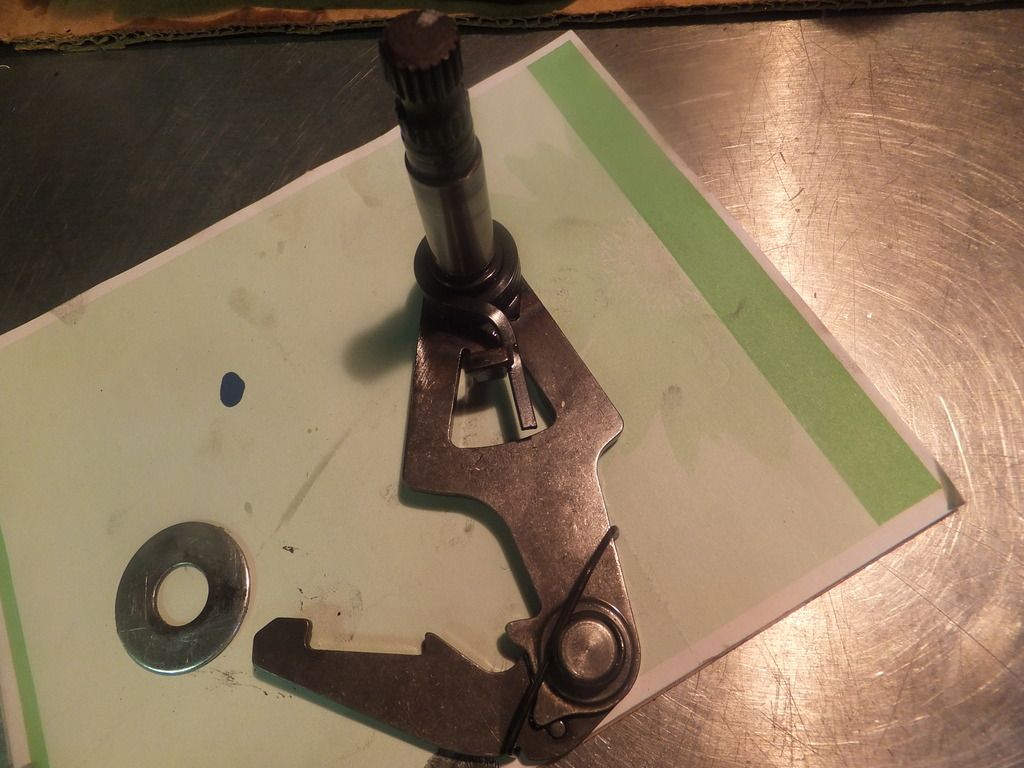
Broken spring:
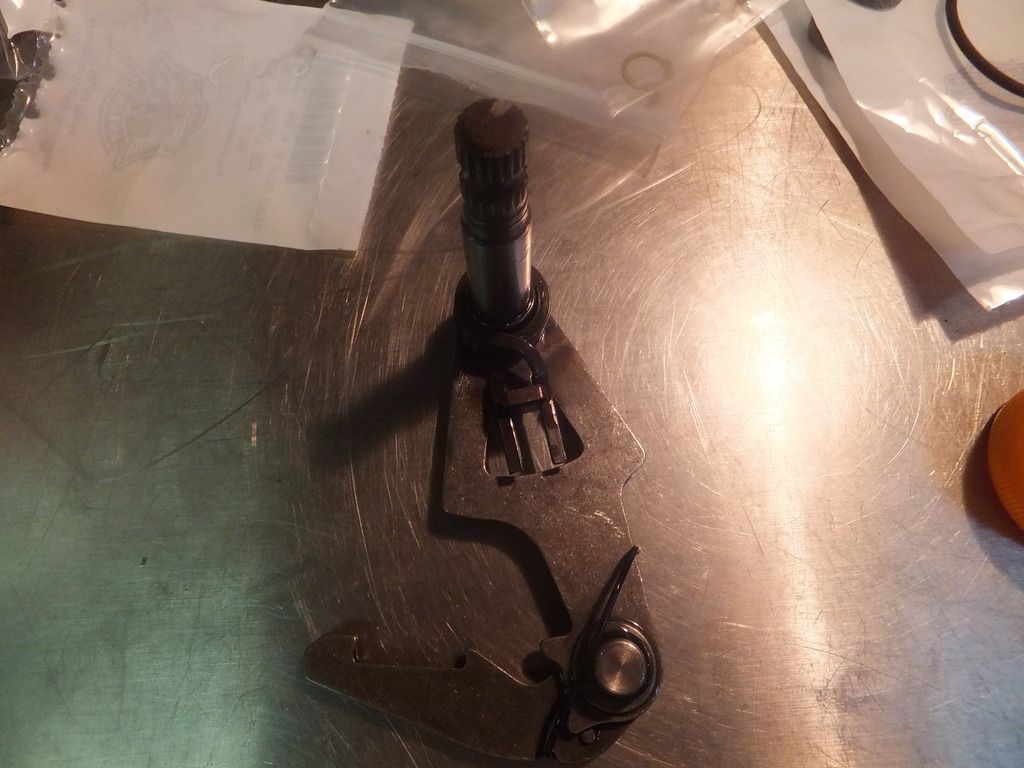
Replacement springs (I replaced both):

Inside the tranny case looks clean too. The shift pawl assembly and most of the spring is at the top right:

Broken spring:

Replacement springs (I replaced both):

Last edited by Joe12RK; 08-16-2015 at 11:41 AM.
#5
08-16-2015, 11:17 AM
Installation in reverse of assembly. Put the gear set back in the case with a new gasket. I made a tool out of 1" PVC heavy wall pipe to install the inner primary bearing inner race with the clutch nut - first a short one (1.25"):
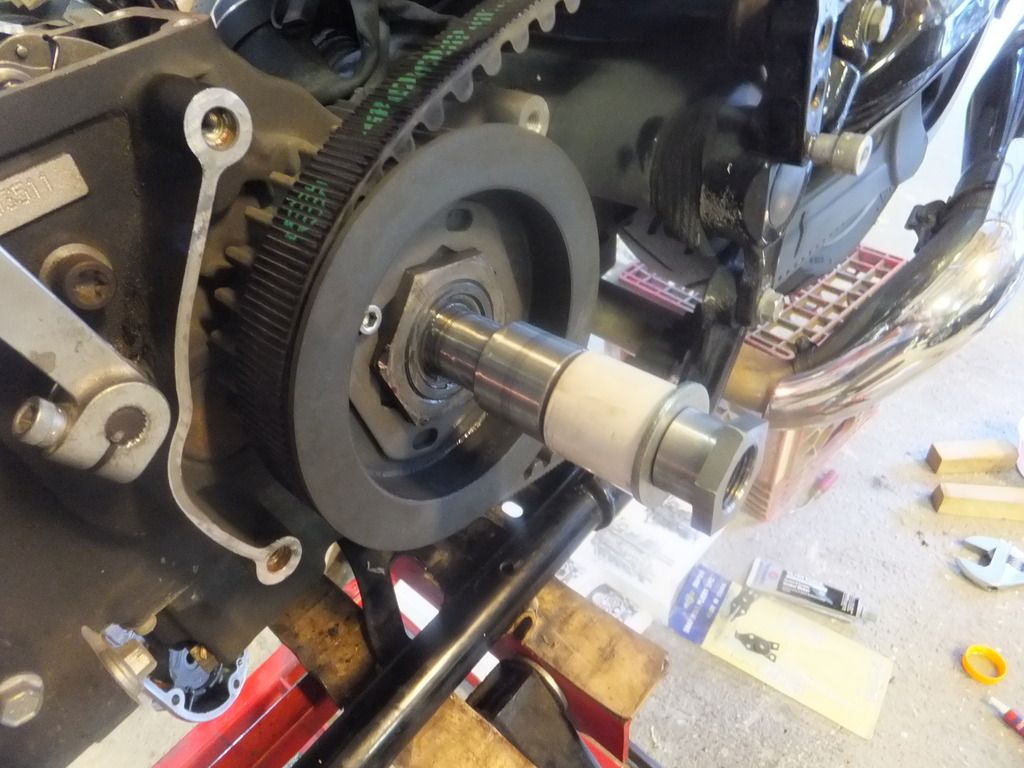
Then slightly longer (1.75"):
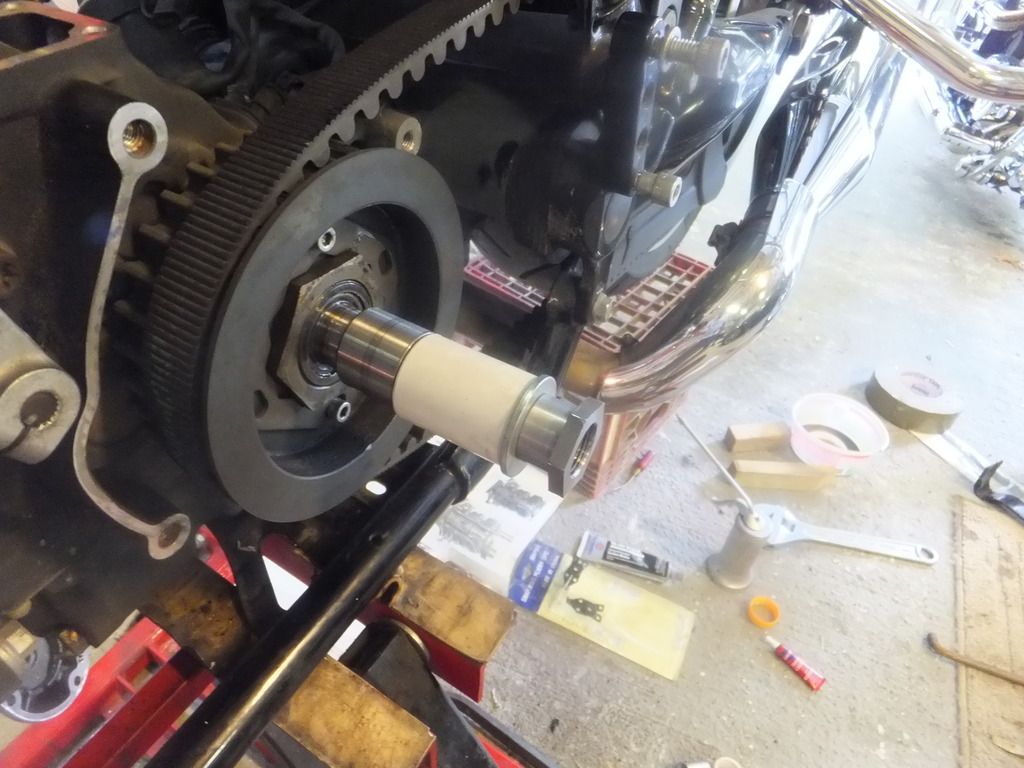
Then drive it home with the short one and the old IPB race. I lubed the threads with oil additive (like STP), but there was still some heat buildup.
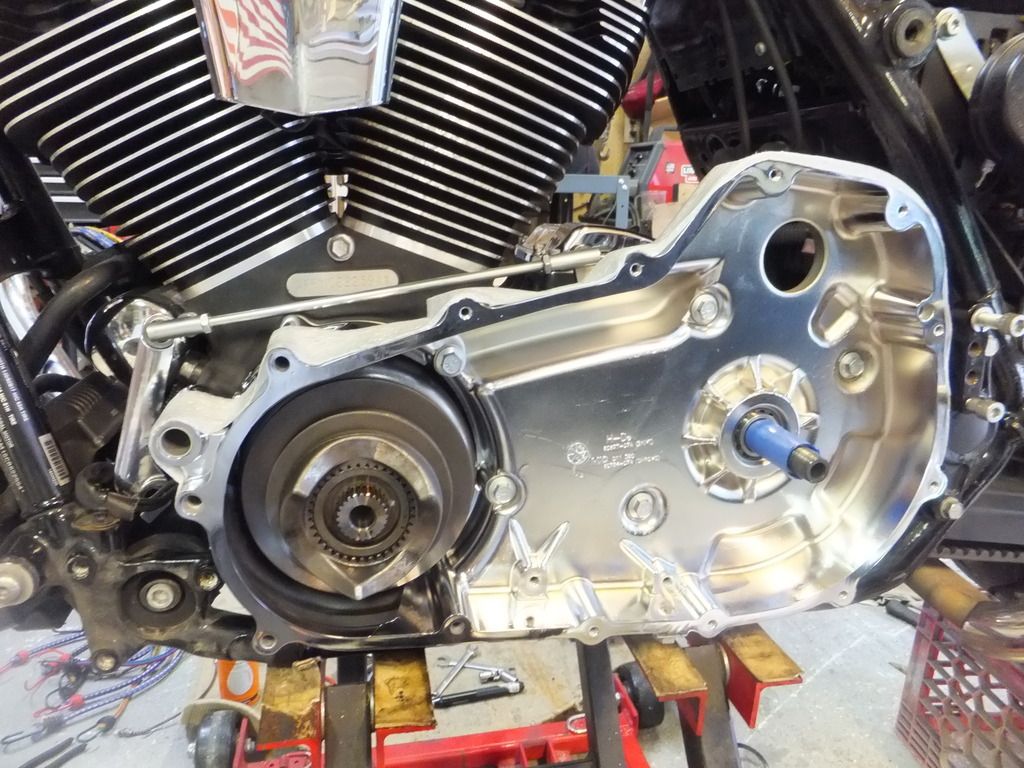
Here's the new chrome inner primary installed. It comes with a new IPB and sealing bolts. Protect the IPB by wrapping the input shaft splines with tape again:
Here's a picture of my home made primary locking tool. They specifically say not to use the wedge type. It's just a piece of flat bar 5.95" long with rounded ends:

Then slightly longer (1.75"):

Then drive it home with the short one and the old IPB race. I lubed the threads with oil additive (like STP), but there was still some heat buildup.
Here's the new chrome inner primary installed. It comes with a new IPB and sealing bolts. Protect the IPB by wrapping the input shaft splines with tape again:

Here's a picture of my home made primary locking tool. They specifically say not to use the wedge type. It's just a piece of flat bar 5.95" long with rounded ends:

Last edited by Joe12RK; 08-16-2015 at 11:43 AM.
#6
08-16-2015, 11:29 AM
I bought a Baker Attitude Adjuster manual primary chain adjuster, but didn't read the directions. Turns out you put it in before you install the primary chain! So back in went the stock adjuster. The shoe didn't look bad, and it worked OK for almost 20,000 miles, so if and when I get a Baker compensator I'll have it on hand. One step away from installing the outer primary cover:
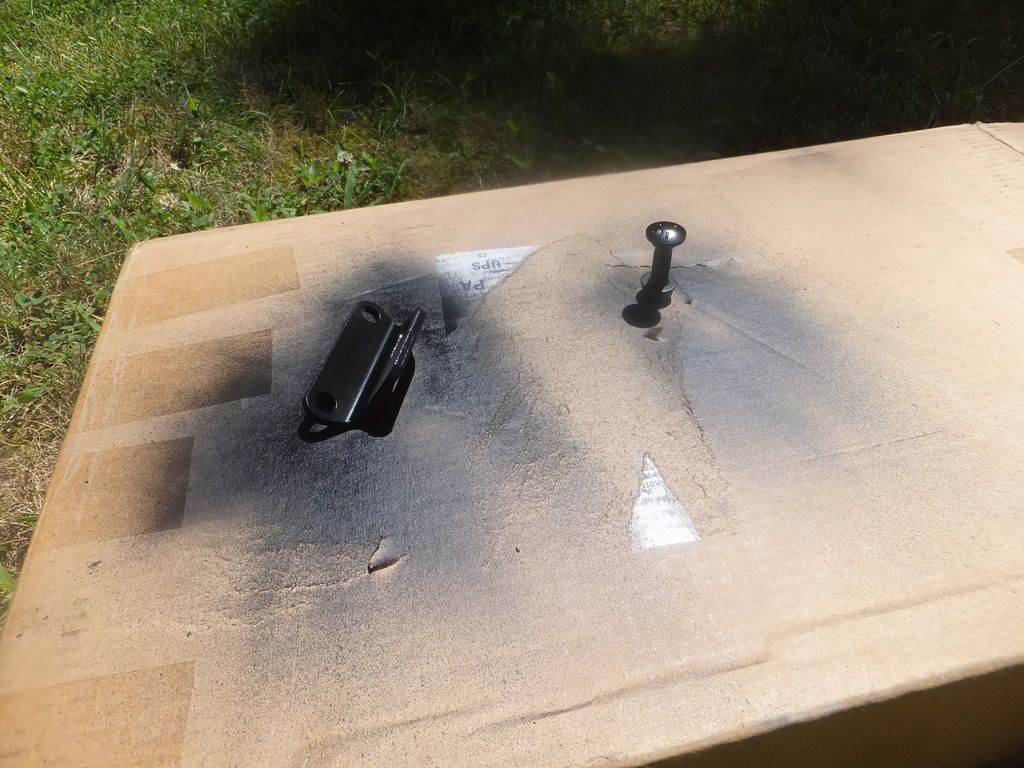
Going back to the right side, I didn't like the way the exhaust hanger bracket looked, so I painted it with high-heat paint:
I also polished all the chrome:
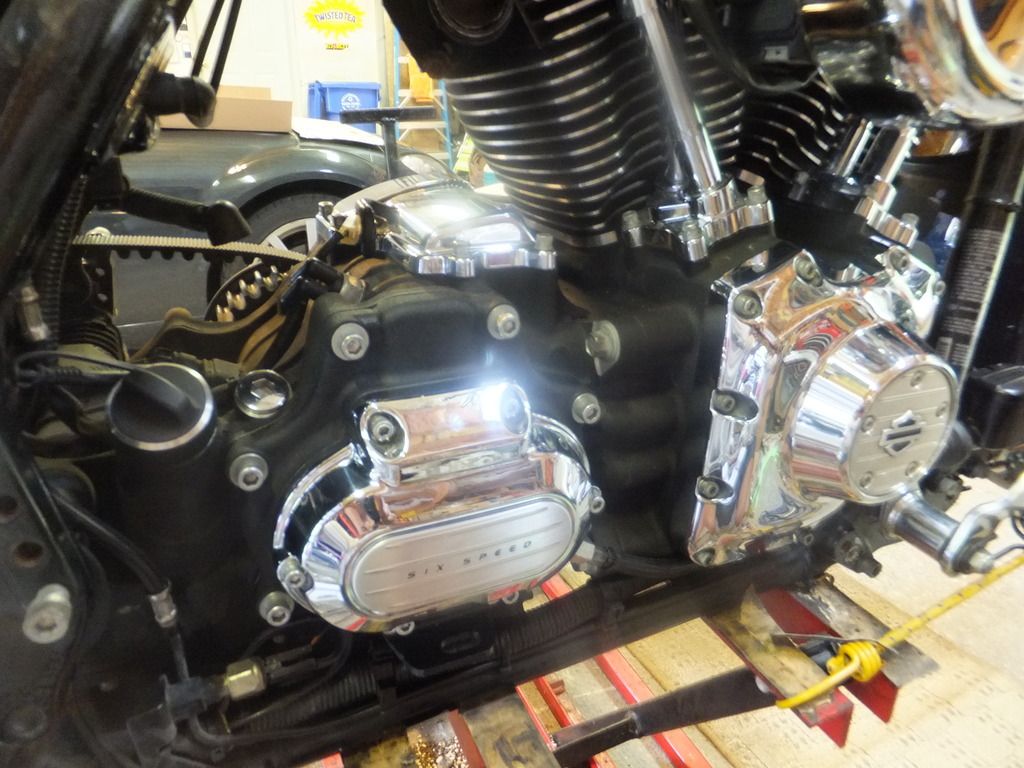
And that's it - the rest of the reassembly is straight forward - exhaust, foot boards, shifter. Here's a pic of my shiny new inner primary:
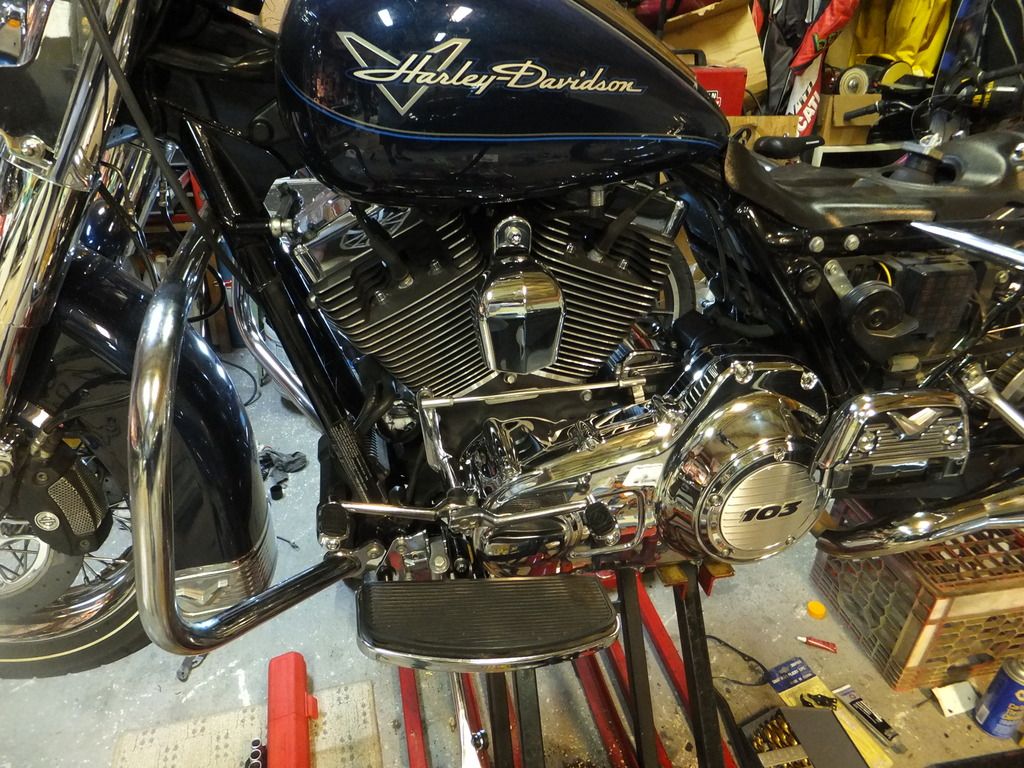
I've ridden a few hundred miles since and it works great! I used Amsoil's new V-Twin gear oil in the tranny, Harley Formula+ in the primary and Syn3 motor oil. Using real gear oil in the tranny has quieted it down some, but I still get the first gear clunk.

Going back to the right side, I didn't like the way the exhaust hanger bracket looked, so I painted it with high-heat paint:

I also polished all the chrome:

And that's it - the rest of the reassembly is straight forward - exhaust, foot boards, shifter. Here's a pic of my shiny new inner primary:

I've ridden a few hundred miles since and it works great! I used Amsoil's new V-Twin gear oil in the tranny, Harley Formula+ in the primary and Syn3 motor oil. Using real gear oil in the tranny has quieted it down some, but I still get the first gear clunk.
Last edited by Joe12RK; 08-16-2015 at 11:44 AM.
#7
08-16-2015, 09:14 PM
Thanks for the write up and pics! I have been in the primary several times but not the transmission, so that was helpful. That install of the inner race was slick!
When you ground down the inner race you said you made a "blue line and it popped right off" - just don't understand....
When you ground down the inner race you said you made a "blue line and it popped right off" - just don't understand....
Last edited by HD Pilot; 08-16-2015 at 09:23 PM.
Trending Topics
#9
08-17-2015, 03:10 PM
#10
08-17-2015, 03:15 PM