
DIY Belt Tensioner for taller shocks and Cafe Bikes
#1
 08-29-2015, 04:40 PM

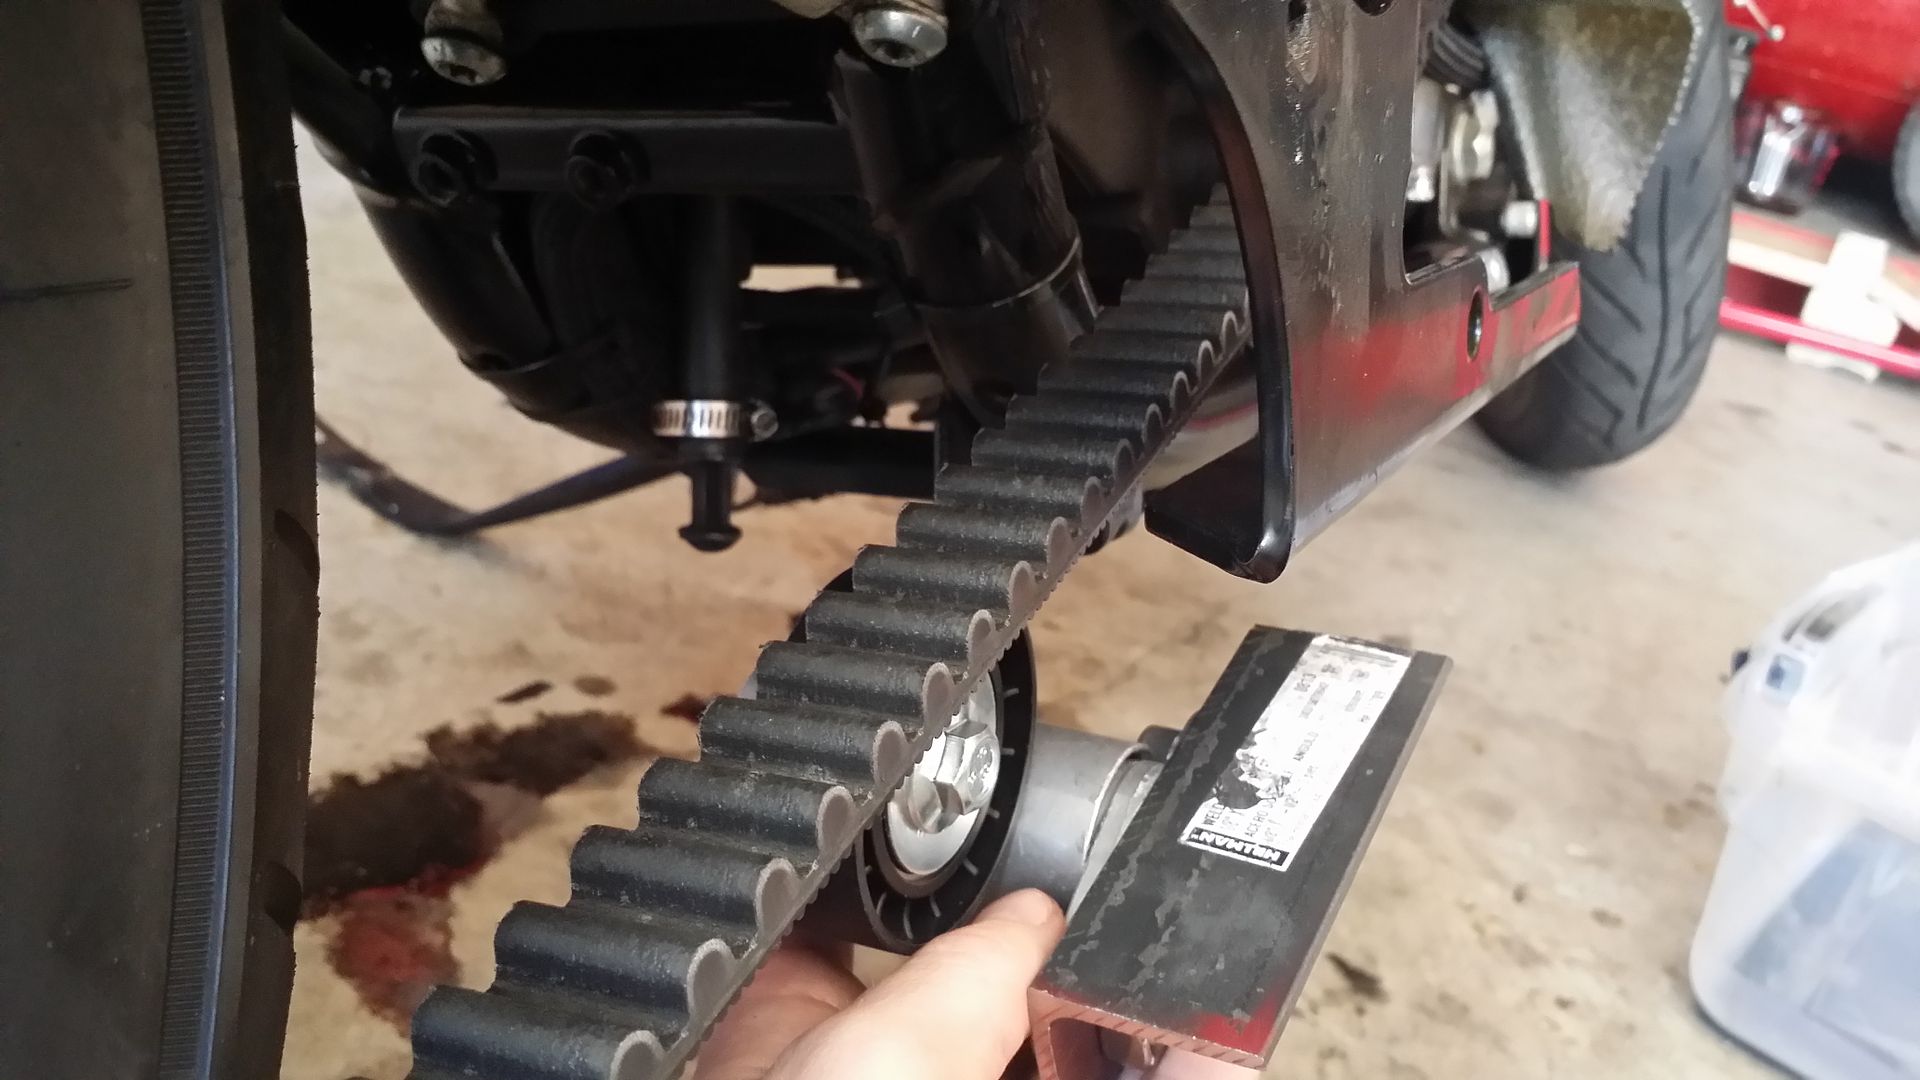
So I wanted to install some taller shocks than the 13" Burly Stilettos that I had. I decided to go with the 15" version and I am very happy with them. I did have an issue with a very loose belt and because of the new geometry the belt was just barely rubbing on the exhaust bracket.
I decided I would definitely need a belt tensioner and started looking for one. Unfortunately I didn't find much. Free Spirits makes a top quality one but it is expensive and uses the same mounts as my RSD exhaust.
I then figured I would try and make something work so here is what I came up with.
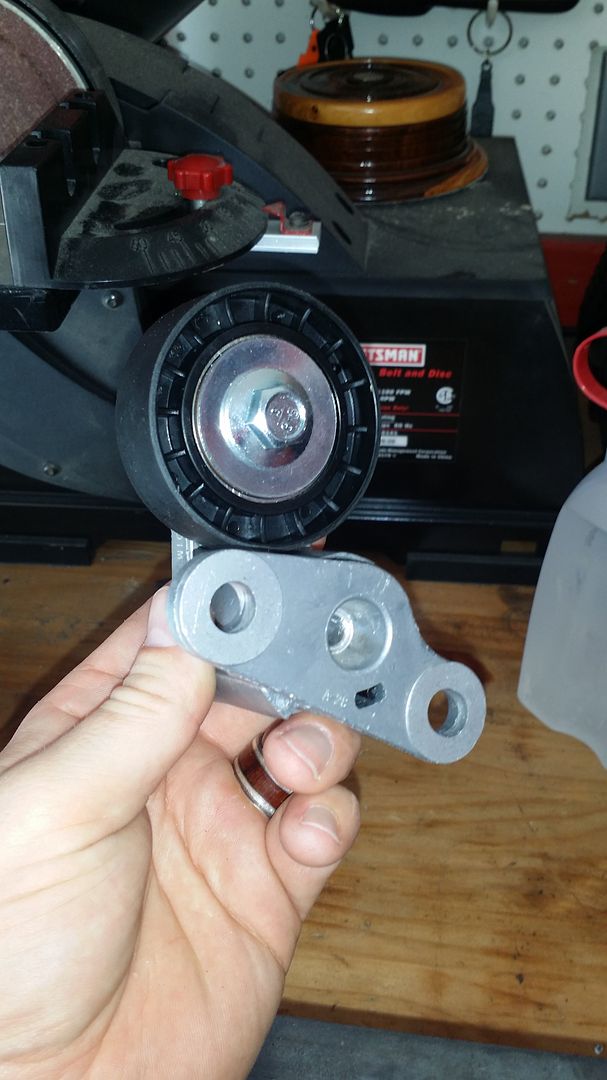
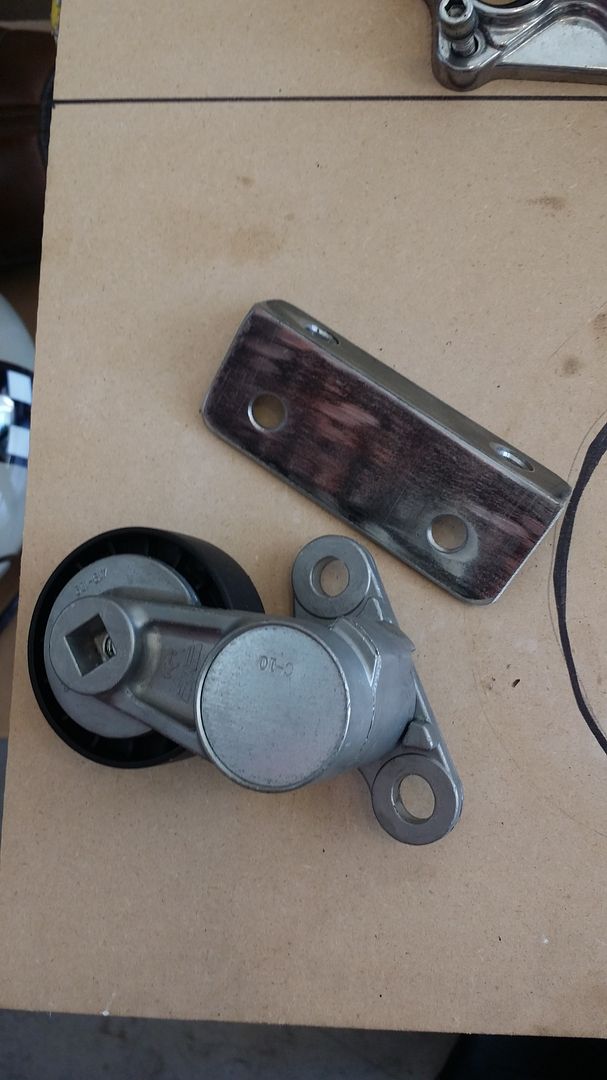
I found this Dorman 419-109 belt tensioner for cars on Amazon for $20. The reviews looked good so I figured I would pull the trigger.
When I got it I was pretty happy. It seems to be solidly built and has a very sturdy spring. The only downfall is that the idler pulley is plastic but I guess it doesn't need to be all that strong.
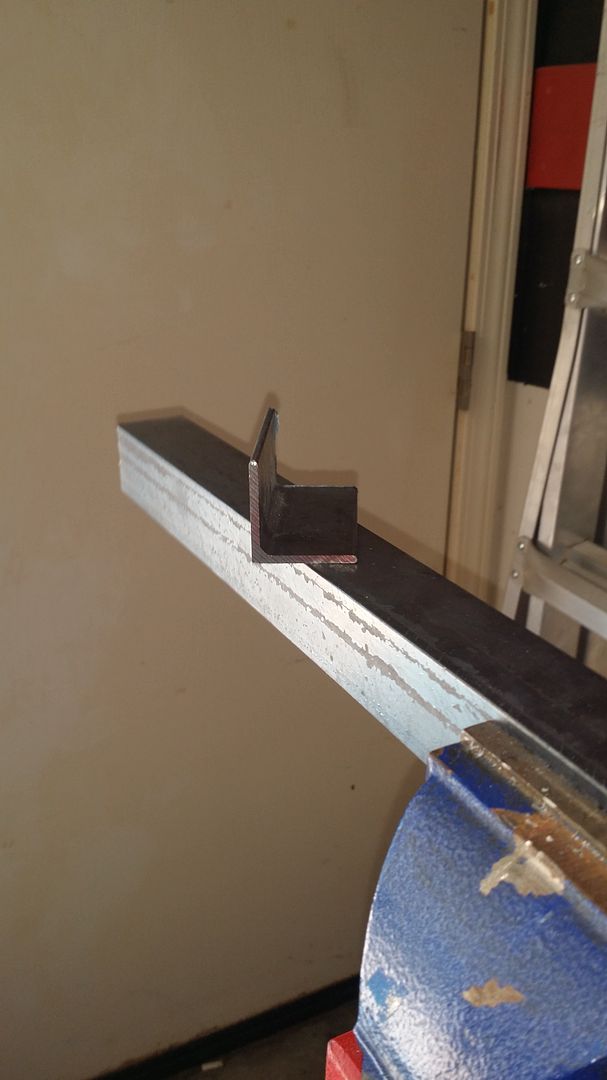
I went to the local hardware store and bought some 1.5 12guage angle iron. I cut off about a 4 inch piece of it.
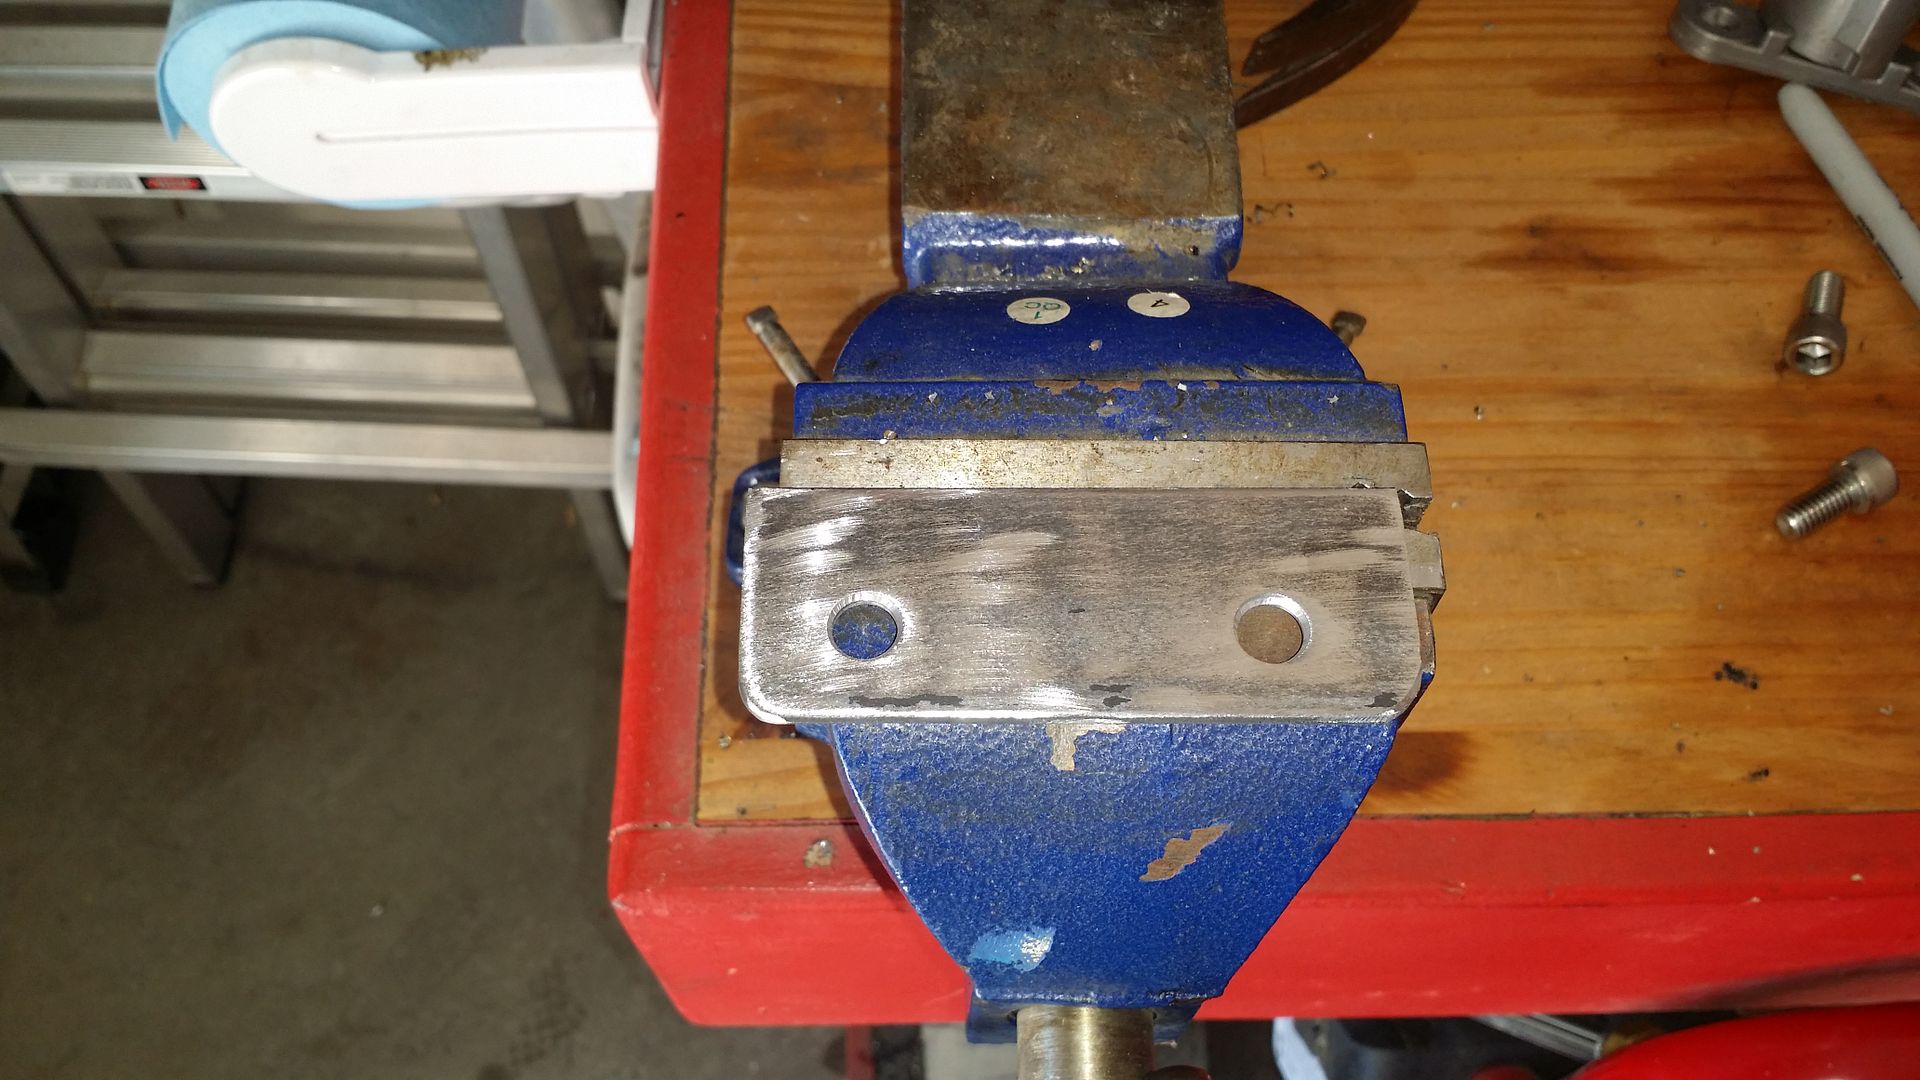
I laid the tensioner on it and marked where the holes would be. I punched the center and drilled them out to fit some 3/8 socket head bolts. I grinded the corners and smoothed everything out with a sanding flap disk on my angle grinder.
Next I found a place on the RSD exhaust mounting bracket where I could mount it. I marked the holes and drilled on the bracket the same way I did on the angle iron.
I had to trim up the angle iron on the exhaust bracket side to shorten it up.
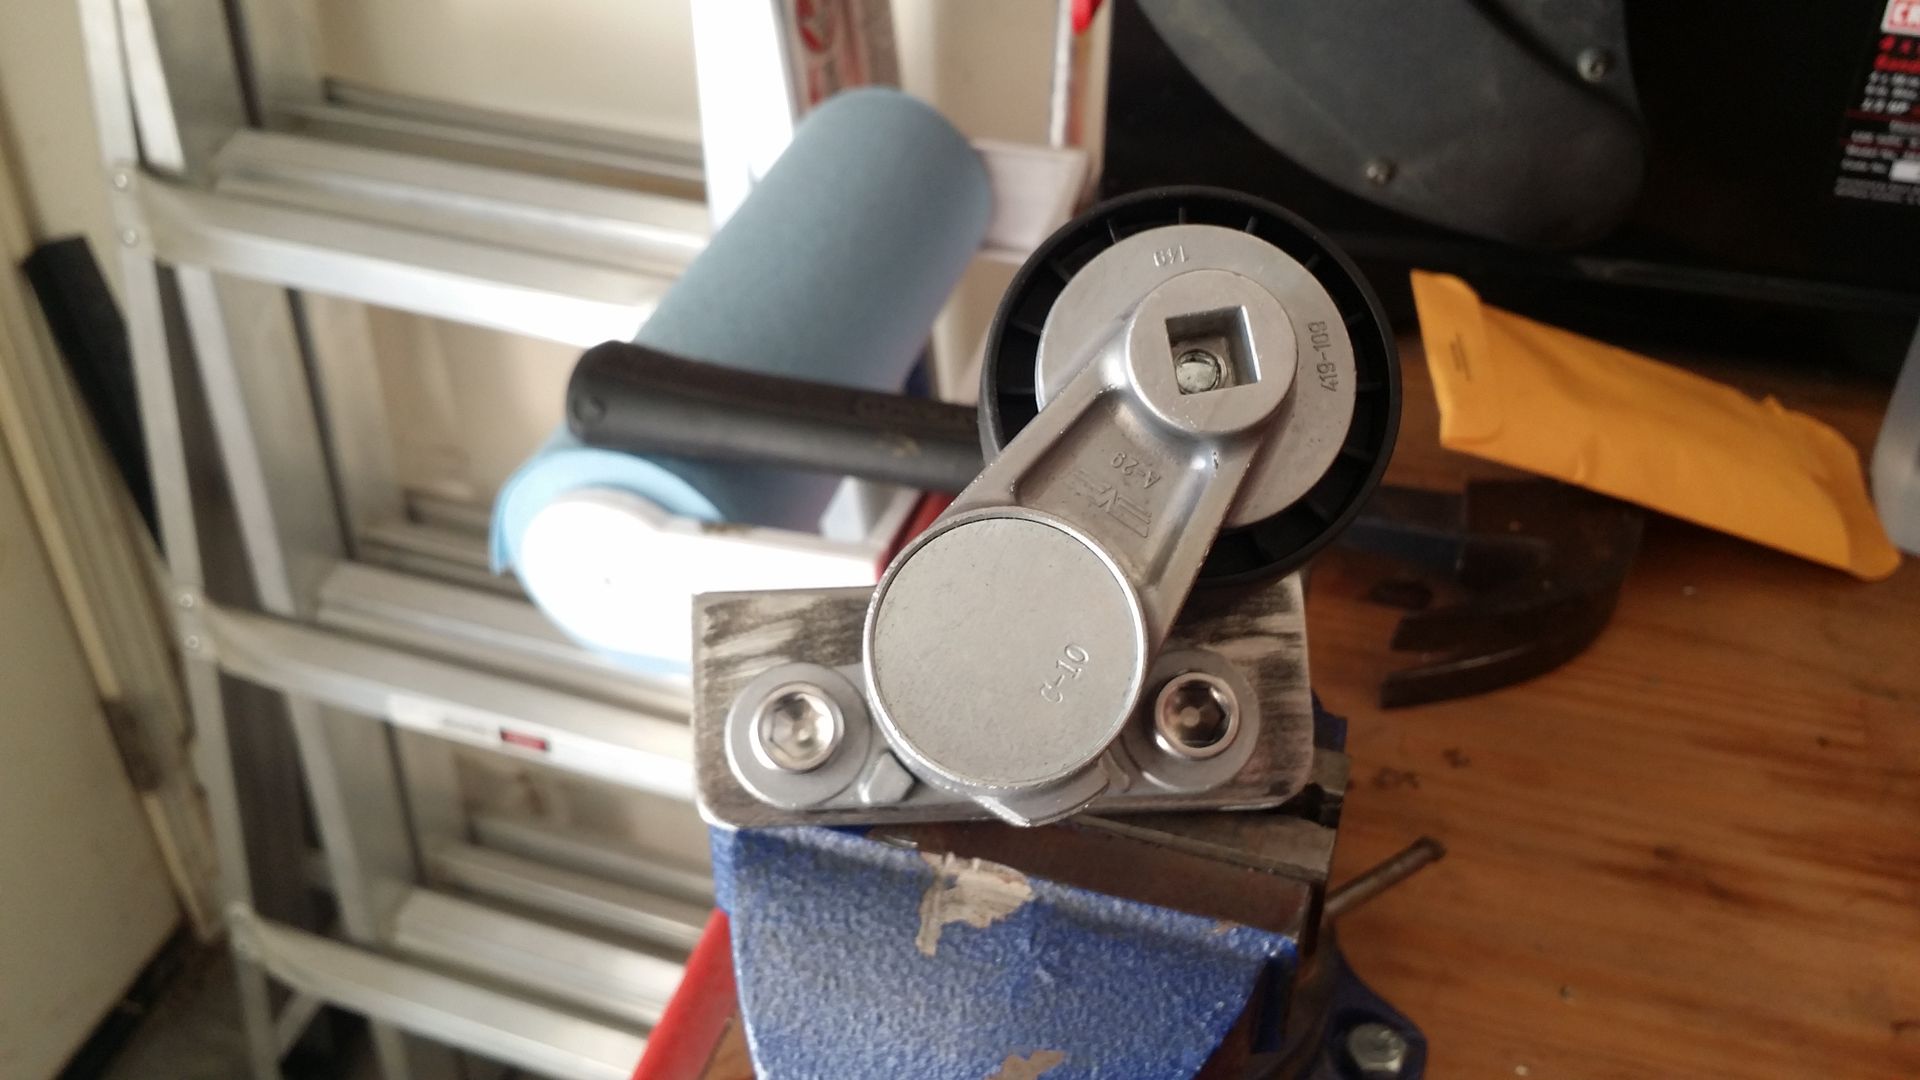
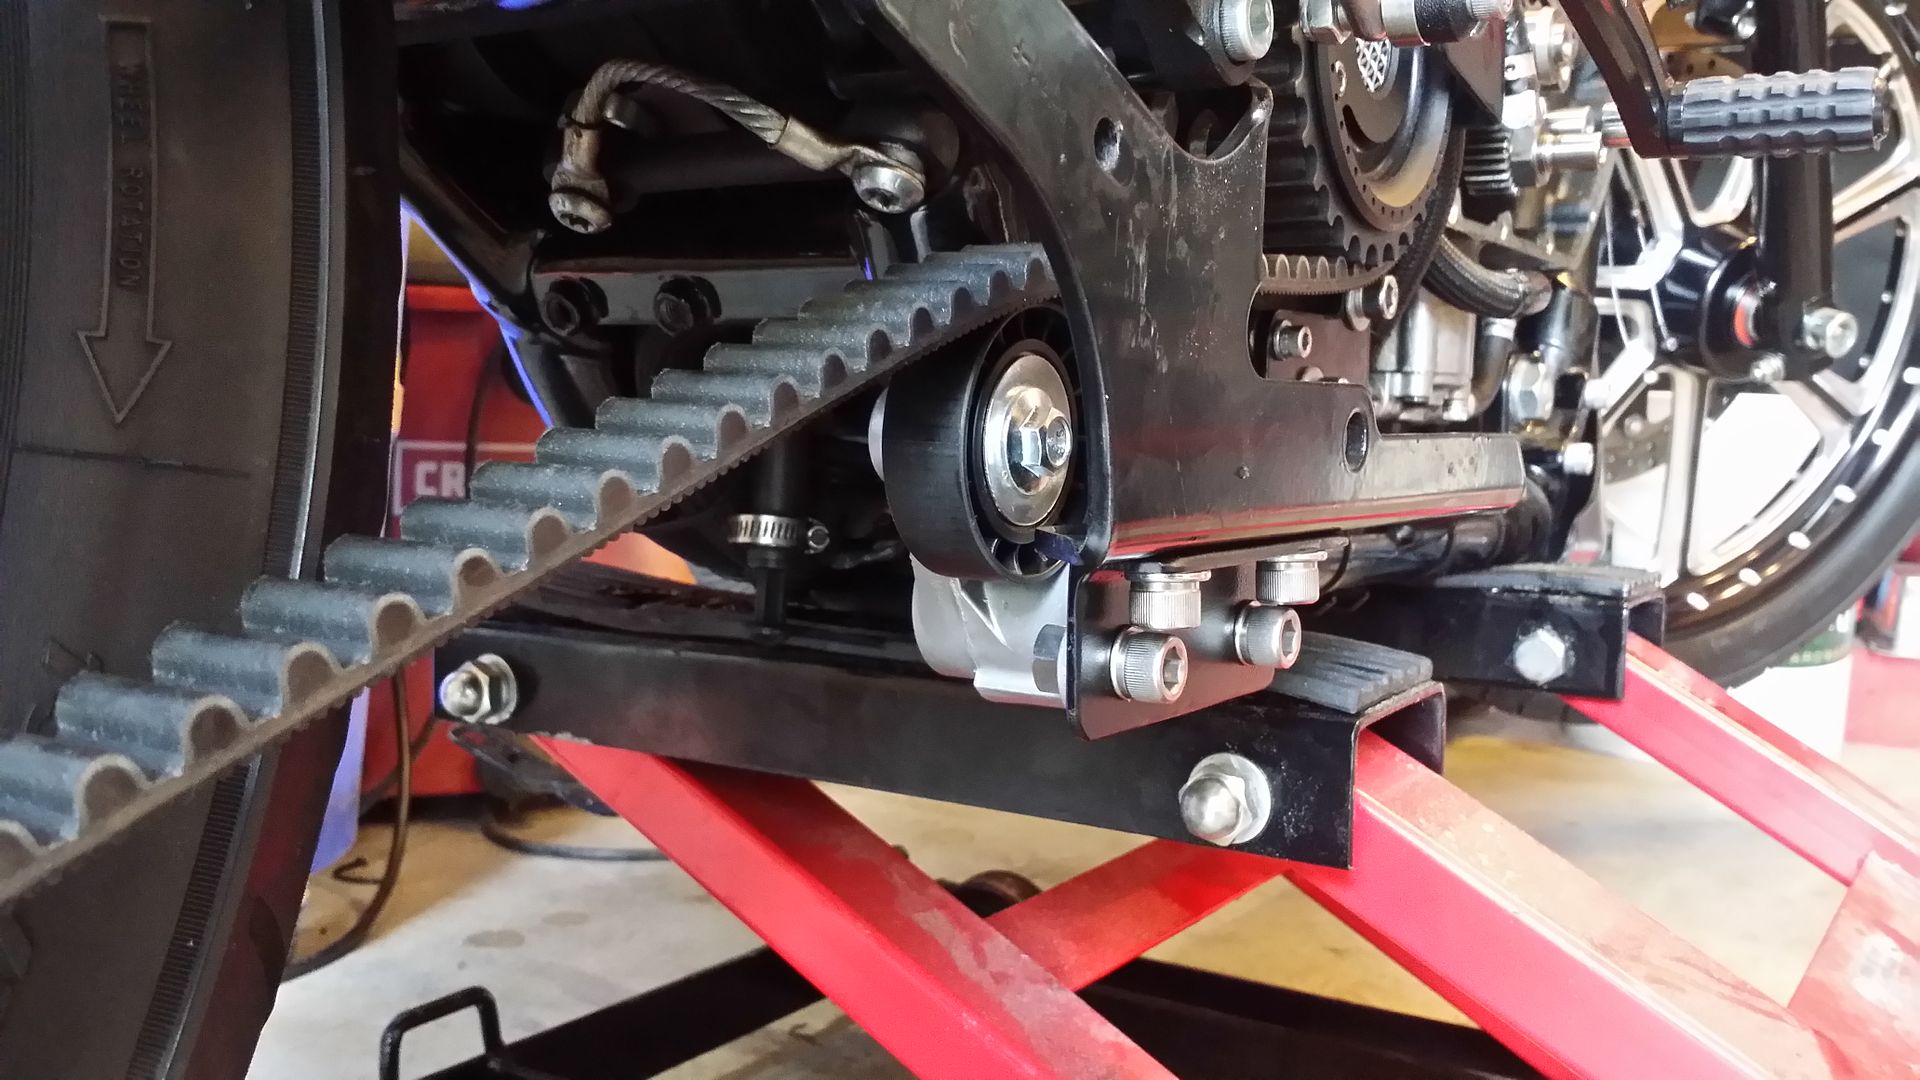
Mounted it to the newly drilled exhaust bracket.
I test fitted everything and it all lined up pretty well.

Painted the bracket up with some satin black rattle can. Mounted it all back up using some red Loctite on the threads.
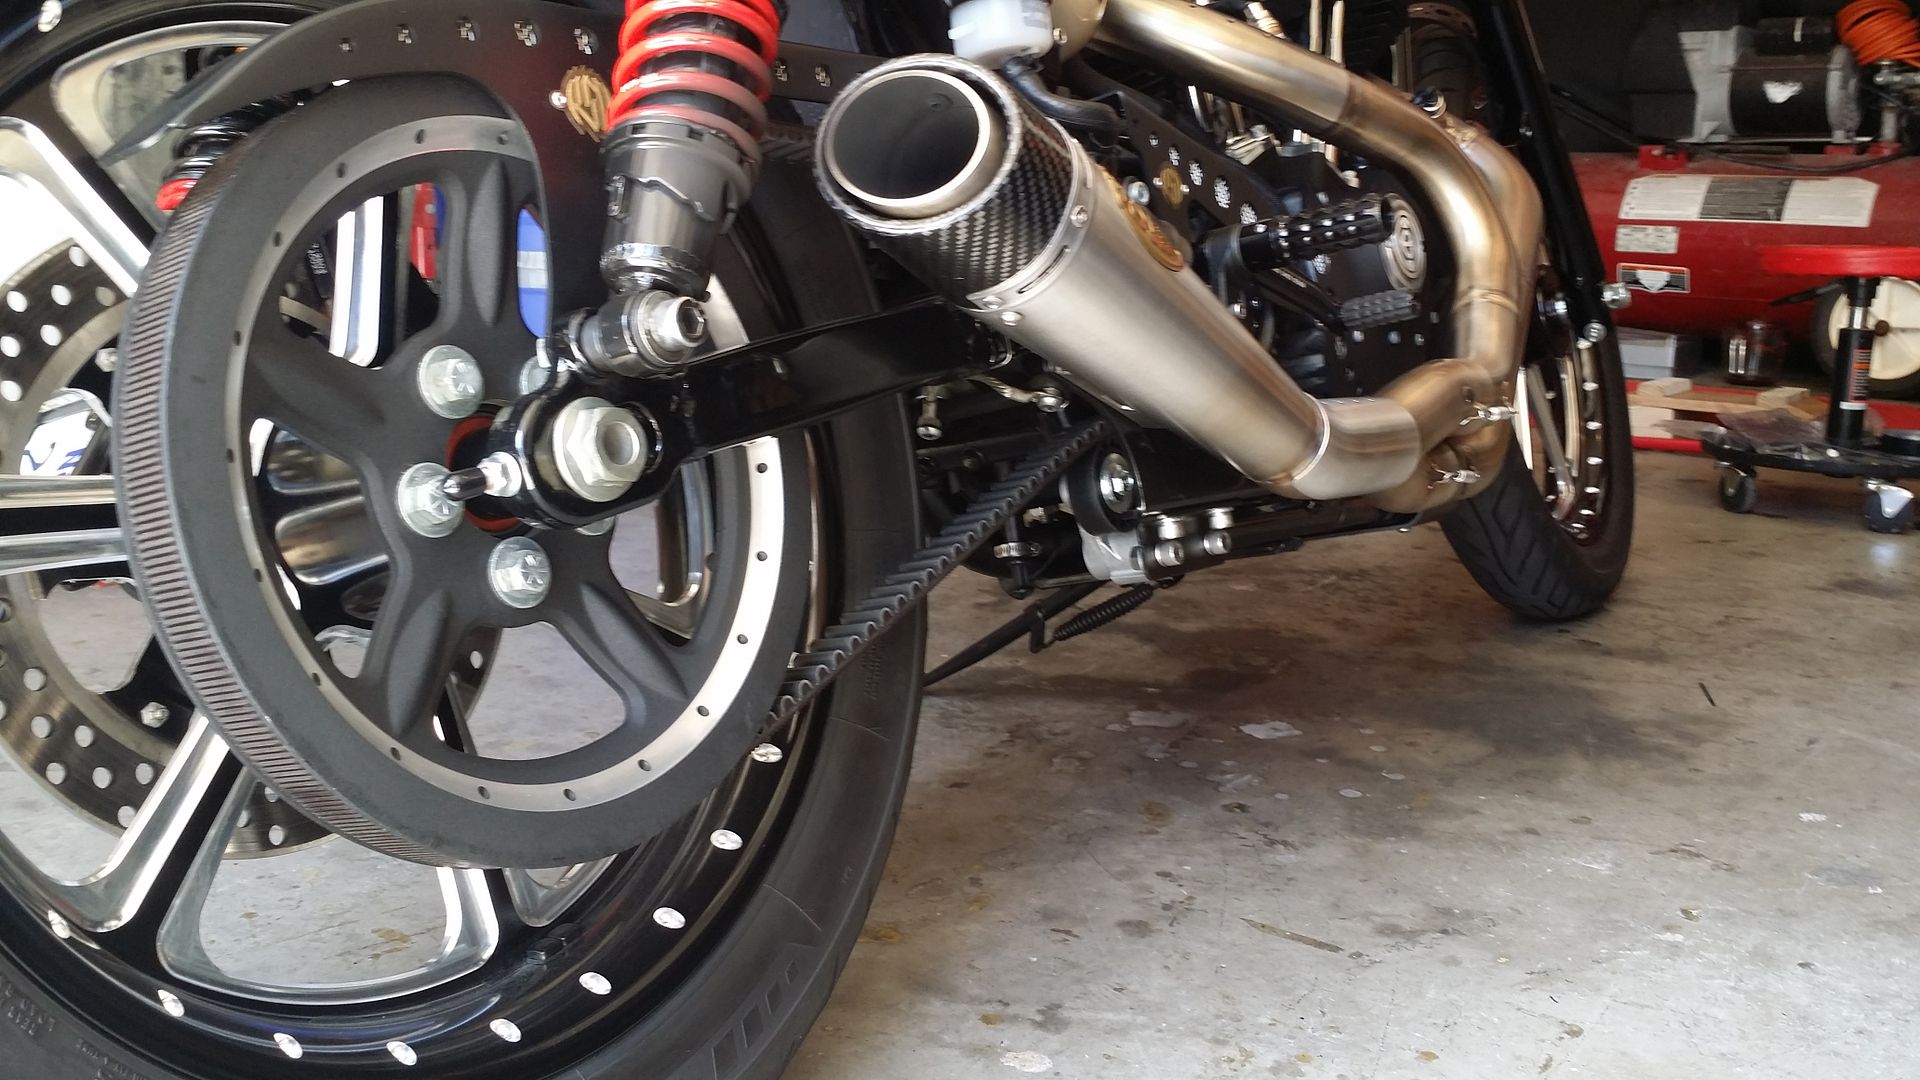
Mounted up the exhaust and we are done!
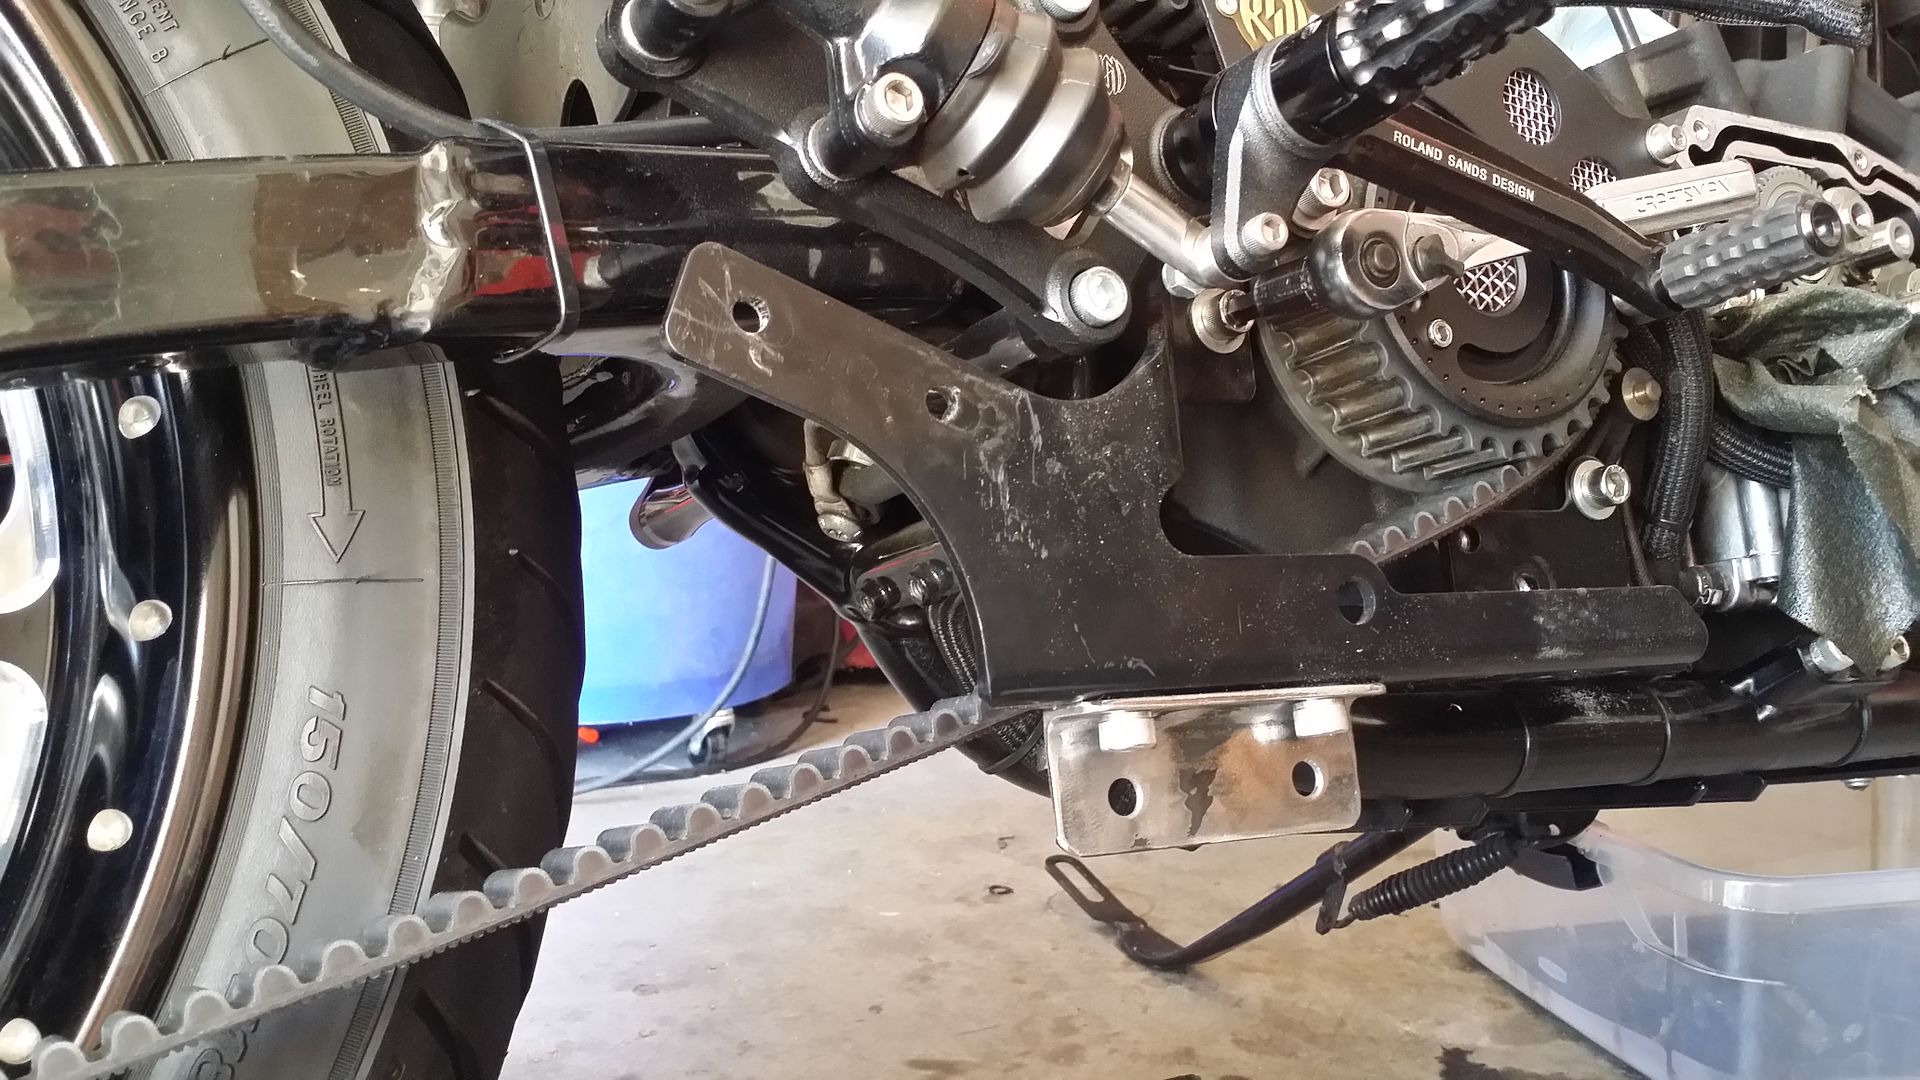
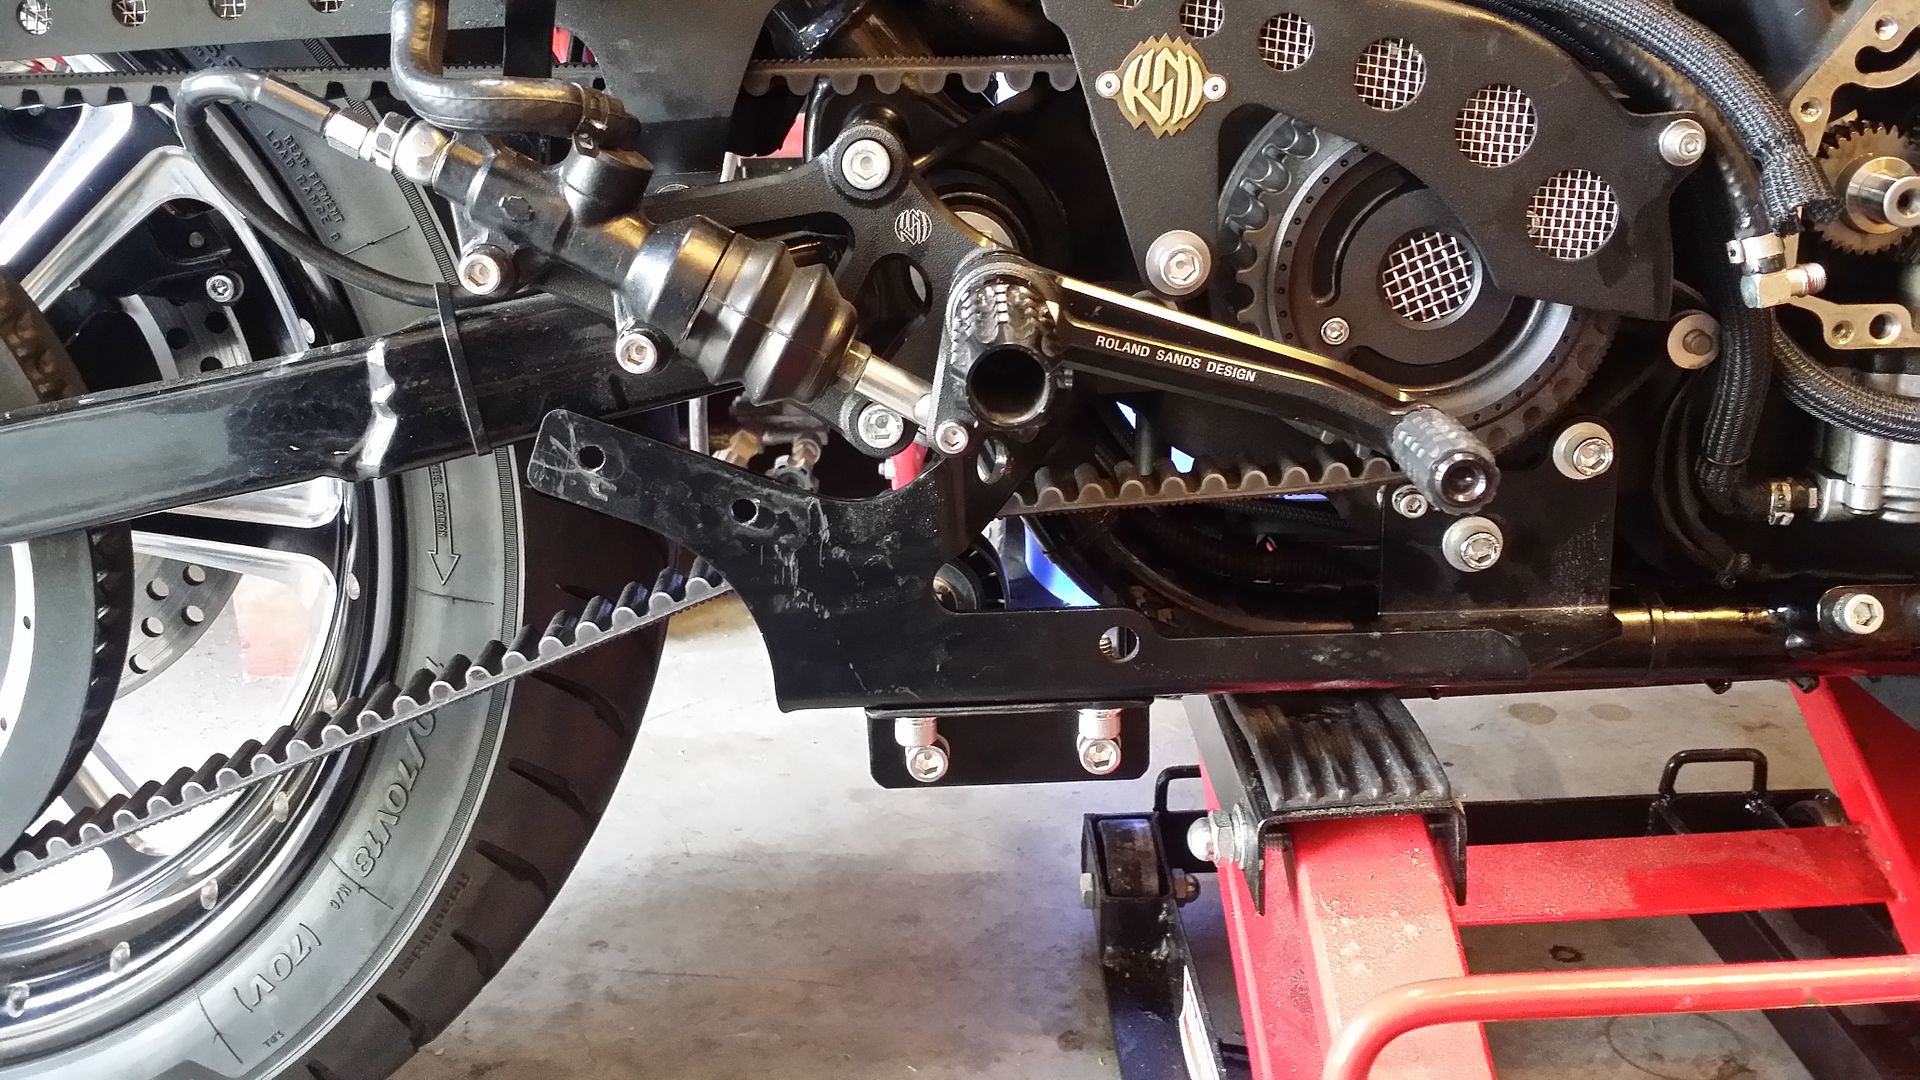
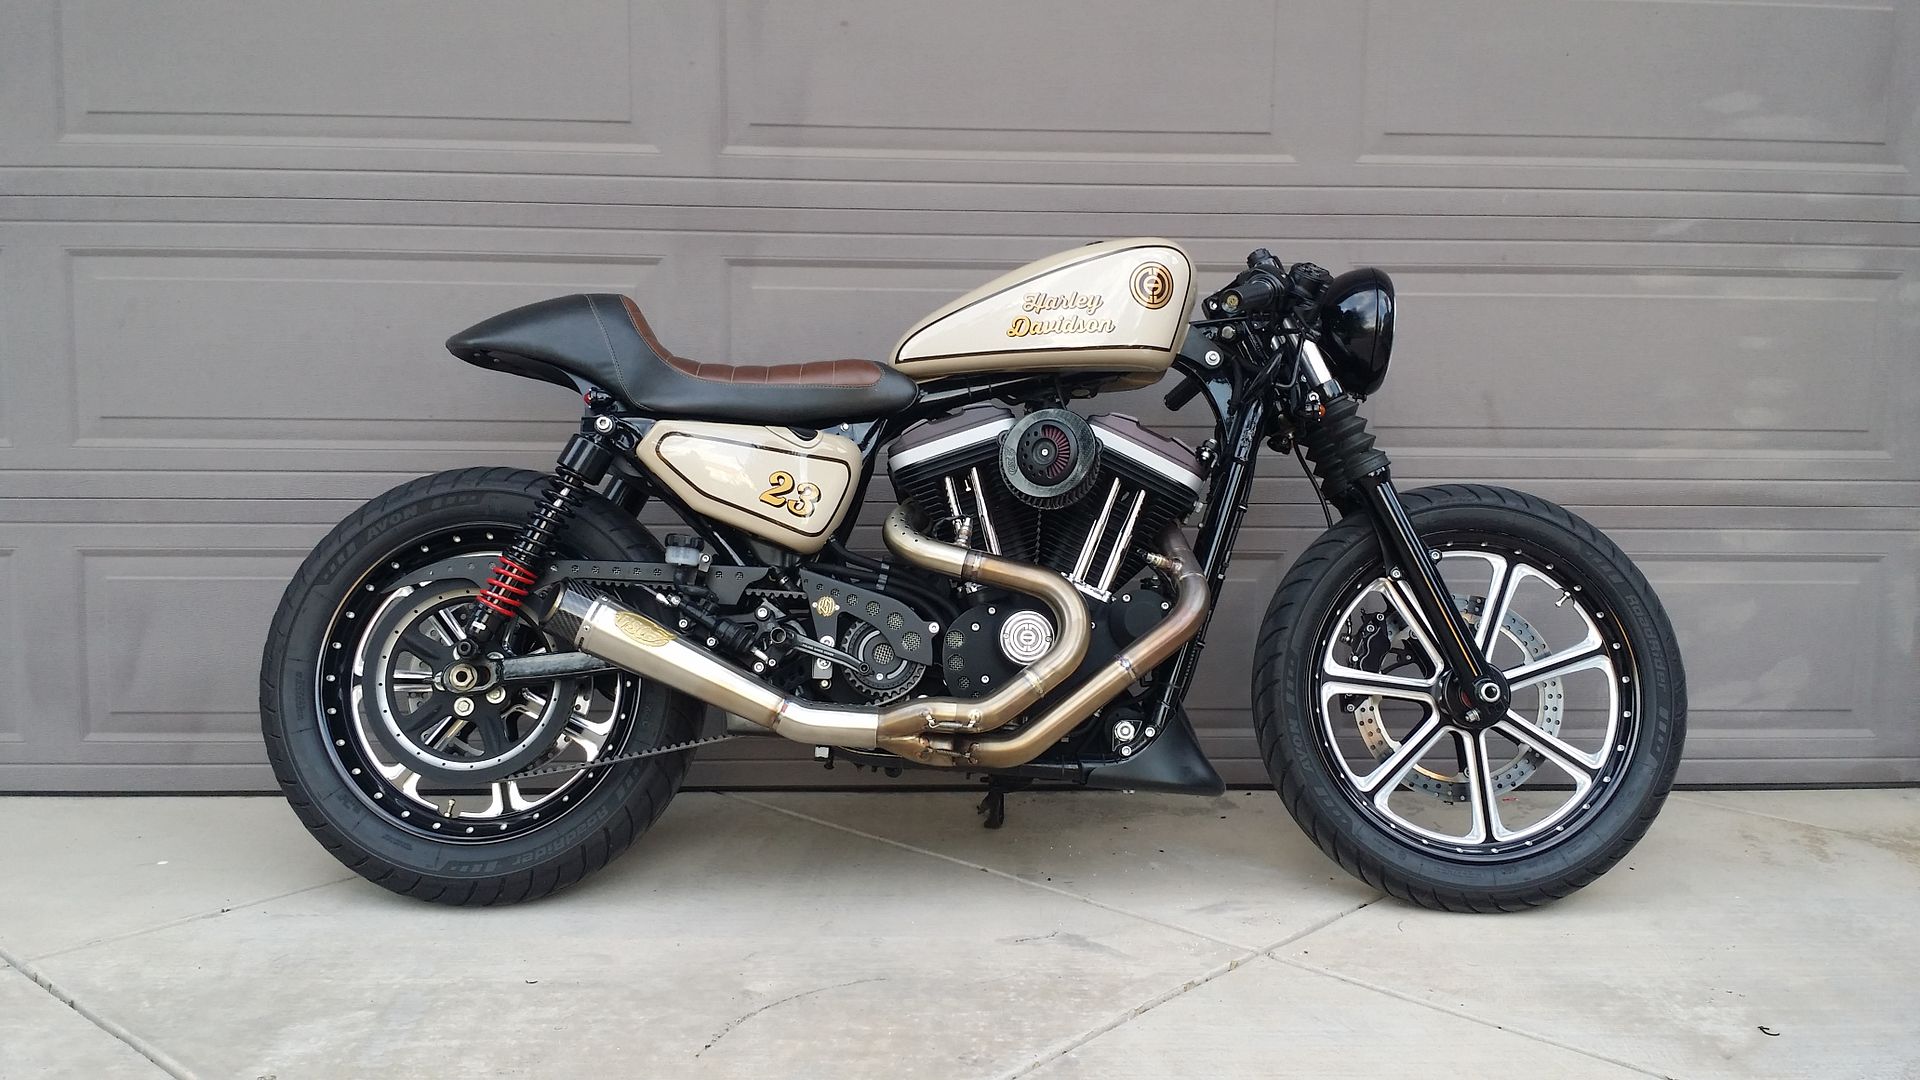
Here is the before:
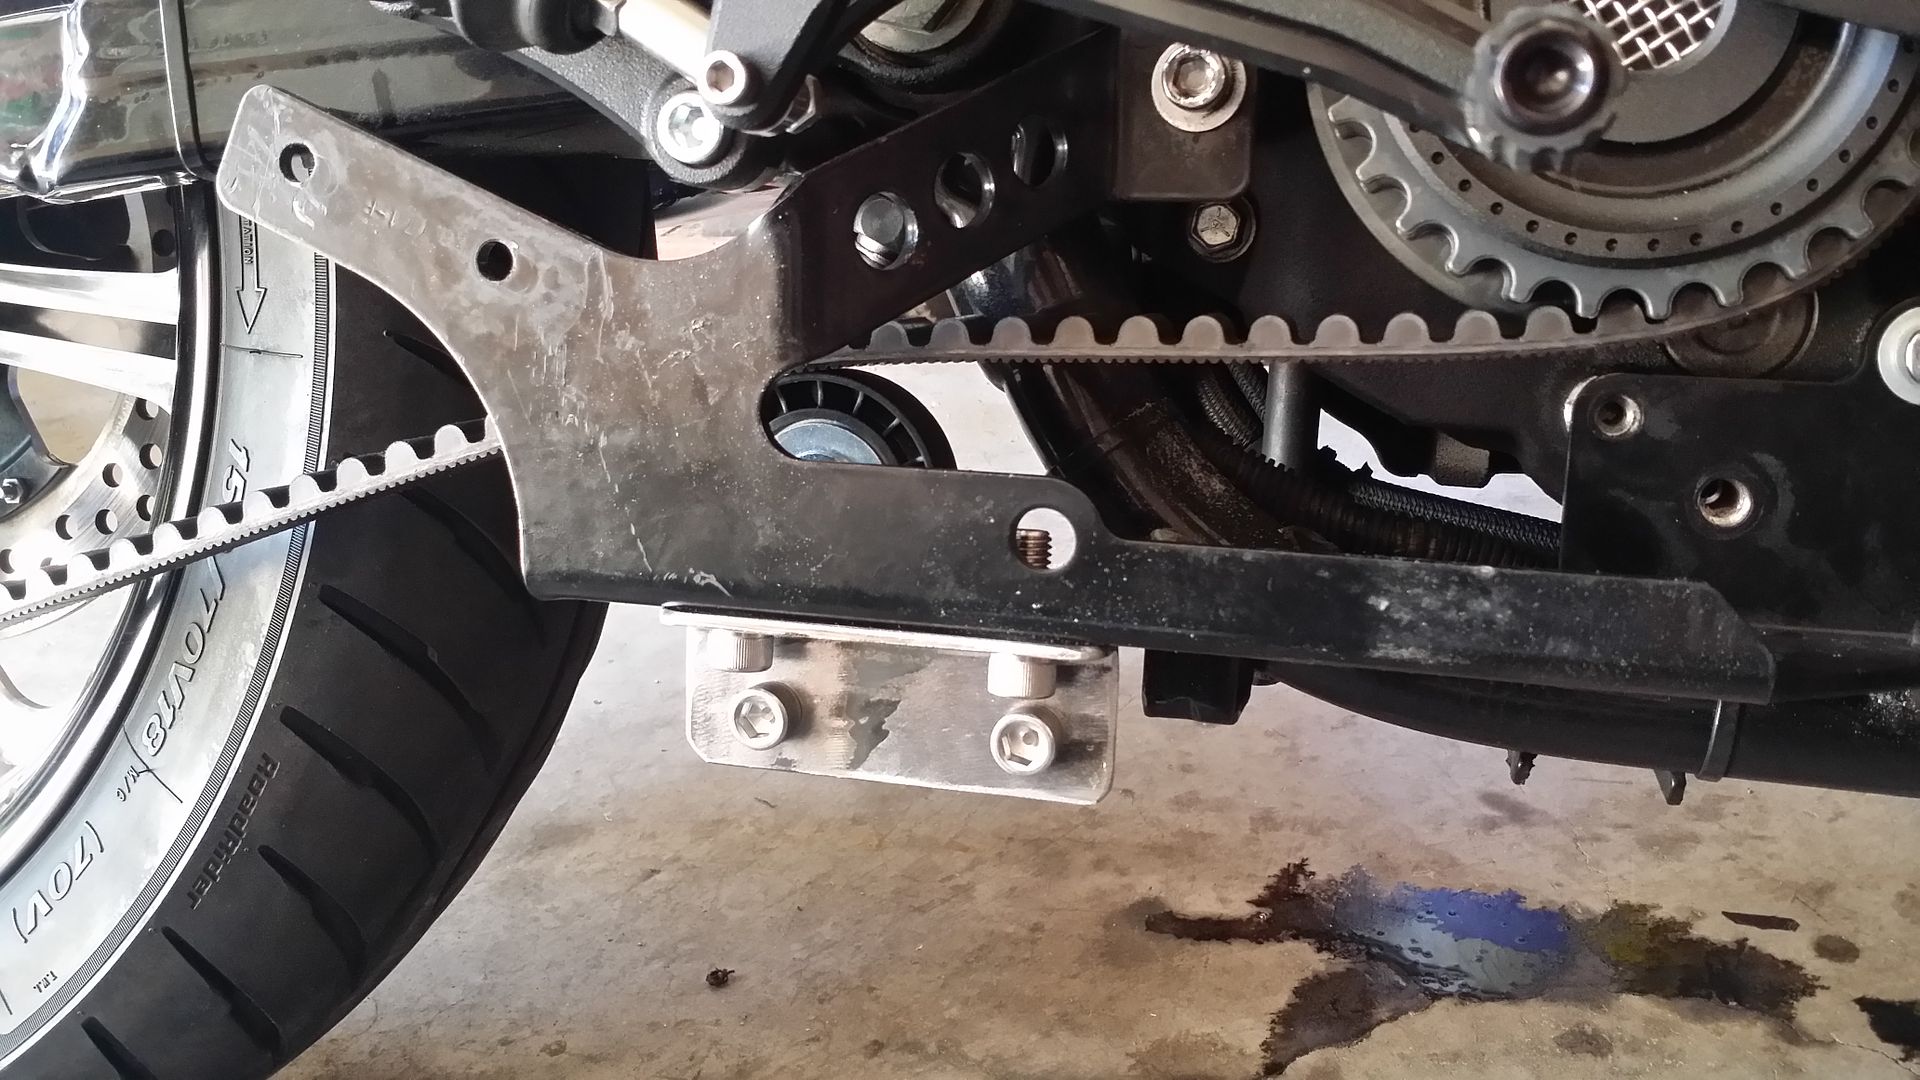
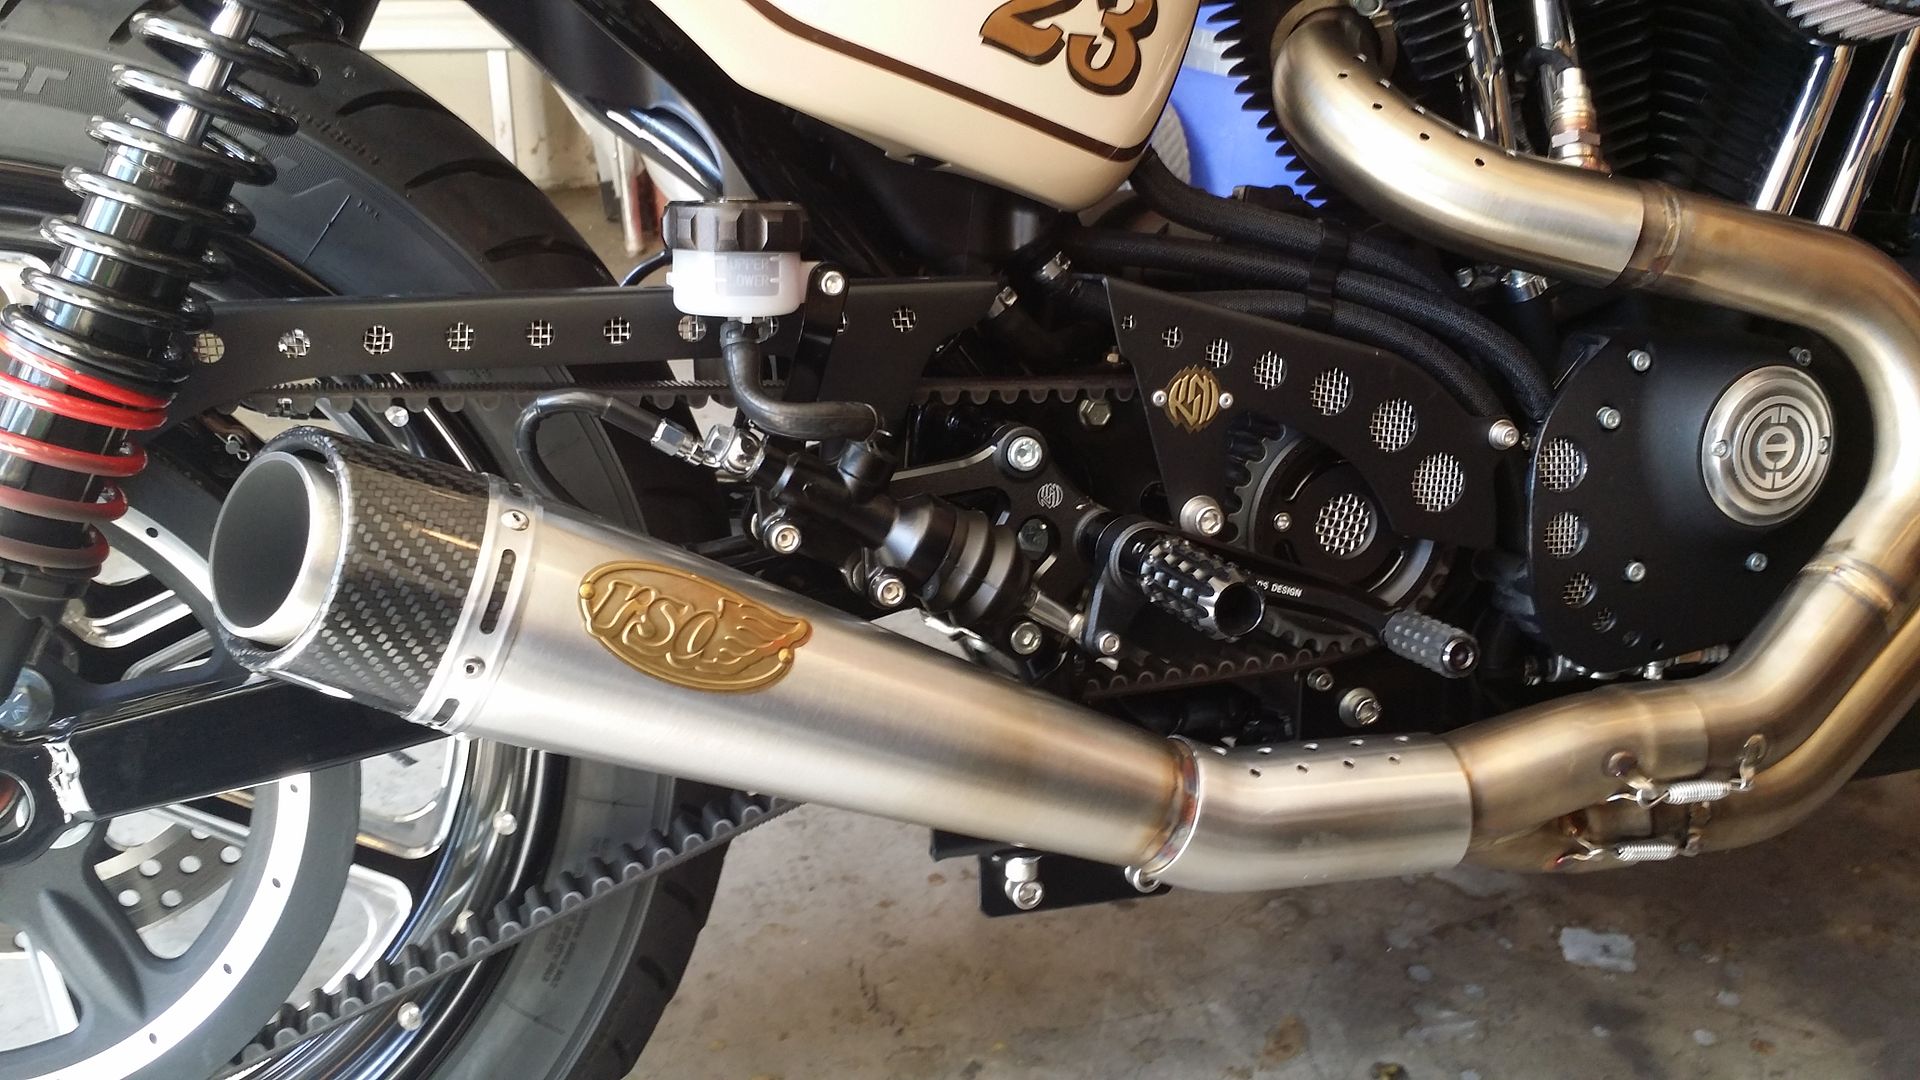
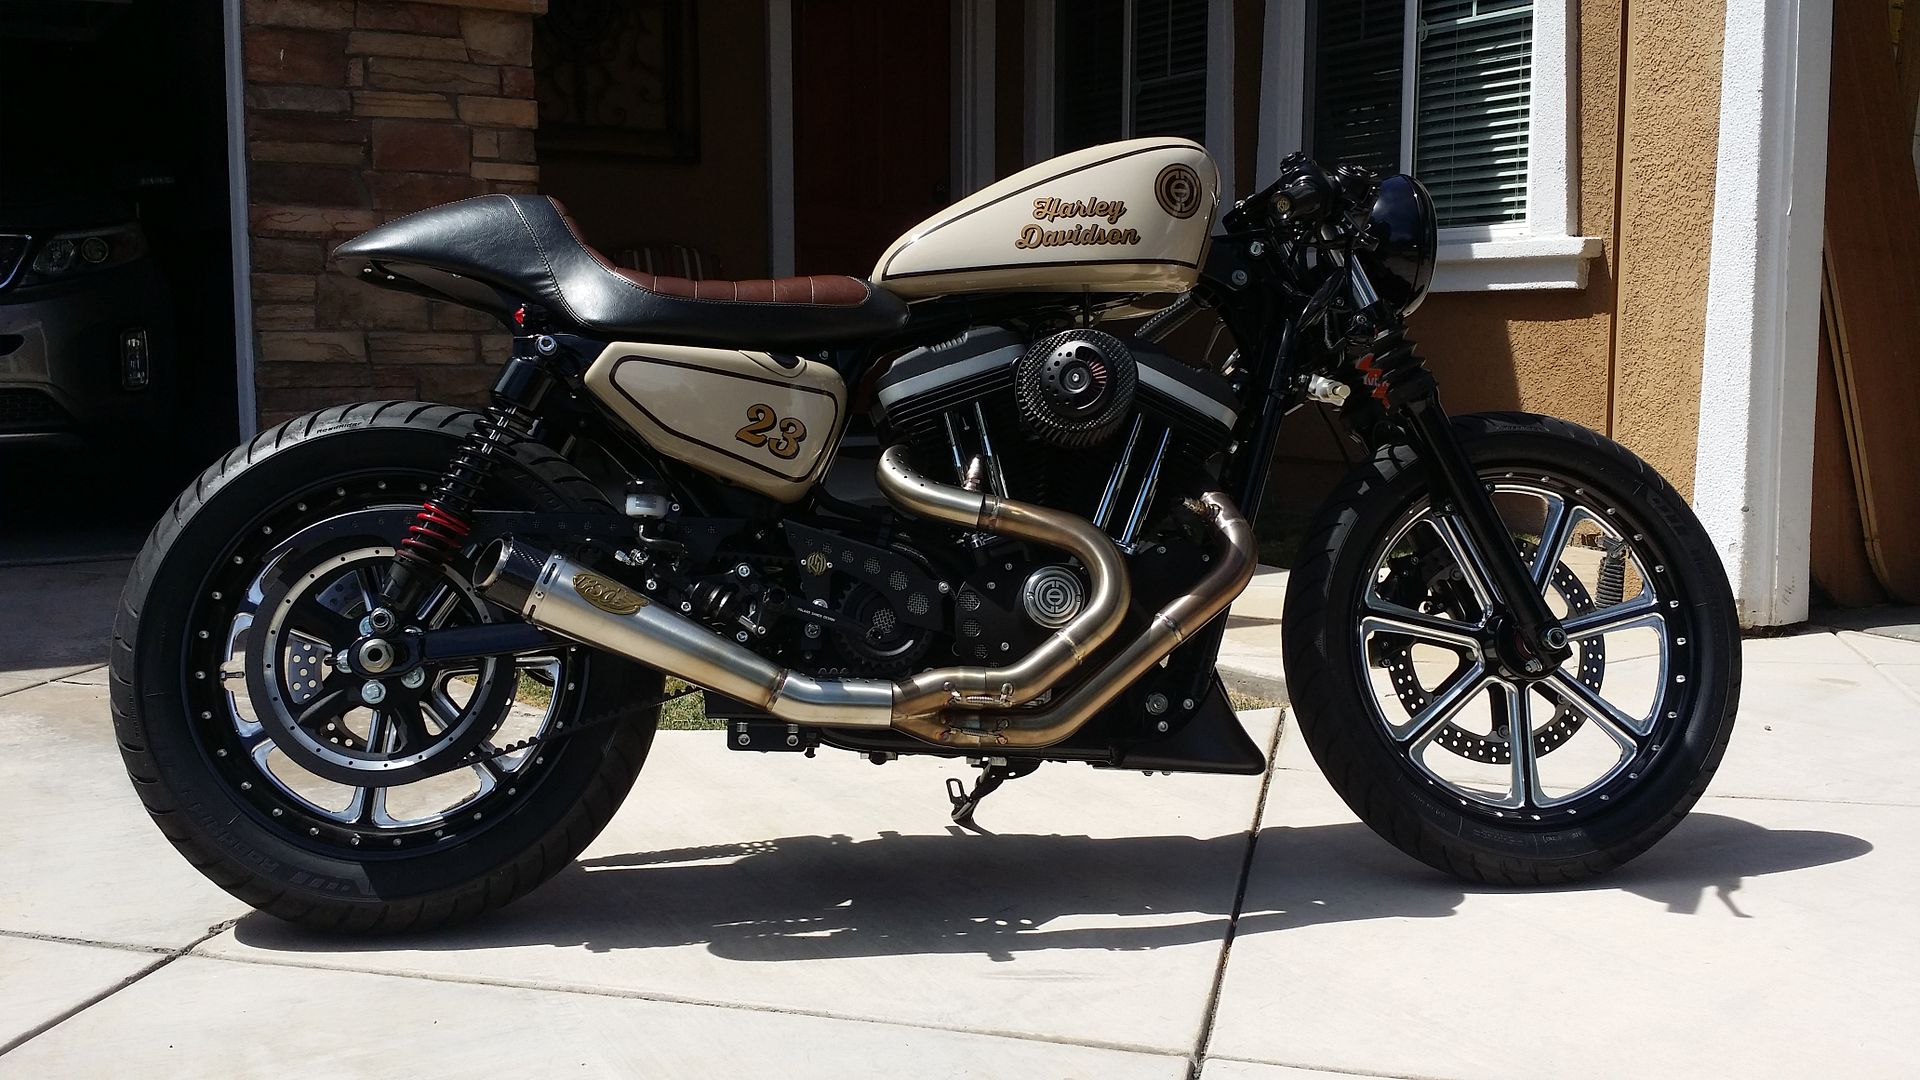
And the After:
It all seems to work really well. The tensioner is spring loaded and all seems to be good for now. I will keep you posted.
Now I know it would be better and arguably easier to have welded a piece of flat bar to the exhaust bracket and accomplish the same thing. Unfortunately I do not have any welding equipment as of yet but when I do I will having a lot of fun making all kinds of stuff.
Hope this helps some of you that have ran into the same problem.
I decided I would definitely need a belt tensioner and started looking for one. Unfortunately I didn't find much. Free Spirits makes a top quality one but it is expensive and uses the same mounts as my RSD exhaust.
I then figured I would try and make something work so here is what I came up with.
I found this Dorman 419-109 belt tensioner for cars on Amazon for $20. The reviews looked good so I figured I would pull the trigger.
When I got it I was pretty happy. It seems to be solidly built and has a very sturdy spring. The only downfall is that the idler pulley is plastic but I guess it doesn't need to be all that strong.

I went to the local hardware store and bought some 1.5 12guage angle iron. I cut off about a 4 inch piece of it.

I laid the tensioner on it and marked where the holes would be. I punched the center and drilled them out to fit some 3/8 socket head bolts. I grinded the corners and smoothed everything out with a sanding flap disk on my angle grinder.


Next I found a place on the RSD exhaust mounting bracket where I could mount it. I marked the holes and drilled on the bracket the same way I did on the angle iron.

I had to trim up the angle iron on the exhaust bracket side to shorten it up.

Mounted it to the newly drilled exhaust bracket.

I test fitted everything and it all lined up pretty well.


Painted the bracket up with some satin black rattle can. Mounted it all back up using some red Loctite on the threads.


Mounted up the exhaust and we are done!


Here is the before:

And the After:

It all seems to work really well. The tensioner is spring loaded and all seems to be good for now. I will keep you posted.
Now I know it would be better and arguably easier to have welded a piece of flat bar to the exhaust bracket and accomplish the same thing. Unfortunately I do not have any welding equipment as of yet but when I do I will having a lot of fun making all kinds of stuff.
Hope this helps some of you that have ran into the same problem.
#4
08-29-2015, 07:39 PM
#5
08-29-2015, 09:56 PM
I don't know about that but thank you very much.
Absolutely...hope it works out for you as well. Your post is what made me realize the free spirits would not work for me so thanks for saving me the money.
Absolutely...hope it works out for you as well. Your post is what made me realize the free spirits would not work for me so thanks for saving me the money.
#7
08-30-2015, 02:33 AM
Road Master
 If the plastic wheel did bother you, dirt bike ones will be made of harder material (nylon?) if it would fit on?
Trending Topics
#8
08-30-2015, 02:53 AM
Yea I am not too worried about it. It is after all being used to tension a belt. Plus I over simplify by saying it is "plastic". The specs actually say "Polyamide 6.6 With 30% Glass Fiber Fill".

Thread
Thread Starter
Forum
Replies
Last Post
code3smith
Sportster Models
1
08-29-2013 08:03 PM