I just finished wiring my 12" Yaffee Bagger Bars this weekend. I went +4 on both the brake and clutch cable. I did extend my wires some. I bought the Namz 12" wire harness kit. I also purchased the Screamin Eagle Twist Grip Sensor (http://www.harley-davidson.com/store/twist-grip-sensor). These wires do not have to be extended. I prefer to have the wires soldered. I really only extended the wires about 6"-7". I varied the splice location so didn't end up with a bulge in one spot. Making a nice clean solder is very important. Here a video on how to do a nice clean solder.
I used 1/8" heat shrink to cover the solder joints. Next I prep'd for feeding the wires through the bars. I first tried ceiling fan chain I had seen in other posts but it broke very easy. Here is the items I used for feeding the wires. I bought all the items at Lowes.
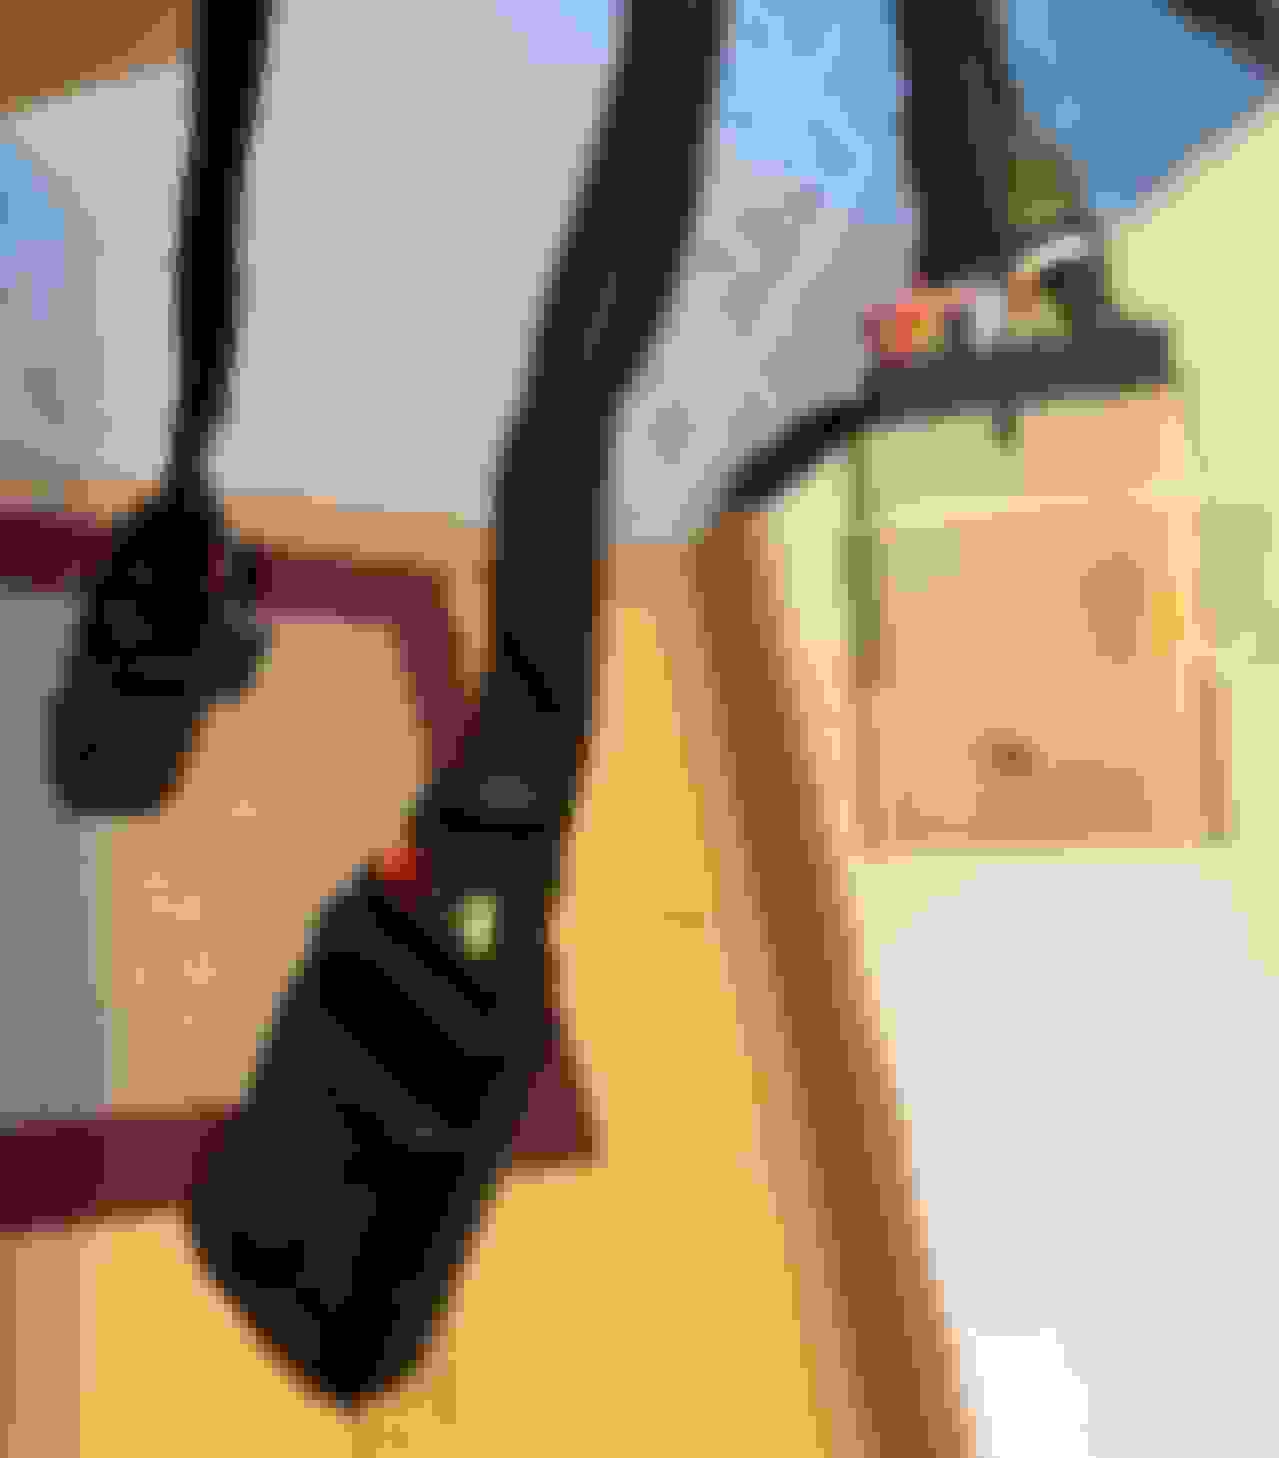
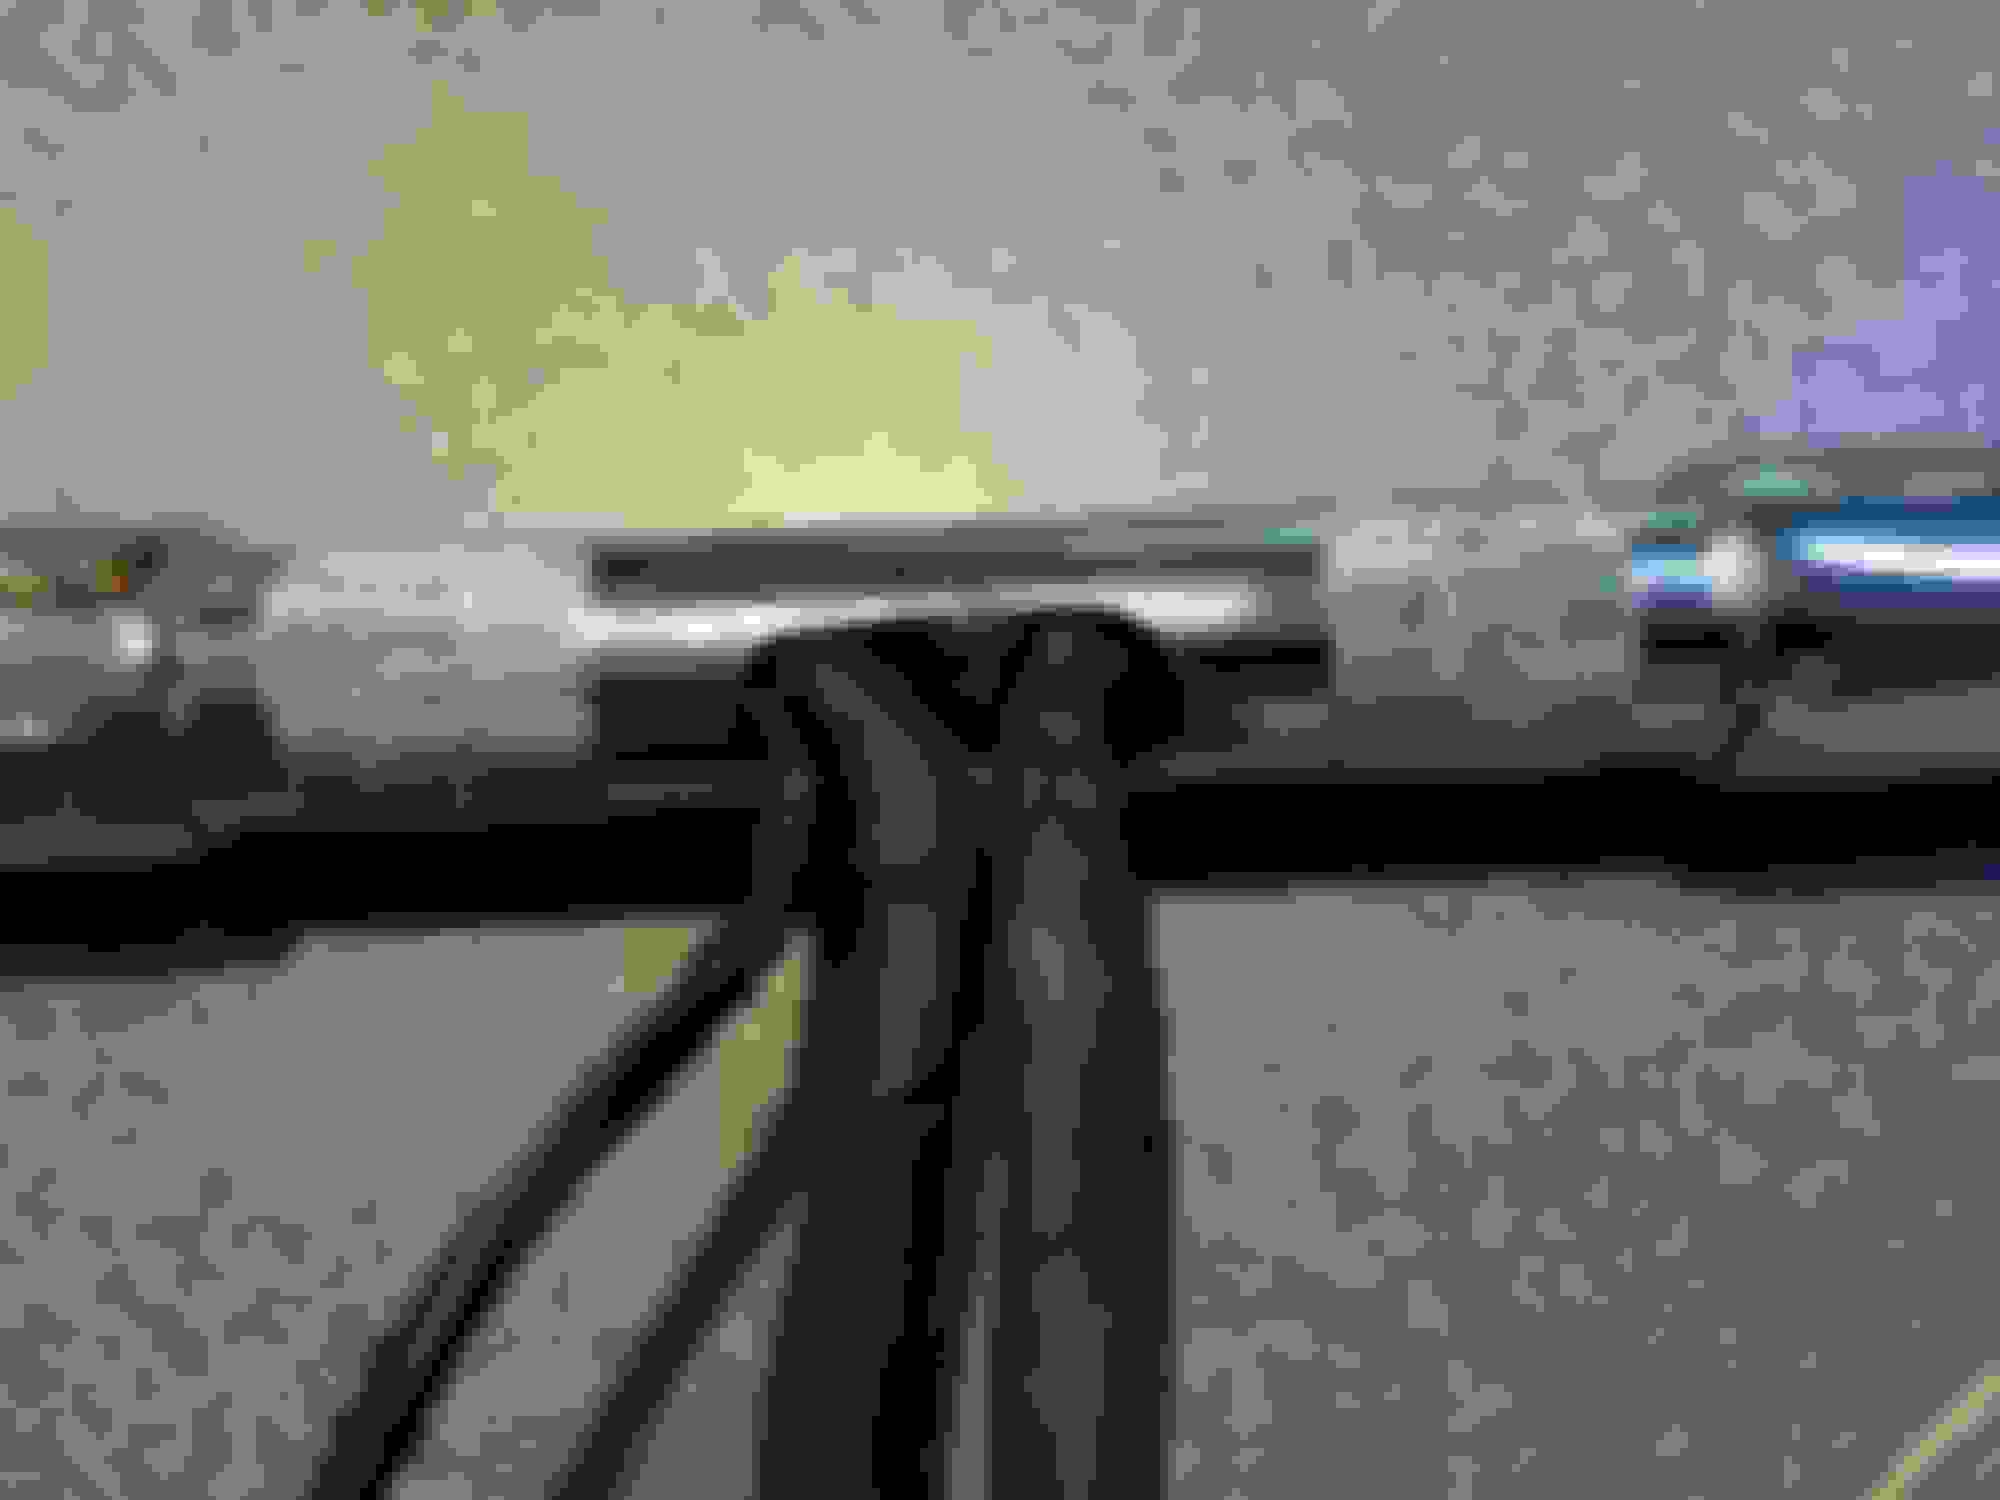
I watched the BR Customs How To Videos (http://www.brcustomcycles.com/HOW_TO_VIDEOS_FROM_BR.php) a few times before starting. I followed how he did it. I did no more than 3 wires together at one spot. The put the next set of 3 wires about 1/2"-3/4" above the first 3 wire spot and so on. You have to make sure you do not have any large bulge areas. The clutch side went through very easy and quick. I had that wire bundle through within 5 minutes. The brake side took longer as it is a couple more wires. As the videos say, it is more about pushing the wires through then pulling them through. Take your time. I did not run the heated grip wires through. However I did cut the two heated grip wires in half and tucked the remaining wire in the handlebars so if ever did want to add it, I could just solder extension wires on. Lastly after all the wires where through I put heat shrink over the wire bundles for a nice clean look and help protect the wires. I used 1/2" heat shrink for the two large wire bundles and 1/4" for the twist grip sensor wire bundle. I purchased the heat shrink at Radio Shack. I did not shrink the heat shrink down until I had all three connectors installed. Make sure your push some of the heat shrink in to the bar area to help prevent chaffing where the wires come out of the bars. Last step, I used a heat gun and made the job look nice. Make sure you take a few pictures and also write down how the wires go in to the connectors. It will save you a ton of heart ache later. Here is what my final product looked like.

 02-15-2015, 11:10 AM