Harley Davidson Softail: How to Replace Air Filter
If your Softail seems to be bogging down or sputtering you may have a dirty air cleaner. Learn how to replace yours.
This article applies to the Harley Davidson Softail.
Are you ready for some routine maintenance work on your Softail? Are you a little nervous about doing any work on your baby because you don't have much significant mechanical skills? No worries, routine maintenance on your Softail is about as easy as they come. Changing out your air filter is arguably the easiest maintenance job you'll ever do, aside from polishing your pipes. Don't sell yourself short and think that you have to take your ride to a pro to do this for you. Anyone with the mechanical skills of a marshmallow can replace the air filter and save a serious amount of cash by doing it themselves. Keep that money in your wallet and follow this guide to learn how you can do this simple DIY job in the comfort of your own home.

Materials Needed
- 5/16" Allen wrench
- Torx bit driver with T27 bit
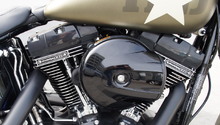
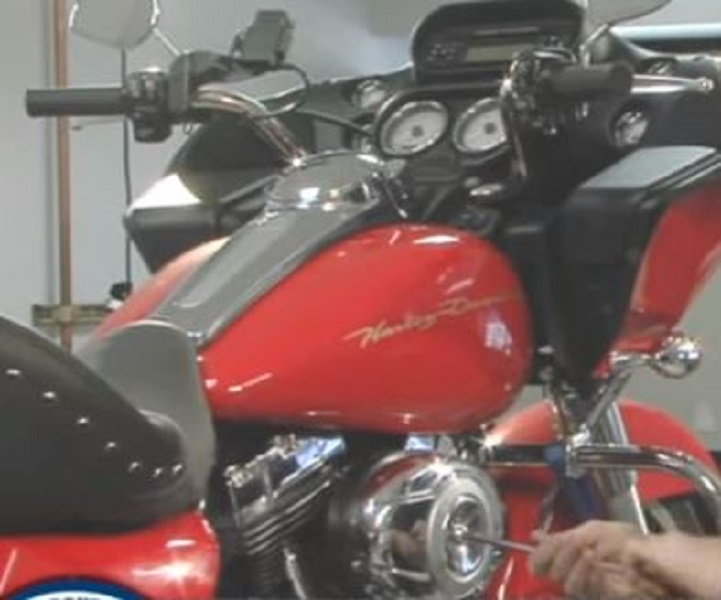
Step 1 – Remove air cleaner cover
With a 5/16" Allen wrench, remove the single center bolt of the air box cover and set it aside.
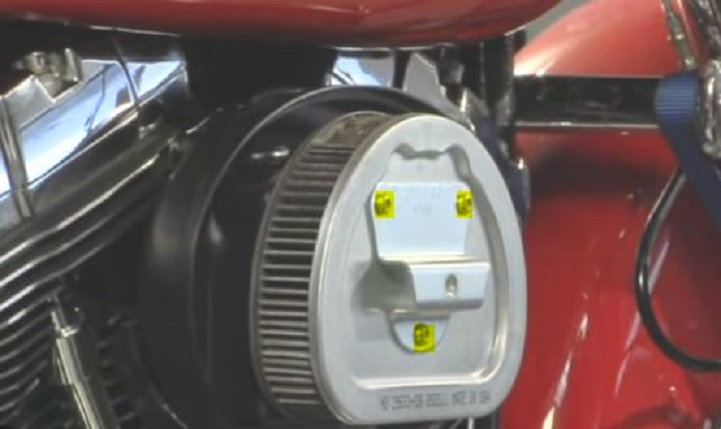
Step 2 – Remove air filter retaining plate
When you pull the air box cover off, you'll see the filter held in place by a retaining plate, which is mounted with three T27 Torx screws. Take your Torx bit screwdriver and remove each of the three T27 screws.
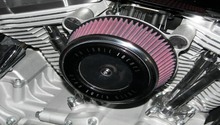
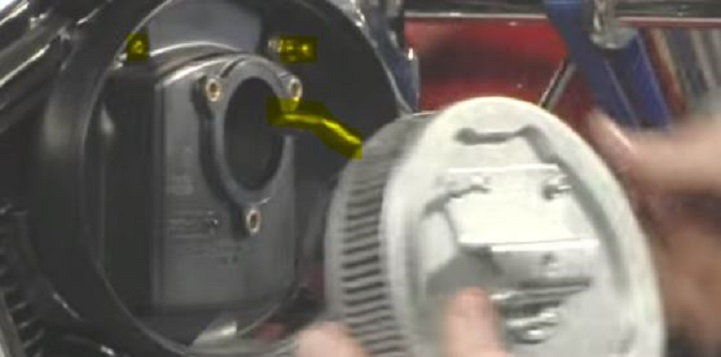
Step 3 – Remove air filter
After the three T27 screws are removed, the air filter will pull straight out, but you must disconnect two hoses on the backside of the filter that connect to the breather valves. Once the tubes are pulled off the breather valves, the filter is free to set aside. (You will need to re-use the breather hoses.)
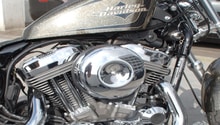
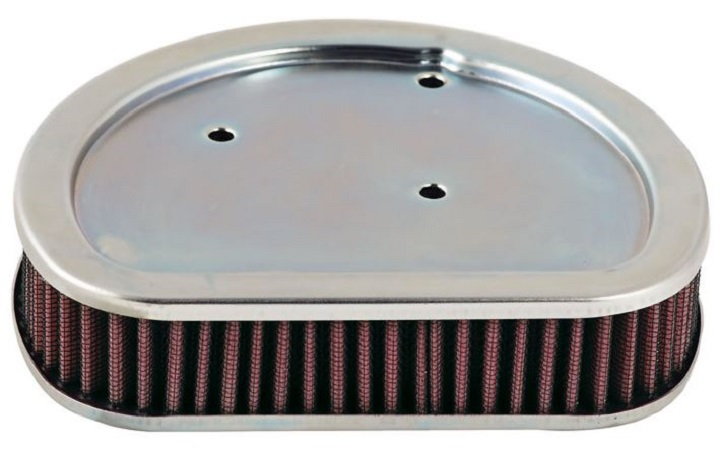
Step 4 – Install new air filter
When you are ready to install the new air filter, you will need to connect those breather tubes to it first. Disconnect the two breather hoses from the back of the old filter and attach them to the new air filter before installing the new filter into the air box. When you insert the new air filter, connect the other end of the breather tubes to the breather bolts inside the air box. Replace the three T27 Torx bolts with the retaining clip and tighten down securely, but don't over-tighten them.
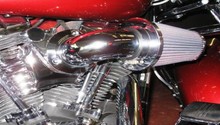
Pro Tip
With the fairly hefty cost of the OEM air filters, many Softail owners will upgrade to a cleanable, rechargeable air filter such as the K&N brand. These cost quite a bit more; however, they rarely need to be replaced and only need to be cleaned every 50,000 miles. If you go this route, you will likely need to replace the air box as well with an aftermarket model that matches the air filter you purchase.
Step 5 – Replace air box cover
After the new air filter is installed and the retaining clip is re-mounted via the three T27 bolts, there's nothing left but to button her back up and go for a ride. Put the cover back in place and tighten the 5/16" Allen bolt just slightly past hand-tight. Now go take that ride.
Featured Video: How to Remove Stock Harley Air Cleaner
Related Discussions
- How Often Do You Clean and Recharge Your Air Cleaner? - HDForums.com
- Replacement Air Filter Question - HDForums.com
- Softail Slim Air Cleaner - HDForums.com