Harley Davidson Touring: How to Replace Side Mirror
Whether your side mirror has broken or you want to install aftermarket ones on your Harley Davidson Touring, this article will show you how.
This article applies to the Harley Davidson Touring (2000-2015).
The Harley Davidson Touring is a large bike, having proper side mirrors are crucial for your safety. Whether you want to replace your mirrors because they broke, or you want custom aftermarket ones, this guide will assist you in doing so. The dealership has been known to charge up to $100 for this procedure, not counting the cost of the parts. Once you read this article, you will understand why you should do this process on your own. Read on to learn how to change the side mirrors on your Harley Davidson Touring.

Materials Needed
- Allen wrenches
- Wrench or socket and ratchet
- Torx head socket with extension
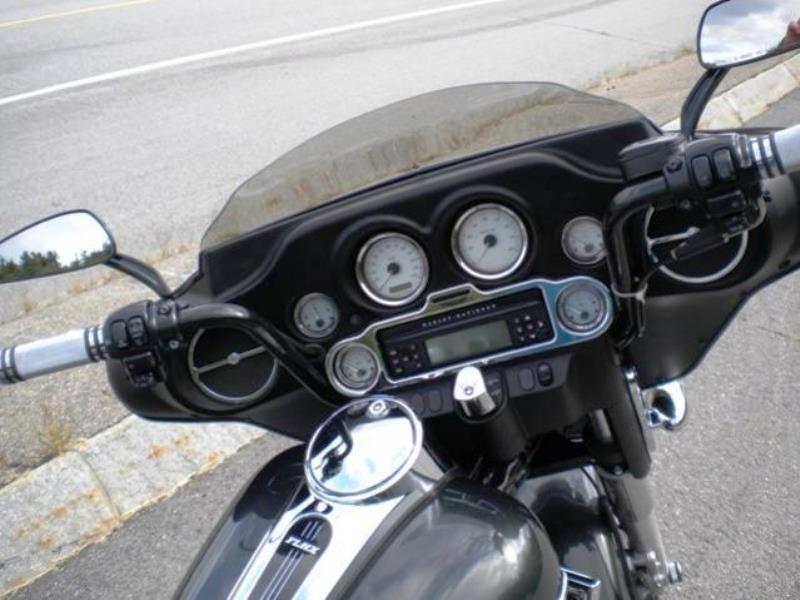
Harley Davidson Touring models vary widely, but there are only three differences that matter for the sake of changing a mirror. There are old school "cop bike windscreen" models like the current Road King, batwing fairing models like the Street Glide, and frame mounted fairings like the Road Glide. If your bike has the big frame mounted fairing, or the minimal windscreen, you most likely have mirrors mounted to the handlebars. Batwing fairings typically have the mirrors mounted to the outside edges of the fairing.
If you have mirrors mounted in a batwing fairing, just skip down to the second section.
Handelbar Mounted Mirrors
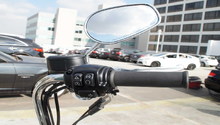
Step 1 – Remove pinch bolt
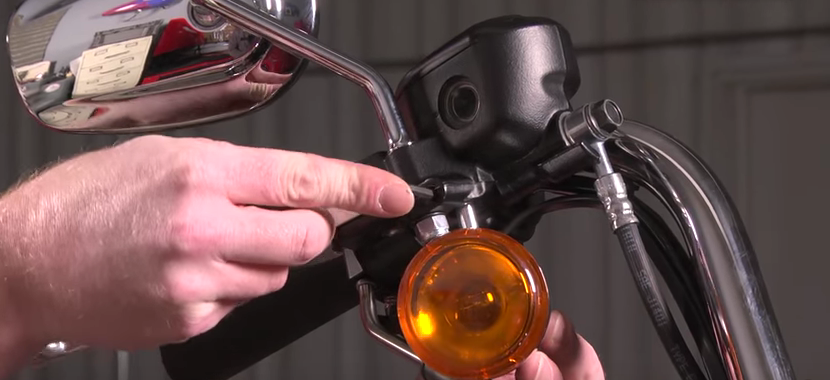
On some bikes there may be a turn signal mounted to the master cylinder right below the mirror. You have to remove it in order to make it easier to get the mirror off. Using your Allen key, remove the Allen bolt that pinches the turn signal in place. Then, pull the turn signal down and out of the way. You don't have to remove anything further in it, just let it dangle.
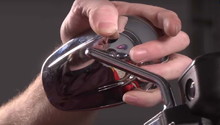
Step 2 – Remove mirror nut and mirror
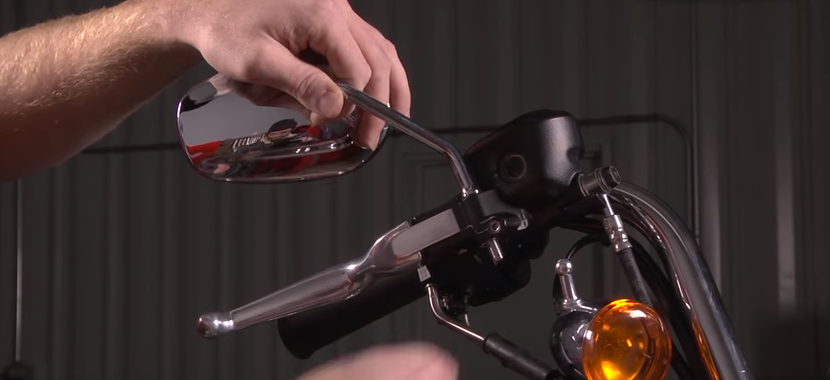
There is a nut on the bottom of the mirror shaft, it is very obvious. Hold the mirror in place with your hand, and loosen the nut on the bottom. Once you've removed it, pull the mirror straight up to remove.

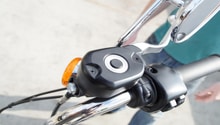
Step 3 – Install new mirror
To install the new mirror, simply put its rod through the hole and tighten the nut from the bottom. Tighten it so the mirror doesn't rotate easily, sit on the bike and adjust it to the proper position, then tighten the nut just a bit more so it doesn't move in the wind. Put the turn signal in place (if you have one), and tighten the pinch bolt using your Allen key.
Fairing Mounted Mirrors
Step 1 – Remove outer fairing
Unfortunately, in order to replace a broken or loose mirror in a batwing fairing you have to take the fairing apart. There are quite a few Torx head screws holding it in place, but otherwise it isn't difficult.
- First, remove the three screws holding the windshield in place. Remove the windshield by pulling it upward and out.
- Remove the Torx screws on the inside of the fairing; there should be one on each side at the edges.
- Remove the two Torx screw on the inside of the fairing, between the two forks; you will need your extension for those. There is one on each side.
- Pull the outside half of the fairing up gently. Be careful because the headlight will still be connected to the bike by a wiring harness.
- Unplug the lights and set the upper half of the fairing aside.

Figure 5. Remove windshield. 
Figure 6. Remove fairing's screws. 
Figure 7. Remove fairing's screws.
Step 2 – Remove side mirror
The mirror is held in place by a nut with a plate between it. Simply, remove the nut to get the mirror loose.

Figure 8. Fairing mirror diagram. 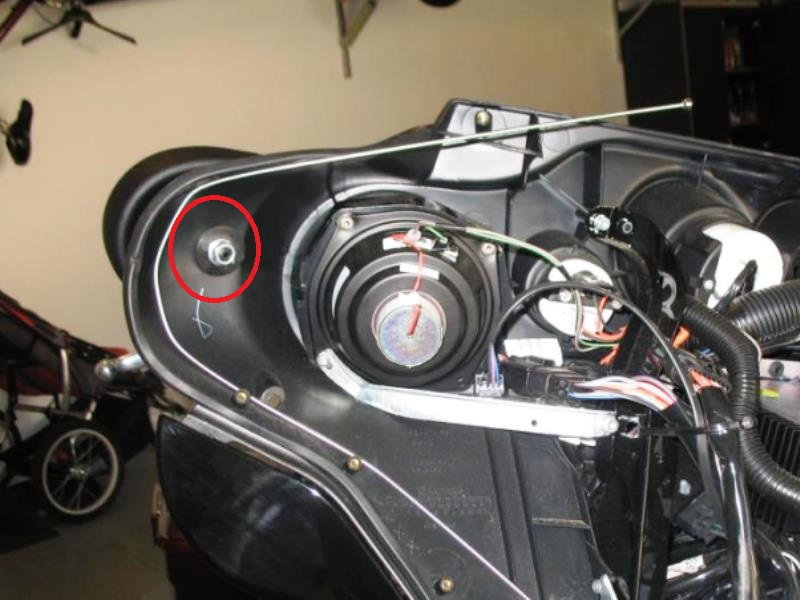
Figure 9. The nut holding the mirror in place.
Step 3 – Install new mirror
Installation is the reverse of removal.
- Install the mirror in place, then tighten the nut with the plate in between.
- Align the fairing in place, then connect the electrical harness.
- Tighten the two screws on the inside of the fairing, between the two forks.
- Tighten the six screws along the edges on the inside of the fairings, on both sides.
- Tighten the windshield in place using its three screws.
Related Discussions
- Tighten Side Mirror - HDForums.com
- Glass Mirror Removal - HDForums.com