Harley Davidson Dyna Glide: How to Replace Brake Master Cylinder
The master cylinder is what holds the Harley Davidson Dyna Glide's brake fluid and pumps it. When it goes bad, you start getting spongy brakes and decreased stopping power.
This article applies to the Harley Davidson Dyna Glide.
The Harley Davidson Dyna Glide is equipped with two master cylinders, one of which is responsible for the front brakes. Rightfully so, it's located in the front on the right side of the handlebar. The rear brakes have their own master cylinder, which is located on the right bottom by the foot pedal. When the master cylinder goes bad, you may experience a spongy brake feel, and, most of the time, a decrease in braking performance. Replacing the master cylinder is not a tough process; however, you will have to bleed the brakes twice: once to empty it, and once to bleed the air out of it. Read on to learn how you can do this job on your own.

Materials Needed
- Socket
- Wrench
- Phillips head screwdriver
- Bottle
- Clear hose
- Master cylinder
- brake fluid
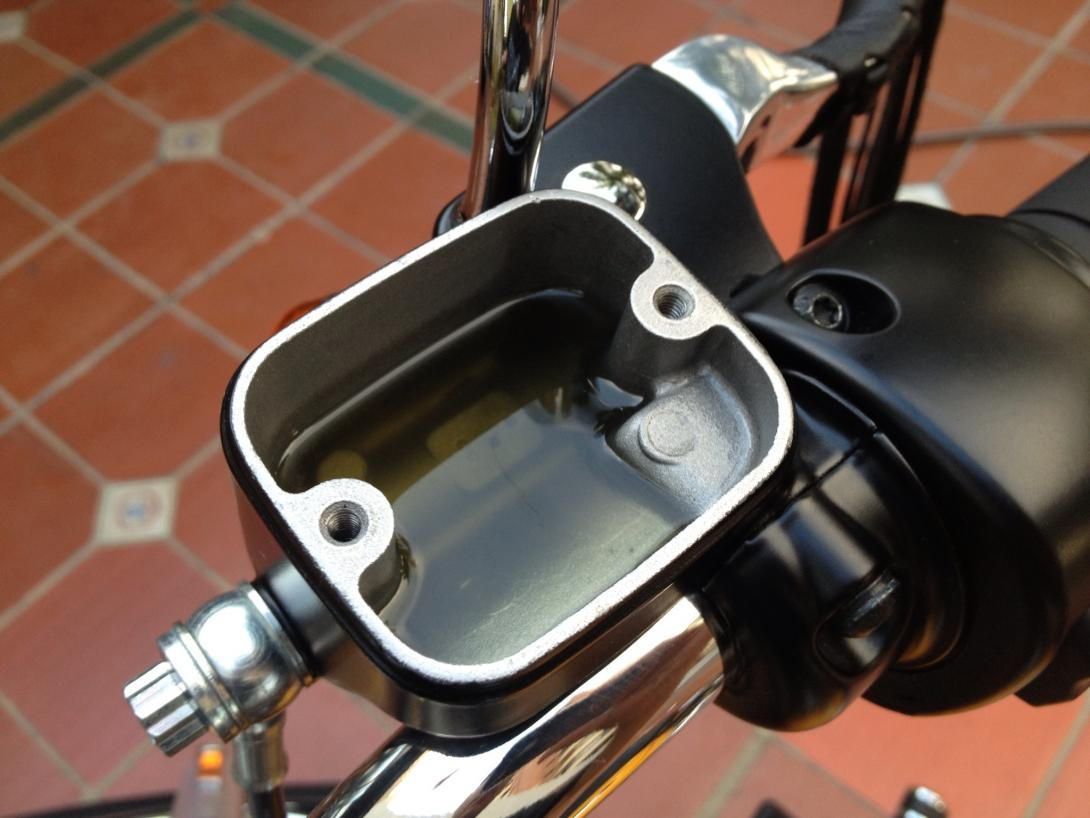
Step 1 – Flush old brake fluid
Remove the master cylinder's cover, to allow air to flow, by removing the two screws on top. Then, install the hose on the caliper's bleeder screw. Connect the other end of the hose into a bottle, and loosen the bleeder screw. Let the brake fluid flush completely.
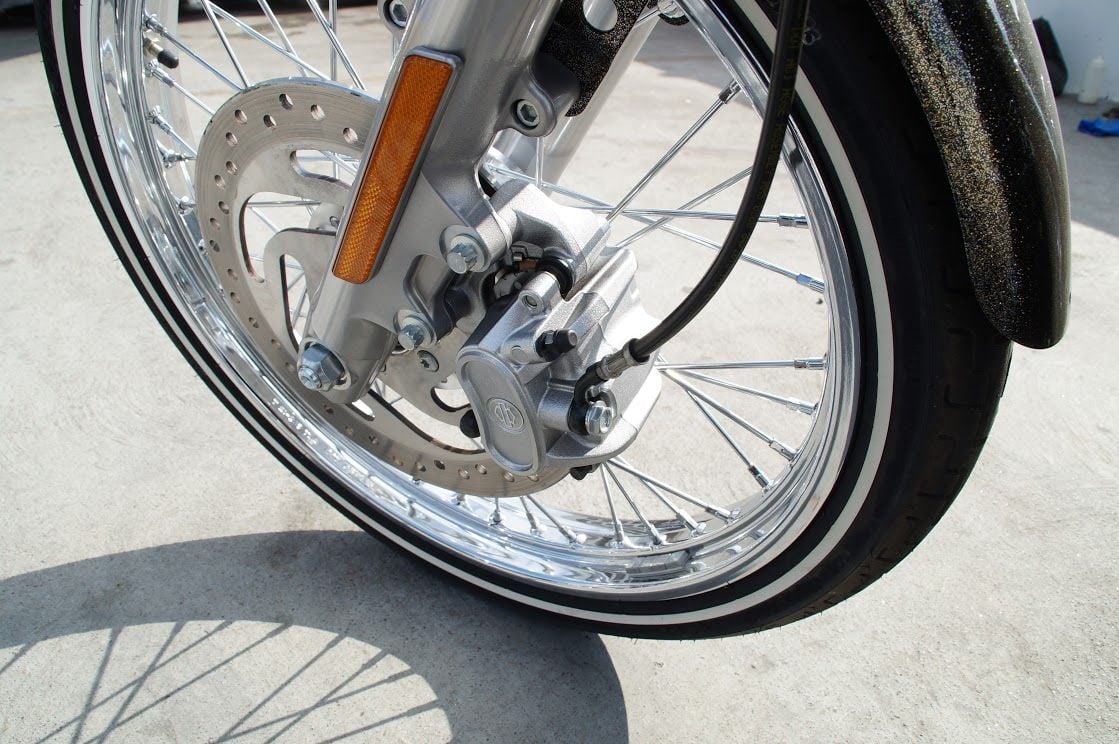
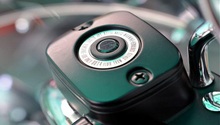
Figure 1. Bleeder screw with black cap. 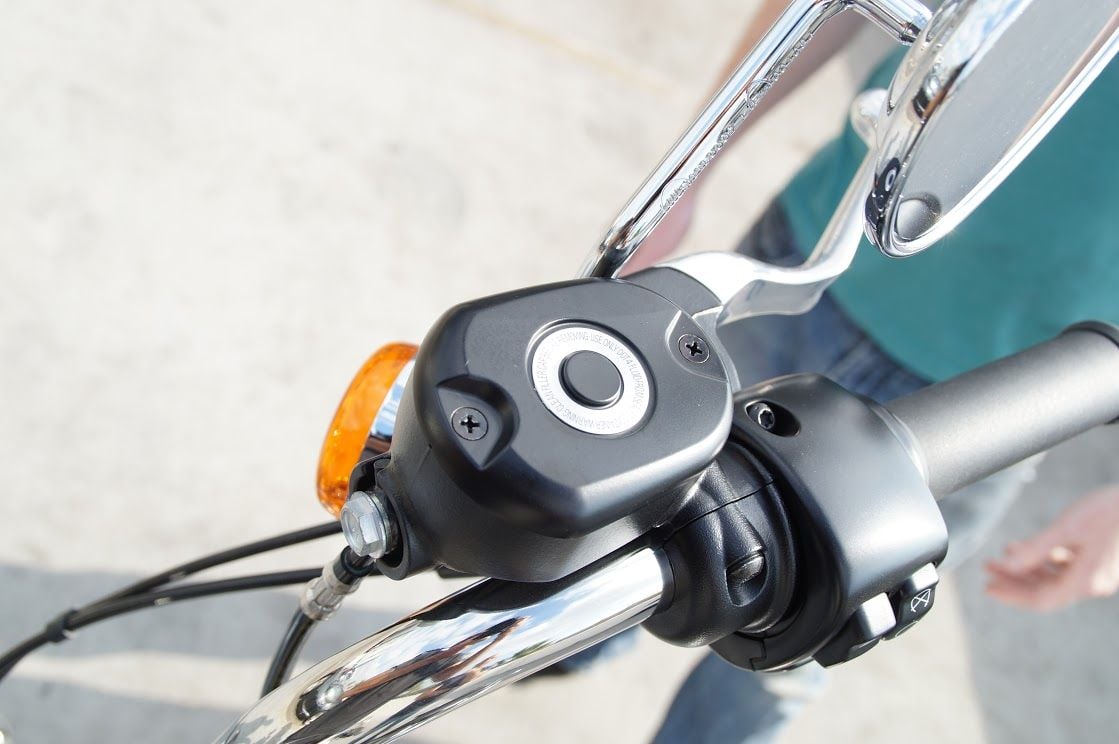
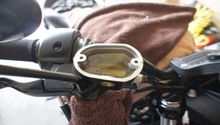
Figure 2. Master cylinder cover.
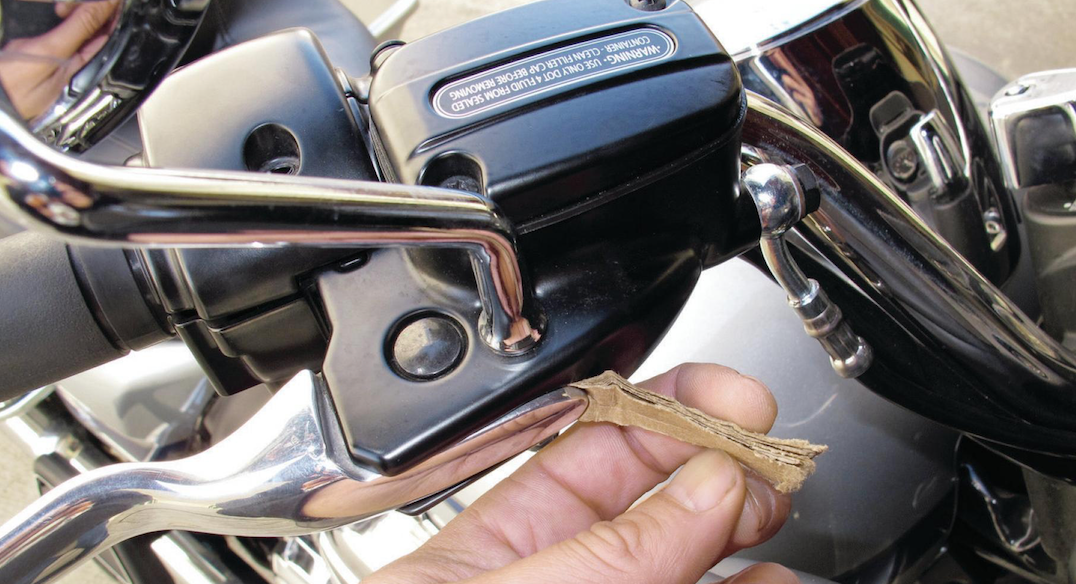
Step 2 – Replace master cylinder
The master cylinder is held in place by a bolt, which is also holding the brake line in place. Before remove the master cylinder, be sure to put a thick piece of cardboard between the brake lever and the base. Install the new master cylinder in place, then tighten the bolt.
Step 3 – Refill with fresh fluid
With the master cylinder tightened up in place, ensure the bleeder screw on the brake caliper is tight, then refill the master cylinder with fresh fluid. Fill it all the way, then bleed the brakes from any air. Pump the brake lever a few times, then keep it pressed. Loosen the bleeder screw, and watch the fluid drain into the bottle. As soon as you stop seeing bubbles, tighten the bleeder screw, then let go of the brake lever. Top off the master cylinder.
Related Discussions
- Rear Master Cylinder Replacement - Hdforums.com
- Master Cylinder Replacement - Hdforums.com
- Replacing Front Master Cylinder - Hdforums.com