Harley Davidson Touring: How to Install Screamin' Eagle Compensator
The stock compensator in stop and go traffic can make your bike shudder when you have to feather the clutch often. Learn how to replace yours with a Screamin' Eagle compensator and get rid of the hippy hippy shakes once and for all.
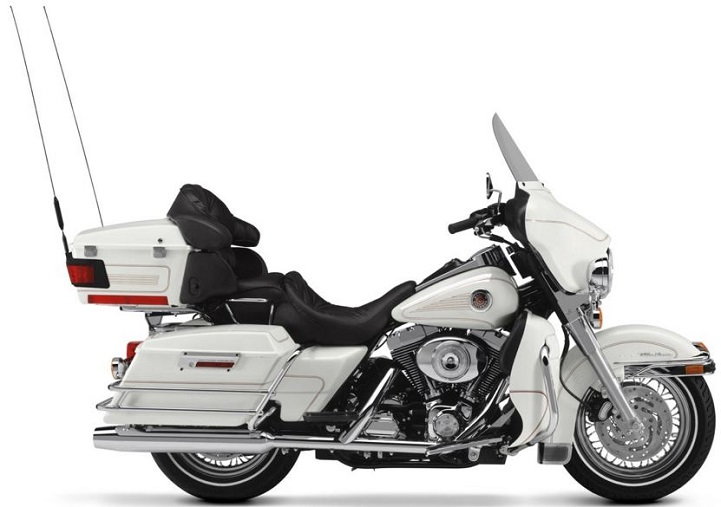
This article applies to the Harley Davidson Touring (1999-2011).
If you have ever been stuck in stop and go traffic in the heat on your Ultra, you have probably experienced the "shudder" or that odd shaking coming out of the primary as you sit waiting to move. While this isn't indicative of a problem, it is quite the annoyance. This shudder or shake is coming from the stock compensator on your crank sprocket in your primary. Changing from stock to a Screamin' Eagle compensator can make a world of difference, and Harley did it themselves on all bikes built after 2011. There are a few ways to go about changing the compensator, from grinding the primary cover to removing the entire primary and inner primary cover. This article will examine the steps needed using the easiest method of grinding the primary cover in order to swap out the compensator. This is the least intrusive and least labor intensive method to follow. If you were to have a pro do it, you will find your wallet a lot lighter after such a job, so if you want to save yourself a bundle, tackle this one on your own.

Materials Needed
- Torx driver and bit set
- Allen wrench set
- 7/16" wrench, socket and Allen wrench
- 13/16" socket
- Torque wrench
- Oil drain pan
- 1 quart of primary chain oil
- Block of wood or primary locking tool
- Shop rags
- Grinder
As your primary on your Touring bike is at the bike's lowest point, using a lift (while not necessary) can be a real life saver by making this job much easier. At the very least you are going to want to prop the bike more upright than you get just from the kickstand.
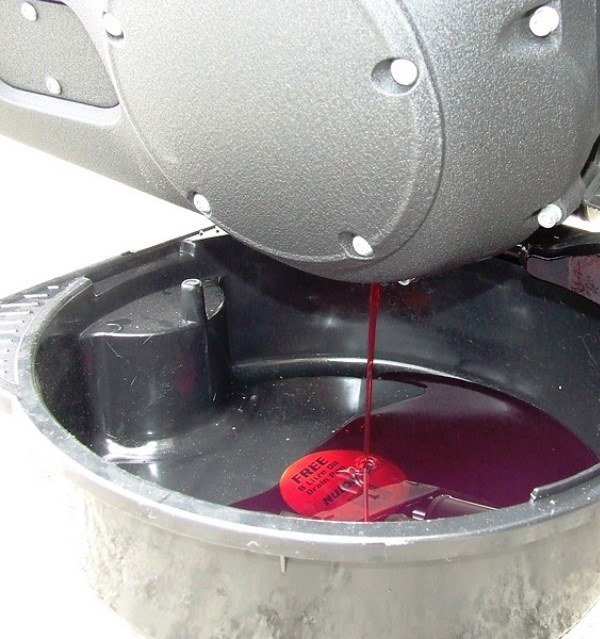
Step 1 – Drain your primary
Use a Torx driver and bit to remove the four Torx bolts on the derby cover. Open the derby cover so you can see the primary oil level. Place your catch pan under the primary and remove the drain plug. Drain as much of the primary oil as possible before starting.
Step 2 – Remove the foot boards and shifter
Remove the left foot boards as well as the shifter using a 7/16" wrench, socket and Allen wrench. Under each foot board (front and rear), you'll use the wrench to hold the nut and the Allen wrench to loosen the bolt in order to remove the foot boards. You can leave the right side attached.
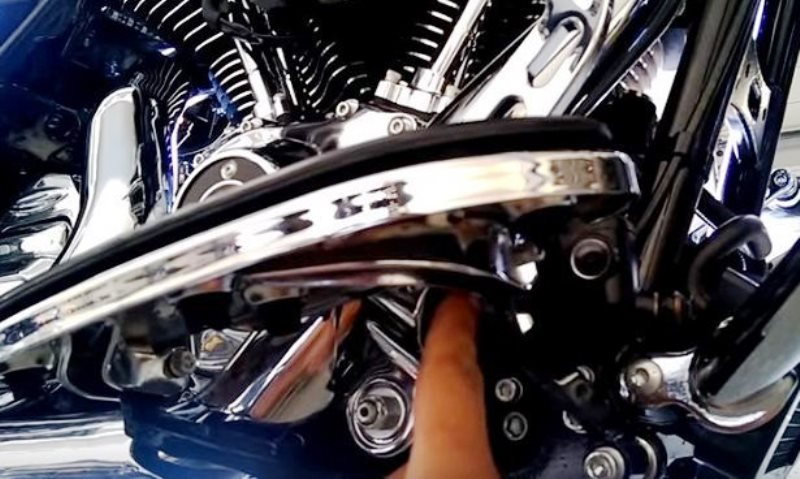
Figure 2. Remove the foot boards. (This is the right side, but the left side attaches the same way.) 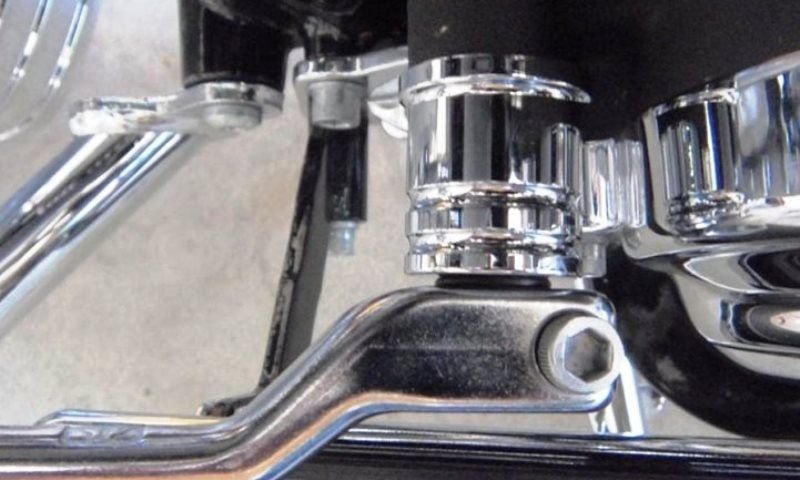
Figure 3. Loosen the Allen bolt and slip the shifter off the shaft.
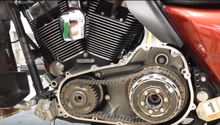
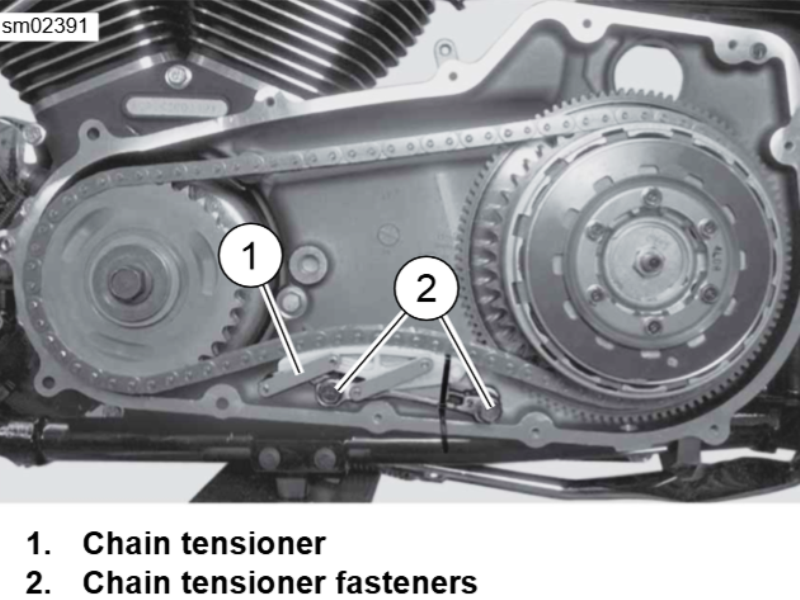
Step 3 – Open primary cover and remove primary chain tensioner
Use your Allen wrench to remove the 12 bolts holding the primary cover in place. These bolts are of varying sizes and they must go back in exactly where they were removed, so keep track of where they go. Once you get the cover off, set it aside and zip tie the chain tensioner to overcome its spring loaded adjustment. Remove the tensioner mounting bolts, and keep track of the spacers that are behind the bolts. This isn't a bad time to inspect the tensioner for excessive wear while you are in there, or to replace the Harley part with an upgraded aftermarket piece.
Step 4 – Remove the stock compensator bolt
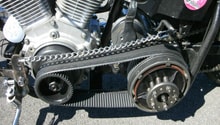
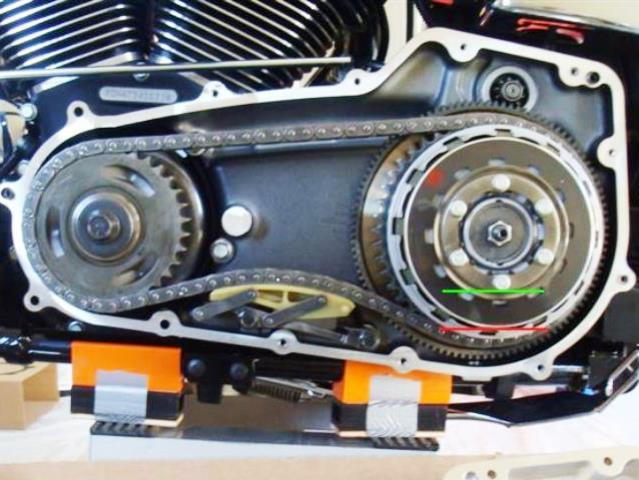
Before you can begin to remove the stock compensator bolt, place a block of wood in between the chain sprocket and the clutch basket, or insert the locking bar between the sprockets as shown. This will prevent the chain from moving when you are wrenching on the bolt. You will need a 13/16" socket with ratchet and breaker bar, or possibly an impact gun to break it loose. This bolt is torqued from 150 to 155 foot-pounds, so it is pretty tight. Once the bolt is removed, you can pull the shaft slightly, which will allow you to remove the chain over the sprocket and carefully set the chain aside.
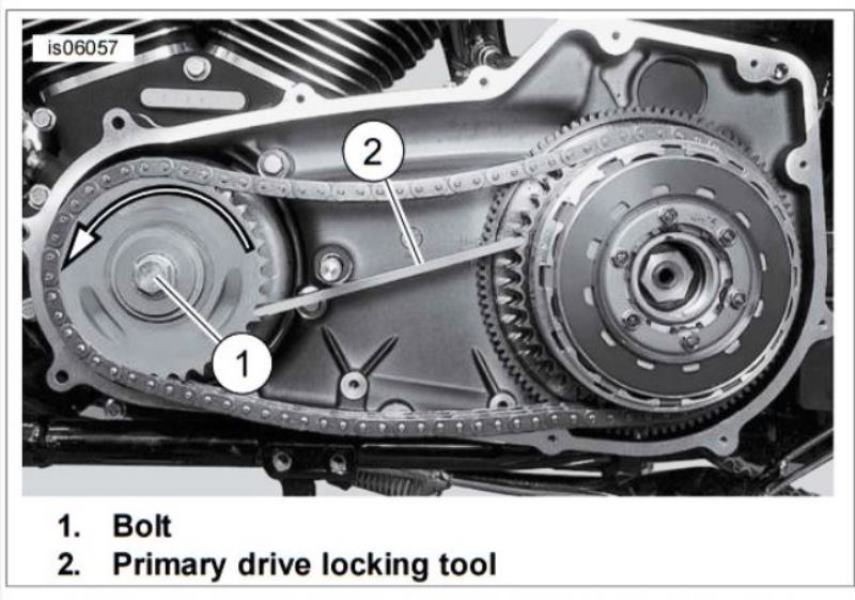
Figure 5. Lock primary in order to hold gear while you loosen the nut. 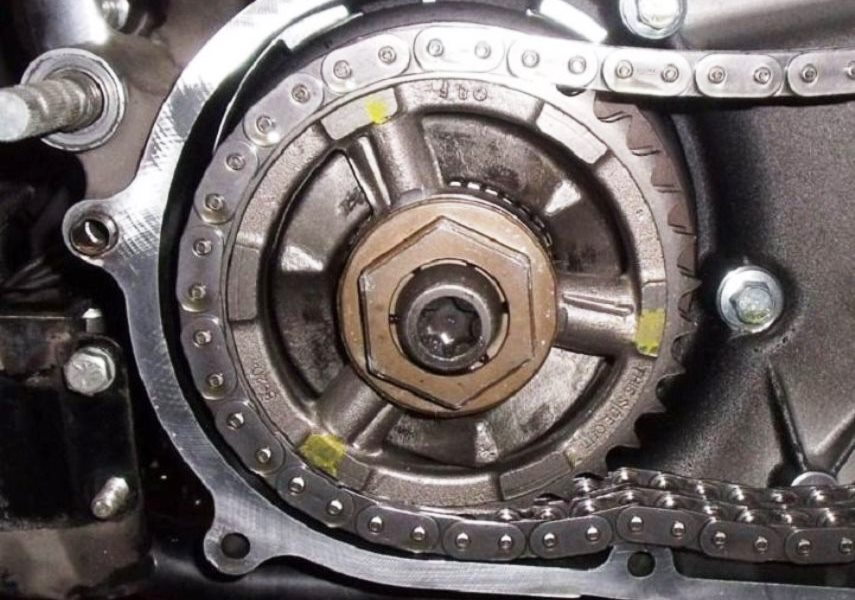
Figure 6. This 13/16" nut will be very tight, so use a long breaker bar.
Step 5 – Remove the stock compensator/rotor
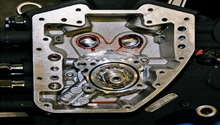
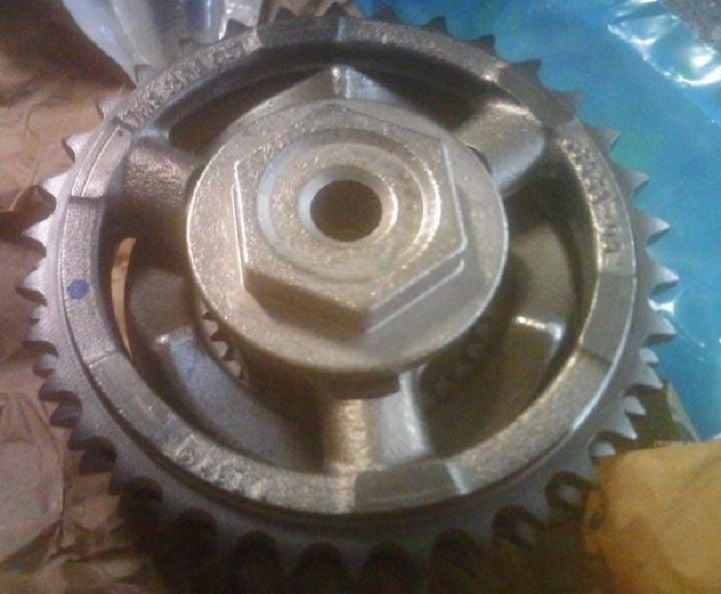
This is where it gets messy. If you attempt to pull the rotor, you'll see where it hits the inside of the primary and won't budge. This is where you will use a die grinder on a slow setting and grind away the aluminum material that makes up your primary case until the rotor clears. You will need to protect everything inside by covering up with shop rags or whatever you can do to prevent metal shavings from getting anywhere. The rotor has some really strong magnets in there, so it is difficult to pull. If you still can't clear the case, you'll have to grind a little more. Wiggle the rotor, or do what you have to in order to get it out of there.
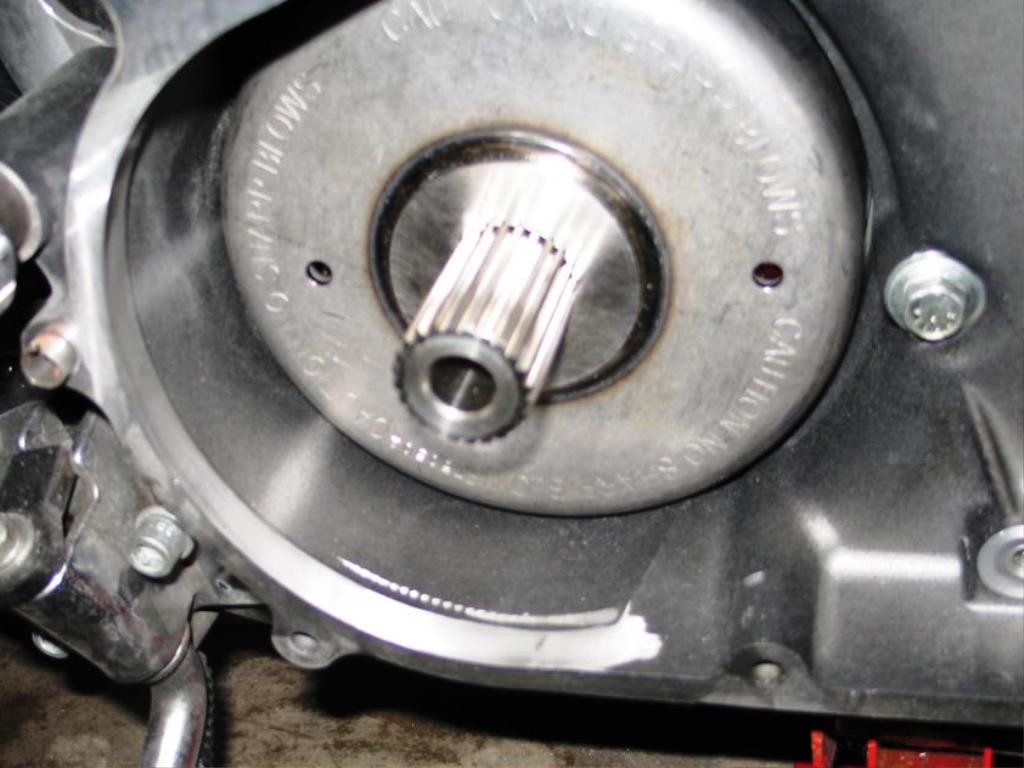
Figure 7. You can see here how little metal needs to be ground away. 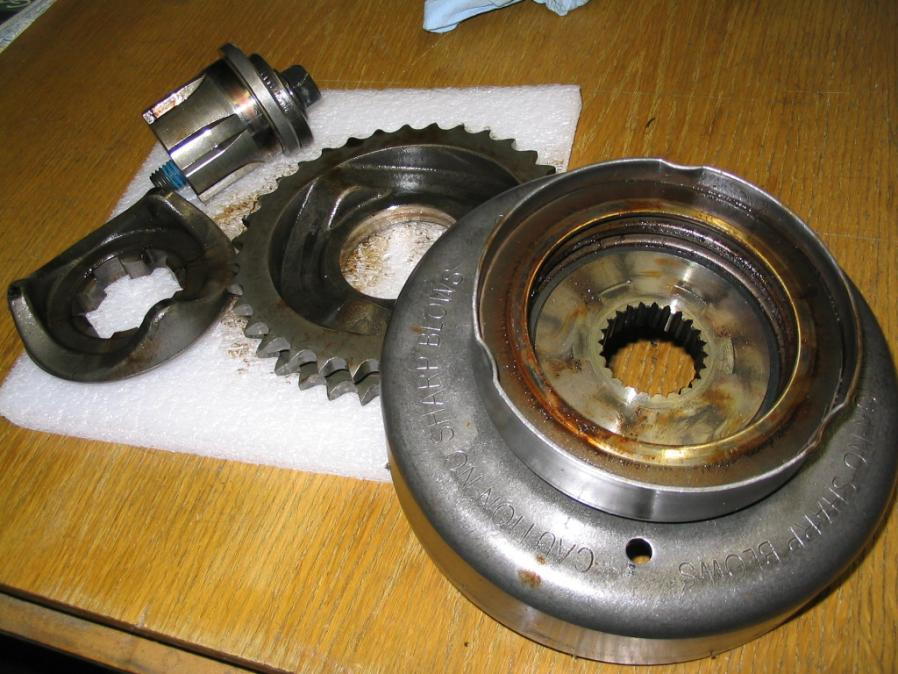
Figure 8. Remove the stock rotor and compensator.
Step 6 – Install your Screamin' Eagle compensator kit
- Insert the Screamin' Eagle (SE) rotor.
- Apply some primary fluid to the shaft extension (follow instructions) and insert it onto or into the rotor.
- Install the SE springs.
- Insert the cam.
- The SE compensator sprocket goes on next, but you'll need to get the primary chain onto it at the same time, as well as putting the chain back onto the clutch basket sprocket.
- Once the primary chain is back on and the sprocket is in place, replace the thrust washer and then the circlip or retaining ring.
- Replace the large nut and torque to about 140 foot-pounds.
Step 7 – Replace primary chain tensioner and reinstall
- Reinstall the chain tensioner with zip ties still on until you replace the spacers and torque the bolts down.
- Cut the zip ties.
- Check for proper primary chain tension, and replace tensioner if worn.
- Replace the foot boards.
- Replace the heel shifter.
- Replace the primary cover.
- Add a quart of your preferred primary oil till it reaches the bottom of the clutch basket.
Replace the derby cover and you are done. Start her up and make sure she sounds right. Take her for a test ride and marvel at your mechanical abilities. This was no easy DIY job.
Featured Video: Screamin' Eagle Compensator Install
Related Discussions
- Installing SE Compensator Kit w/Pics - HDForums.com
- SE Compensator Upgrade with Pics - HDForums.com
- Problems with Compensator - HDForums.com
- Willing to Show My Ignorance, Compensator Upgrade - HDForums.com