When you click on links to various merchants on this site and make a purchase, this can result in this site earning a commission. Affiliate programs and affiliations include, but are not limited to, the eBay Partner Network.
Dyna Glide ModelsSuper Glide, Super Glide Sport, Super Glide Custom, Dyna Glide Convertible, Super Glide T-Sport, Dyna Glide Police, Dyna Switchback, Low Rider, Street Bob, Fat Bob and Wide Glide.
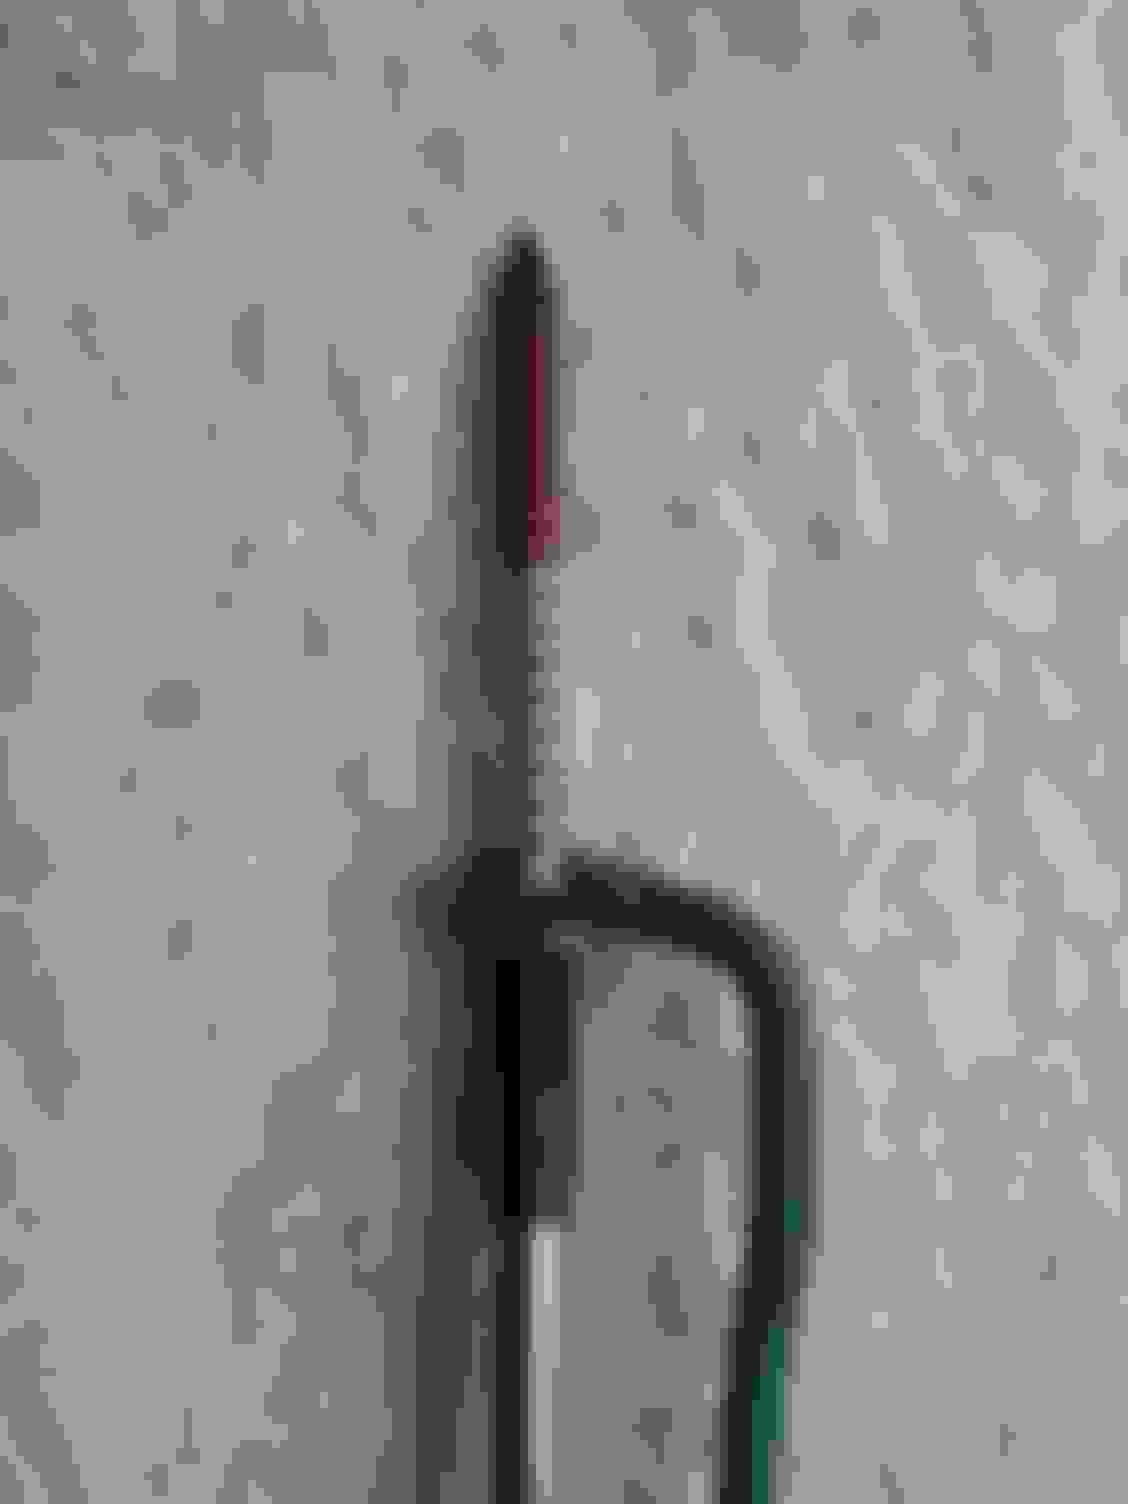
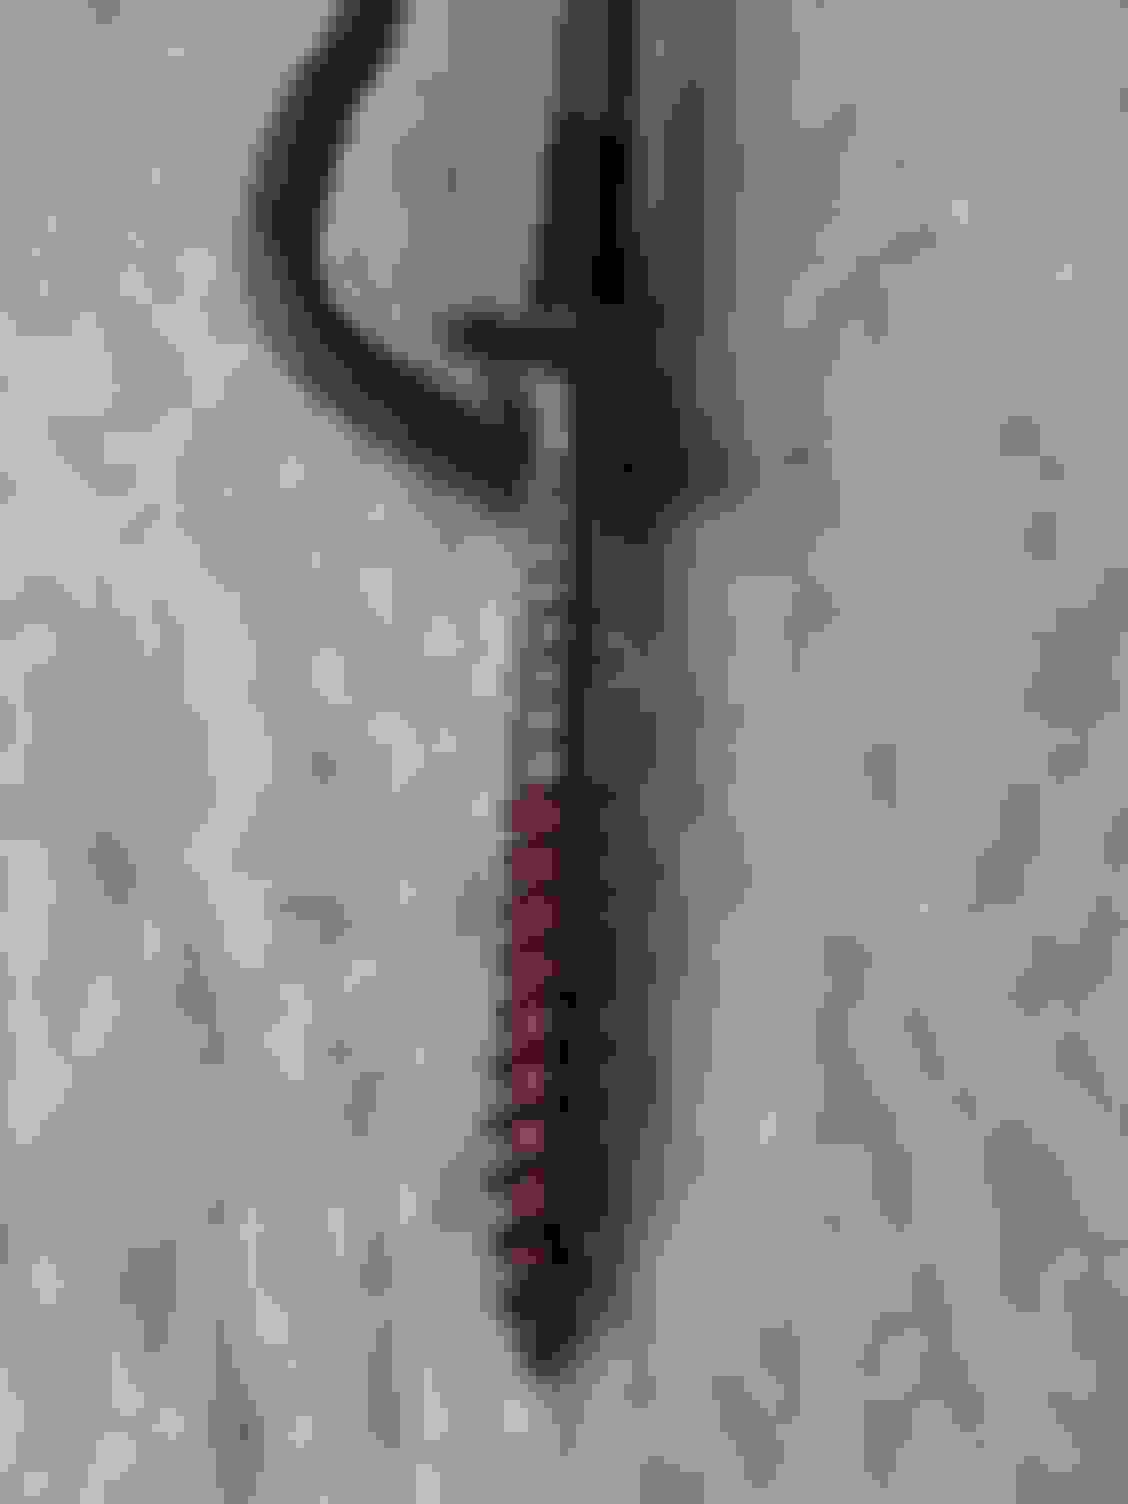
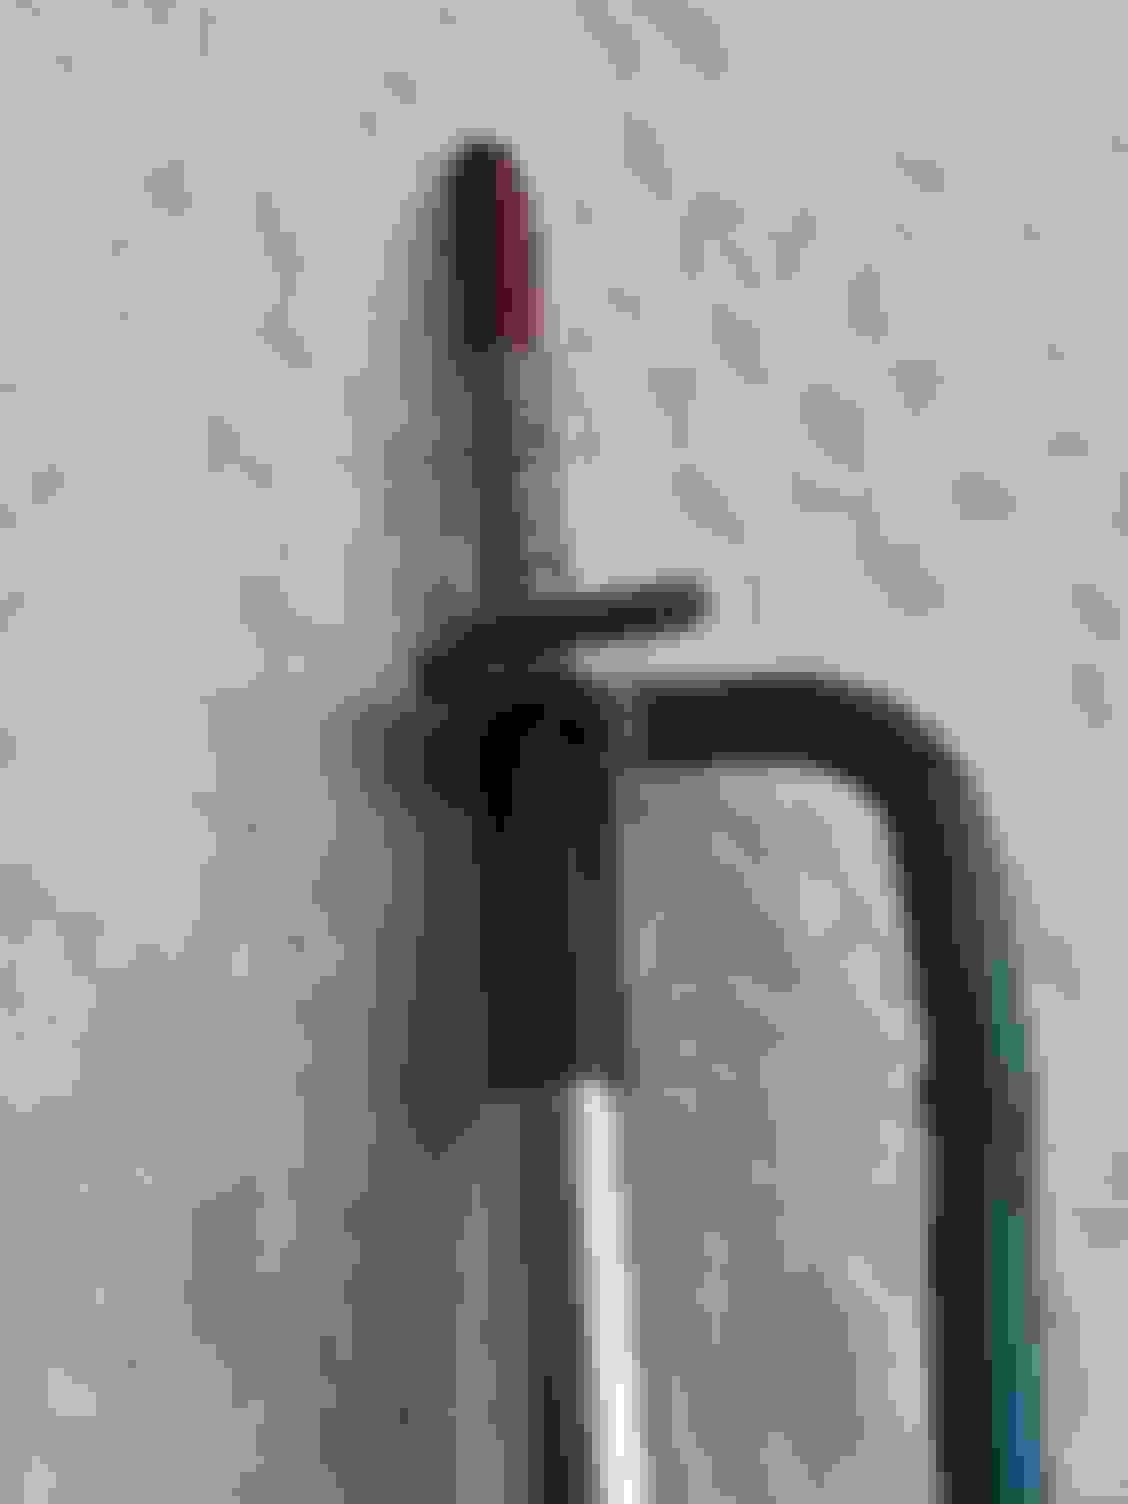
Familiar with the situation that you've been screwed up by a non magnetic screw (like ss/copper) falling off your screwdriver and having too little space to hold it with your other hand?
Here's my solution: make yourself a screw holder out of a piece of copper/metal wire, grab them both and put it in place with one hand!
Good luck, Ren�
Last edited by FXD2003Rider; Jan 28, 2020 at 09:56 AM.
Familiar with the situation that you've been screwed up by a non magnetic screw (like ss/copper) falling off your screwdriver and having to little space to hold it with your other hand?
Here's my solution: make yourself a screw holder out of a piece of copper/metal wire, grab them both and put it in place with one hand!
Good luck, Ren�
That's a great tip! I'll be checking the toolbox and making sure some wire is in it.
Thanks.
Last edited by FXD2003Rider; Jan 28, 2020 at 09:57 AM.
I've tried runnin cd's as an a/c cover but they keep snapping and cracking. The roads in my area are horrendous.
Go to the hardware store and get yourself a beveled faucet washer. You may have to cut it down to size and bore the center out, but I used one on my son's CD A/C cover and it worked great. The washer acts as a vibration dampener.
Last edited by JakeInMa; Jul 31, 2009 at 11:19 AM.
Go to the hardware store and get yourself a beveled faucet washer. You may have to cut it down to size and bore the center out, but I used one on my son's CD A/C cover and it worked great. The washer acts as a vibration dampener.
Now that I would not have ever thought about. I do have the rubber o-ring on the outside diameter of the filter but never thought about adding some rubber to the center as an isolator. Thanks Jake.
Now that I would not have ever thought about. I do have the rubber o-ring on the outside diameter of the filter but never thought about adding some rubber to the center as an isolator. Thanks Jake.
After 132 pages, I figured I had to add something...LOL
There are a lot of great ideas in this thread, some of which I can't wait to try out with my kid on his bike when I get home.
From this forum i hit the battery band with steel wool then with some gloss black and clear coat. I think it matches the vivid black perfectly. Thinking about doing the same with the horn cover. Thanks
I can't recall where I got this from, but for those that don't want to or can't spend serious $$$ on a bike table, this may be a great alternative. Some of the materials you may have laying around in your workshops or garages:
The top and back support panels of the stand pivot and form the ramp for rolling the bike on to the table. With a heavier bike, you will definitely want to be sure you have a fair amount of room for the approach in which to build up some speed, otherwise you'll find that you can't push the bike far enough up the stand to go over center and have the stand top return to horizontal.
After rolling the bike up, secure it with tie downs to some metal eye bolts bolted on through the sides of the table. You should also use a hook and eye to secure the back support panel to the side so that it can't be accidentally kicked out of place. You will need to have a wheel chock or wheel stop at the front edge of the top of the table to keep the bike from rolling off when you roll your bike on to the table. Put the chock as far forward as possible so you can be sure the bike's center of gravity goes past the top's fulcrum point.
I personally would build a better frame for the base as opposed to just using the few cross braces mentioned in the instructions, adding additional braces too.
Material:
Sides of table: 3/4" plywood (minimum thickness) - 72" (L) x 18" (W) x2 pieces
Top of table: 3/4" plywood (minimum thickness) - 78" (L) x 24" (W) x1 piece
End Panels: 3/4" plywood (minimum thickness) - 24" (W) x 18" (H) x2 pieces
Top Rails: 1x1 Strips - 78" (L)
2x4 x 22.5" x4 (1 for End Rail on Top of Table)
2x6 x 22.5" x1
Hinges
Wood Glue
Wood Screws
Eye Bolts x2
Hook and Eye latch x2
Paint
Harley-Davidson Fat Boy Becomes a Dark, Decepticon-Inspired Custom
Slideshow: Killer Custom's latest build relies on styling changes rather than performance upgrades, giving the cruiser an entirely different personality.
7 Surprising Harley-Davidson Products that Are Not Motorcycles
Slideshow: The bar-and-shield logo shows up on far more than motorcycles, some of the company's most unexpected products have nothing to do with riding.
Slideshow: From the troubled AMF years to modern misfires, these bikes earned reputations for reliability issues, questionable engineering, or disappointing performance.
Crazy Bunderbike Build Looks Amazing, But Is It Impossible to Ride?
Slideshow: The Swiss custom shop has taken a Harley Softail and stretched it into something so long and low that it looks closer to a rolling sculpture than a conventional motorcycle.
Engraved Rebellion: Inside Bundnerbike's Glam Rock II
Slideshow: A standard cruiser becomes an intricate metal canvas in the hands of a Swiss custom house known for pushing Harley-Davidson platforms far beyond their factory brief.