Home made quick detach saddle bags (how to with pics)
#1
 04-01-2011, 02:54 PM

Join Date: May 2008
Location: Nashville
Posts: 22
Likes: 0
Received 0 Likes
on
0 Posts
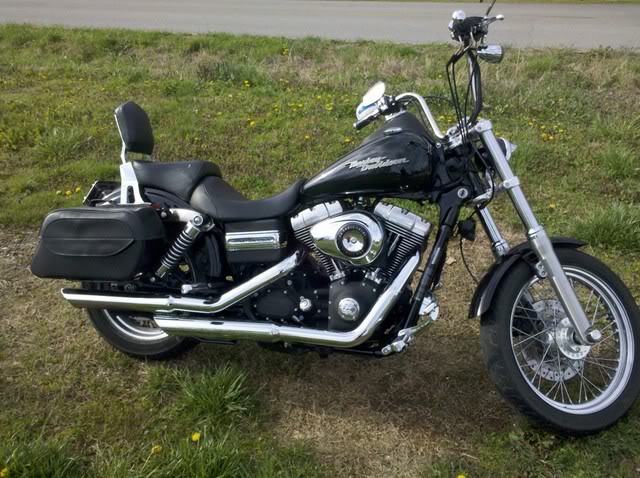
Here are some quick detachable saddlebags I made, let me know what you think.
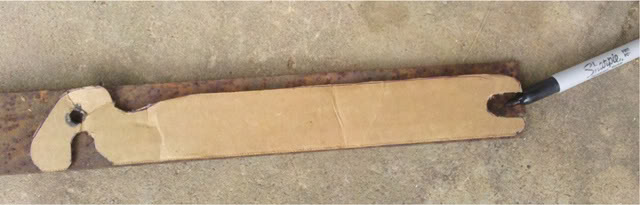
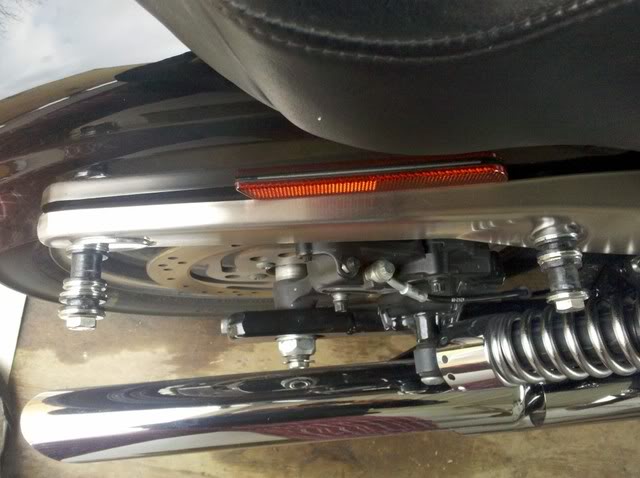
Trace the bottom of the detachable sissy bar side plate onto a piece of cardboard then cut it out; I also did the bolt position so I could reference it later.
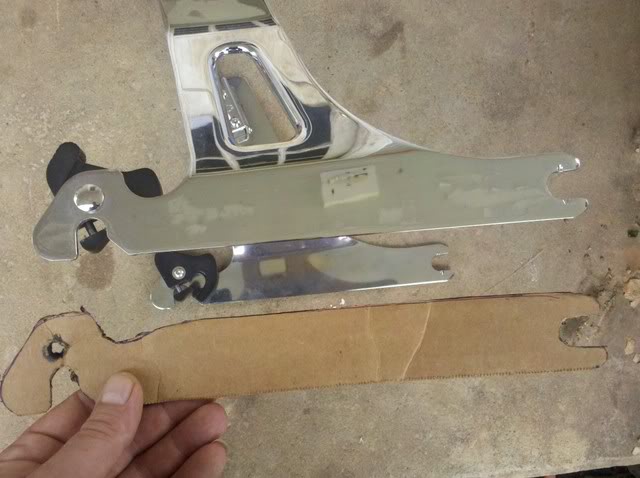
After I cut out the cardboard outline I copied that to a piece of flat steel that is the same thickness of the sissy bar side plate.
Then I took a grinder and rough cut the outline of the bracket, after i rough cut the bracket I took a drill bit that fit the circumference of the mounting slots and drilled holes out for the rounded part of the slots, then i went back to the angle grinder and cut the straight part until it met the holes I drilled.
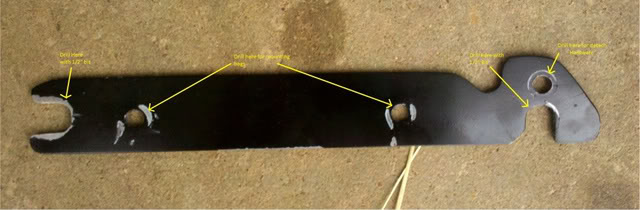
I then mounted the detachable latch kit I picked up on ebay for $20 or so and rattle canned the bracket black.
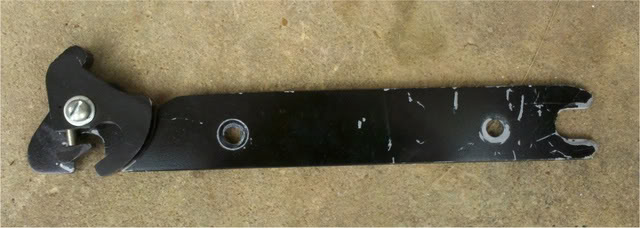
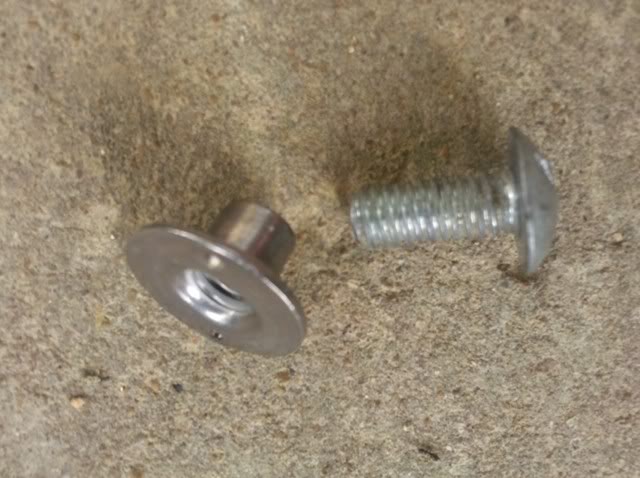
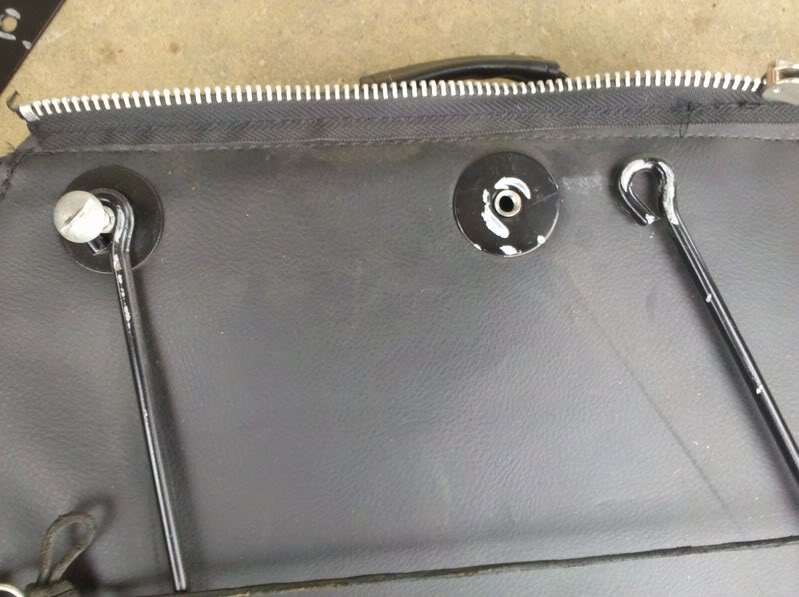
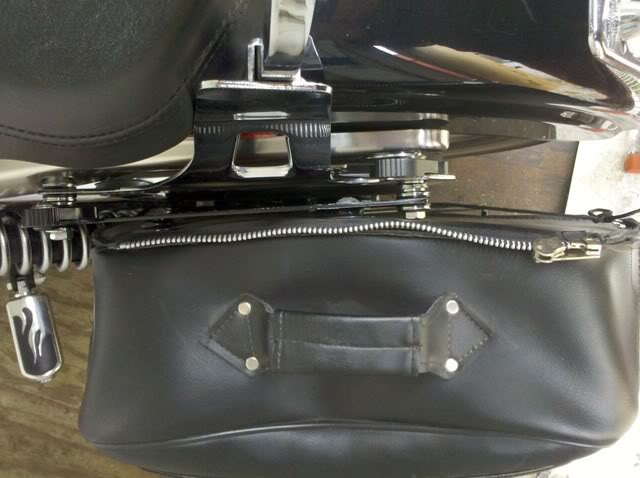
Once this was done I took some throw over saddle bags I found on craigslist for $30 and drilled two mount holes that went through the bags and bracket, mounted them with these barrel nuts/bolts I salvaged from an old piece of furniture (you can buy them at Lowes in the hardware section for like $5 or so)
I also fabbed up some support brackets to keep the bags from flopping around by looping the ends of some �� round steel around the bolts that hold the bags to the detach brackets
At first I made them so they could fit where the sissy bar mounts, but the ol� lady kept screaming about not having a backrest so I turned the brackets around and picked up another set of mounting hardware (again from ebay, they where for a sportster but I just drilled the bolt holes a bit bigger and they fit fine) and put them on the outside of the sissy bar mounts but this time I put the large one in the front. So now I can run both at once.
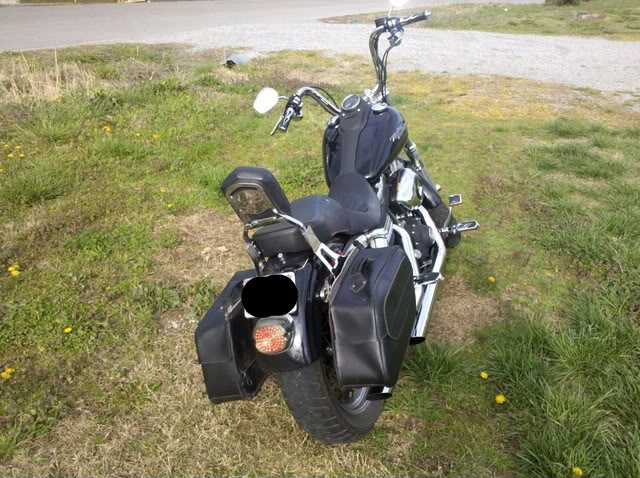
finished pics
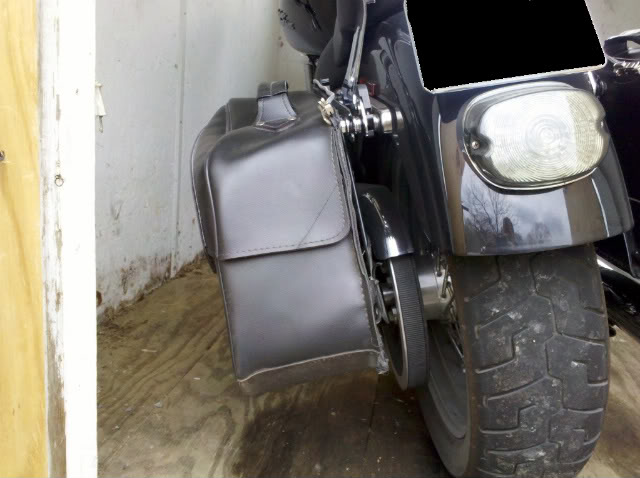
I know i still need to remove the zipper's from the throw over part on the saddle bag just haven't gotten there yet.
Trace the bottom of the detachable sissy bar side plate onto a piece of cardboard then cut it out; I also did the bolt position so I could reference it later.
After I cut out the cardboard outline I copied that to a piece of flat steel that is the same thickness of the sissy bar side plate.
Then I took a grinder and rough cut the outline of the bracket, after i rough cut the bracket I took a drill bit that fit the circumference of the mounting slots and drilled holes out for the rounded part of the slots, then i went back to the angle grinder and cut the straight part until it met the holes I drilled.
I then mounted the detachable latch kit I picked up on ebay for $20 or so and rattle canned the bracket black.
Once this was done I took some throw over saddle bags I found on craigslist for $30 and drilled two mount holes that went through the bags and bracket, mounted them with these barrel nuts/bolts I salvaged from an old piece of furniture (you can buy them at Lowes in the hardware section for like $5 or so)
I also fabbed up some support brackets to keep the bags from flopping around by looping the ends of some �� round steel around the bolts that hold the bags to the detach brackets
At first I made them so they could fit where the sissy bar mounts, but the ol� lady kept screaming about not having a backrest so I turned the brackets around and picked up another set of mounting hardware (again from ebay, they where for a sportster but I just drilled the bolt holes a bit bigger and they fit fine) and put them on the outside of the sissy bar mounts but this time I put the large one in the front. So now I can run both at once.
finished pics
I know i still need to remove the zipper's from the throw over part on the saddle bag just haven't gotten there yet.
#2
04-01-2011, 03:56 PM
#4
04-01-2011, 04:30 PM
#5
04-01-2011, 04:35 PM
Join Date: May 2008
Location: Nashville
Posts: 22
Likes: 0
Received 0 Likes
on
0 Posts

#6
04-01-2011, 04:40 PM
Thankfully mine is grown and on his own, and the OL loves to ride and always lets me know when Santa shows up at the front door with new parts....LOL
#7
04-01-2011, 05:08 PM
Join Date: May 2008
Location: Nashville
Posts: 22
Likes: 0
Received 0 Likes
on
0 Posts