
Modifying a windshield???

Road Master
Joined: Jul 2013
Posts: 946
Likes: 29
From: my house
I've worked with plexiglass and lexan alot. Like others said, tape off the shield, mark your line, and use a jigsaw with a brand new blade. If you do practice cuts higher up the shield, change out to a virgin blade before doing the actual cut. Take your time, let the blade do the work. If you go too fast, you'll get a lot more melted slag that sticks to the shield instead of falling to the ground, and the edge will take more elbow grease and time to sand smooth. Sand the edge to at least 400 grit or higher and remove the masking tape, hit it with a handheld propane torch, don't hold in one spot too long or it will bubble. If done properly, no one will be able to tell the windshield has been cut down.


Grand HDF Member


Joined: Apr 2007
Posts: 3,707
Likes: 3,018
From: Brighton, MI
Don't force the saw blade, don't twist the blade while in the cut, let the blade do the work. Don't try to make it perfect with the first cut. Remember the edge can be final shaped and cleaned after the fact with files, sandpaper, etc.
I used a bosch blade for clean and curved wood. It has 20 tpi pretty sure I got it at home depot: Bosch blade model U101A0.
While 20 tpi may seem course, the blade design has smaller teeth in between the regular teeth and the cut turned out great. My windshield is a little thicker than the OEM windshields and no problems.
As mentioned, tape the plate of the saw as well as the windshield to prevent scratching. I cut mine while on the bike. It was the best holder for the windshield. Just use a drop cloth so you don't get plastic bits all over the bike/engine. If you leave any behind on the engine, the dust may melt and stay there... Good luck
Thread Starter
|
Road Master
Joined: Mar 2015
Posts: 975
Likes: 302
From: earth
Well, just finished cutting the wind screen and it was easy VERY easy and cut very cleanly.
Only took out about a 1/2" but that gave me a LOT more adjustment, which I'll do tonight all going well. By the way, I used a 20 TPI jig saw blade.
Only took out about a 1/2" but that gave me a LOT more adjustment, which I'll do tonight all going well. By the way, I used a 20 TPI jig saw blade.
Stellar HDF Member
Joined: Apr 2009
Posts: 3,039
Likes: 11
From: Northern Ontario
I know you got one

Thread Starter
|
Road Master
Joined: Mar 2015
Posts: 975
Likes: 302
From: earth
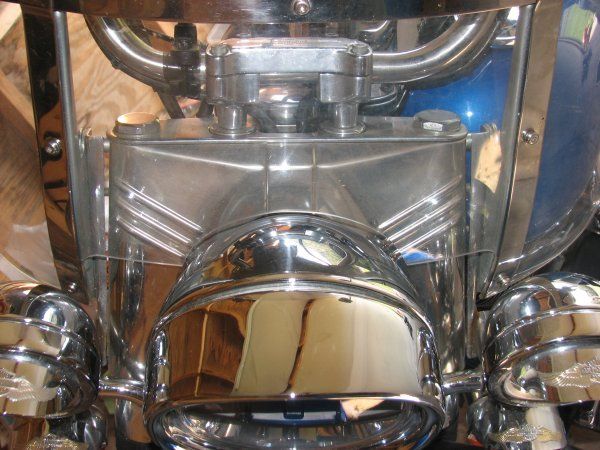
Okay here are the pictures of the finished job:


With the headlight housing re adjusted upwards again:
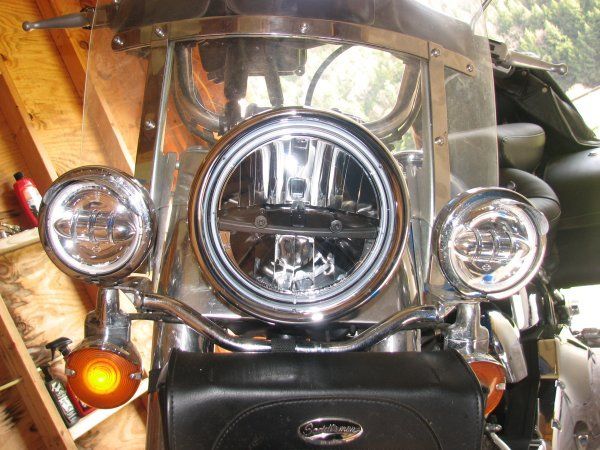
Should mention that all I did was cut the windscreen, no sanding or polishing - the way it is in the pictures is how it came out from the cut.


With the headlight housing re adjusted upwards again:

Should mention that all I did was cut the windscreen, no sanding or polishing - the way it is in the pictures is how it came out from the cut.