Harley Davidson Dyna Glide: How to Install Forward Controls
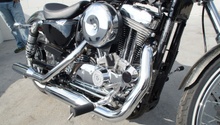
For many riders, especially on long highway cruises, there is nothing better than the feet forward, stretched out in riding position. If your bike came from the factory with mid-mounted controls, changing them out for a set of forward mounted foot pegs and controls can be done easily, in just a few hours.
This article applies to the Harley Davidson Dyna Glide (2000-2016).
Some bikes were just built for shorter people, while some people were meant for longer bikes. If you are finding that your legs feel a little cramped on your Dyna Glide, forward controls might be just the thing you need. Fortunately, installing forward controls is a pretty straightforward DIY job that you can tackle some lazy weekend in your own garage on your own time. In practically no time, you'll be grinning from ear to ear at the money you just saved by doing this yourself, while stretched out in the breeze on the freeway. It is worth noting that there are two ways of executing this DIY: The "proper" way involves the removal of the primary, which is much more complicated, and the "common" way involves cutting off the shifter shaft that mounts through the primary. While this method may not be "by the book," it is sufficient to get the job done with a lot less effort, and you'll be back on the road while that other guy is still trying to reassemble his primary.

Materials Needed
- 3/4 drive ratchet
- T70 Torx bit or socket, 1 3/16 socket
- Torque wrench
- Oil drain pan, and funnel
- 1 quart of replacement primary oil
- Sawzall or other cutting tool
These instructions are for cutting the shifter, which is much quicker and not as involved as removing the primary. If you prefer to do things by the book, refer to the article How to Change the Dyna Drive Belt for a step-by-step guide to removing and replacing the primary.
Step 1 – Drain the primary case
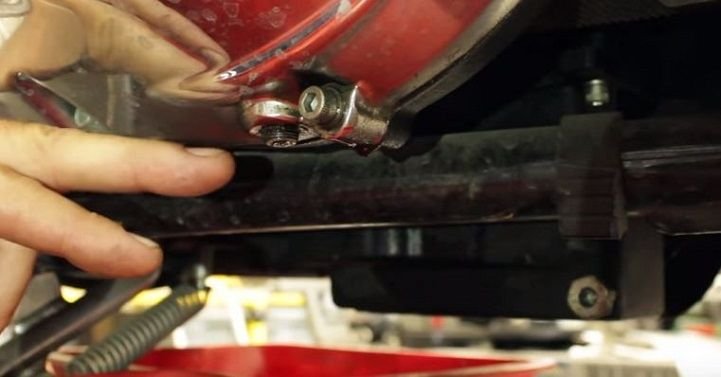
The primary case holds about a quart of oil. You'll need to drain this first before proceeding or you will have a real mess on your hands. Remove the primary drain plug and let all the oil drain into your catch basin before removing the primary cover. The drain plug is magnetized to catch any metal shavings, so inspect the plug after removal to get some idea of the health of your primary drive. This could indicate a bad chain alignment or other serious issue.
Step 2 – Remove the shift lever and foot peg
The shifter or shift lever and the foot peg or foot rest will come off next. After you have removed the foot peg, you will want to fill the mounting holes with epoxy, or just short bolts to avoid rust starting in them.
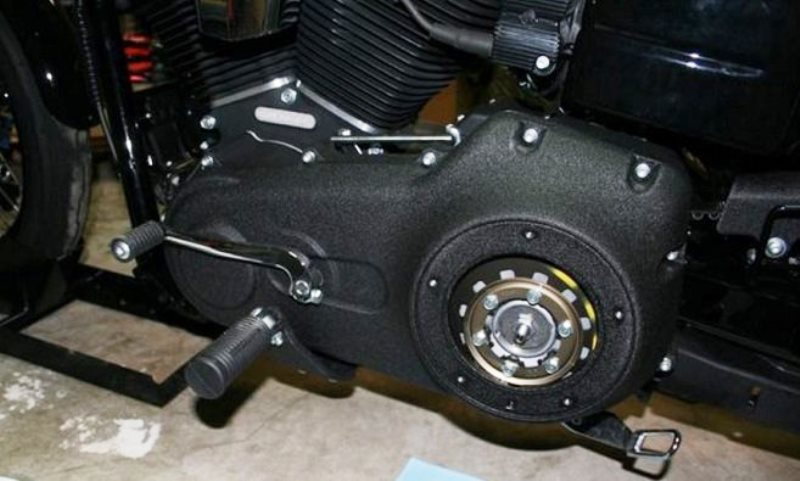
Figure 2. You'll need to remove the shift lever and foot peg before removing the primary cover. 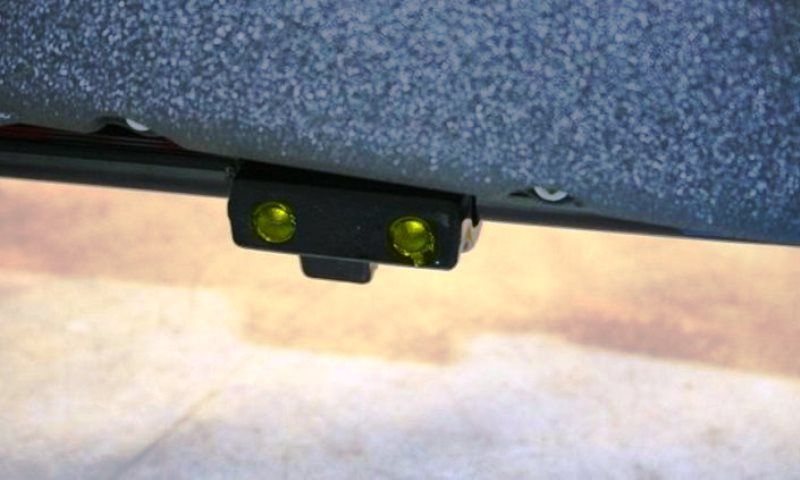
Figure 3. Consider filling in the foot peg holes with epoxy to prevent rust.
Step 3 – Remove primary case cover
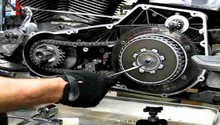
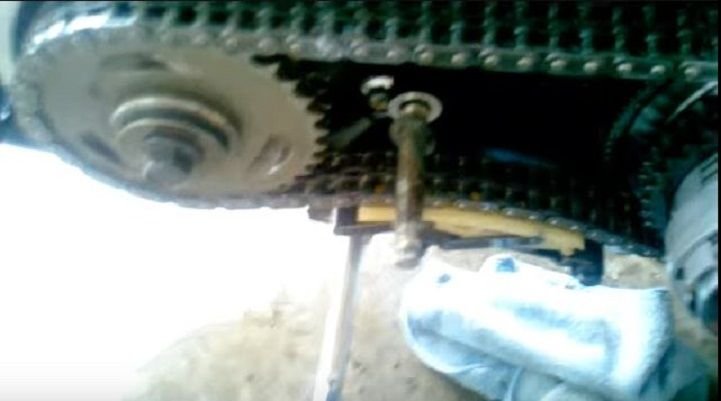
You may or may not want/need to remove the Derby cover first. There are 12 to 13 Allen head bolts that secure the cover. Remove these bolts and the cover will come right off. Set it aside.
Step 4 – Get a good quality cutting blade
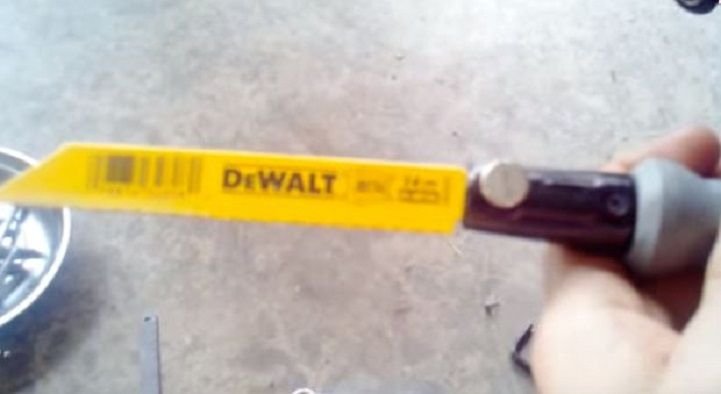
The use of a high quality cutting tool is going to make this part of the job much easier. While it isn't the most fun and seems a little scary actually cutting something on your pride and joy, it is much easier than removing the entire primary. Take your time, and if you get tired or frustrated, take a break. Cutting the shaft without scratching up the back side of the primary case can be time consuming. If you have a Sawzall or similar tool and a long blade, you may be able to speed this process up.
Step 5 – Cut off shifter shaft
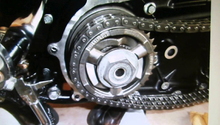
You'll be cutting behind the primary and there is little space back there. You need to get as much of she shifter link rod exposed on the back side as possible. To make this room, take a rubber mallet and gently tap on the end of the shifter rod until it moves in about an inch. Once it has moved back, take your blade under the bike and get in behind the primary where the shifter rod protrudes. Start cutting. This can take up to an hour to completely cut through it. Once it is cut, you'll pull the rod out and you will need to cap the hole or fill with epoxy. The last thing you need is a leak or allow any water to get into your primary.
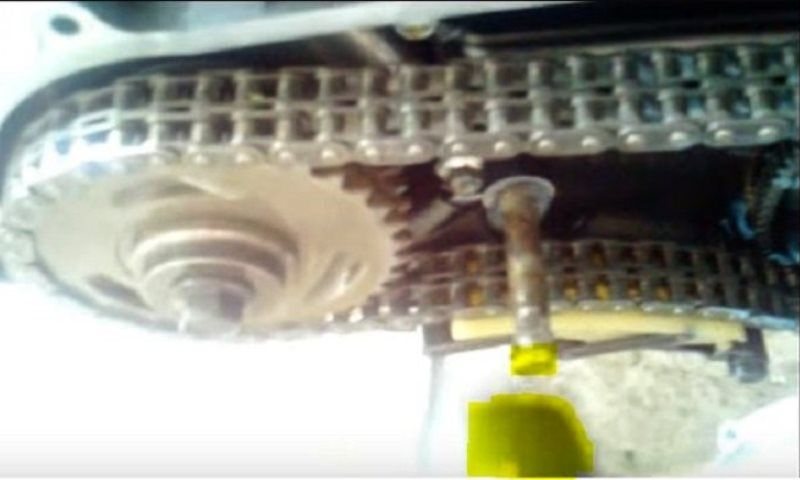
Figure 6. Gently tap the shifter shaft until it moves as far as possible. 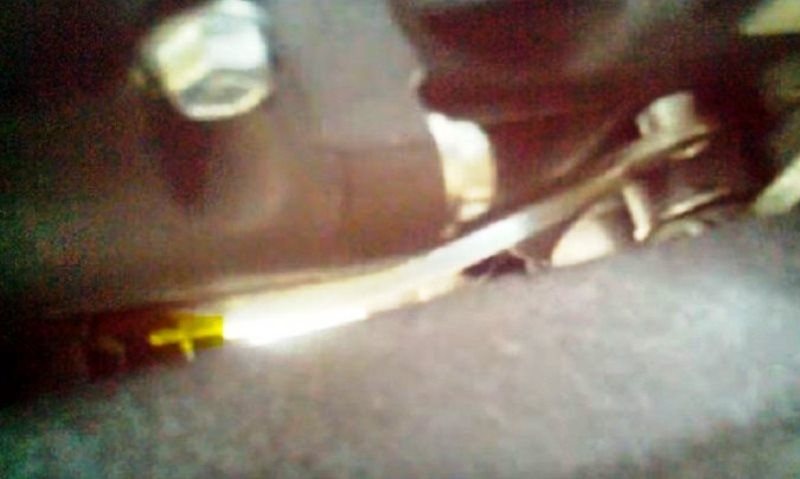
Figure 7. There should be plenty of room between the cases and the shift arm. 
Figure 8. Once you have completed the cut, pull the rod and cap the hole to seal it off.
Step 6 – Install the new forward controls
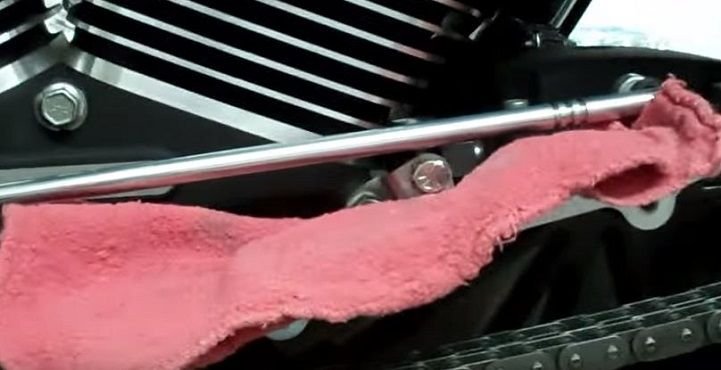
- Install the new transmission shift lever first.
- Install the new foot peg and shift linkage next.
- Install the linkage rod connecting the transmission shift lever and the foot shift lever.
Step 7 – Remove rear brake master cylinder
You will likely need to remove your pipes to facilitate the removal of the braking mechanism. The Harley brake assembly and mechanisms are similar across most models. Your specific model may be slightly different; pay attention to the details in the instructions that came with your kit.
- Remove your pipes.
- Remove the two lower brake pedal mounting bolts.
- Unclip the retaining bolt on the brake actuator rod that travels through the master cylinder.
- Pull the brake lever and the rod off the bike.
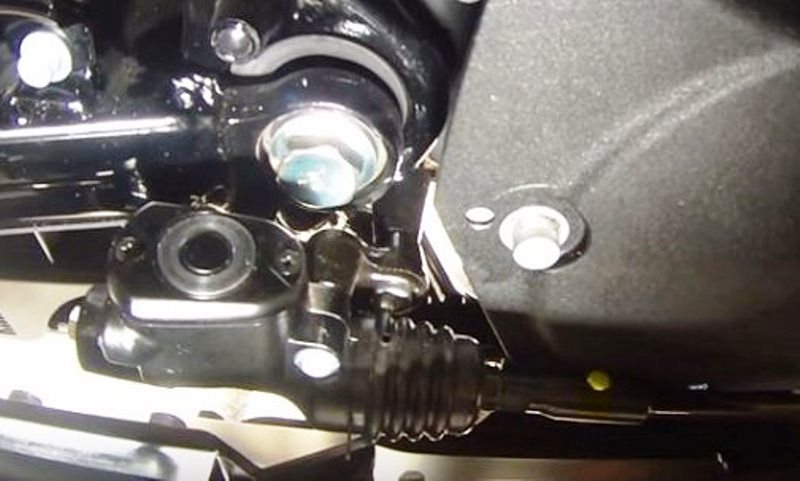
Figure 10. Remove circlip and pull retaining pin holding the brake rod to the actuator. 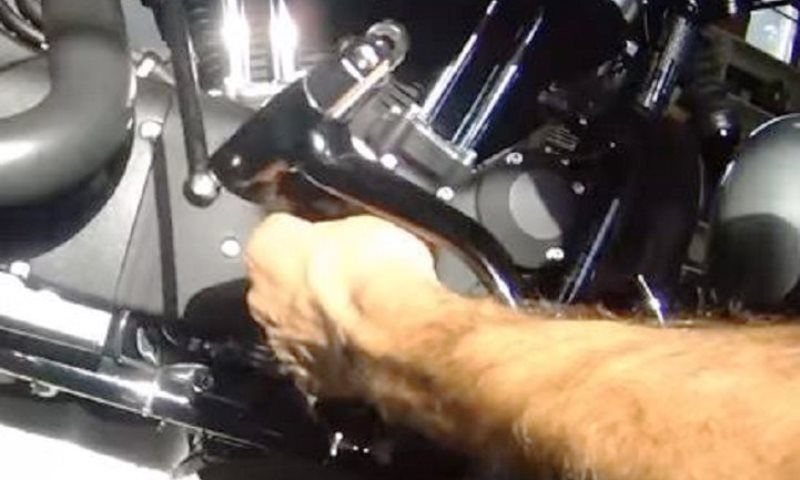
Figure 11. Remove the rear brake pedal mechanism.
Step 8 – Install new rear brake master cylinder
- Reassemble the new braking mechanism with the parts supplied in your kit (longer push rod).
- Reinstall the new brake mechanism and push rod back on the bike.
- Insert the retaining pin and circlip through the push rod into the actuator.
- Remount the two lower mounting bolts on the brake pedal.
- Replace your pipes.

Figure 12. New brake pedal mechanism assembly. 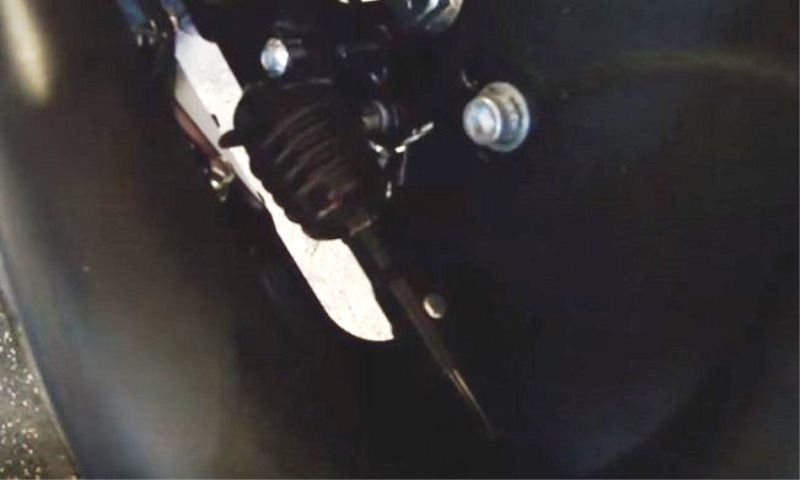
Figure 13. Reinstall the brake pedal and properly secure the pin through the push rod into the actuator.
Featured Video: Forward Control Install Without Removing Primary
Related Discussions and Video
- 2014 FXDB Forward Control Install - HDForums.com
- Forward Controls on a Superglide - HDForums.com
- Remove MIdcontrols, Install Forward Controls - HDForums.com
- Forward Control Without Removing Primary - YouTube.com