Harley Davidson Dyna Glide: How to Replace Rocker Boxes
Rocker box replacement can seem a bit daunting, but it may not be as hard to do as you think.
This article applies to the Harley Davidson Dyna Glide.
Rocker boxes house the rocker arms, which are responsible for opening and closing the valves located at the top of the engine. Each box is separated into two sections. The top section, commonly referred to as your rocker cover, is very easy to remove and service. While the bottom section is the actual box that houses the arms themselves. Fortunately, there aren't too many problems that occur from a rocker box so this isn't a procedure you would necessarily do on a constant basis, but knowing how its done can save you a pretty penny. Use these following instructions to replace rocker boxes on your Dyna Glide.

Materials Needed
- Motorcycle stand
- Screwdriver
- Socket set
- 3/8" ratchet
- Torque wrench
- Repair manual
- Rocker box gasket set
- Bike lift (optional)
- Rubber mallet
The following process needs to be repeated for each rocker box.
Step 1 – Remove the gas tank, intake and place bike on lift
There are some who claim this task can be done without removing the tank, but personally I think this makes everything a lot easier. If the tank has gas, take extra caution during its removal process.
- Remove the side panel screws.
- Remove the front and back bolts.
- Disconnect the fuel overflow line.
- Carefully disconnect the fuel petcock.
- Remove the tank from the frame.
- Place bike on a lift. (This is optional.)
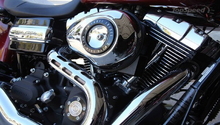
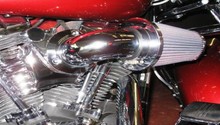
- Remove the air intake piping to gain access to the rocker boxes.

Pro Tip
To relieve fuel pressure, you can run the bike a bit until it stalls out; so you when disconnect, the line gas does not come squirting out.
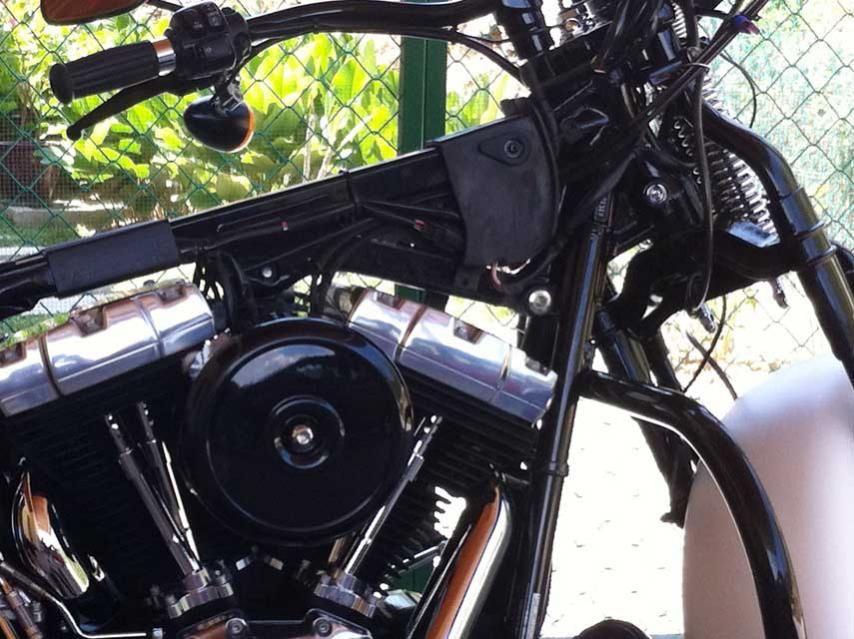
Step 2 – Remove the rocker box cover
Unbolt the six bolts holding the rocker cover in place, using the pattern listed below. This will ensure there is no extra stress on the cover bolts while they are being removed. With the bolts removed, use a rubber mallet to carefully pop the cover off and make sure to get the old gasket off.
Pattern:
- 3-6
- 1-2
- 5-4

Step 3 – Remove the breather assembly
Underneath the cover you will notice the bottom box bolts, rocker arms and breather assembly. Remove the two bolts holding the breather assembly in place, then carefully remove the gasket and filter.

Step 4 – Find top dead center
There are several different methods to use in order to find TDC. The one listed here is very easy to do, especially if your bike is on a lift.
- Remove the rear spark plug.
- Put your finger in the hole and spin the rear wheel.
- As the air sucks in, pay attention to when it begins to push air out.
- Once the air stops pushing out, shine a flashlight down to hole to ensure it is TDC.
Step 5 – Loosen the rocker arm support plate
Just as you removed the rocker cover, following a specific bolt pattern, do the same here. Loosen the bolts in the following order:
- 4-2
- 1-3
You can keep the assembly in place and move on to remove the lower box bolts. This allows you to easily see where all the pieces for the new lower rocker box goes, so you can safely assemble it to stock specification. Loosen the bolts, two turns each time, in the following order:
- 3-5-1
- 2-6-4
Then remove the gasket.

Step 6 – Assemble the lower box
The reassembly is one of the most important parts of this process, so take care to do everything with the utmost precision.
- Install a new lower rocker box gasket on the engine and make sure the breather channel is covered.
- Install a new O-ring on the lower rocker box.
- Install the lower rocker box and tighten to 120-168 in-lbs using the above sequence. Tighten a little each time while going through the torquing sequence.
- Install the rocker arm support on the new lower rocker box, using the same removal sequence mentioned in Step 5 to 18-22 tq-lbs.
- Allow an hour or so to let the lifters bleed down.

Pro Tip
Make sure the O-ring and gasket all seat properly. Failure to do so will result you in having to do this all again.
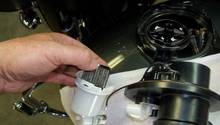
Step 7 – Check your push-rods
Before reinstalling the breather assembly, locate the retainer screw for the push-rods cover and remove it. Lift the push-rod cover up and spin it. If it does not spin freely, give it 15 to 30 minutes and check again. If it does not, check to make sure you installed everything correctly at the right specifications. Once the push-rod spins freely, install the breather assembly with a new gasket at 90-120 in-lbs.

Step 8 – Install the rocker cover
- Place a new gasket on-top of the lower rocker box and install the new cover.
- Use the sequence mentioned in Step 2 to install the cover bolts.
- Tighten the rocker box cover to 15-18 ft-lbs.
- Install the spark plug.
- Install the retainer screws for each push rod.

Related Discussions
- Chrome Rocker Box Install. w/ Pics. - HDForums.com
- How to Change the Rocker Boxes on Your Dyna - How To - HDForums.com