Harley Davidson Softail: How to Replace Battery
The battery must not only hold a high enough charge to start the bike, but also recharge once the bike is running. Temperature changes, vibrations, and normal wear all make it harder for the battery to recharge. If you notice your bike consistently taking longer to start, battery inspection and replacement is a good idea.
This article applies to the Harley Davidson Softail.
The battery creates electricity by continuous chemical reactions. Electrolyte inside the battery reacts with the metal plates to generate electrons. The battery must maintain the right ratio of water to electrolyte for these reactions to continue. When a battery discharges, water takes the place of the electrolyte, which will not create the needed electrons for the bike to start and recharge. This is why it's important to periodically charge your battery if it's left unused for an extended period of time. Harley Davidson recommends battery replacement every three to five years. With proper maintenance, it's possible to have your battery last longer than six or even seven years.

Materials Needed
- Basic socket set (8mm-13mm)
- Basic wrench set (8mm-13mm)
- Ratchet
- Small ratchet extension
- Phillips head screwdriver
- Rag or electrical tape (optional)
- New Battery
- Di-electric grease (optional)
Figure 1 is a chart with the Harley Davidson battery part numbers.

Step 1 – Remove the seat
Your battery is mounted below/beside your seat. You'll need to remove your seat and/or battery box access cover to gain access. There are many seat options available for the Softail, but most are removed similarly. Locate the mounting nuts or bolt(s) around and under the seat. Remove them and gently lift the seat up. Look under the seat with a flashlight to identify any remaining mounting bolts. If your seat has a strap, you'll most likely find one here. Pull the seat up and away from the gas tank.
If your Softail uses a battery box, remove the cover by removing the screw at the bottom of the cover. Pull outward at the top of the cover to disengage the cover clip.
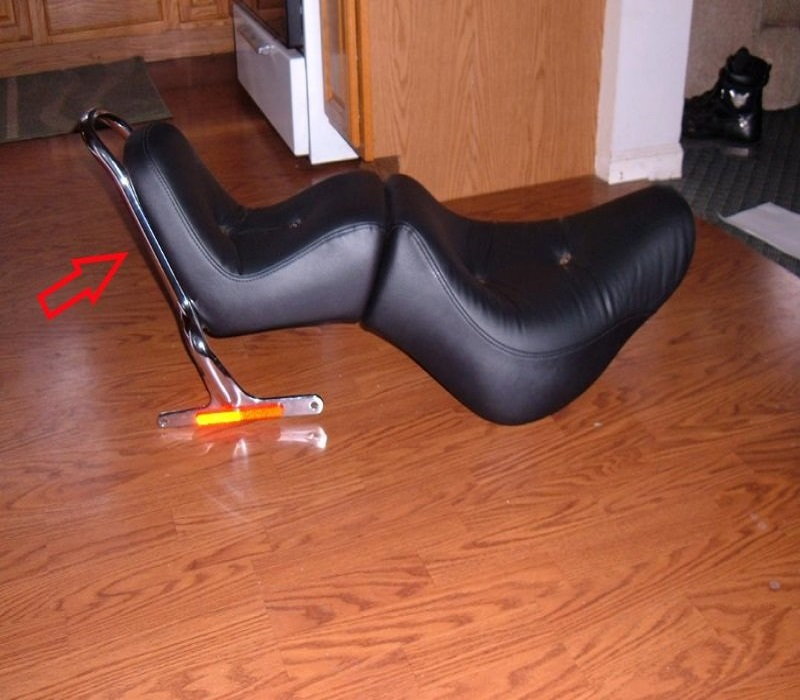
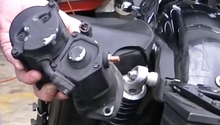
Figure 2. This style of seat will have nuts behind the seat. 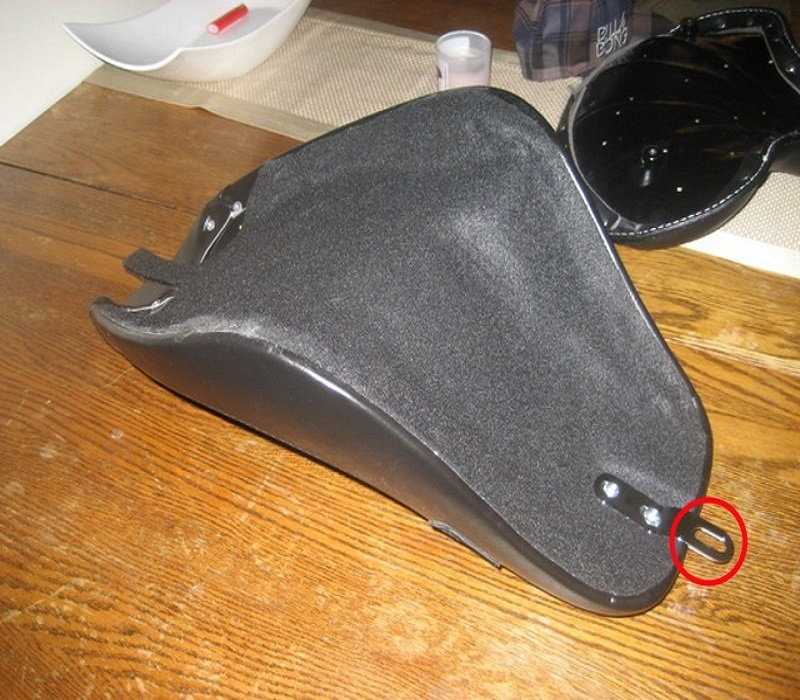
Figure 3. This seat style will have a mounting bolt at the front. 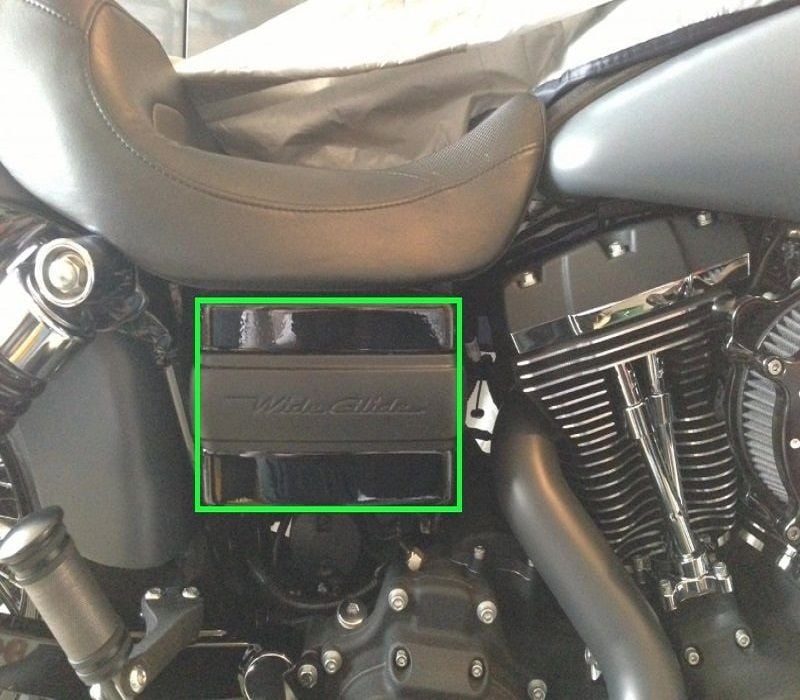
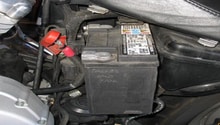
Figure 4. The battery box. 
Figure 5. The battery cover removed.
Step 2 – Remove the battery
If you have a battery box, you'll need to unhook the battery strap from the right side of the battery.
Depending on your year model, your cables may use Phillips head screws or small bolts that require a 8mm or 10mm socket. Loosen the screws/bolts by turning them counterclockwise. Remove the negative cable first and wrap the cable with electrical tape or a rag to prevent it from arcing against the battery terminal.
Lift the battery straight up if it's below the seat. You can grab onto the battery terminals with a pair of pliers if it's difficult to remove. For side mounted batteries, pull the battery away from the bike. You may need to lift it up slightly to slide it past the bottom of the tray.
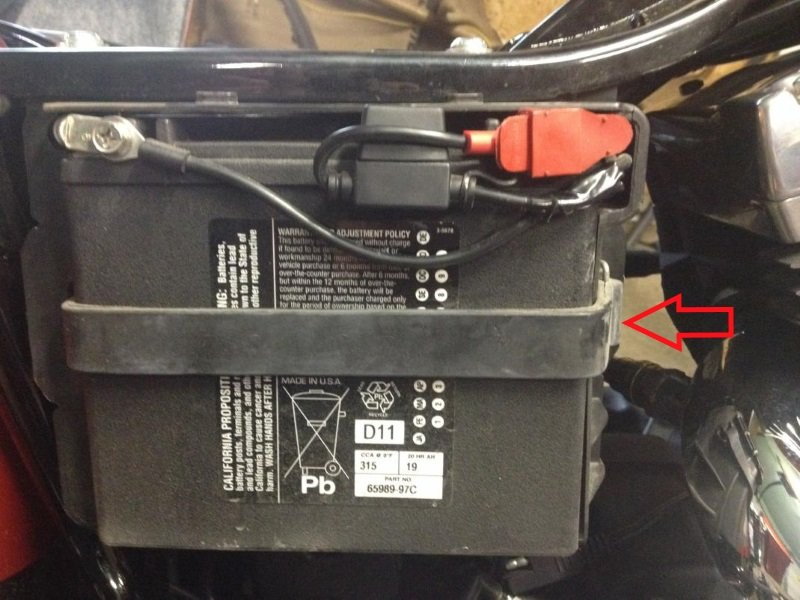
Figure 6. Unhook the battery strap. 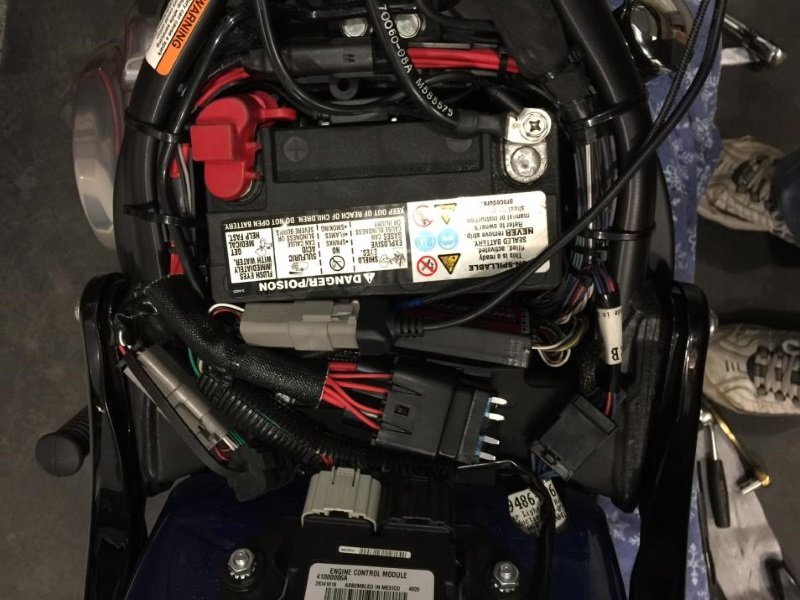
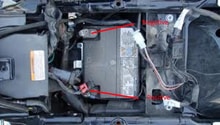
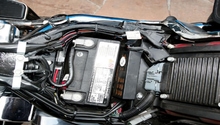
Figure 7. The view of the battery once the seat is removed.
Step 3 – Install the new battery
Installation is done by reversing the removal steps. Make sure you attach the positive battery cable before the negative. You can cover the cables in di-electric grease to help prevent corrosion.
Featured Video: How to Replace Harley Battery
Related Discussions
- Battery Model and Specs - HDForums.com
- OEM or Afetrmarket Battery - HDForums.com