Harley Davidson Dyna Glide: Why Won't My Bike Start?
Whenever you are trying to diagnose why your bike won't start, it is always a good idea to remember the elements that allow for combustion to occur: fuel, spark, and battery power. Especially with fuel injected models, if any one of these three elements is removed from the equation, you end up with an engine that will not run. By inspecting components in each system and using the process of elimination, the root of the problem can often be quickly identified and replaced to get your bike back on the road.
This article applies to Harley Davidson Dyna Glide models.
As technology progresses and motorcycles become more complex, it is easy to become overwhelmed when trying to diagnose a no-start condition on your bike. Fortunately, internal combustion engines still operate by igniting an air-fuel mixture inside of the combustion chamber to produce power, so inspecting several different electrical, ignition, and fuel system components can pinpoint the problem. Dyna Glide models feature many of the same components as other bikes in the Harley Davidson lineup, which has allowed common problems to be well documented for an easy fix. This article will outline the common problem areas that can cause a no-start condition on various Harley Davidson Dyna Glide models.

Materials Needed
- Phillips and flat head screwdrivers
- Torx socket set
- 1/4" drive ratchet and extension
- Wire cutters
- SAE socket set
- SAE Hex (Allen) key set
- Digital multimeter
- Battery charger
Step 1 – Check battery
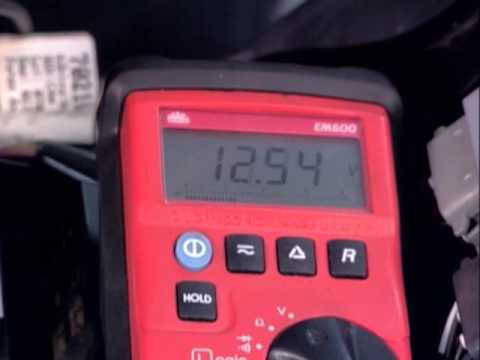
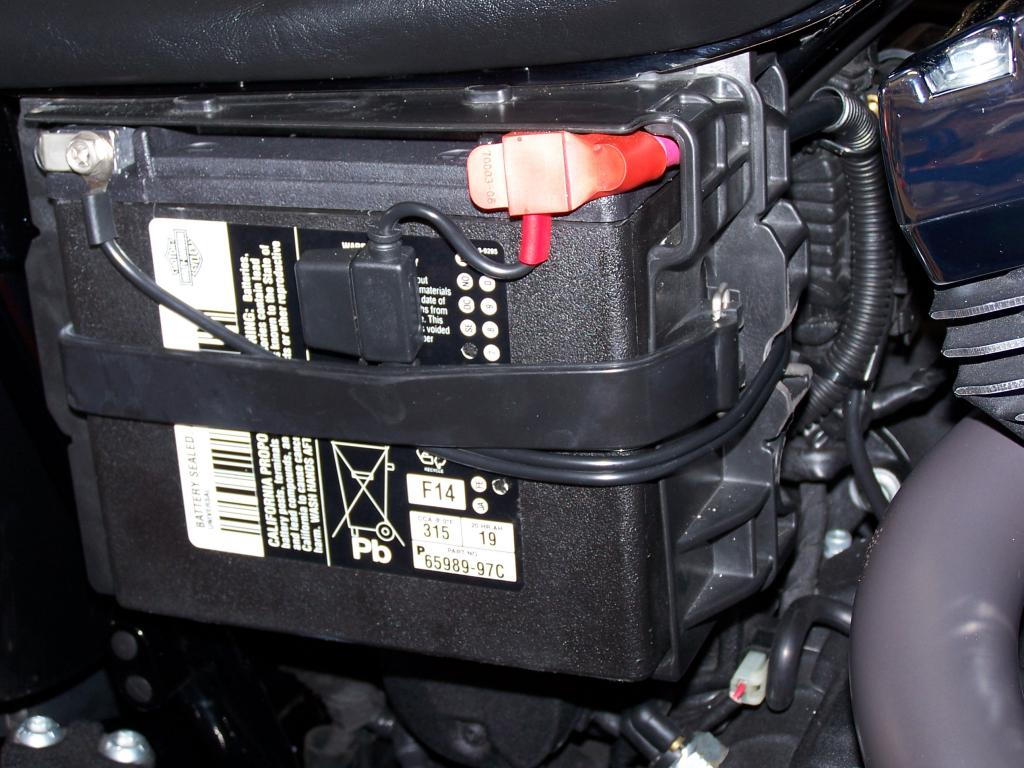
Whenever you are experiencing a no-start condition on your Dyna Glide, the first component to inspect is the battery. A battery that is dead or has an extremely low charge will not have enough power to operate the starter or power up the ECM and fuel pump (fuel-injected models). Use a voltmeter to measure the available voltage at the battery. A battery that is 100% charged will have approximately 12.6 volts, whereas a battery with a 0% charge will read 11.8 volts or lower. If your battery is low, charge the battery on a setting no higher than five amps for a few hours. If the battery voltage does not rise after charging, or quickly discharges, replace the battery.
If the battery's state of charge is good, check to ensure the battery cables are secure and free of any corrosion. A bad ground connection has been the culprit behind many starting and charging issues.
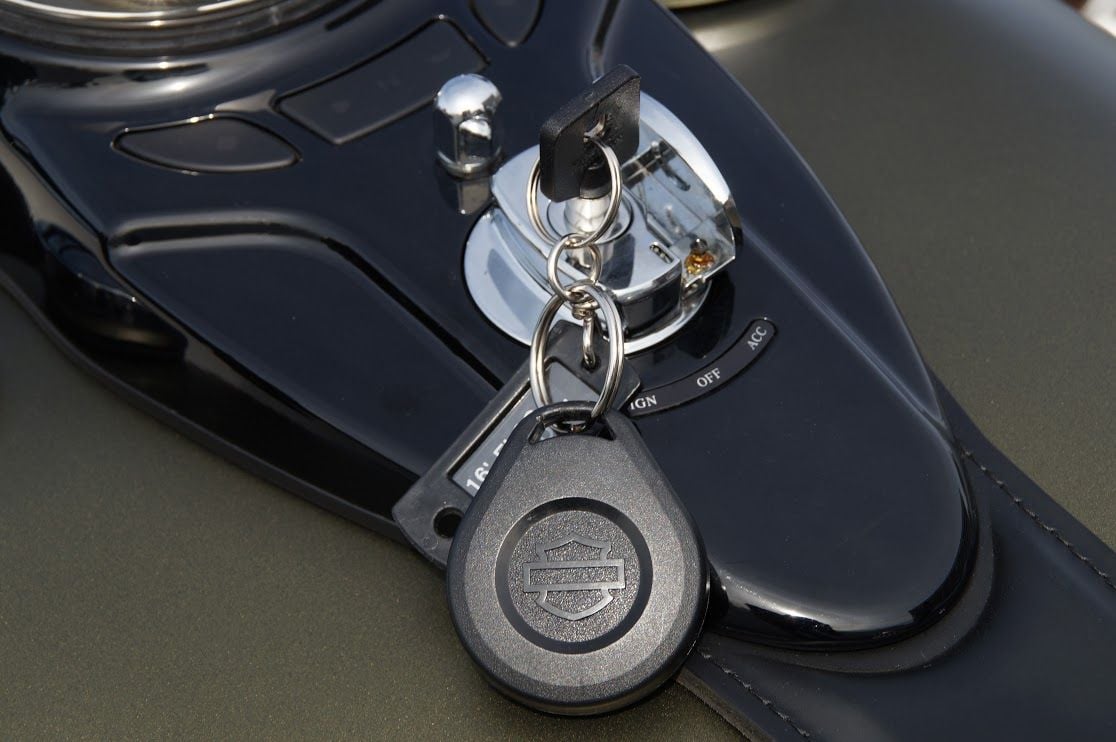
Bikes equipped with a security system can suffer from a no-start condition when the battery dies in the key FOB. If the key FOB battery is dead, the anti-theft immobilizer is unable to receive the necessary signal from the key that is needed to start the bike. Swapping a new battery into the key FOB can quickly cure a no-start condition. For additional information, see Why Isn't My Key FOB Working?
Pro Tip
Harley recommends that the battery be charged at 5, 2, 1.5, or .75 amps. Charging the battery at 10 amps or higher can damage a perfectly good battery.
Step 2 – Check starter and starter circuit
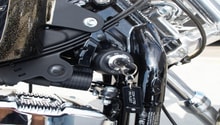
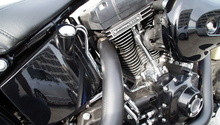
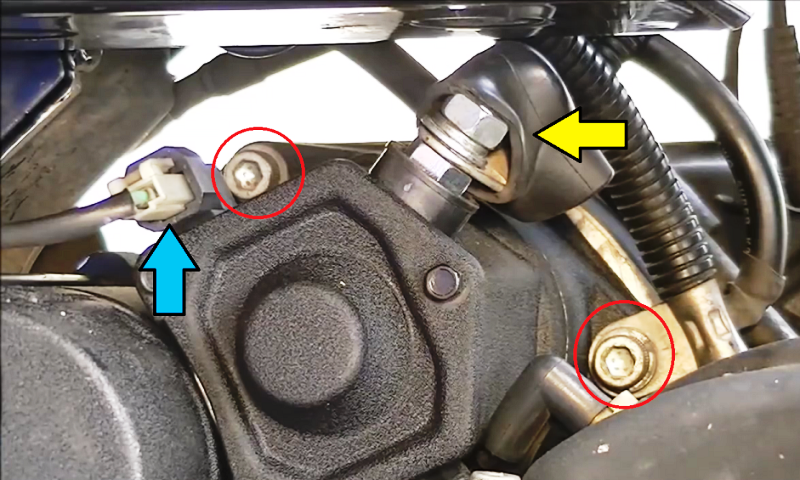
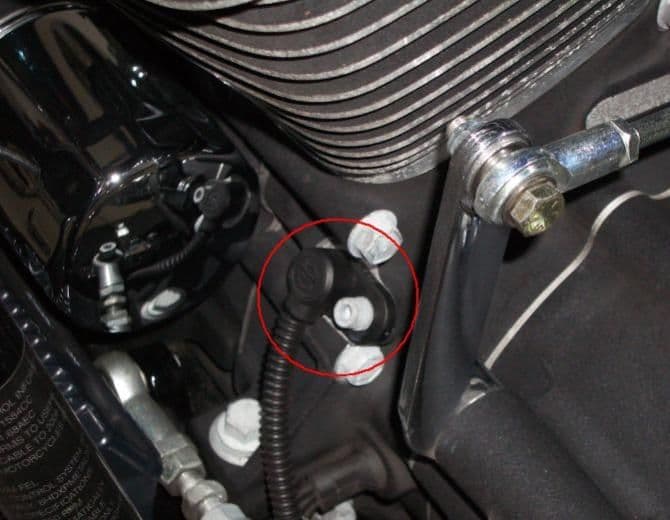
If your battery voltage and connections are in good condition, but your engine is still refusing to turn over, the problem may be in the starter circuit. Perhaps the easiest place to begin is at the starter solenoid on the right side of the motorcycle. Pull back the protective rubber boot and ensure the positive battery cable (yellow arrow) is securely tightened to the solenoid terminal. Similarly, inspect the solenoid electrical harness plug (blue arrow) for any burnt pins and be certain the plug is properly plugged in.
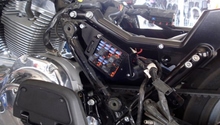
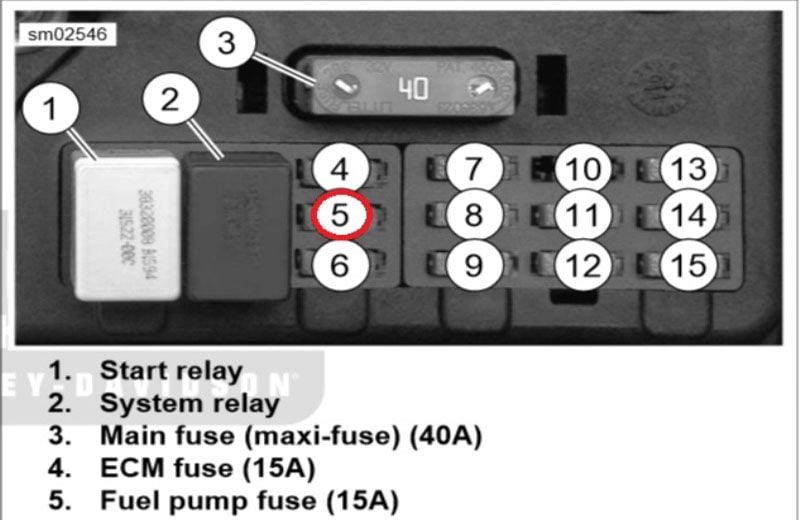
Another component to inspect is the starter relay, which is located in the electrical fuse box underneath the side cover on the left side of the motorcycle. Relays have the potential to go bad and prevent high current from reaching the starter. Check the relay contacts for signs of burning or melting. Most feel that a new relay should be installed as they are cheap (about $5-10), easily replaced, and may just cure your starting issue.
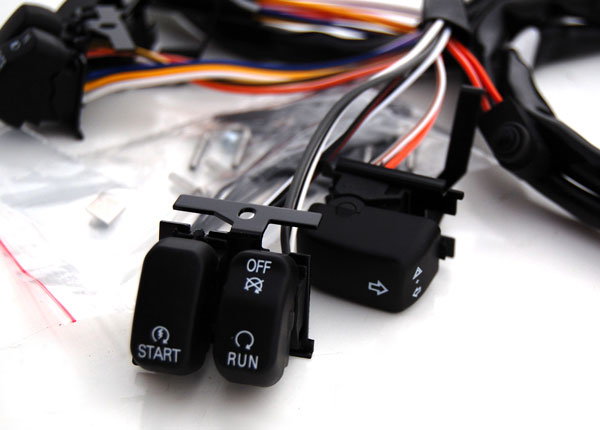
It usually a good idea to open up the right handlebar switch assembly and check for corrosion on the starter and run switches. While it is not a very common problem, checking for a faulty starter switch is one last area to inspect before setting your sights on the starter assembly itself.
If all items in the starter circuit check out okay, it is likely that the starter motor is on its last leg and should be replaced. Apparently, starter issues are quite common on various Dyna models, so if yours is in need of replacement, see How to Replace Starter.
Pro Tip
If you are in a bind and your starter motor is acting up, a quick tap of the solenoid with a hammer or similar small object can sometimes free the starter to start the bike.
Step 3 – Check fuel pump (fuel-injected models)
- While it may seem redundant, check that you have fuel in the gas tank before digging too deep into diagnosing fuel related components. Surprisingly, a faulty fuel gauge has caught numerous owners off-guard, and upon refilling the tank, the bike has started right up. If your bike is a carbureted model and you are not getting any fuel, chances are the carb is gummed up and the jets are not flowing any fuel. A quick disassembly and cleaning is often an easy fix.

- On a fuel injected bike with the key ON, you should hear the fuel pump momentarily prime (high-pitched whine) once the run switch is positioned ON. If the pump fails to prime, check for a blown fuel pump fuse in the fuse box. If the fuse is good, inspect the fuel pump electrical harness plug.

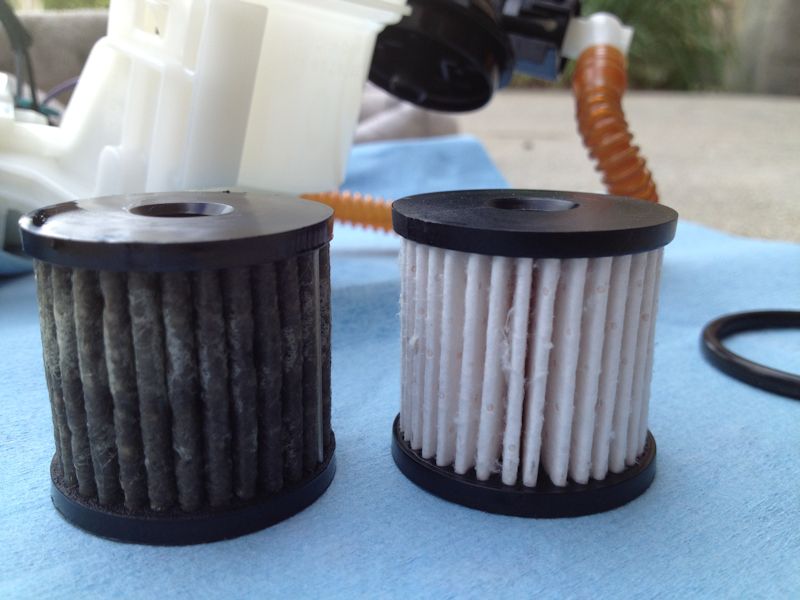
- Assuming the fuel pump is operational, it is possible that one of the in-tank fuel lines has ruptured and cannot supply fuel to the engine. Similarly, the fuel filter element inside of the fuel tank can become restricted to the point that it will not flow enough fuel to allow the engine to run. For additional information on accessing the fuel pump electrical plug, in-tank fuel lines, and fuel filter, refer to How to Replace Fuel Filter.
Pro Tip
Newer model Harley's have a safety switch to prevent the bike from being started in gear without the clutch pulled in. Be sure your bike is either in neutral or, if in gear, the clutch is pulled in before starting.
Step 4 – Ignition system
So if you have made it this far, your bike is cranking and your fuel pump is operational, but you still have no ignition. For fuel-injected models, spark is controlled by the ECM and uses the CKP (crankshaft position sensor) to determine when to fire the spark plugs and ignite the air-fuel mixture in the cylinders. If this sensor is damaged or has gone kaput, the ECM will have no reference point to provide any spark. The Harley service manual suggests to check the electrical connections at the ECM and CKP, as well as check the resistance of the ignition coil before replacing the CKP sensor. That being said, a large number of Dyna owners who have had trouble starting their bikes reported that replacing the CKP sensor immediately cured the problem. If you have a digital multimeter on hand, voltage should vary between 0v and 5v when measured at the sensor while cranking the engine. If the sensor is registering the proper voltage, measure for the same readings at the ECM input to rule out any wiring issues.
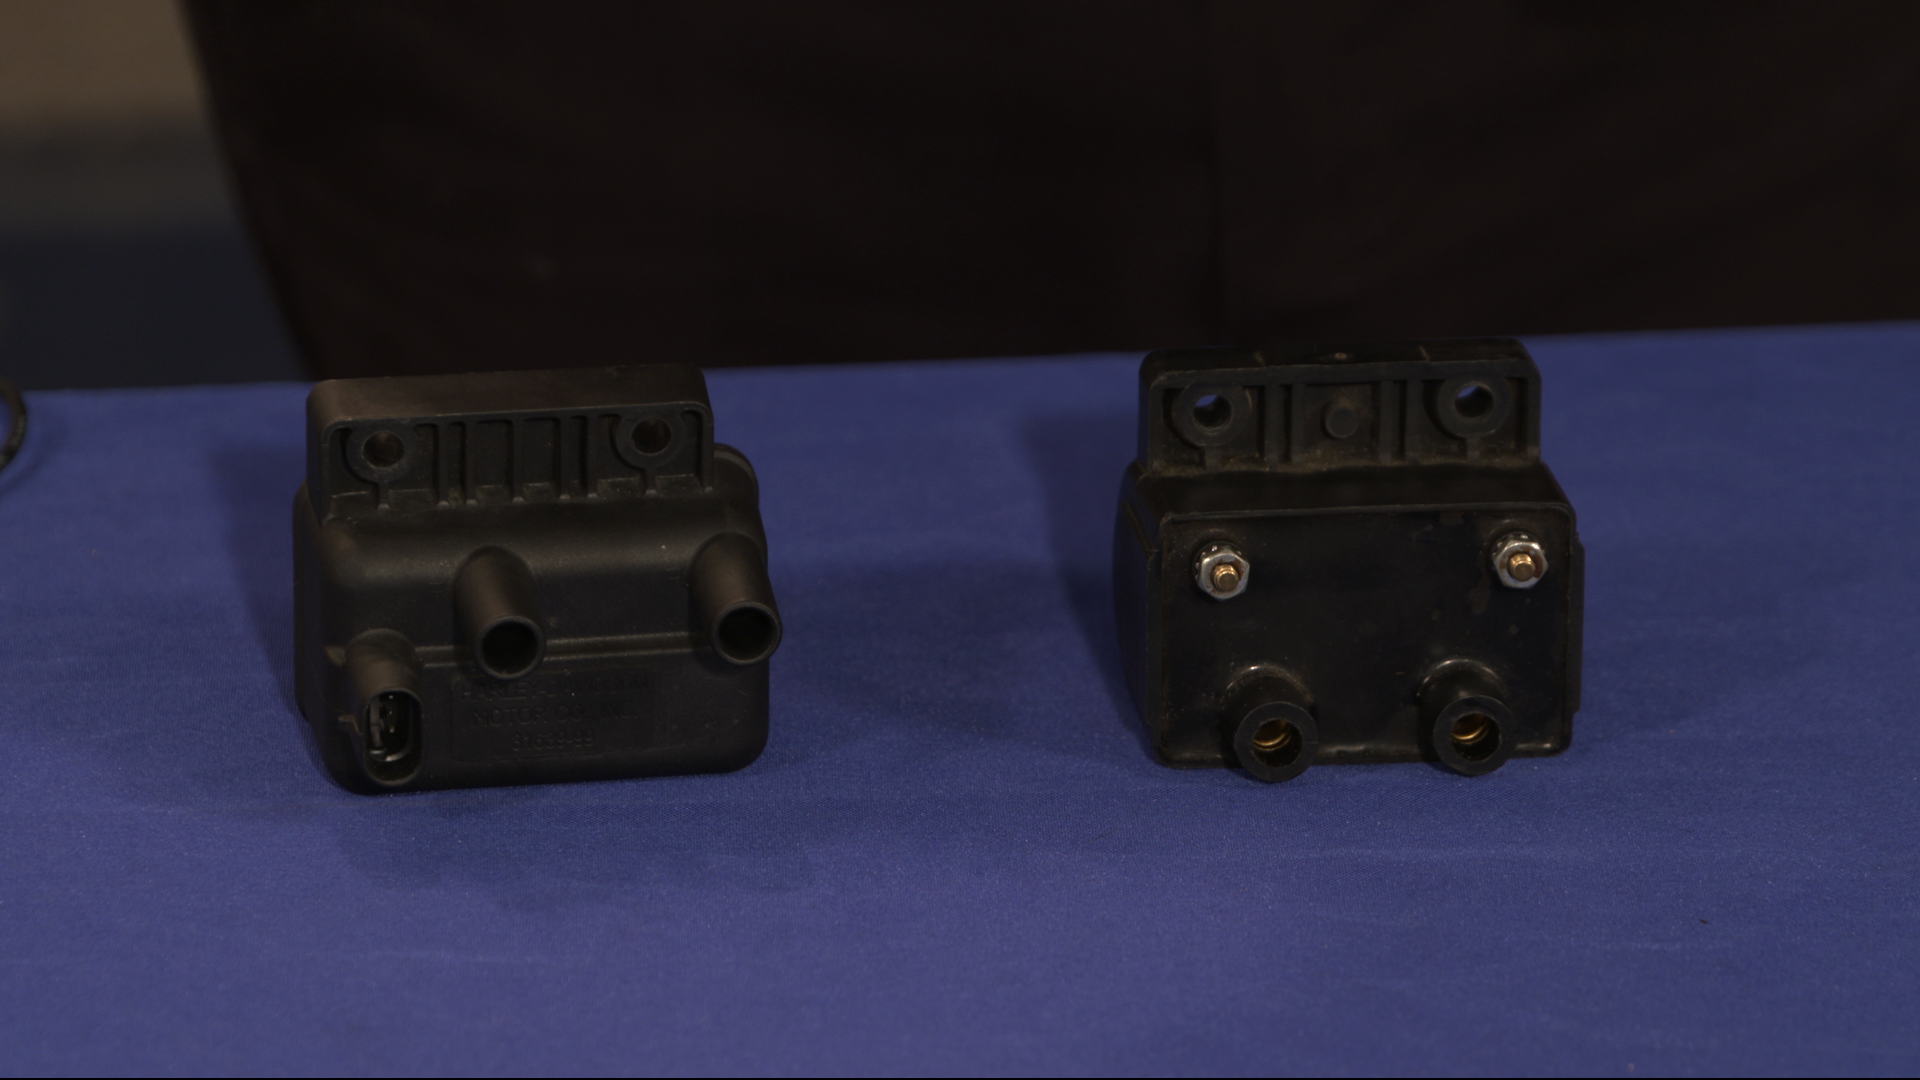
As mentioned, inspecting the ignition coils can also quickly pinpoint a no-spark issue. Using the specs outlined in the owner's manual for your specific bike, measure the primary and secondary resistance of the coil, and if not within spec, replace it. More often than not, the CKP sensor is the root of the problem, but in some circumstances the coil can be at fault.
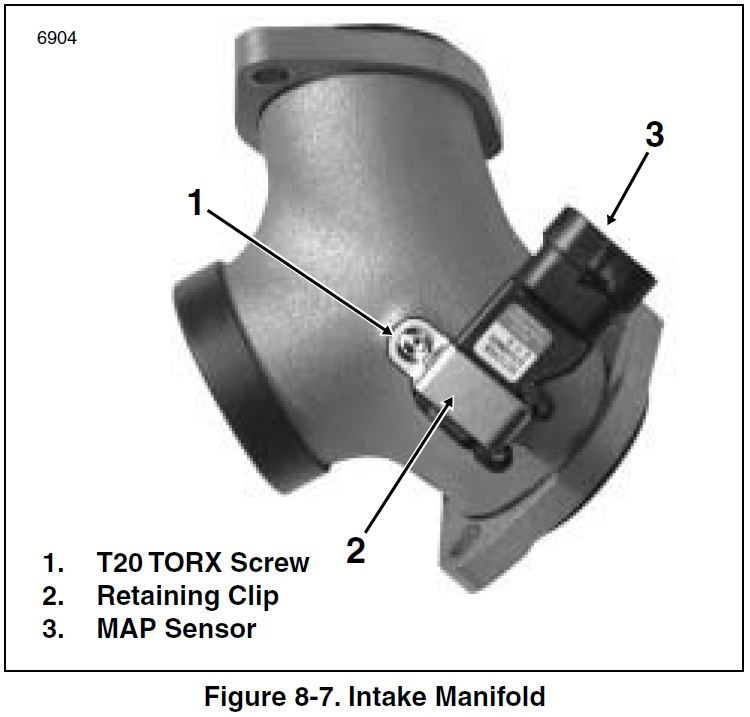
In their troubleshooting guide, Harley suggests that a faulty MAP (manifold absolute pressure) sensor can cause a no-start condition; however, this is rarely the case. A bad MAP sensor may give poor mid-range and sluggish throttle response, but is not often associated with a bike that won't start. Nevertheless, if all else fails, inspect and replace the MAP sensor if necessary.
Pro Tip
A quick way to test for spark is to remove a spark plug wire from a spark plug, attach it to a spark plug that is not installed in the engine, and crank the engine over. If the ignition system is working properly, you will notice the spark plug arcing as the engine cranks.
Related Discussions
- 06 Street Bob Doesn't Start - HDForums.com
- Starter Relay - HDForums.com
- How to Test a Crank Position Sensor - HDForums.com