When you click on links to various merchants on this site and make a purchase, this can result in this site earning a commission. Affiliate programs and affiliations include, but are not limited to, the eBay Partner Network.
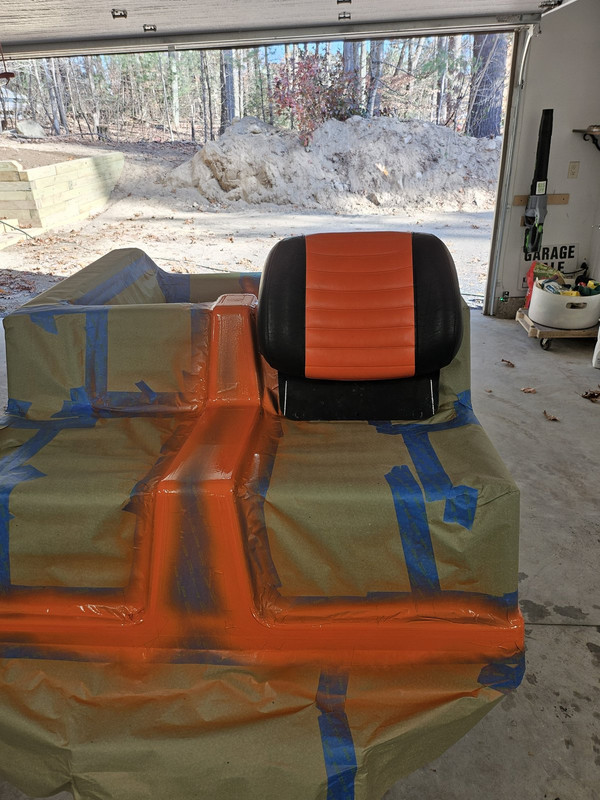
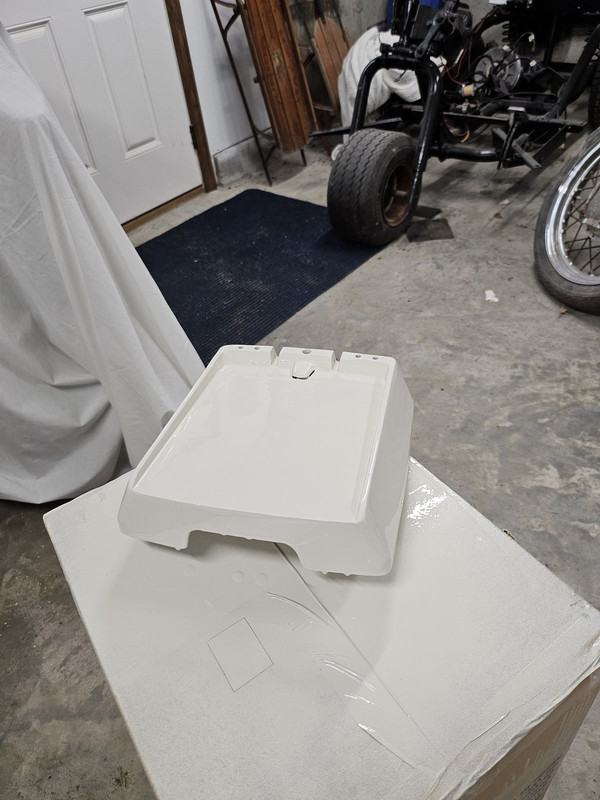
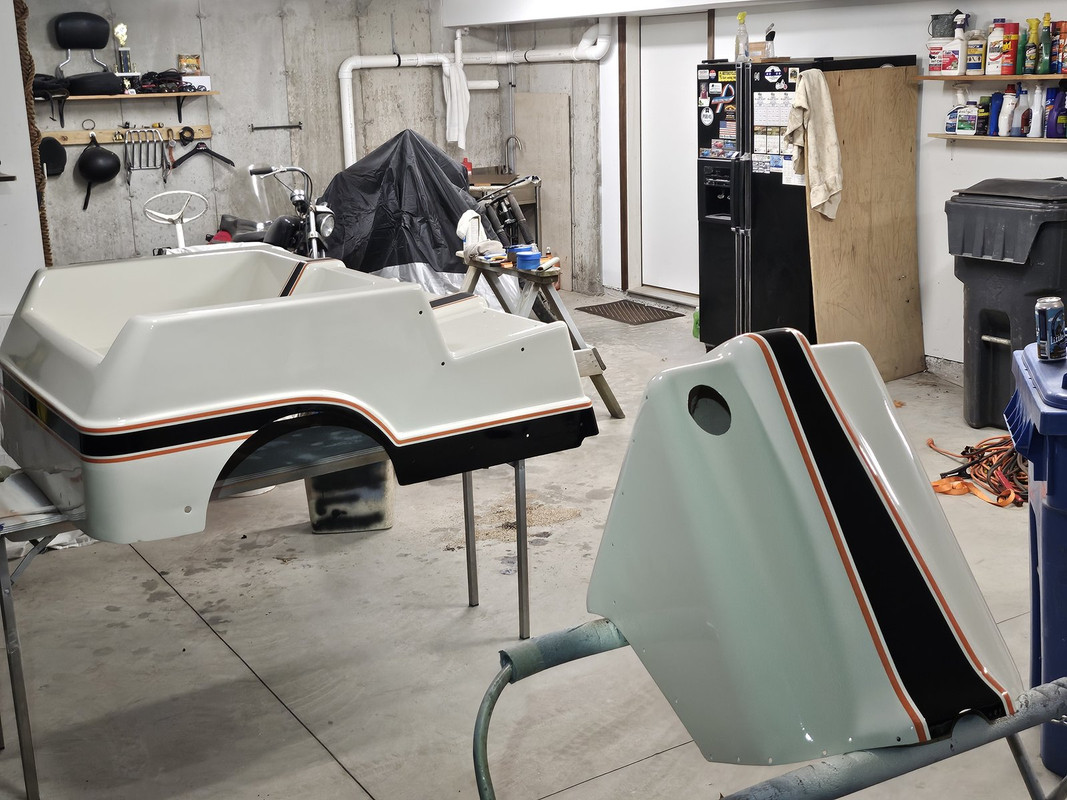
Last week I took advantage of record warm temperatures to ride my bikes around. But I also found a little time to blast, prime and paint the score card holder. I forgot it when I did the body.
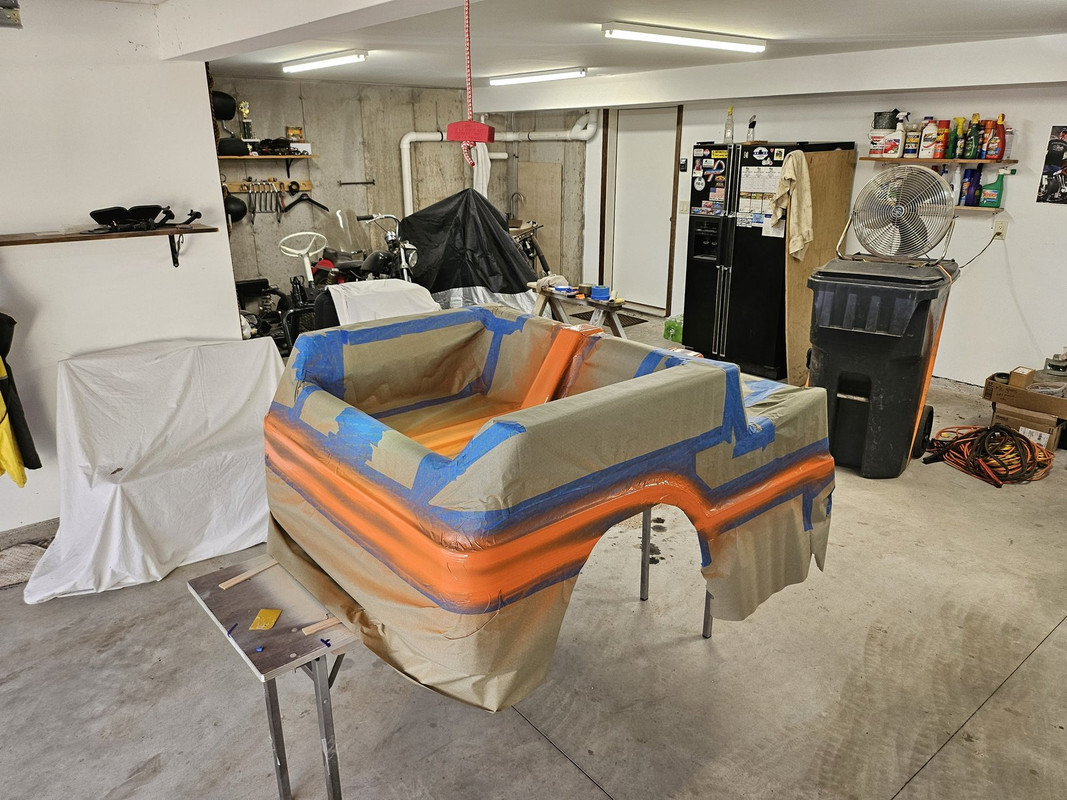
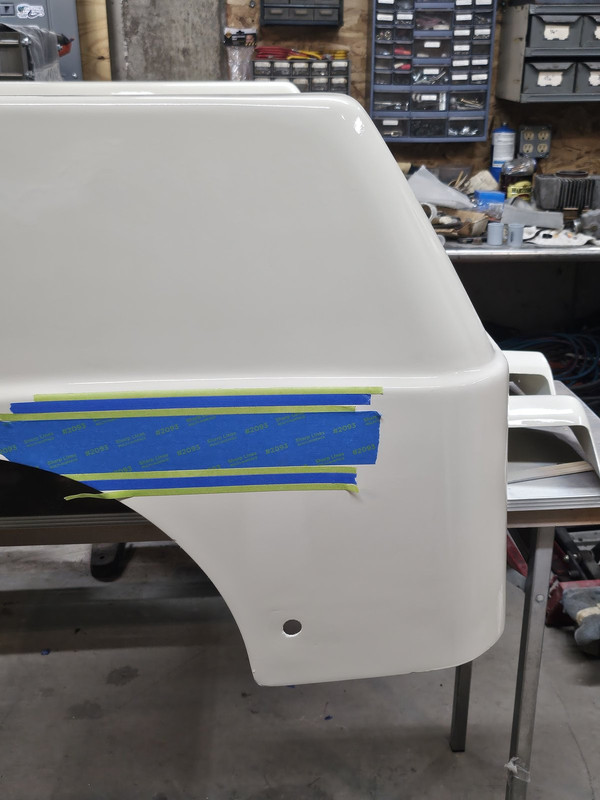
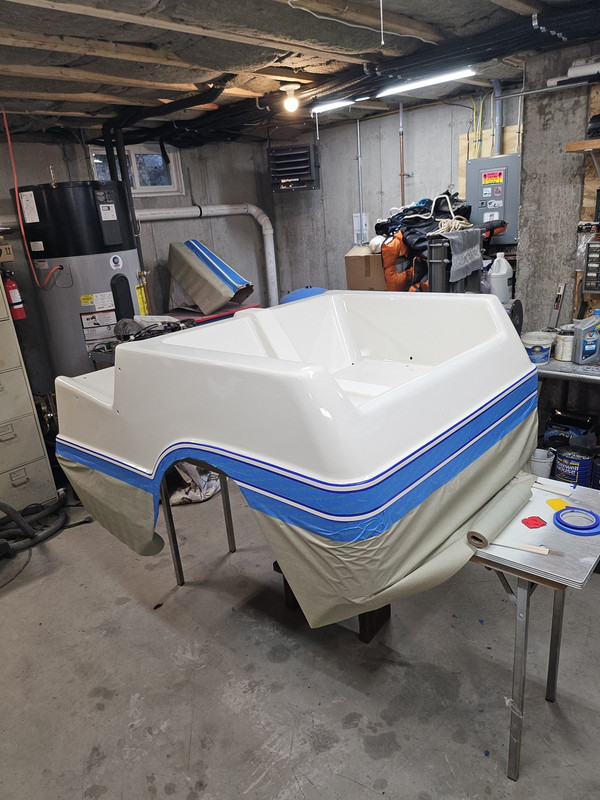
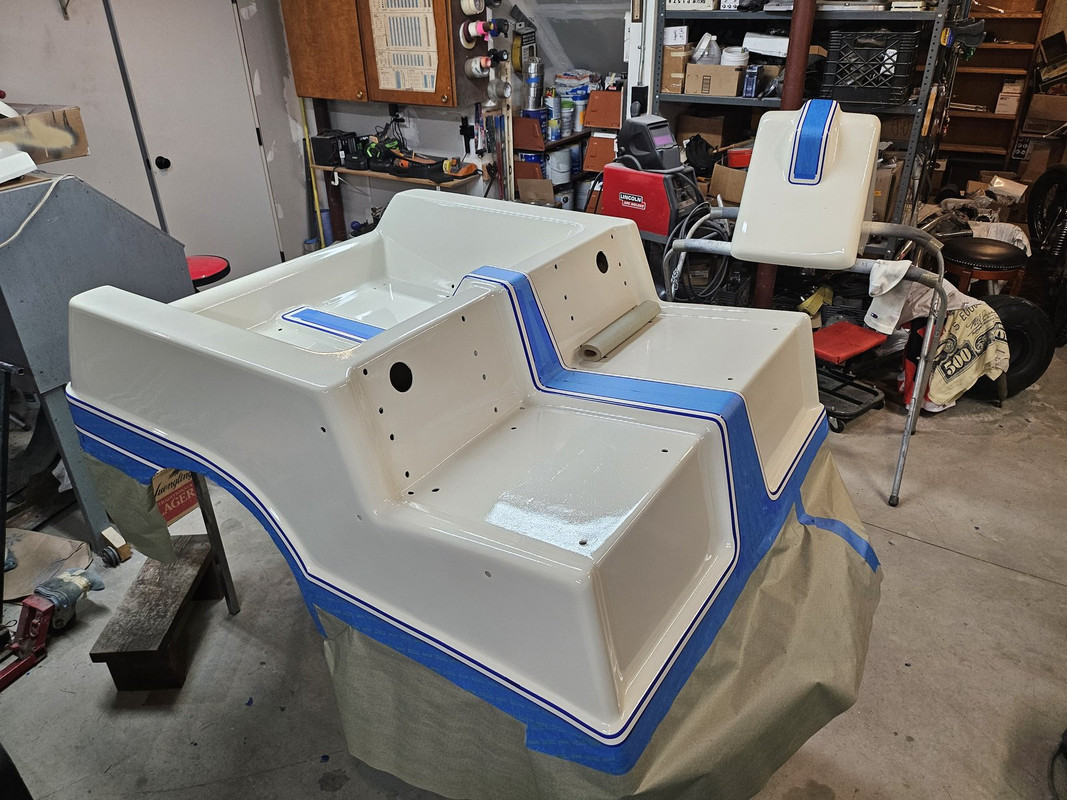
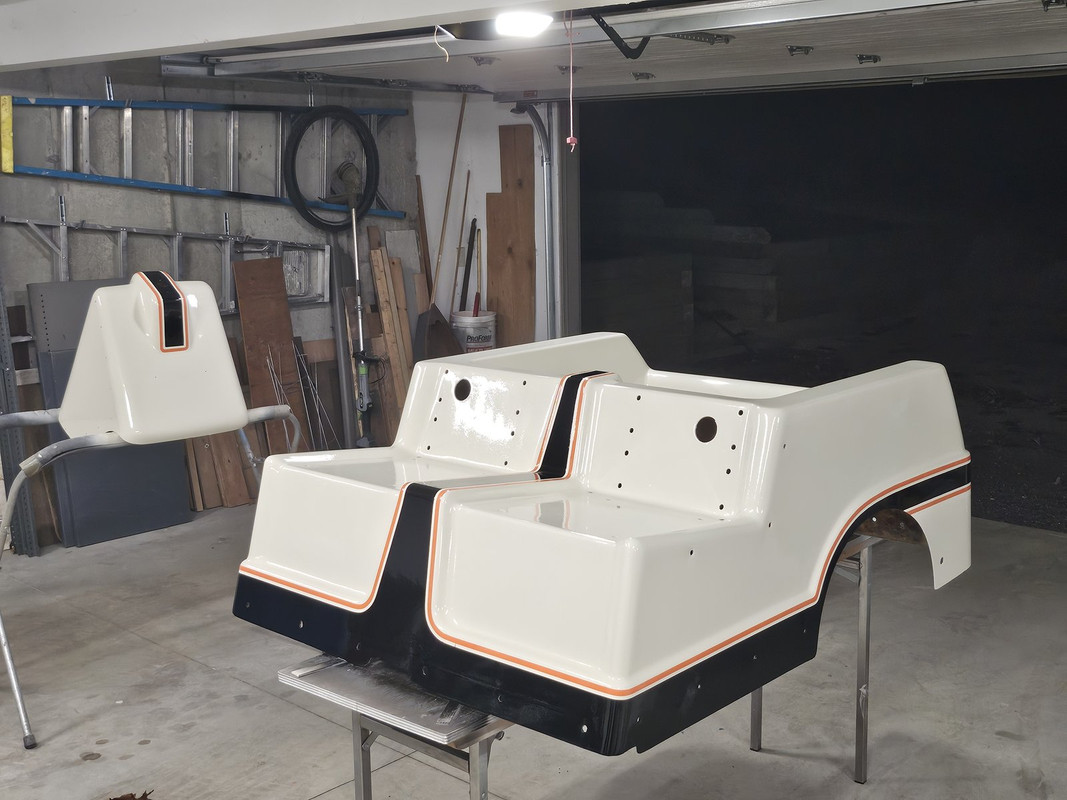
Today was tape day, it's supposed to be back in the 70's Wednesday and I want to finish painting. First I did a couple of layouts to see where the stripe would look best. This is what I came up with. The thin blue stripes will be orange, the fat blue one will be black.
The paint has a 3-4 hour cure time before taping. I layed out a test stripe on the other console to see if the tape will come off cleanly after that long a time. I hate to have to tape it twice.
Then I started taping and masking the body. I'll spray the orange stripes first, you can see where I used 3/8" tape as a guide for the vinyl tape and removed it.
I'll finish masking tomorrow and spray the test stripe too.
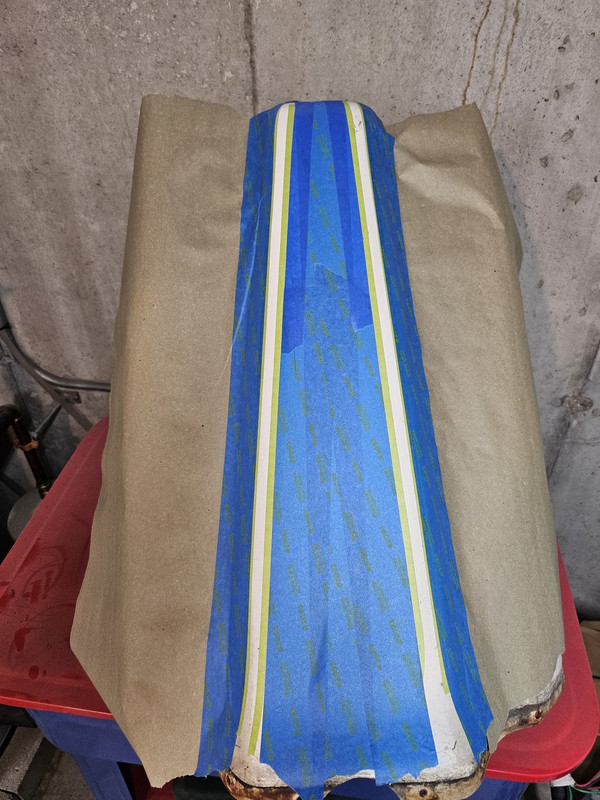
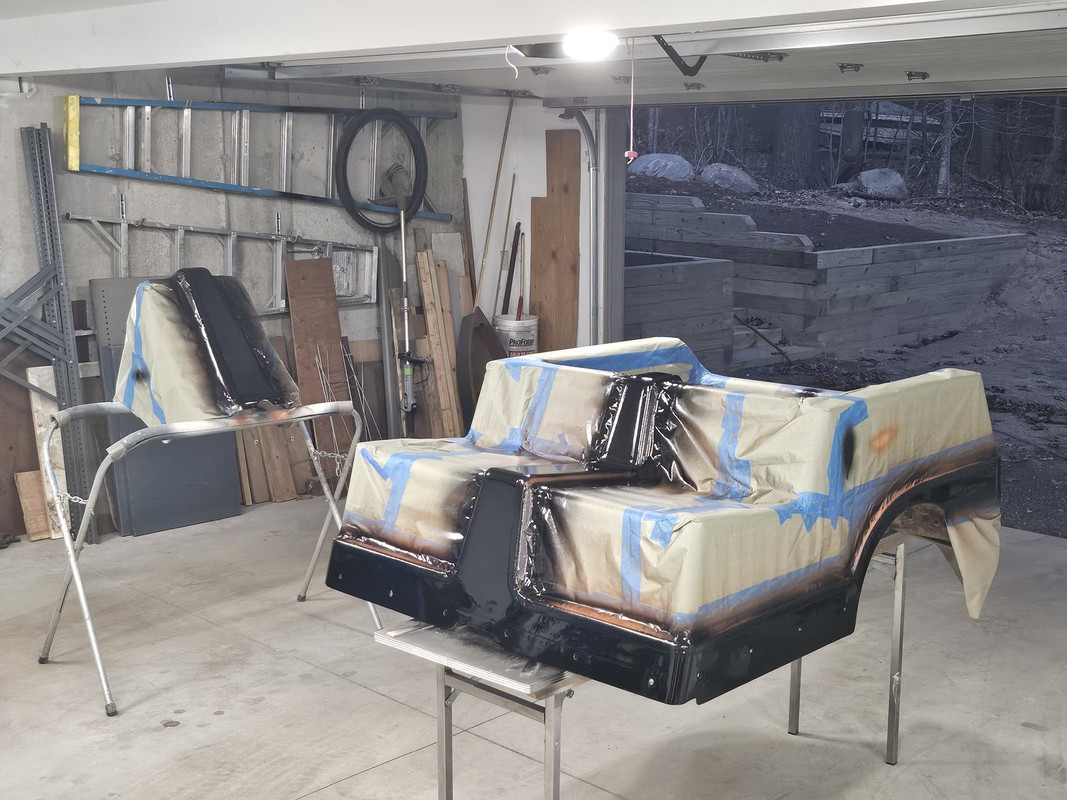
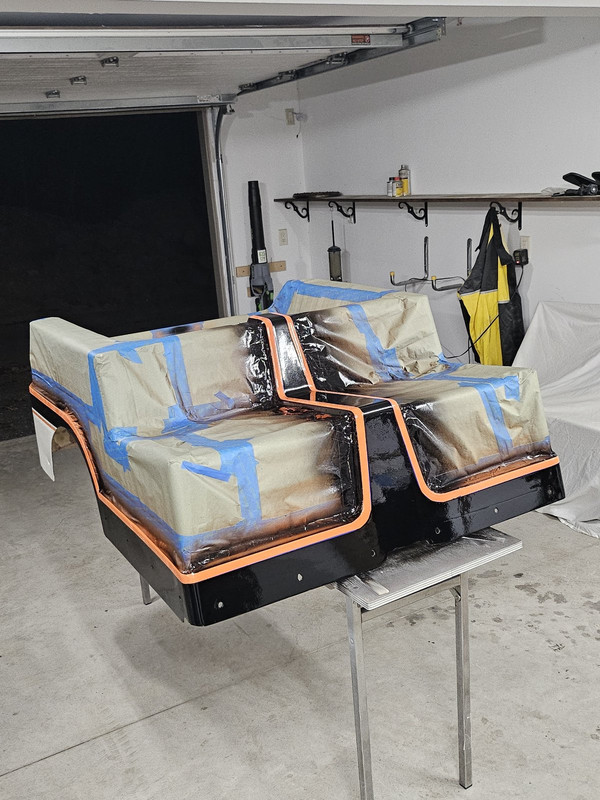
Long day, but it's mostly masked. Still have to finish papering the areas outside and above the stripes.
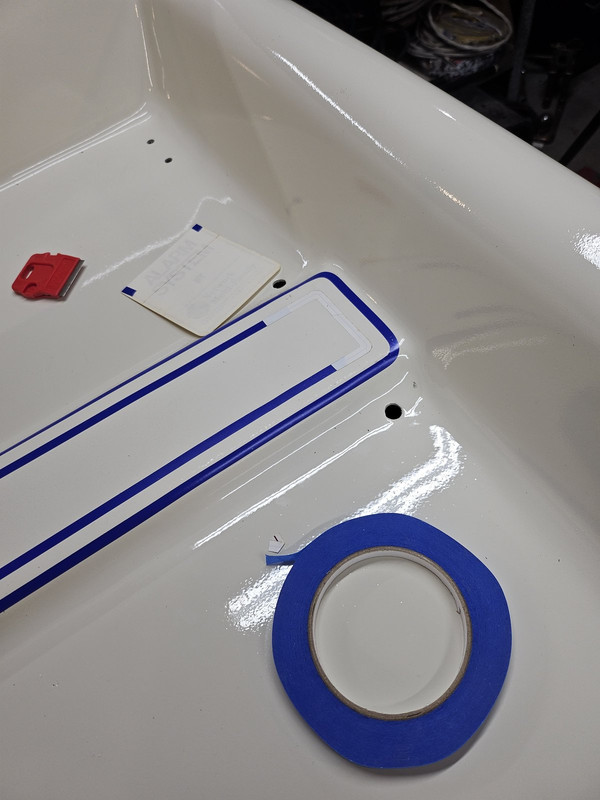
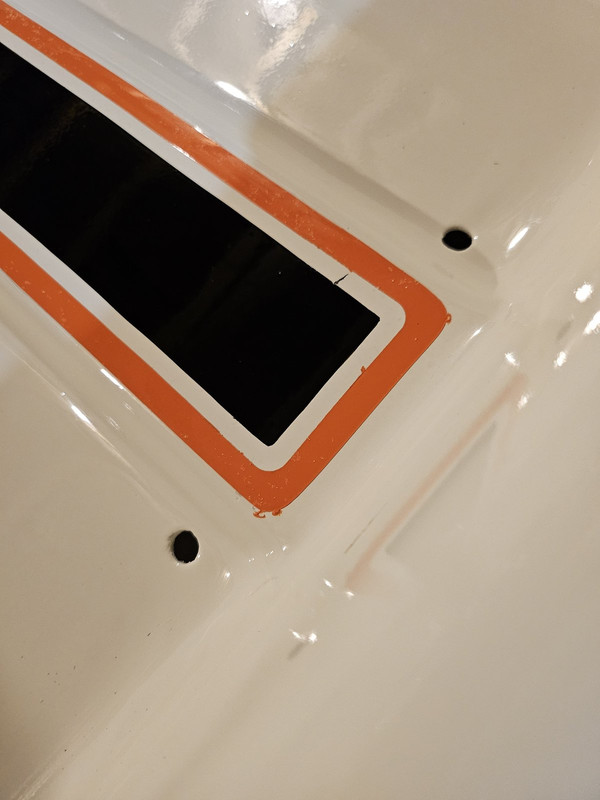
I wanted this to finish with nice round corners, but it couldn't be done with tape alone. I found a sticker with the right curves in its corners and trimmed it as a mask:
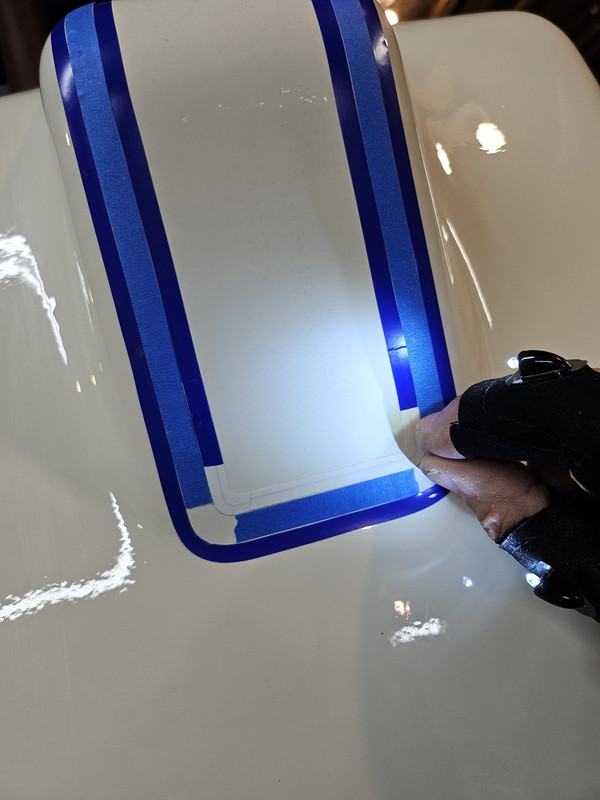
Same thing in the front. My daughter gave me 'finger lights' for Christmas and they came in real handy.
Here's how it looked before papering:
I'll finish tonight and spray on Wednesday, it'll be 70 degrees! I'm working the polls at town hall tomorrow.
Well, I never got back to the paint project. I had to take care of my rental house, move my daughter, and I have been in Florida for the winter. But I did bring the motor and a few little things with me to work on. That plan got derailed when I bought this 89 Softail Springer project, rescued from last fall's hurricanes.
It's totally cleaned up and disassembled, and the motor is at the shop being rebuilt.
So I can finally start on the golf cart! I brought the emblem that I cleaned and polished at home with me. In the past it is an easy task to fill the letters with enamel, and then wipe the excess off with paint thinner. But these letters are so shallow the thinner removed the lettering too.
So I did a much more careful job, with a toothpick as a brush, and scraped the minor blobs of excess instead. It came out pretty good, not perfect, but it will look great on the cart.
I cleaned up the motor over the weekend, and will start assembly today. I have a week before I return to CT, we'll see how much progress I make.
Productive day today. The used crankshaft had a few imperfections where the bearings sit. I worked them with a stone and 400 grit paper. Blue marker substitutes well for dykem to show the high spots.
The original crankshaft needed four 0.003 shims under the ball bearing, but this one only needed one to give end play in spec: 0.003.
The crankcase seal goes in 'backwards' and is the same as the outer seal on the clutch side, even though it has a different HD part number.
The book says to let the loctite that glues the crankshaft to the inner ball bearing races set for 24 hours, so I'm done until tomorrow.
More progress - installed the other half of the crankcase with gaskets and Yamabond 4, and torqued the screws.
Installing the reed valve, carburetor and air cleaner elbow as well as the flywheel, fan and points in the housing was pretty straight forward, following the factory manual and the pictures I took years ago. Those pictures are invaluable, because I would never remember what goes where when the manual says 'assemble..." with no figure referenced.
I'm waiting for Amazon to deliver a cylinder hone, then I'll assemble the piston, cylinder and head.
I've done all I can do here, the rest I'll finish with the motor in the chassis.
I cleaned up the piston, and installed it and the rings.
Next up, hone the cylinder and debur the ports. I use my fingers to fit the rings into the bottom of the cylinder. I did draw blood with the last one. The hone job isn't the best, but it'll do. Lack of a new piston kept me from going up one size.
The rest of it was easy. Here are a couple of glamour shots. I'll clean up the points cover at home.
7 Surprising Harley-Davidson Products that Are Not Motorcycles
Slideshow: The bar-and-shield logo shows up on far more than motorcycles, some of the company's most unexpected products have nothing to do with riding.
Slideshow: From the troubled AMF years to modern misfires, these bikes earned reputations for reliability issues, questionable engineering, or disappointing performance.
Crazy Bunderbike Build Looks Amazing, But Is It Impossible to Ride?
Slideshow: The Swiss custom shop has taken a Harley Softail and stretched it into something so long and low that it looks closer to a rolling sculpture than a conventional motorcycle.
Engraved Rebellion: Inside Bundnerbike's Glam Rock II
Slideshow: A standard cruiser becomes an intricate metal canvas in the hands of a Swiss custom house known for pushing Harley-Davidson platforms far beyond their factory brief.
Slideshow: Harley-Davidson's challenges aren't abstract; they show up in dropping shipments, shrinking dealer traffic, and strategic decisions that aren't yet translating into growth.