When you click on links to various merchants on this site and make a purchase, this can result in this site earning a commission. Affiliate programs and affiliations include, but are not limited to, the eBay Partner Network.
Dyna Glide ModelsSuper Glide, Super Glide Sport, Super Glide Custom, Dyna Glide Convertible, Super Glide T-Sport, Dyna Glide Police, Dyna Switchback, Low Rider, Street Bob, Fat Bob and Wide Glide.
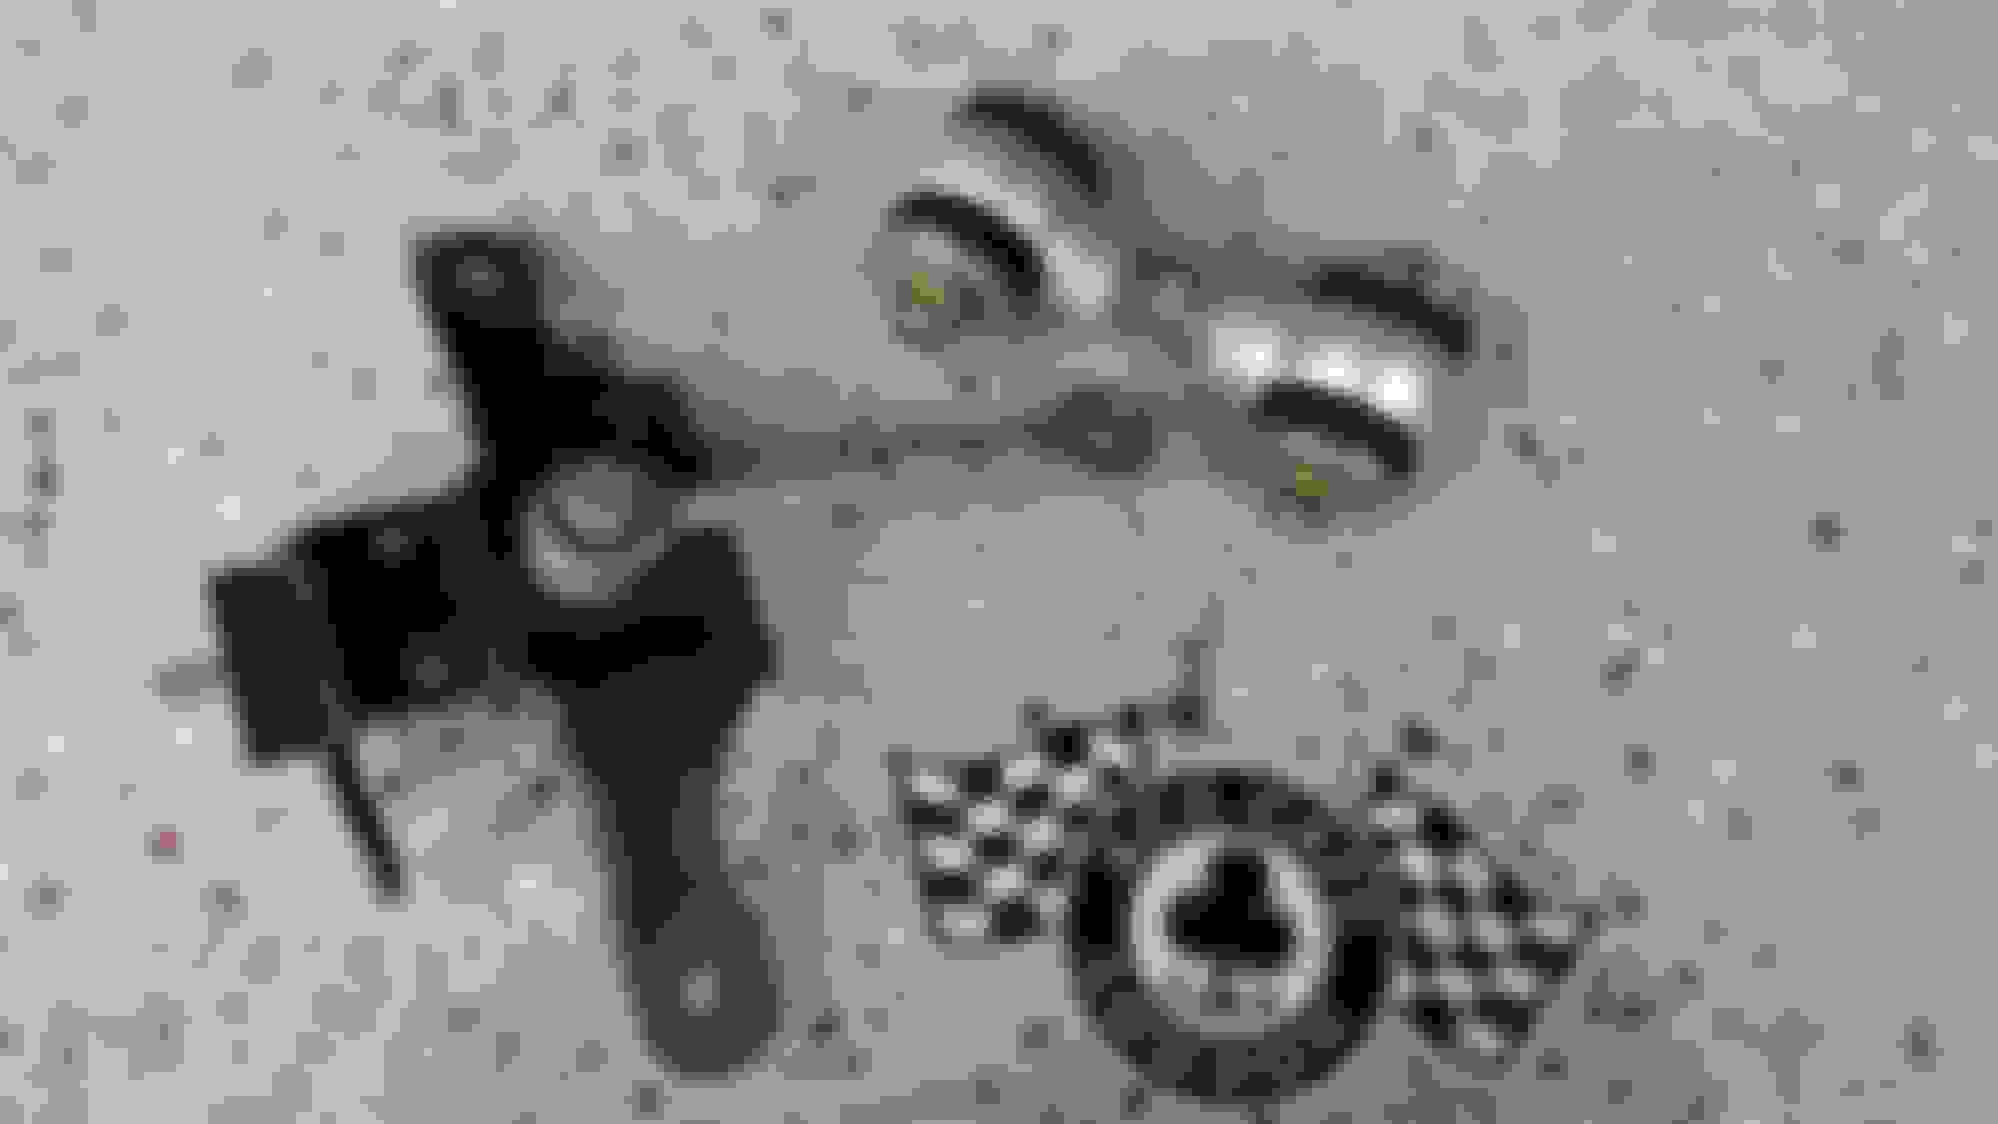
In my ongoing quest to reduce vibration, I decided to install one of these CCI top mounts, which I purchased from Revzilla (A little bit cheaper than CCI, free shipping, no tax, easy returns).
It's similar in design to the stock link, although it's much bulkier, made from aluminum, and has rubber bushings intended to isolate up and down vibes. Not being in the mood for tank removal, I did the whole install by lifting the back of my tank and blocking it up with a piece of wood.
Install was pretty straight forward, although the OEM mounting bracket needs a new 3/8" hole drilled in it, and it's a pretty thick piece of steel. It was no problem on my drill press, but it would have been difficult to drill with a hand-held drill and the bracket on the bike.
Real wheel vertical alignment was a little bit of a pain, and caused me to wonder about the design of the link overall... I used the "MattVA" method of measuring, which seems about as accurate as any. The problem was that as I lengthened the link (while installed), I could see the rubber bushings start to sheer sideways a bit... This made me wonder whether the link would allow more lateral movement than the OEM design. I wasn't able to attain perfect alignment, and ended up tightening things up with the rear wheel about 4/10ths of a degree off, which is basically where it was with the stock link. When I tried to adjust it further, it seemed like the only thing happening was that the bushings were shearing sideways without moving the top of the motor.
I went for a 20 mile test ride, and my initial impression was that there was a reduction in seat and foot peg vibration (my handlebars are completely smooth already). However, after 10 or 15 miles I started to notice some weird handling, which felt like rear wheel steer.
My first reaction was to ditch the whole thing completely, as handling is much more important to me than vibration control, but after thinking about it a bit I decided that I'm going to tinker with it a little more. I unfortunately broke the plastic threading that secures the choke cable **** into the bracket, so I'm going to remove the tank after all. That will allow me to to replace the choke cable and try to be more accurate with the length of the link. In hindsight, I may not have loosened my front mount enough to allow the motor to tilt properly (Predator mount - I cracked the center bolt, but I didn't back it out very far). I also think I can do a better job setting the initial length of the link, rather than trying to perform all of the adjustment installed. Unfortunately you can't use the length of the OEM link as a starting point, because the new mounting hole is in a different location.
Install was pretty straight forward, although the OEM mounting bracket needs a new 3/8" hole drilled in it, and it's a pretty think piece of steel. It was no problem on my drill press, but it would have been difficult to drill with a hand-held drill and the bracket on the bike.
Why did you have to drill the top motor mount? There was already a hole..
Why did you have to drill the top motor mount? There was already a hole..
The stock hole location causes the link to sit at a little bit of an angle rather than being 90 degrees from the centerline of the bike. Because the CCE mount is so much bulkier this causes clearance issues. The instructions come with measurements for the new hole.
I've not used the CCE rear but suspect that there will be issues..
1. If you pull it apart you'll find 2 automotive mounts that are mounted horizontally. They have some give but I'm not sure how much.. IMO the mount needs to be configured for sag and the mounts CCE uses are symmetrical..
2. I really didn't seen anything to control lateral movement in the mount..
Now before I saw Whitehead's mount I tried to make something similar..
Here are some pics of a mount I did..
If you look I use teflon sliders on the sides between the 2 outer mounts to control frame / swingarm/tranny alignment.. It really didn't make any difference in handling for me as this bike handles real well as far as stability goes.. The problem was that while it helped on the lower RPM range, it pretty much sucked for the rest..
The stock hole location causes the link to sit at a little bit of an angle rather than being 90 degrees from the centerline of the bike. Because the CCE mount is so much bulkier this causes clearance issues. The instructions come with measurements for the new hole.
That's what I thought.. To correct the angle of the link some.. The stock link swings pretty far forward..
One thing I'm thinking about that's an issue for some vibes is simply the position of that link.. When things are happy in the upper RPM range you can get worse vibes if that link is at a bit of an angle at lower RPMs.. (my thinking anyway).. Guy's that add shims to the front motor mount, move the link some so that it's more perpendicular to the frame / top mount. The spacers also increase preload on the mount..
I've been ignoring the "make the front mount line up with the frame" philosophy and just adding spacers to bring that link more perpendicular to the motor movement in the frame. It seems to be helping some with a 3/16" spacer but I'm also making changes elsewhere.
Yeah, I'm still kind of skeptical about the CCE top link... The design clearly intends to allow some up and down damping without allowing any lateral movement, but I think the motor may be able to move side to side a little bit, which may cause the rear wheel to move in and out of vertical alignment. On my test ride, I think the "rear steer" that I experienced was caused by this. But again, I'm going to give it another chance after messing around with it with the tank off.
CCE didn't provide any torque specs, but said not to over tighten the ends of the link, just snug them down until the rubber bushings start to crush a little bit. I'm going to try tightening them a little bit more to see if it reduces the lateral shear that I could see present...
Update: Although I first tried to do everything without removing the tank, the tank ended up coming off anyway. I needed to replace my choke cable, which pretty much requires carb removal. I probably could've done this without removing the tank, but I decided it was a good opportunity to look at a bunch of hard-to-see stuff.
With the tank off, one of the things I did was to realign the rear wheel vertically. With better access to the top link, I was able to get it perfectly aligned... At lease perfect in relation to the top frame rails, if they're perfect...
Can't get much better than zero degrees across the frame, and zero degrees on the rotor. I also tightened the bushings on the top link further than I had the first time, and there is now visibly less shear in them. Hopefully it will handle better than it did the first time. If not, I'll ditch the CCE top link in favor of the factory solid link.
It may be a week until I can ride it, as I'm waiting for a few odds and ends I decided to replace while the tank is off.
Update: I've ridden about 300 miles since my "reinstallation" of this top stabilizer link. After taking more time adjusting the link when the tank was off, I can report that I am no longer feeling any "rear steer," and it seems that is has reduced the worst of my vibrations through the seat and pegs. There are certainly RPM ranges that are less than "glass smooth," but overall I'm very happy with the way the bike is performing now. The chassis feels very stable in aggressive twisties, as well as during fast highway riding. And while no engine mounts will change how much an engine wants to vibrate, the vibes that actually reach me are now perfectly manageable.
I'll recheck vertical alignment at some point in the next few hundred miles, but if vibrations don't get worse and handling doesn't deteriorate I'll keep this setup for the foreseeable future.
I am interested in adding a rear stabilizer along the lines of Sputhe/TrueTrack... That may be next!
If interested in the CCE top link, note that I did have to grind one side a little bit to fully clear the top of my Mikuni. I don't know if this would be an issue with a Keihin or a throttle body though...
Wait....I just noticed the mounting tab welded to the backbone. It put the mounting point way out to the right.
I would have to look to be 100% sure, but I believe my 99 bolts to a captive nut in the center of the backbone. Man, I wish I had the bike here to look at.
7 Surprising Harley-Davidson Products that Are Not Motorcycles
Slideshow: The bar-and-shield logo shows up on far more than motorcycles, some of the company's most unexpected products have nothing to do with riding.
Slideshow: From the troubled AMF years to modern misfires, these bikes earned reputations for reliability issues, questionable engineering, or disappointing performance.
Crazy Bunderbike Build Looks Amazing, But Is It Impossible to Ride?
Slideshow: The Swiss custom shop has taken a Harley Softail and stretched it into something so long and low that it looks closer to a rolling sculpture than a conventional motorcycle.
Engraved Rebellion: Inside Bundnerbike's Glam Rock II
Slideshow: A standard cruiser becomes an intricate metal canvas in the hands of a Swiss custom house known for pushing Harley-Davidson platforms far beyond their factory brief.
Slideshow: Harley-Davidson's challenges aren't abstract; they show up in dropping shipments, shrinking dealer traffic, and strategic decisions that aren't yet translating into growth.