When you click on links to various merchants on this site and make a purchase, this can result in this site earning a commission. Affiliate programs and affiliations include, but are not limited to, the eBay Partner Network.
You don't...have it chromed or powercoated....saves you a lot of time and headache.
Time and headache?
As long as you don't count removing the lowers from the front end, stripping all the internals, waiting for the powder-coat or plating, paying for it, and then re-assembling it all back on the bike, that is.
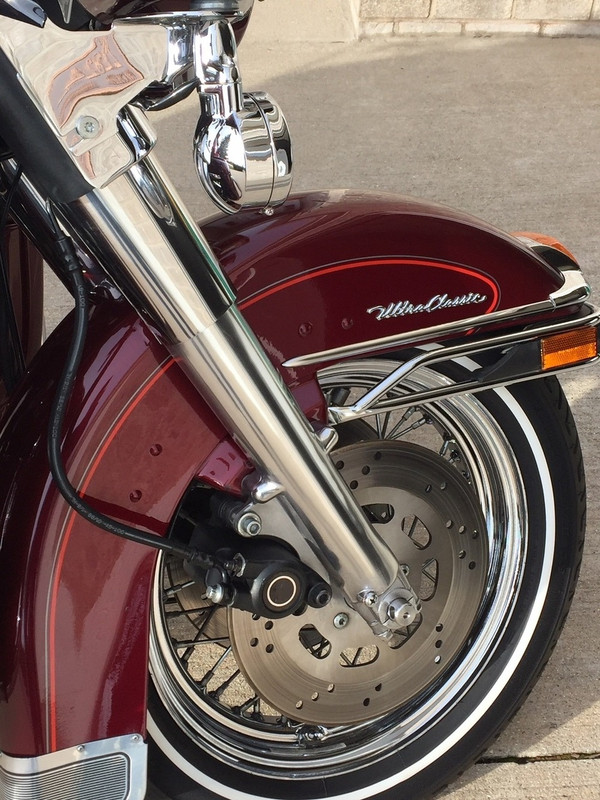
Since we are all down for the season here , I've started to work on my bike for the next season . Geof , those front forks look awesome !!! I just got finished doing a set of rims I got for my bike and I think they turned out ok . While I'm working on my bike I thought I would do the same with the lowers , levers and break caliper covers . I actually picked up that exact same kit you suggested . It worked very well and I have enough of it left over to complete the rest . On the rims I used 400 , 800 and 1500 wet/dry sandpaper , then finished with the white compound on a buffing wheel . It's a lot of work but the outcome is sweet . EDUGATYR , if your like me and like working in the shop then it's definitely worth the time .
Here's a pic of the rims before I take them in for tires . This photo doesn't quite show the mirror finish it has . Should look good on the bike .
I had those same spots on my last bike and nothing I used would get rid of them . I'm using Blue Magic for all my chrome parts and even use it for the aluminum bits as well . It really cleans everything up but no go on the spots . My only guess would be they are small chips from dirt particles that only took the clear coat off the forks . Only way to fix it would be to sand it down with a very fine sandpaper ( 1500 + ) or 000 steel wool and recoat the forks with a good aluminum clear coat .
I don't want to polish, but want to get all the spots off... When I ran my hand over them it's smooth tho.
Looks like the aluminum is pitting under the clear coat, probably due to a poor finish or contamination at the factory. Will need to remove the clear coat and polish the pitting away then clear coat again.
Do the polishing over the winter. Don't try to do it all at once. Took me a few days to get the results below. With the front wheel removed, I used the opportunity to clean the spokes and inner hub and install new brake pads.
Time and headache?
As long as you don't count removing the lowers from the front end, stripping all the internals, waiting for the powder-coat or plating, paying for it, and then re-assembling it all back on the bike, that is.
That's what the winter months are for..plus doing that work to me is fun, and a great way to get to know your bike and front suspension. Plus most places do an exchange where you get the parts first...so really is one day of down time that inconvenient?
7 Surprising Harley-Davidson Products that Are Not Motorcycles
Slideshow: The bar-and-shield logo shows up on far more than motorcycles, some of the company's most unexpected products have nothing to do with riding.
Slideshow: From the troubled AMF years to modern misfires, these bikes earned reputations for reliability issues, questionable engineering, or disappointing performance.
Crazy Bunderbike Build Looks Amazing, But Is It Impossible to Ride?
Slideshow: The Swiss custom shop has taken a Harley Softail and stretched it into something so long and low that it looks closer to a rolling sculpture than a conventional motorcycle.
Engraved Rebellion: Inside Bundnerbike's Glam Rock II
Slideshow: A standard cruiser becomes an intricate metal canvas in the hands of a Swiss custom house known for pushing Harley-Davidson platforms far beyond their factory brief.
Slideshow: Harley-Davidson's challenges aren't abstract; they show up in dropping shipments, shrinking dealer traffic, and strategic decisions that aren't yet translating into growth.