When you click on links to various merchants on this site and make a purchase, this can result in this site earning a commission. Affiliate programs and affiliations include, but are not limited to, the eBay Partner Network.
I was a little shakey but I got the bearings onto the hub first try. Then I add the clutch housing and push the retainer over the pins, which wasn't easy. Three little clips hold the retainer in place and it's all done. I had to barely touch the corners of the clips to a grinding wheel to make them fit into their holes. There are three possible holes for the clips, with varying depths. They say start with the middle one, marked 'B' and measure the clearance and change if needed. I have about 0.010" which is perfect. Good thing, because removing that retainer would be a bear.
You can see the one block that had loose rivets, and needed to be welded tight when I first got the bike.
Years ago I bought new starter solenoid copper washers from McMaster-Carr on the advice of a forum member. So today I tackled that job. Took the two screws out and found it was a mess; it's wet from being cleaned in the parts washer:
The solenoid washer was copper plated on one side only, so it couldn't be reversed. Unfortunately the new washer is a little bigger than the original, so I needed a bigger plastic retaining washer too:
I cleaned the plunger rod with steel wool and put it all together. The long post was not in good shape and needed to be rotated so there was a new contact surface. Finally, I dressed both studs with a file. Now it looks like new inside...
...and out. I had to buy a pack of 5 copper washers, so if anyone needs one, let me know. I took a picture of the bag to show the details.
AAARRRGGGGHHHH!!!! I finally got the inner primary bearing seal that I have been waiting for, and started installing the inner primary. Snugged the four motor bolts and got out the torque wrench. Boom! the first one stripped before it even got a little tight:
All that was on the bolt is aluminum, so I don't know if the factory installed helicoils, or this is the last one to strip, but the other three bolt holes look like this:
I will look on the bright side; I get to learn a new skill and buy new tools!
It's been a while - but I finally got the helicoil in. It was a lot easier than I thought - drilled a 21/64" hole, tapped it with the special tap, and threaded the helicoil in with red loctite to hold it in place. The hardest part was grabbing the broken off tang with needle nose pliers.
torqued up the inner primary and checked the tranny. The side closest to the primary was a little off the mount plate:
So I stuck some shims in there and torqued it up. Last thing was the fifth bolt, which was missing when I bought the bike.
I hope that I have time this weekend to put the starter and primary drive parts in, and button it up. That'll make a big difference.
Over the last few days I put the starter and primary drive together. First thing was to etch timing marks on the alternator cover. That way I don't have to play the game of timing with the little plug and spray oil everywhere. I have had good luck static timing the electronic ignition, but it's easy at this point to do it. I hope they can still be seen when it's been run a while.
I put in the starter with the new oil deflector/seal, then pulled off the starter to install the jackshaft.... then I installed the starter again. I also have to locate the new chain that I bought and install it before I get to much further. It's tough getting old and forgetful...
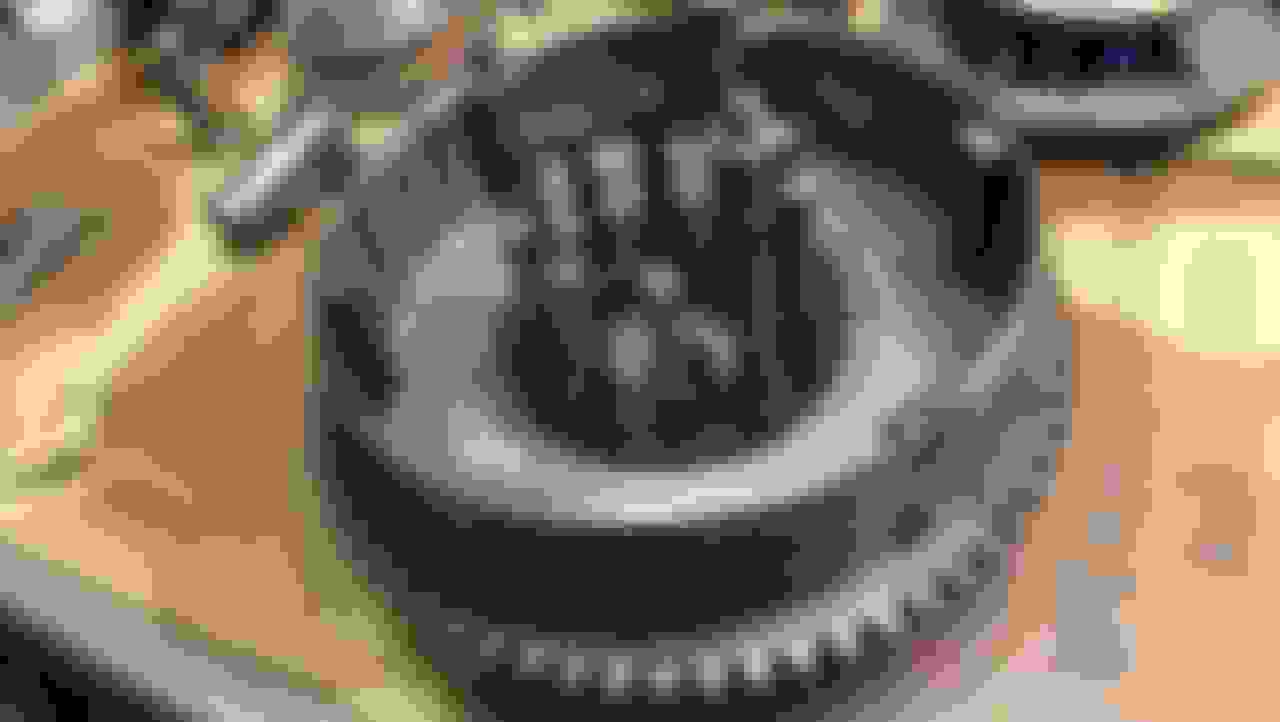
Solenoid was easy. Then the drive chain, adjuster, compensator sprocket and clutch hub assembly go in.
I love making tools, but I thought I had already made one from one of the old clutch plates. If I did I can't find that either... This one bent when I got the nut tight. One time use, I guess. I used an old sock to wedge the chain to tighten the compensator nut.
After sitting a few years, the steel clutch plates show some oil residue, so I cleaned them off. I thought about soaking the fiber plates, but they aren't new so I think I'm ok.
I installed the plates and the pressure plate. Set the clutch arm 1/2" from the starter, tighten the adjusting screw and back off 1/8 turn. Lock the nut and it's ready for the cable:
Lastly, adjust the clutch spring nuts so they are all equal to 1-1/32" gap for now. When I get the cable in, I'll make sure the pressure plate pulls away evenly.
Slideshow: From the troubled AMF years to modern misfires, these bikes earned reputations for reliability issues, questionable engineering, or disappointing performance.
Crazy Bunderbike Build Looks Amazing, But Is It Impossible to Ride?
Slideshow: The Swiss custom shop has taken a Harley Softail and stretched it into something so long and low that it looks closer to a rolling sculpture than a conventional motorcycle.
Engraved Rebellion: Inside Bundnerbike's Glam Rock II
Slideshow: A standard cruiser becomes an intricate metal canvas in the hands of a Swiss custom house known for pushing Harley-Davidson platforms far beyond their factory brief.
Slideshow: Harley-Davidson's challenges aren't abstract; they show up in dropping shipments, shrinking dealer traffic, and strategic decisions that aren't yet translating into growth.