When you click on links to various merchants on this site and make a purchase, this can result in this site earning a commission. Affiliate programs and affiliations include, but are not limited to, the eBay Partner Network.
Dyna Glide ModelsSuper Glide, Super Glide Sport, Super Glide Custom, Dyna Glide Convertible, Super Glide T-Sport, Dyna Glide Police, Dyna Switchback, Low Rider, Street Bob, Fat Bob and Wide Glide.
Quote:
Originally Posted by huskytamerView Post
Hey,
Working on the same job and ran into the pitfall of not knowing exactly how everything goes back together. Does the spring collar go inside the lower on does it go in last, above the spring and washer before you put the cap nuts back on the forks? Can't tell from the service manual. .
.
. here's how I service the front forks............
....also answered in posting #1169
Probably takes about an hour and a half, taking your time.
First off, lift the machine.
Not strapped down yet in the picture below.
I always strap to the lift if removing a lot of weight from one end.
.
. .
.
below.......
this is 006 FXDI with 006 FXDWG fork pipes
cover painted parts that are anywhere close...
remove the caliper.......... 10 mm 12 point..
tie it up out of the way with a piece of wire
remove the fender............ 1/2" box end wrench and 1/4" allen
lay all the fasteners etc in a tray, in the order of removal.
(clean them good before reassembly)
remove axle nut.......... 3/4" socket.
loosen the axle cap........ 30 torx..
grab the tire/wheel at the top, and pull the axle out..
it will slide right out, cause you used anti seize last time it was apart..
loosen pinch bolts.......... 45 torx.
here, you are holding the fork pipe so gravity doesn't eject it onto your toe.
ease the assembly out, carefully, not to scar anything........
.
. .
.
now, I am gonna remove the cap from the fork assembly,
and drain off the old fork oil into a bucket.
This can get ugly if you are not careful.
.
. .
.
I built my Cap Removal device using an old 5 gallon bucket and a Spud Wrench.
(use a new or clean bucket if you want to save the oil)
This device allows you to control the spring loaded cap release/launch
and capture the fluids in one nice clean operation.
Leave it there to drain off for 10-15 minutes or about two cold drinks.
.
. .
.
After the drain off,
remove and clean the spring collar/spacer, washer, and spring.
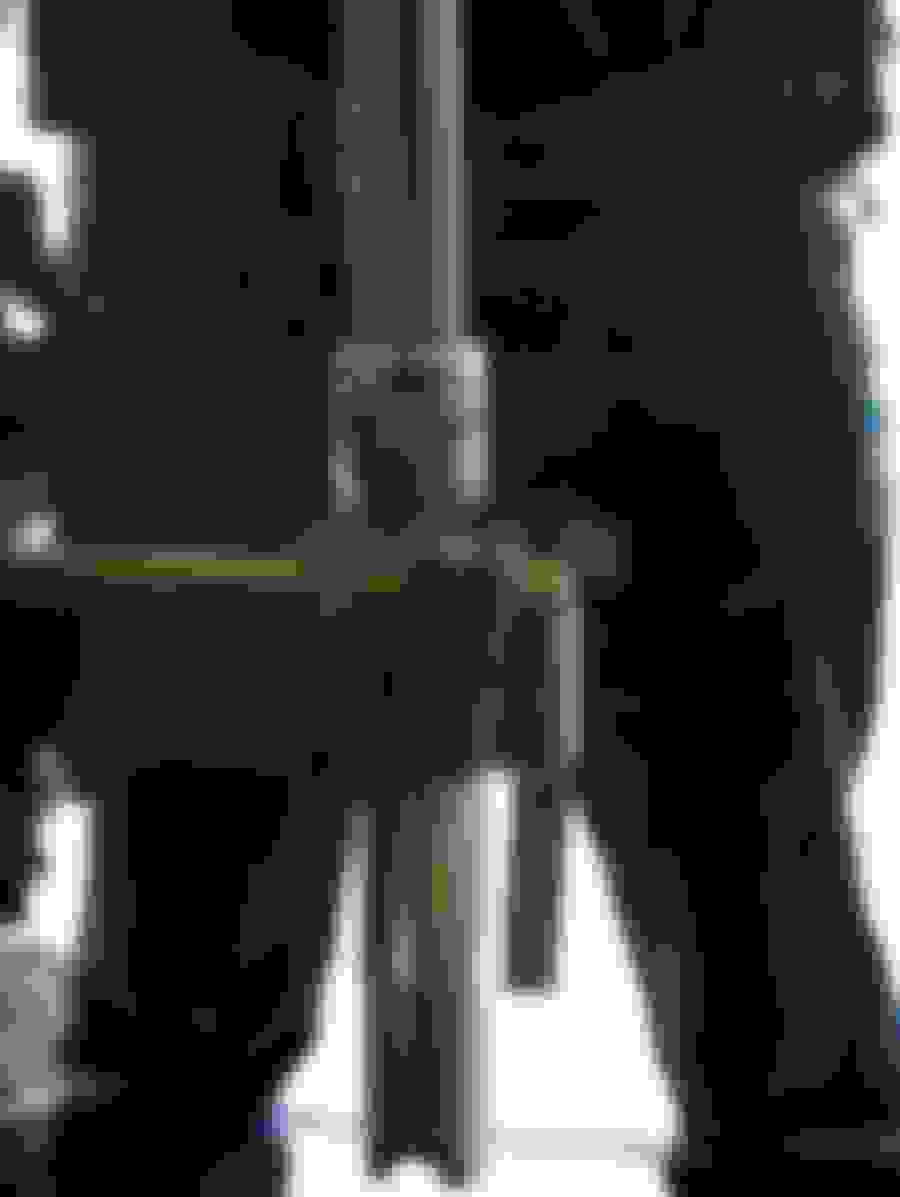
now, clamp into the handy/cheap fork clamp/vise.
I clamp a board to the bench, then use two tie straps in a X pattern.
First I clamp the lower,
fully compress the fork,
pour in about 26 oz of fluid to start
(no spring, washer, collar yet).
.
. .
.
below, backside of the fork clamp/vise........
.
. .
.
below is my Oil Level DipStick.
for my 006 WG fork pipes, level is 110 mm, measured down from the top of the pipe.
If you prefer the HD Gauge, I believe you can pick it up for around 60 bux....
.
. .
.
stroke the assembly slowly from fully collapsed to fully extended,
look in with a flashlight and you will see the air evacuation.
takes about 8-10 slow strokes...
now hang the DipStick on and measure the level
006 WG fork pipes, level is 110 mm (approx 29 oz)
all other 006 Dyna pipes, level is 112 mm (approx 26 oz)
Absolute precision on that measurement
is not as critical as getting each of the pipe levels equal.
.
. .
.
When the Oil Level is correct,
unclamp the assembly, reclamp on the upper, and fully extend the forks.
(factory spring goes in with the tight winds down)
then the Washer goes in, then the collar/spacer.....
.
. .
.
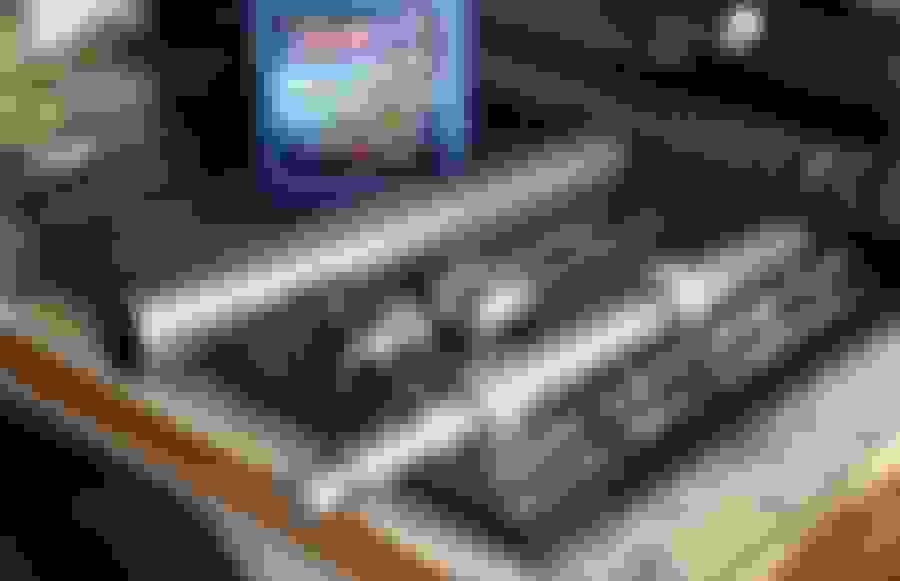
During the disassembly, I lay out all the parts in order.
Clean them up good for reassembly.
I use a light film of Anti Seize on the axle........
.
. .
.
With the stock length collar/spacer, it is tough to screw on the cap.
Take care and carefully ratchet the fine threaded 1 3/8" cap on while still in the strap clamp/vise.
(final torque value for the caps is 16-43 ft lbs......
I do this after the pipes are in the trees.....
pinch bolts go down to 30-35 ft lbs).
I get up on my little dance floor so I can power the cap down with better control. . . . ...........do not fork up the threads.......... . . .
. .
.
reinstall the fork pipe assemblies into the trees, etc. and you are done...........
.
.
Thanks a ton! Now just to be sure here, the spring collar is actually a spacer and goes in the fork tube after replacing the oil, spring, and washer. So it's basically the last thing you do before retightening the fork caps. Just making sure here. I didn't actually take my forks apart. My friend did while I was out buying a tool we needed and he can't remember how any of this goes back together. Thanks again.
This has been done before but here's mine:
Take 2 ammo cans, attach a clasp bolt ring underneath the opening clasp.
Drill/enlarge the clasp so that the ring goes through when closing the clasp.
Paint black (or color of choice).
Drill holes to attach to the frame or other existing bracket.
Cost of ammo cans, 2 spray cans, hardware, way below 50$ combined.
Last edited by soldierbot; Apr 2, 2021 at 07:46 AM.
ok, something extremely basic, but if you live in a condo like me and don't have a garage, here's what I use for my little paint jobs.
Lay down a open cardboard box on a table in your terrace.
Take on old TV box, tape the opening flaps open so that you prolong the depth of the box. (you need an old TV box not flatscreen!! otherwise any other big box will do).
Take a big rubbish bag (like the black ones for the garden), and tape it on one of the side of the box very near to the open side. You are going to use it as a curtain to close the box once you've sprayed.
Put what you need to spray deep inside the box and spray a little, than close the "curtain". let it settle 2 mins and restart.
Careful: this will protect the paint from going everywhere, but it won't stop the smell of paint to reach the window of your condo neighbour.
so i spray early in the morning when they are still asleep, and by the time the figured out someone must be using spraying paint in the condominuim, I'm already done and have packed everything away
Anyway, here's a pick that shows easily how I do it.
Last edited by soldierbot; Apr 2, 2021 at 07:46 AM.
You need the ELM327 Bluetooth dongle, You will need 3x 72191-94 and a 4 pin 4 pin Deutsch connector. You will also need a 16 pin female ODB II cable, or you can make your own and solder the wires to the ELM327 itself. I just bought the cable and used the 3 wires I needed.
Follow the diagram here https://github.com/stelian42/HarleyD...i/HarleyDroid-! and you should be okay.
You will have to tinker with the settings to get the correct hardware address for your ELM327. That should do it.
You need the ELM327 Bluetooth dongle. Follow the diagram here https://github.com/stelian42/HarleyD...i/HarleyDroid-! and you should be okay.
You will have to tinker with the settings to get the correct hardware address for your ELM327. That should do it.
Or just make your own.
How to build a cable to connect your Harley to an OBDII Bluetooth Diagnostic Scanner.Prototype cost: $56.00. With the right cable: $44.00 plus my phone.
Use this with HarleyDroid, available at the Amazon AppStore/GooglePlay. I've no idea if there's anything like it for the iPhone.
Lessons learned:
Buy wire and the OBD connector parts from www.obd2cables.com. Hacking up a perfectly good cable just to "make sure I got the right end" was a waste. Buying the harley end (Deutsch) connectors from the dealer isn't bad.
Make the pigtail longer. Much longer - it's easy enough to coil up excess, but it's danged difficult to stretch an extra inch out of it once it's soldered. Figure out the right length before you cut it off.
Don't be afraid to ask questions. Editbrain gave me the crucial info I was missing to make it work on my 2011 FXDWG.
I cheated and bought a one-male into two-female splitter, so if I screwed up I'd have another cable connector handy.
Cut the end off the cable, then strip the wire insulation off and separate the wires inside.
The colors in my cable didn't match the colors on the "standard" pinout, so I had to figure out which wire went to which pin.
You want pins 2, 4 and 5, and 16. See https://github.com/stelian42/HarleyDroid/wiki/HarleyDroid-cable for details. Harley data port 16 pin J1979 connector (ELM327) ------------------------------------------------ (x) 1 Not Used 2 ------------- ground ------- 4 and 5 (ground) 3 ------------- data ---------- 2 (J1850+) 4 ------------- +12V ---------- 16 (+12V)
Put your pins on the cables. I soldered mine, in addition to crimping, just because I'm **** that way.
Insert the pins through the soft-rubber seal, making certain that the right wire goes through the right hole. (Note the numbers) Push the pin in (using the wire) until it clicks, and the other end should be flush with the end of the connector.
Push the wedge connector into the hole in the end of the connector until it clicks into place.
The finished cable.
The port it needs to connect to is under the electronics cover on the left side of the bike, above the fuses but below the ECM (big) plug.
Like I said, use a longer cable, and dry-fit it before you cut. Mine is useless except for watching the tach spin up as I rev it on the stand. A longer pigtail, and you can route the cable through the electronics box and ziptie the ELM357 under the seat, in all the spare free space that's there.
The HarleyDroid site also provides a schematic and drawing for building an interface with a 9v battery backup, in case you want to start the log before you turn the power/ignition switch on.
I don't have the mount yet, but I'm thinking about mounting my Samsung Galaxy Nexus on the handlebars with a Ram mount. that will give me access to GPS, tunes, and a Tach/temp gauge ... and a camera, if I want video of the road going by. Useless around town, but knd of cool to have on the runs.
Slideshow: From the troubled AMF years to modern misfires, these bikes earned reputations for reliability issues, questionable engineering, or disappointing performance.
Crazy Bunderbike Build Looks Amazing, But Is It Impossible to Ride?
Slideshow: The Swiss custom shop has taken a Harley Softail and stretched it into something so long and low that it looks closer to a rolling sculpture than a conventional motorcycle.
Engraved Rebellion: Inside Bundnerbike's Glam Rock II
Slideshow: A standard cruiser becomes an intricate metal canvas in the hands of a Swiss custom house known for pushing Harley-Davidson platforms far beyond their factory brief.
Slideshow: Harley-Davidson's challenges aren't abstract; they show up in dropping shipments, shrinking dealer traffic, and strategic decisions that aren't yet translating into growth.