


tank emblems
Tourer
Joined: Jul 2006
Posts: 497
Likes: 2
From: Australia
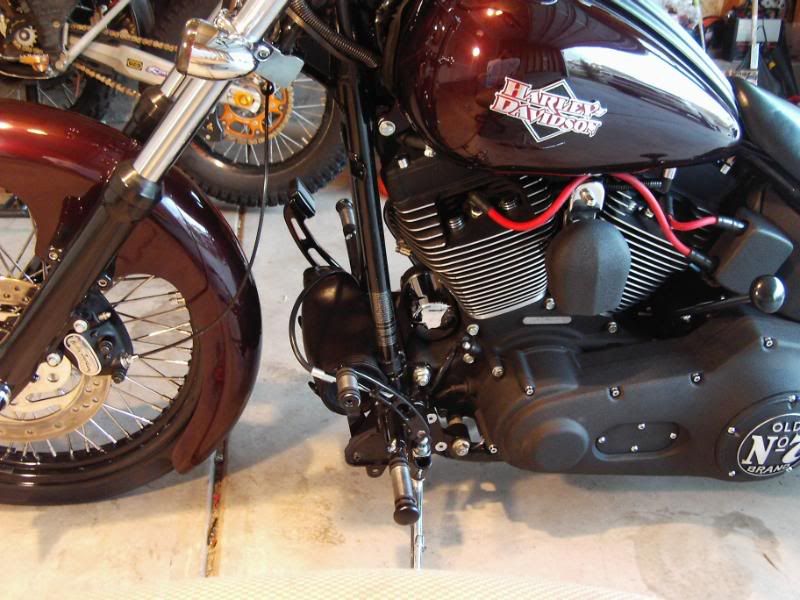
And the ones i had fitted were a real problem . they are too big and straight to follow the shape off the tank. they did get them on but they are going to try and get them on a little neater.I would not choose them again ,wish i chose some smaller emblem.But they fitted the theme i was going with.heres a pic of the ones i bought.
R.I.P. BROTHER
Joined: Dec 2008
Posts: 3,076
Likes: 6
From: Colorado Springs
Wasnt the biggest fan of the stockers...
I just did mine last week.
First I squirted a little bit of Goof Off adhesive remover down into the open area at the top of the emblem and let it sit for about an hour.
Then armed with my old ladys hair dryer I got then hotter than heck...
Next I took a lenght of fishing line and in a sawing motion sawed right through the double sided tape.
I removed the residue with more goof off.
Took about an hour of getting all that derned residue off as my bike is old!!
Turned out OK. No scratches as I did not run the fishing line against the paint. I pulled the line towards the emblem instead.
I peeled, rubbed and picked at the remaining tape on the tank using lots off Goof Off.
Result?
61-62 Panhead emblems installed! Boiled in coffee and tea leaves then wrapped in coffee grounds to have an aged ivory color rather than white appearence.
Last edited by Chazmanian; Jul 2, 2009 at 08:50 AM.
R.I.P. BROTHER
Joined: Dec 2008
Posts: 3,076
Likes: 6
From: Colorado Springs
Its actually simple...And will seperate you from the pack of look alike bikes that are seemingly everywhere nowadays!
R.I.P. BROTHER
Joined: Dec 2008
Posts: 3,076
Likes: 6
From: Colorado Springs
Thanks Mang...But wait! Theres more...
Working on the little details.
Red Plugs wires? They gotta go.
Speedometer? Its being replaced with the nostalgia one.
Shifter ****? Turning into an actual Harley professional cue ball. Drilled, tapped and getting installed proper like!
Doing a Sprotor on the rear with one of those little 3 pointed old school dealies where the brake rotors will be no more.
On the fence about doing a tan or dark brown seat and solo bag...That one will need some sertious mulling over as its a total transformation.
Getting there is a good bit of the fun!!
Trending Topics
Outstanding HDF Member
Joined: Oct 2007
Posts: 2,018
Likes: 6
From: Edmond, Ok
Just when I start thinking that I've got way too much time/$$$ in my bike, along comes Chaz to make me feel better about myself....Bike looks great man!
HD Forum Stories
The Best of Harley-Davidson for Lifelong Riders

Jason Momoa Is Turning Classic Harleys Into PHEVs
Verdad Gallardo
Harley-Davidson Fat Boy Becomes a Dark, Decepticon-Inspired Custom
Verdad Gallardo
6 Weirdest Harley-Davidsons Ever Sold to the Public
Verdad Gallardo
7 Times Harley-Davidson Chucked Tradition Out the Window
Verdad Gallardo
7 Surprising Harley-Davidson Products that Are Not Motorcycles
Verdad Gallardo
8 Best Harley-Davidson Motorcycles Ever
Pouria Savadkouei
10 Worst Harley-Davidson Motorcycles Ever
Pouria Savadkouei
Killer Custom's Jail Break Is The Breakout That Refused to Blend In
Verdad Gallardo
Crazy Bunderbike Build Looks Amazing, But Is It Impossible to Ride?
Verdad Gallardo
R.I.P. BROTHER
Joined: Dec 2008
Posts: 3,076
Likes: 6
From: Colorado Springs
I wanna say it was quick and easy...It wasnt.
I had a set of the mounting plates which have that stickum on one side and the emblems mounts to the other side with 2 screws.
I studied where the emblems sat on the original Panheads and then test fitted one side until I was happy and used blue tape to mark my spot.
I then measured the exact location of the side I had done and marked the other side with blue tape as well.
It took at least 2 hours to get them where I was confident and ready to stick the mount plates down as once on they are seriously on.
That part of the deal sucked the worst!!
I was at Bike Fest in Downtown Colorado springs and saw another guy had a set as well. His were uber white and had not been treated to the Coffee and tea boil as well as the wrapped in Coffee grounds crap I did to color them correctly.
His were also mounted wrong and had gaps.
The key on mounting any Harley emblem is to take 5 times and long as you think it should take and measure every single dimension so both sides match and fit the tank flush.
Thanks??? Duh.
You know we love this **** Bro. Its a crazy addiction.
I had a set of the mounting plates which have that stickum on one side and the emblems mounts to the other side with 2 screws.
I studied where the emblems sat on the original Panheads and then test fitted one side until I was happy and used blue tape to mark my spot.
I then measured the exact location of the side I had done and marked the other side with blue tape as well.
It took at least 2 hours to get them where I was confident and ready to stick the mount plates down as once on they are seriously on.
That part of the deal sucked the worst!!
I was at Bike Fest in Downtown Colorado springs and saw another guy had a set as well. His were uber white and had not been treated to the Coffee and tea boil as well as the wrapped in Coffee grounds crap I did to color them correctly.
His were also mounted wrong and had gaps.
The key on mounting any Harley emblem is to take 5 times and long as you think it should take and measure every single dimension so both sides match and fit the tank flush.
Just when I start thinking that I've got way too much time/$$$ in my bike, along comes Chaz to make me feel better about myself....Bike looks great man!
Thanks??? Duh.
You know we love this **** Bro. Its a crazy addiction.