


Best slip ons for sportster

Road Warrior


Joined: Apr 2012
Posts: 1,755
Likes: 253
From: Northern Los Angeles area.
I tried it... never looked back.
Only downside is it tends to fog up if you breathe heavily. So don't have raunchy sex while wearing a Shoei Qwest.
Road Warrior
Joined: Feb 2014
Posts: 1,851
Likes: 420
From: Santa Fe NM


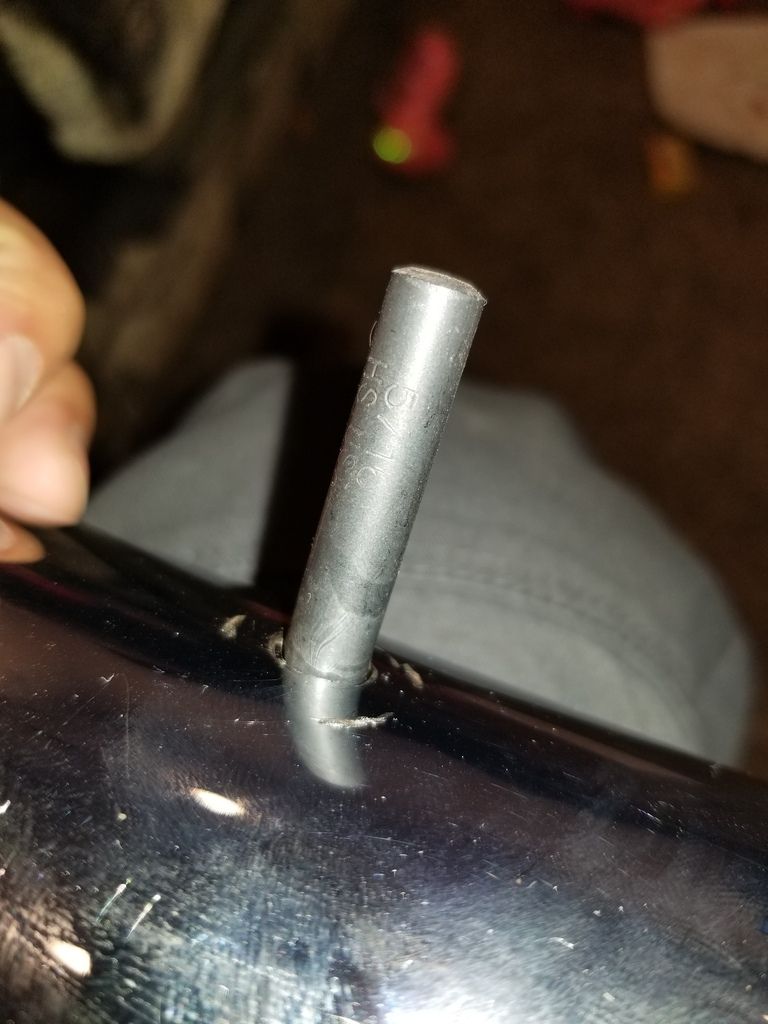
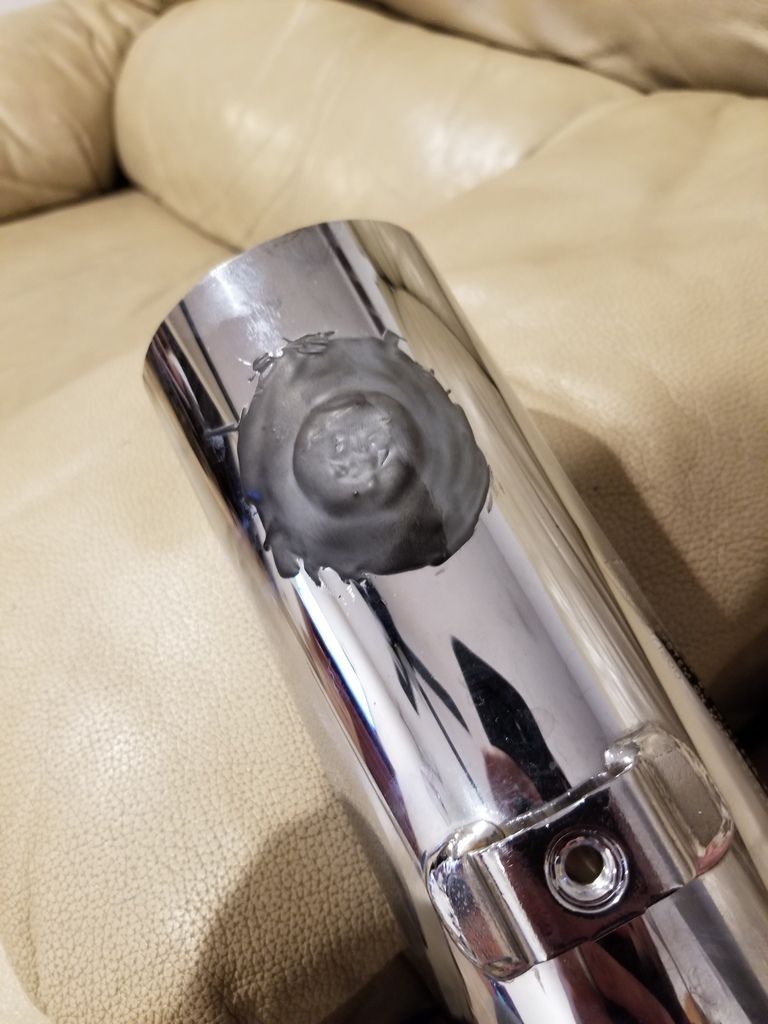
The 3/8" bit doesn't fit and I thought it would be too large of a hole. I guess the stock slip-on's are just too thin to hold up to the vibrations with the TTI's installed because they are in no way compromised by rust. With the given information I am not quite sure why they cracked now.


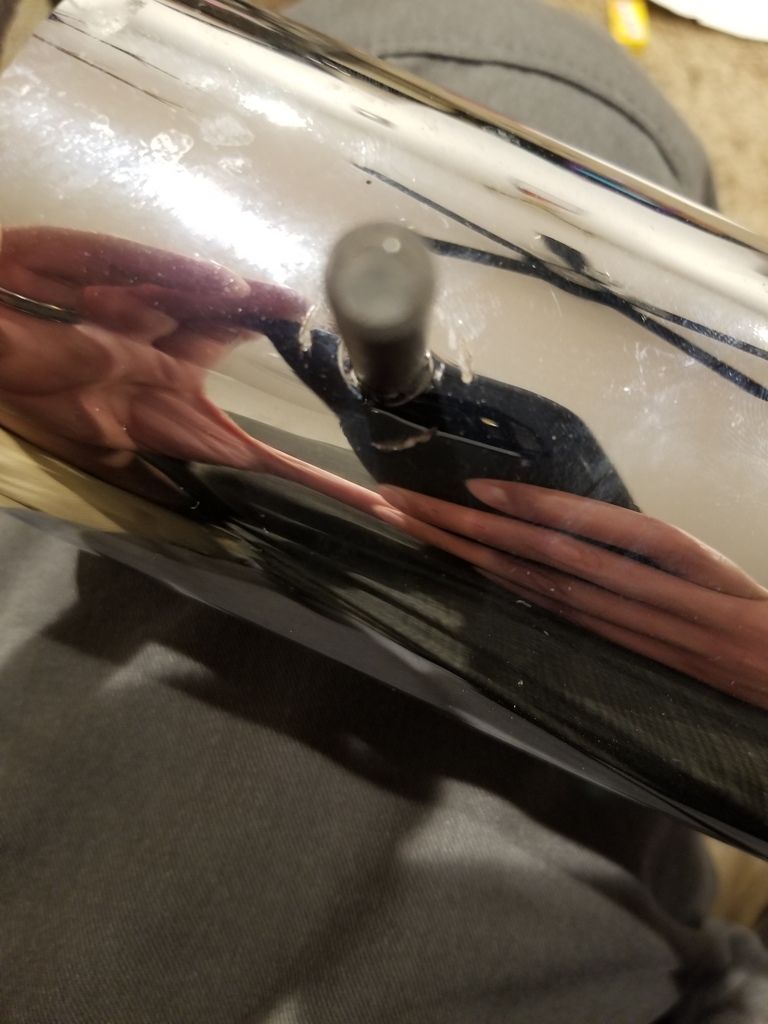
I patched up the cracked hole with a washer and JB Weld.

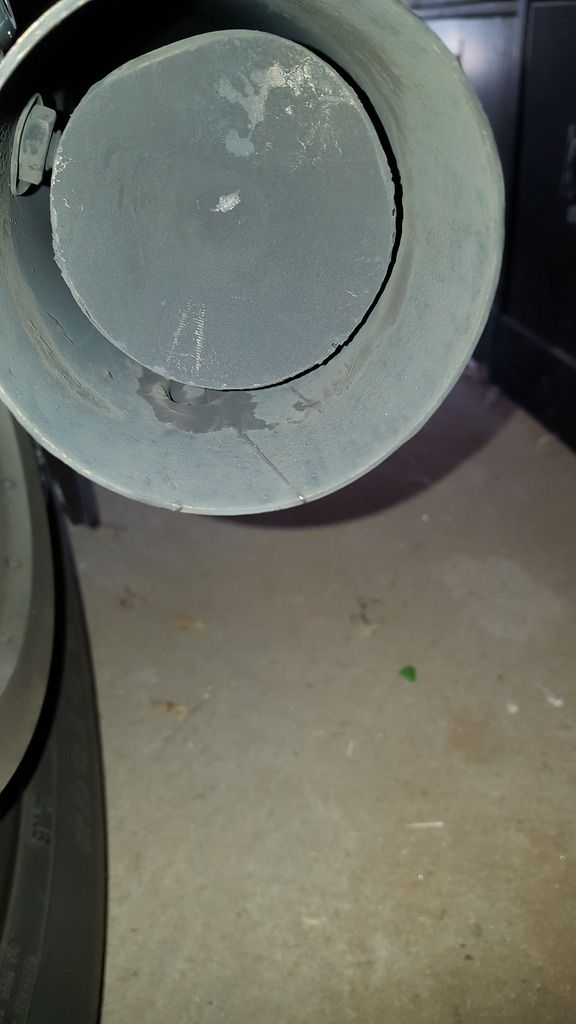
And the rear pipe TTI relocated after the first crack and repair.

Last edited by Bowhunter8607; Nov 1, 2017 at 08:27 PM.
Road Warrior
Joined: Apr 2012
Posts: 1,755
Likes: 253
From: Northern Los Angeles area.
Is this what you're referring to? https://shop.revzilla.com/motorcycle...dy-face-shieldArghhh TMI dude, keep your sex life details to yourself! 
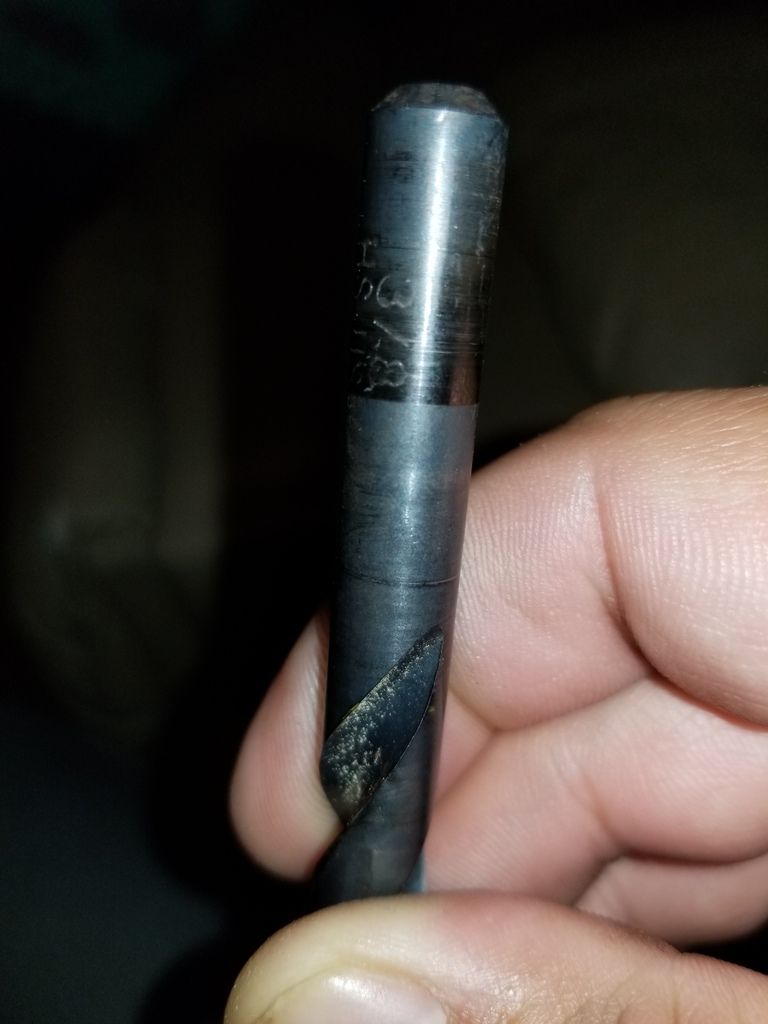
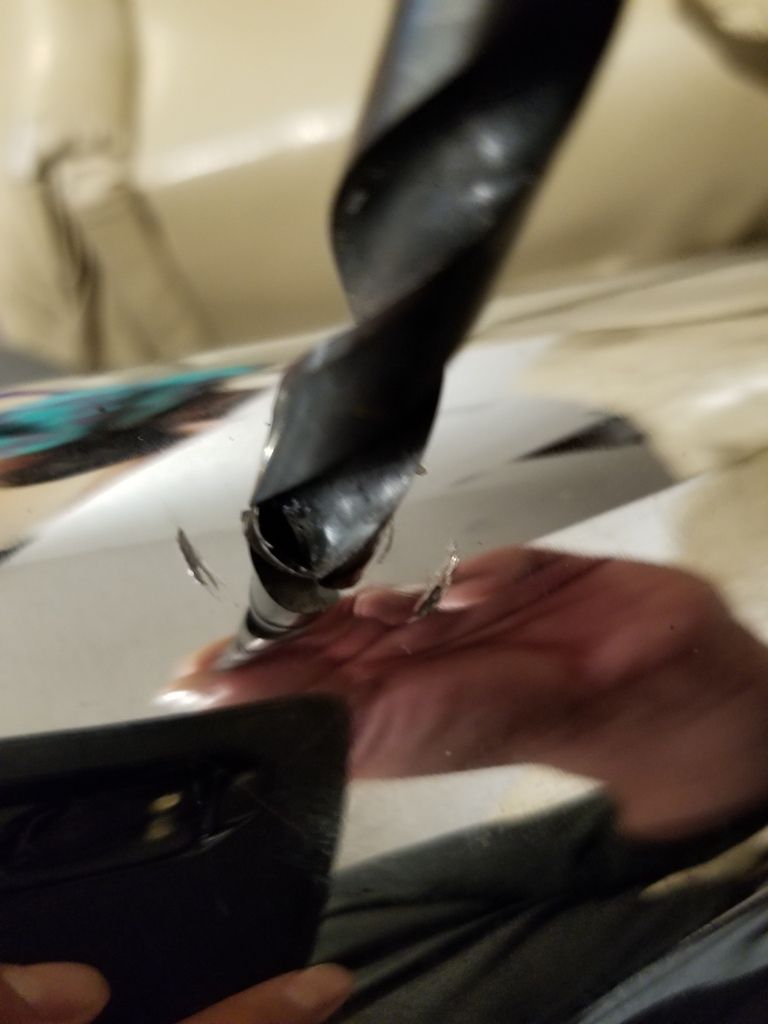
Thanks for the info. I guess the size of the hole was not the issue because I drilled a 5/16" hole and it still cracked. Here is a pic with the 5/16" drill bit in the hole I drilled.
The 3/8" bit doesn't fit and I thought it would be too large of a hole. I guess the stock slip-on's are just too thin to hold up to the vibrations with the TTI's installed because they are in no way compromised by rust. With the given information I am not quite sure why they cracked now.
I patched up the cracked hole with a washer and JB Weld.
And the rear pipe TTI relocated after the first crack and repair.
I know I've always used a 3/8" hole, and that is what the instructions say to use.
I do see how using a 5/16" would make it difficult to install...but not sure that would cause fatigue and resulting cracking....unless the metal got bent when working the stud in???? Or maybe got bent by over-tightening it, resulting in the body of the slip-on getting flattened???
I do know that it is not because the factory pipes are too thin. We have hundreds of Customers running these in their stock pipes with no issues. I have run them in two different bikes w/ stock pipes myself.
Kevin
__________________
DKCustomProducts.com
DKCustomProducts.com
Road Warrior
Joined: Feb 2014
Posts: 1,851
Likes: 420
From: Santa Fe NM
Man, I'm sorry for your bad luck. Not sure why what happened, happened. I wish we did know.
I know I've always used a 3/8" hole, and that is what the instructions say to use.
I do see how using a 5/16" would make it difficult to install...but not sure that would cause fatigue and resulting cracking....unless the metal got bent when working the stud in???? Or maybe got bent by over-tightening it, resulting in the body of the slip-on getting flattened???
I do know that it is not because the factory pipes are too thin. We have hundreds of Customers running these in their stock pipes with no issues. I have run them in two different bikes w/ stock pipes myself.
Kevin
Maybe over-tightening was the issue because I did tighten them down quite a bit after I noticed they would turn out of position if I only snugged them down. I couldn't get them to stay in position otherwise. I may try them again in the Straight Shots but will try to figure out a way to keep them in position without having to torque them down so tight.
 You do need to tighten them down enough so they will not turn, but once they are that tight, then it does not need to be any tighter.
Since self locking nuts are included with the TTI's, once they are tight enough that you cannot move (turn) them with the tool you are using to hold them in place during install, they will stay that tight.
I went to sleep last night thinking about your situation. I decided this weekend I will be be drilling a 5/16" hole in a stock slip-on and then try to install a TTI and see what happens.
Kevin
Road Warrior
Joined: Feb 2014
Posts: 1,851
Likes: 420
From: Santa Fe NM
You do need to tighten them down enough so they will not turn, but once they are that tight, then it does not need to be any tighter.Since self locking nuts are included with the TTI's, once they are tight enough that you cannot move (turn) them with the tool you are using to hold them in place during install, they will stay that tight.
I went to sleep last night thinking about your situation. I decided this weekend I will be be drilling a 5/16" hole in a stock slip-on and then try to install a TTI and see what happens.
Kevin
Last edited by Bowhunter8607; Nov 2, 2017 at 06:59 PM.
HD Forum Stories
The Best of Harley-Davidson for Lifelong Riders

8 Best Harley-Davidson Motorcycles Ever
Pouria Savadkouei
10 Worst Harley-Davidson Motorcycles Ever
Pouria Savadkouei
Killer Custom's Jail Break Is The Breakout That Refused to Blend In
Verdad Gallardo
Crazy Bunderbike Build Looks Amazing, But Is It Impossible to Ride?
Verdad Gallardo
Harley-Davidson Reveals Super Cool Cafe Racer Concept
Verdad Gallardo
Engraved Rebellion: Inside Bundnerbike's Glam Rock II
Verdad Gallardo
10 Motorcycles You Should Never Buy
Joe Kucinski
10 Things Harley-Davidson Needs to Fix in 2026
Verdad Gallardo
Southpaw Super Glide: A Left-Hand-Drive 1979 Harley FXE Built to Fit the Rider
Verdad GallardoCruiser
Joined: Oct 2017
Posts: 195
Likes: 55
From: Apex, NC
Yep. I'm wearing the Shoei GT Air with the pinlock visor... 3rd Shoei I've owned and most expensive, but quiet, ventilation that works, fog-free, and sweet internal flip-down shade. I'm adding a Quest to the rack when they go on sale this winter to match my bike and have a spare for my wife.

Intermediate
Joined: Mar 2017
Posts: 32
Likes: 5
From: Irvine, CA
I agree. I bought 2002 used and they came with II's and I Love them!!!