

Battery cover replacement


Thread Starter
|
Intermediate
Joined: Jul 2014
Posts: 42
Likes: 1
From: Jackson, NJ
Hello HD aficionados,
The Sporty that I recently bought came with a battery cover that was no factory painted (half a$$ may I add). This probably happen because the cover fell off at speed and got damaged. After initial inspection, I found out that the front battery cover clip was missing and a cable tie was used to hold the cover in place. The rear clip was still on the frame and barely holding the cover. The rubber grommet on the bottom of the cover was there but falling apart.
I wanted to upgrade the covers (battery and oil tank) to chrome. After doing some research in this forum, I learned that the battery cover clips have been redesigned multiple times. I went ahead and order a set of the most current version of the clips along with a set of chrome covers. I would like to share my experience with everyone regarding the installation of the clips and how to maximize the chances of the battery cover staying in place.
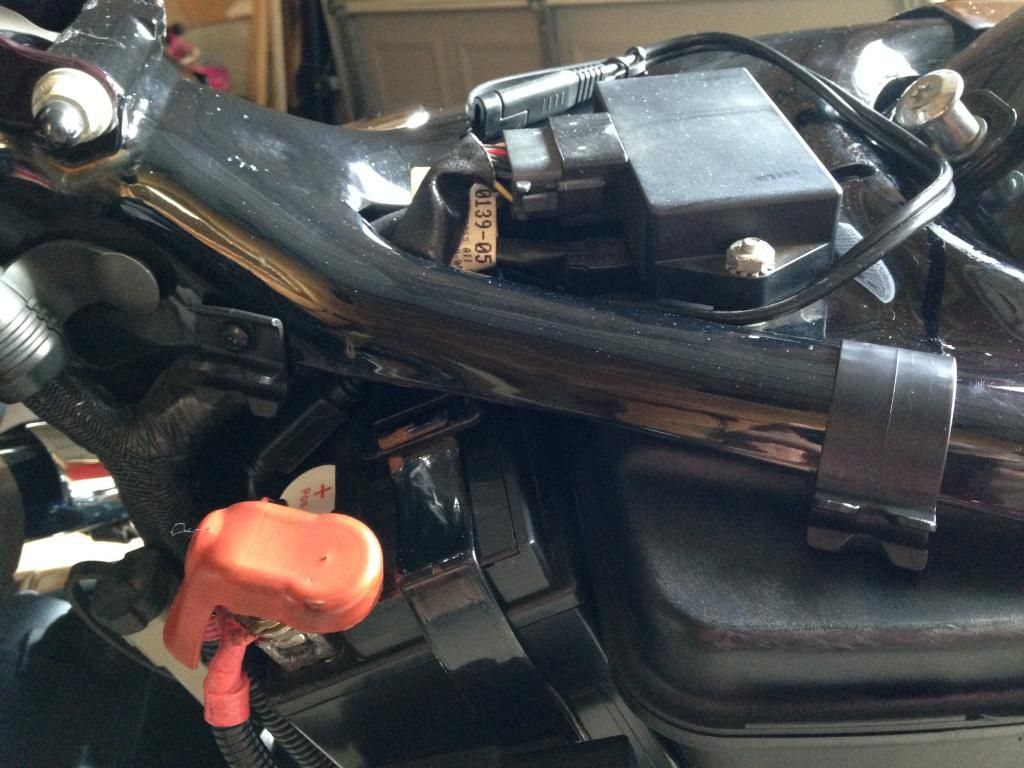
1) Remove the seat and any OLD battery cover clips that may be on the frame.
2) Install the new battery cover clips. Each clip has two parts: One part attaches to the frame while the other part attaches to the battery cover. The rear clip attaches to the frame without any screws. The front clip has a screw that holds it in place.
3) Install the other part of the clips to the battery cover. These parts have a screw that holds them in place on the cover. Note that I put the screws on the inside of the cover so they are concealed.
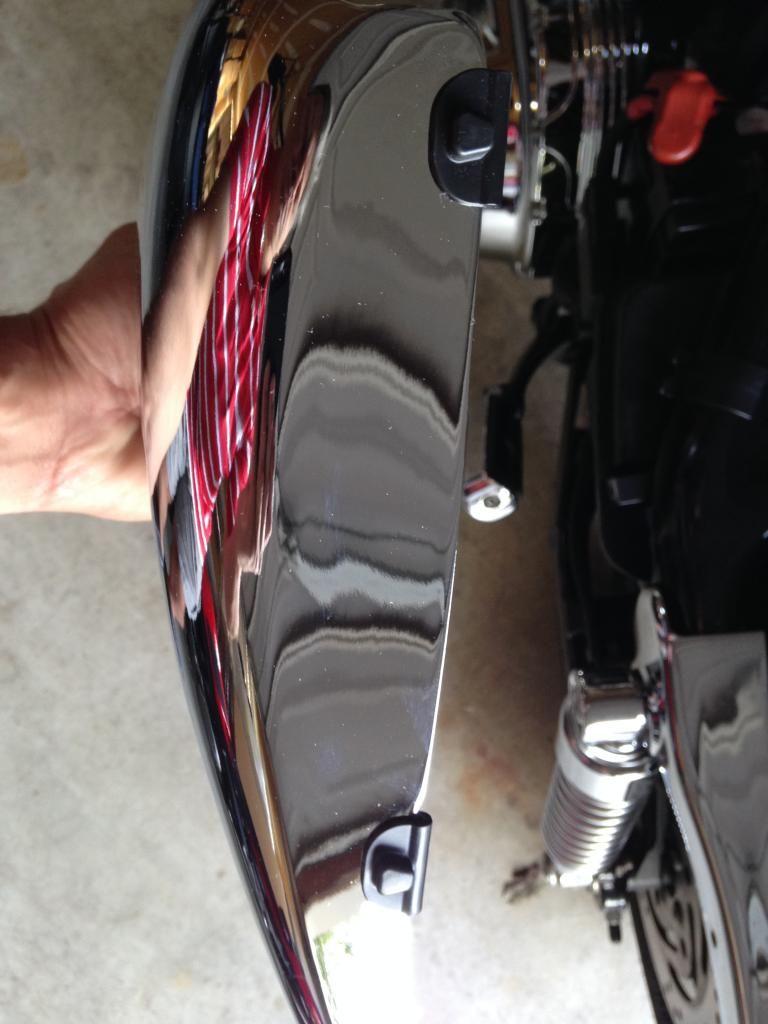
4) Next part is critical. In order to make sure that the clips are fully engaged (and therefore they hold the cover well in place), make sure that both sides of each clip are lined up very well. You can eyeball it and then adjust the clips on the cover by releasing the screws and retightening them.
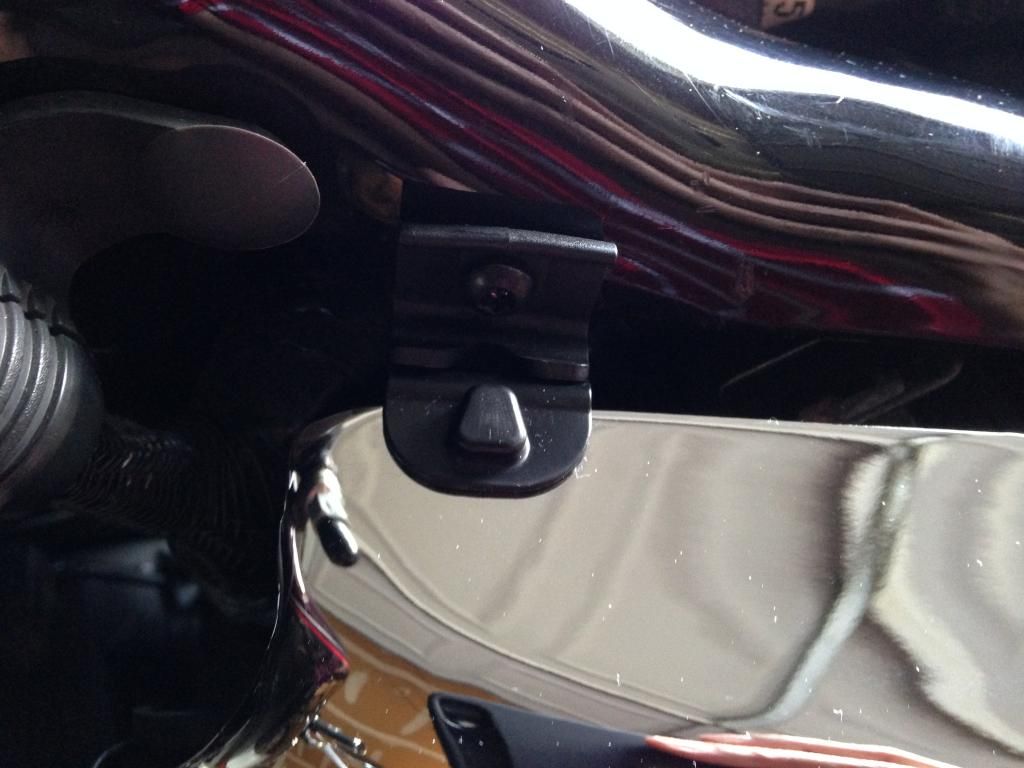
FRONT clip
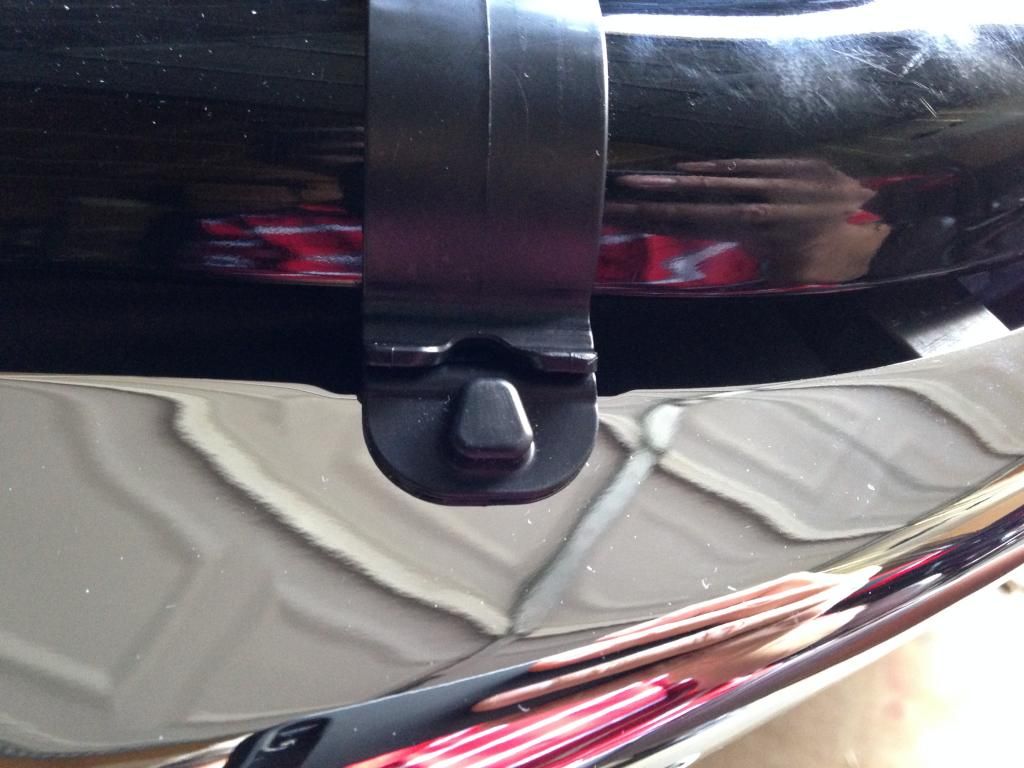
REAR clip
NOTE: With the chrome cover that I got I had to play with the shape slightly to alight the clips. In my case, when the back clip was aligned, the front one was a bit to high. I have to reshape the cover slightly to make the front clip aligned. (the cover reshapes easy with a bit of force.
5) At this point, the clips should be well align and they should provide maximum engagement.

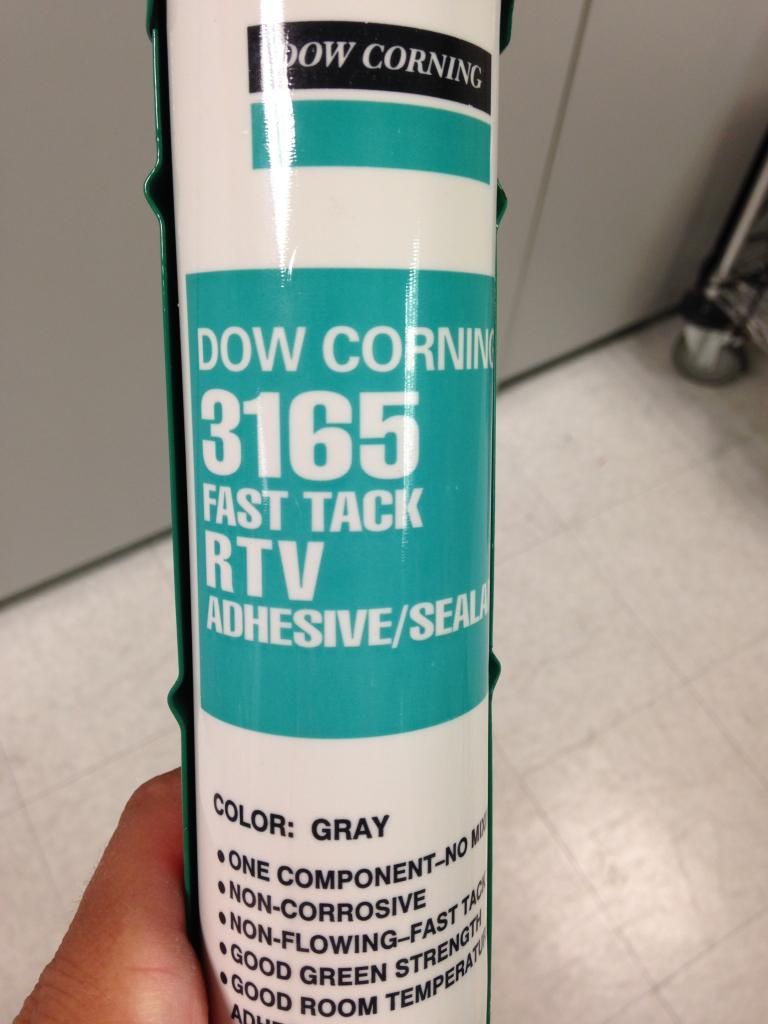
6) HOWEVER, to secure the cover even more, I decided to add a bit of RVT silicone to the clips. This silicone remains flexible and it is very easily removable (without any residue or damage).
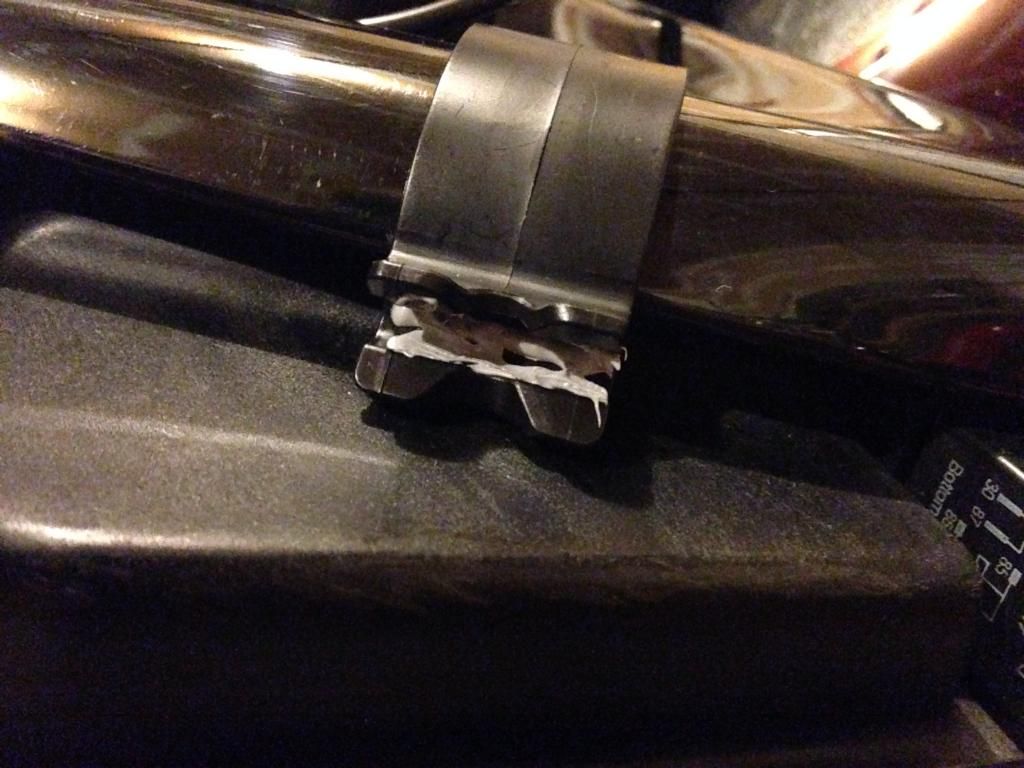
7) Install the cover firmly in place. Wipe any excess silicone of the sides of the clips. The cover should be very secure now and can be removed easily with a firm tug. To reinstall it, I would just peel the silicone of the clips, reapply more silicone, and remount the cover.
I hope this helps someone.
Salud!
The Sporty that I recently bought came with a battery cover that was no factory painted (half a$$ may I add). This probably happen because the cover fell off at speed and got damaged. After initial inspection, I found out that the front battery cover clip was missing and a cable tie was used to hold the cover in place. The rear clip was still on the frame and barely holding the cover. The rubber grommet on the bottom of the cover was there but falling apart.
I wanted to upgrade the covers (battery and oil tank) to chrome. After doing some research in this forum, I learned that the battery cover clips have been redesigned multiple times. I went ahead and order a set of the most current version of the clips along with a set of chrome covers. I would like to share my experience with everyone regarding the installation of the clips and how to maximize the chances of the battery cover staying in place.
1) Remove the seat and any OLD battery cover clips that may be on the frame.
2) Install the new battery cover clips. Each clip has two parts: One part attaches to the frame while the other part attaches to the battery cover. The rear clip attaches to the frame without any screws. The front clip has a screw that holds it in place.

3) Install the other part of the clips to the battery cover. These parts have a screw that holds them in place on the cover. Note that I put the screws on the inside of the cover so they are concealed.

4) Next part is critical. In order to make sure that the clips are fully engaged (and therefore they hold the cover well in place), make sure that both sides of each clip are lined up very well. You can eyeball it and then adjust the clips on the cover by releasing the screws and retightening them.
FRONT clip

REAR clip

NOTE: With the chrome cover that I got I had to play with the shape slightly to alight the clips. In my case, when the back clip was aligned, the front one was a bit to high. I have to reshape the cover slightly to make the front clip aligned. (the cover reshapes easy with a bit of force.
5) At this point, the clips should be well align and they should provide maximum engagement.

6) HOWEVER, to secure the cover even more, I decided to add a bit of RVT silicone to the clips. This silicone remains flexible and it is very easily removable (without any residue or damage).


7) Install the cover firmly in place. Wipe any excess silicone of the sides of the clips. The cover should be very secure now and can be removed easily with a firm tug. To reinstall it, I would just peel the silicone of the clips, reapply more silicone, and remount the cover.
I hope this helps someone.
Salud!

Thread
Thread Starter
Forum
Replies
Last Post


