Harley Davidson Sportster: How to Remove Gas Tank
One of the more common complaints of Sportster owners is the relatively short miles in between fill-ups. Learn how to upgrade to a larger fuel tank here.
This article applies to the Harley Davidson Sportster.
Of all the reasons to smile while riding your Sportster, frequent pit stops probably isn't one of them. The Sportster's sleek lines and awesome power plant make this one fun bike to ride; however, it also comes with a smallish fuel tank, which limits the miles in between stopping points. While this is nice for many riders to get frequent stretches in, other iron butt riders like to keep the rubber on the road for longer periods. If you would like to stay in the saddle for longer miles of pavement, don't fret. There are a few options for you to upgrade that gas tank for a larger one without compromising the nice lines of the Sportster or running into clearance issues with the handlebars or mirrors. If this sounds like a challenge, don't be shy from getting in there and wrenching your own mod. This isn't a very difficult modification to make; an upgraded tank won't cost you much and you will save a bundle of cash from having a professional do this quick DIY job for you. Read on and learn what it takes to install a larger tank on your Sportster.

Material Needed
- Ratcheting screwdriver
Step 1 – Remove the seat
Take a ratcheting screwdriver and remove the bolt behind the seat over the rear fender. Once the bolt is removed, get behind the bike and push from behind the seat, mashing it toward the tank. Once it has moved forward about one to two inches, lift up from the rear. This should basically be one fluid movement. Once the rear is up and out of the bracket, pull the seat back toward you and away from the tank. The seat is now free, so carefully set it aside.
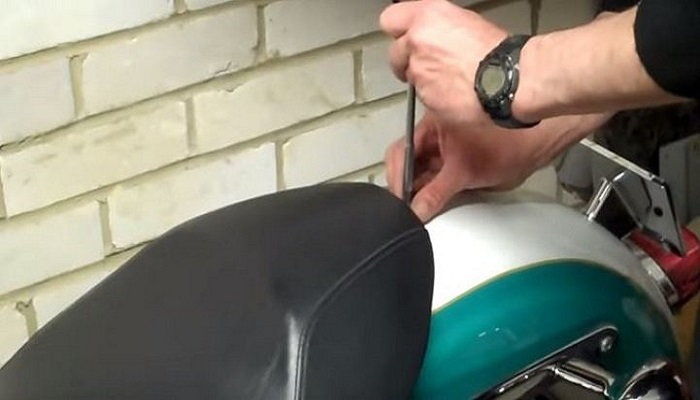
Figure 1. Remove the single bolt on the rear fender behind the seat. 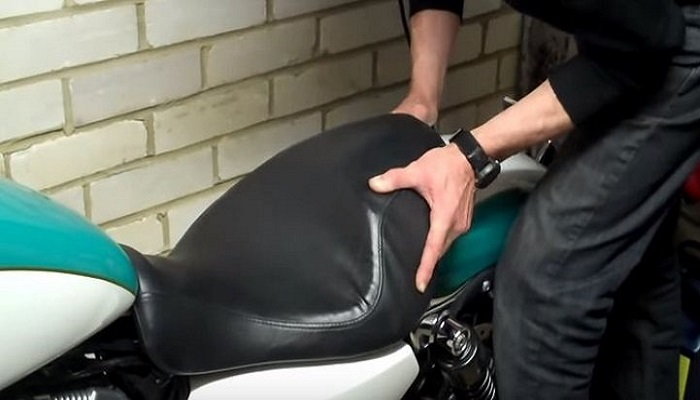
Figure 2. Simultaneously push the rear of the seat forward and pull up. 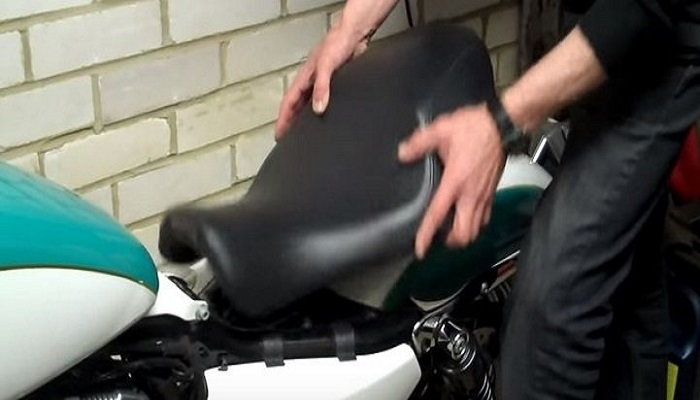
Figure 3. Once the rear of the seat is off, pull back and remove the seat from the tank. 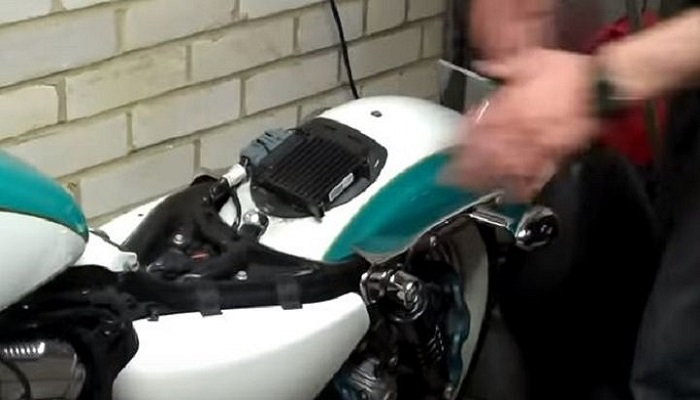
Figure 4. Seat has been removed.
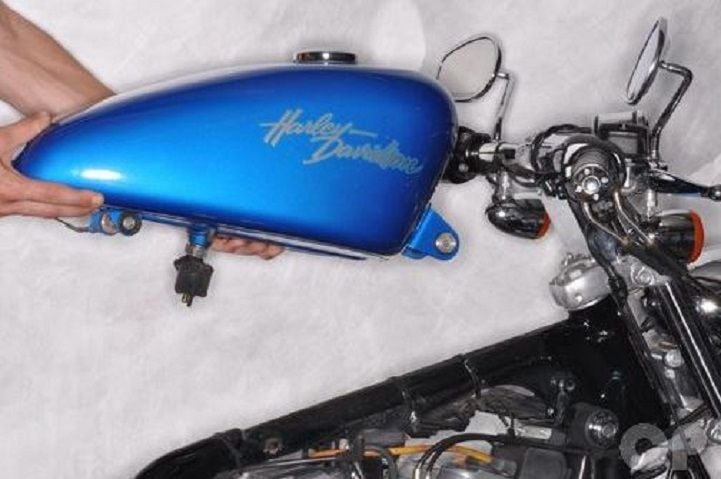
Step 2 – Remove the tank mounting bolts
There are only two bolts holding the tank in place. One long bolt is up at the front of the tank snuggled in behind the handlebars and the other bolt is shorter, which was just exposed when you removed the seat. These are both 1/4" Allen bolts with a 1/2" nut. If you still have the rubberized thread protector on the end of the bolt, remove it, loosen the bolt, remove the nut and pull the bolt head straight out. The tank is now completely un-mounted from the bike.
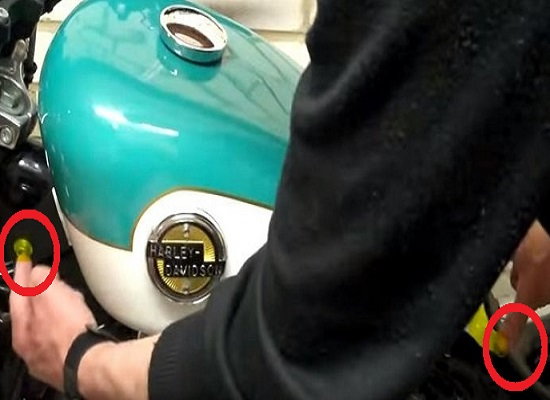
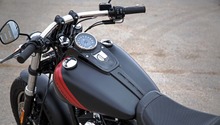
Figure 5. The tank is mounted to the bike by only two bolts; one in front, one behind. 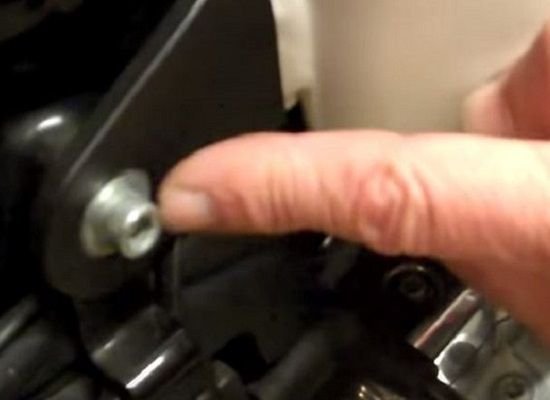
Figure 6. Mounting bolt at the front of the tank. 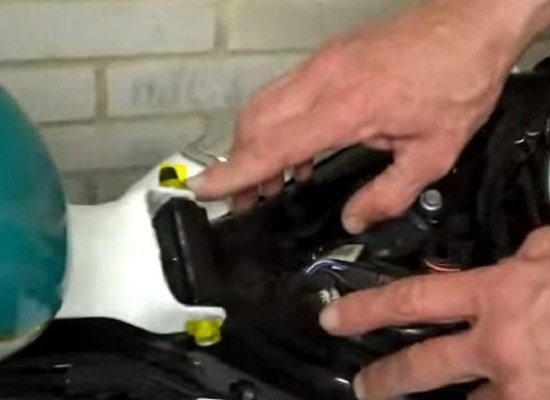
Figure 7. Rear tank mounting bolts hidden under lip of seat.
Step 3 – Disconnect fuel injection power cell
On the bottom or underside of your fuel tank, on the left side only, is the power plant for the fuel injection cylinders that go inside your tank. You will find a small plate that is bolted to the bottom of the tank and out from that plate is a bundle of wires. Trace the wires out from the tank and they should terminate at a quick disconnect harness somewhere around the back of the rear cylinder of the V-twin. Find that harness and disconnect or unplug it.
Figure 8. Look on the underside of the tank on the left to find the fuel injection plate. 
Figure 9. You are looking for these wires emerging from the center of that plate on the underside of the tank. 
Figure 10. Follow those wires back until the terminate into this wiring harness. Unplug the wires.
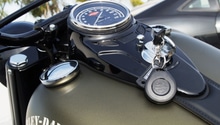
Step 4 – Disconnect the overflow plug
Under the tank, on the left again, you will find a hose and plug coming out from the bottom. Disconnect this plug.

Step 5 – Disconnect the fuel line
The fuel line is found right next to the wires and the overflow line. This is a bigger line with a big collar fitting. It is a spring loaded fitting; the top collar is pushed up while the bottom hose is wiggled and pulled until it pops free.
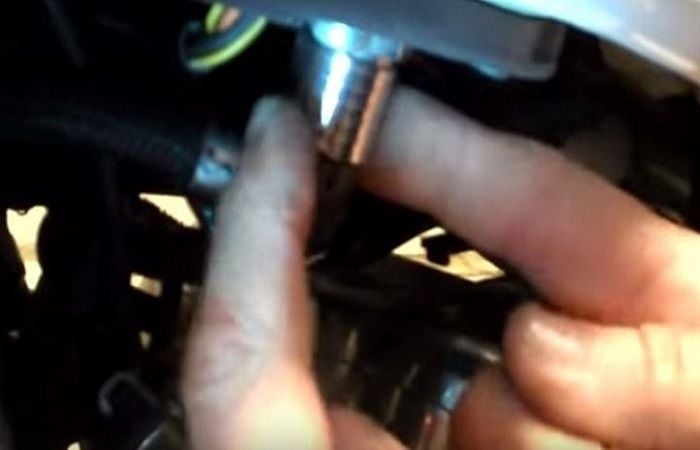
Figure 12. Locate the fuel line under the tank. 
Figure 13. Push up on the spring loaded collar while pulling down and twisting on the fuel line.
Pro Tip
Inside the fuel line that clips into the spring loaded collar, you will find an electrical connection. This connection is seated down in the fuel line and must make a good connection with the collar. If your bike doesn't start after swapping tanks and putting everything back in order, check this fuel line connection and re-seat it if needed.
Step 6 – Remove tank and install replacement
Once the tank mounting bolts are removed, the fuel injection wiring harness disconnected, the overflow and main flow lines are disconnected, the tank can now be lifted up and off the bike. Carefully set the tank to the side, as you may want to put your bike back to stock before selling it for a Road Glide. Install the new tank without worrying about the order of connections, but just make sure everything is correctly connected and secured tight. Take her for a test ride; although, you don't need an excuse to get out and ride.
Featured Video: Harley Sportster Gas Tank Removal
Related Discussions
- Forty Eight Tank Swap?? - HDForums.com
- Bigger Tank Options for a 72? - HDForums.com
- Installing 6 Gallon Gas Tank on a Sportster 883 - HDForums.com