Harley Davidson Touring: How to Jump Start Battery
If you are stranded with a dead battery, learn the proper way to jump start your bike.
This article applies to the Harley Davidson Touring (1995-2015).
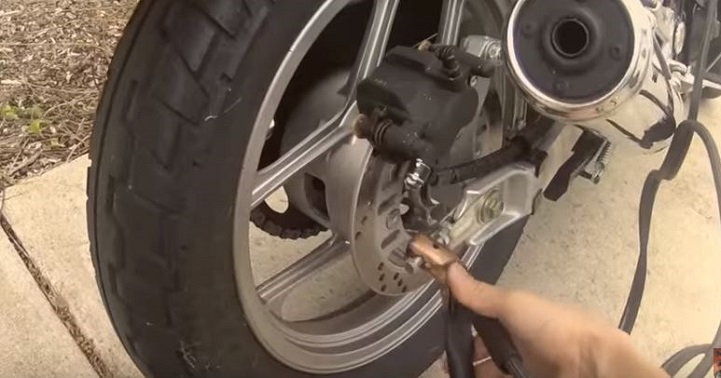
There is a good deal of controversy surrounding the proper way to jump start your Harley Davidson Touring, or any bike battery really. If your bike has been sitting for a while and the battery goes dead, the best solution is to remove the battery from the bike and put it on a charger for 10 to 12 hours. Of course, that is the ideal situation that we don't always find ourselves in. If you need a jump, it is likely that you are stranded somewhere. If you are in need of a jump to get home, follow these steps to make sure that you don't compound your problem by adding significant repair costs. Even roadside assistance services may not know the proper way to jump start a motorcycle.

Materials Needed
- Motorcycle jumper cables (with small clips)
- Battery tester (not required, but highly recommended)
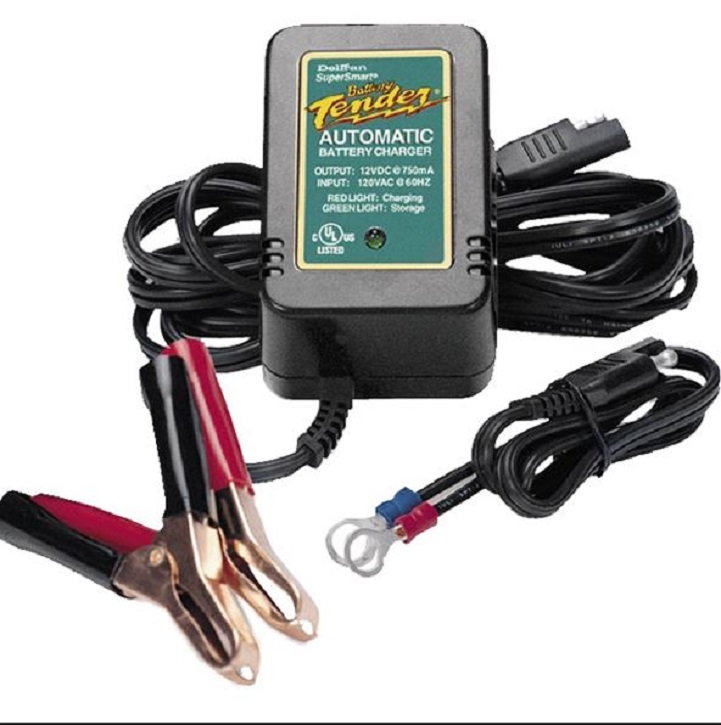
- Battery tender (not required, but highly recommended)
Step 1 – Find a donor vehicle
Ideally, you should use another motorcycle for the donor electricity. If this is just not possible, you can use a car as the donor. You will need to use motorcycle jumper cables, or at least automotive cables with small clamps on the end.

Step 2 – Make the connections in the proper order
You will need to be careful to not fry your ECM or other electronics from a voltage spike.
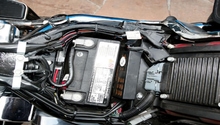
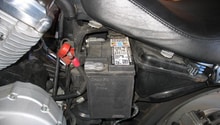
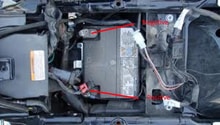
- Connect the positive jumper to the positive post on the dead battery.
- Connect the positive jumper to the positive post on the donor battery.
- Connect the negative jumper to the negative post on the donor battery.
- Connect the negative jumper to a ground, away from the dead battery.
Step 3 – Start your bike
Once the dead bike is connected to a good power source, let it charge for five minutes or so. If the donor is another bike, let it run for a few minutes to power up the dead unit. If the donor is a car or truck, do NOT start the donor vehicle! Hit the button and start your dead bike, then let it run for a few minutes to build up a good charge.
Remove the cables in the opposite order of how you originally connected them, starting with the ground on the dead bike.
Pro Tip
Never jump start a bike from a running car. The car's charging system can deliver a lot more amperage than the bike's dead battery can handle. Doing so can easily give a voltage spike that fries your components.
Step 4 – Test your battery
Once you are safely home, at a dealer, or auto parts store, have your battery tested under load. Your Touring battery should last three to five years only if it is properly maintained and your charging system is in good order. If you have a relatively new battery and it was dead for no known reason, have your charging system checked for proper output. Don't get yourself stranded a second time.

Step 5 – Invest in a battery tender
Learn from your experience and invest in a battery tender. Lead-acid automotive type batteries don't like to be run down and recharged, so for best results, the battery tender keeps it fully charged when not in use. Battery tenders are a real inexpensive piece of insurance that will help make your battery live up to its full potential so you don't get stranded again.
Featured Video: How to Jump Start Dead Battery
Related Discussions
- Safe Way to Jump Start a Battery - HDForums.com
- Jump Start Battery Issues - HDForums.com
- Jump Starting - HDForums.com
- Jump Starting an EG - HDForums.com