When you click on links to various merchants on this site and make a purchase, this can result in this site earning a commission. Affiliate programs and affiliations include, but are not limited to, the eBay Partner Network.
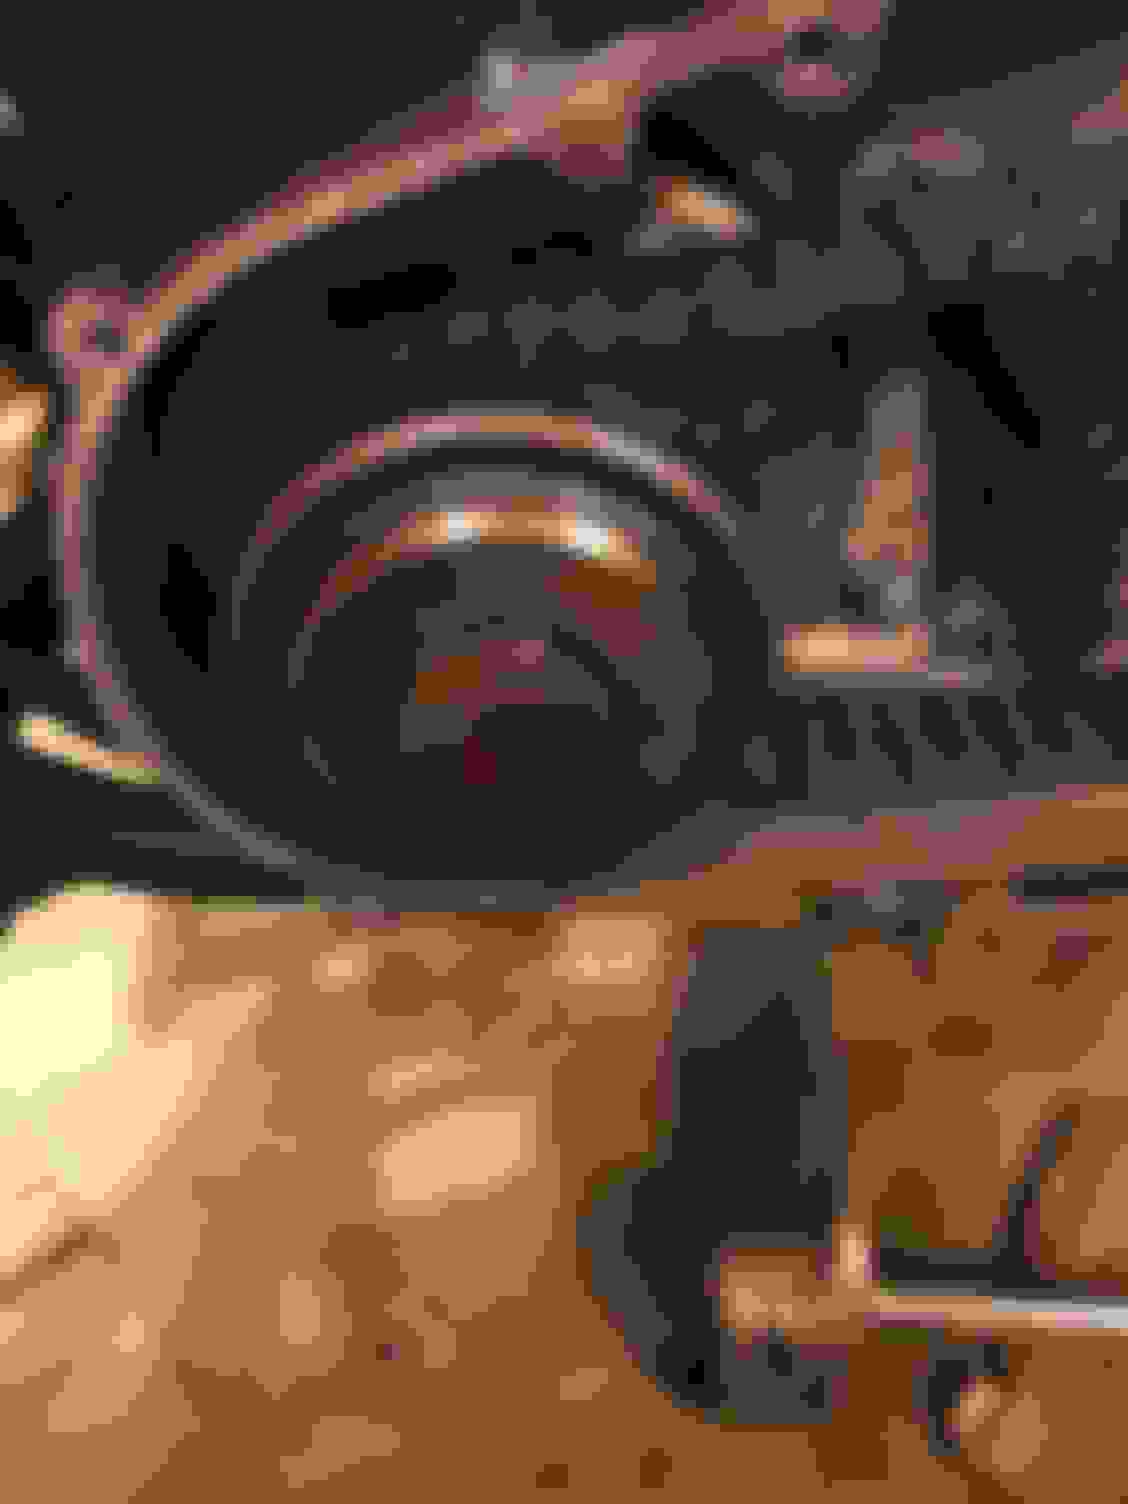
I'm currently pulling apart, upgrading, and just flat out restoring my 85 FXRS. It has 56k on the clock and before tearing into it was starting having some electrical and engine gremlins. So I decided to restore it but have ran into a roadblock. My compensator assembly refuses to budge and I just want to double check I'm not missing anything. My current assembly is not how my Harley manufacturers manual shows it. In the manual it shows a compensator assembly as having a single nut that is to be turned counter clockwise to remove. My assembly does not look like that and looks like the compensator below. Idk if this changes anything in the procedure to remove (From what I've searched and found/didn't find) it doesn't. Now I've searched suggestions are to heat it with heat as its probably got a whole bottle of red loctite on it and has probably been on there for some miles but between a torch sitting in the groves on the shafts for a good 5-10 mins (behind the cover) a 24 inch breaker bar, with a cheater extension, strapped to a stable platform, a primary locking tool, and a 220 lbs of weight pressing down on the bar. It still won't free itself. I also don't have an impact anymore (Not that youre suppose to use one on these as it could mess up the shaft or stator) so that not an option.
Am I missing a step? I've followed my manual up to this point 100% on my tear down, but this has got me stuck. Any advice or suggestions are appreciated!
My compensator looks just like yours on my 85 Flhtc. I be used a 1/2 air impact to take mine off in the past. Otherwise you need a jam bar and a bigger breaker bar
my 85 has the same thing. heat it good, i just heat the hex head. red loctite is used to keep it tight. i use a 1/2' impact air gun to get mine off after it's hot.
A number of people suggest that one does NOT use the wedge type or stepped primary locking tool and instead use a primary locking bar or block of wood. They say the wedge type tool places excess stress on both the transmission and the primary chain.
A number of people suggest that one does NOT use the wedge type or stepped primary locking tool and instead use a primary locking bar or block of wood. They say the wedge type tool places excess stress on both the transmission and the primary chain.
I've seen guys crack the primary using those incorrectly.
OP , heat and an impact, bet your *** that's the way those have been getting pulled at dealers forever. The don't use an impact mantra didn't start till the twin cams and their cheap easy to tweak flywheels.
A number of people suggest that one does NOT use the wedge type or stepped primary locking tool and instead use a primary locking bar or block of wood. They say the wedge type tool places excess stress on both the transmission and the primary chain.
The PVC is semi soft. The sprockets bite into it pretty well, as well as the chain. So no real stress on the chain or metal. And it's good for maybe 2 uses. It's the same PVC that we carpenters use for exterior cornice work. I just had a big chunk left over from a job, and said ,"Hey, I know what I can use this for!"
The first time I took mine off I didn't have an impact so I used a cheater bar.
The cheater bar that ended up long enough was 5' long.
Now I use an impact!!!!!!!!!!
I use a cut to length piece of bar stock I got a home depo to lock the sprockets.
I don't know your experience with HD's but the compensator nut is right hand thread and the clutch hub nut is left hand thread.
Just thought I'd throw that into the mix.
I use the polyurethane stepped blocks but I use two of them, one on each sprocket.
After heating the hex head of the nut, you should be able to remove it.
7 Surprising Harley-Davidson Products that Are Not Motorcycles
Slideshow: The bar-and-shield logo shows up on far more than motorcycles, some of the company's most unexpected products have nothing to do with riding.
Slideshow: From the troubled AMF years to modern misfires, these bikes earned reputations for reliability issues, questionable engineering, or disappointing performance.
Crazy Bunderbike Build Looks Amazing, But Is It Impossible to Ride?
Slideshow: The Swiss custom shop has taken a Harley Softail and stretched it into something so long and low that it looks closer to a rolling sculpture than a conventional motorcycle.
Engraved Rebellion: Inside Bundnerbike's Glam Rock II
Slideshow: A standard cruiser becomes an intricate metal canvas in the hands of a Swiss custom house known for pushing Harley-Davidson platforms far beyond their factory brief.
Slideshow: Harley-Davidson's challenges aren't abstract; they show up in dropping shipments, shrinking dealer traffic, and strategic decisions that aren't yet translating into growth.