



Working on the RGU
Thread Starter
|
Tourer
Joined: Aug 2009
Posts: 252
Likes: 47
From: Cle Elum, WA
 Working on the RGU
SO I worked on the bike today and took the toe shift lever off and added heel-toe shifter levers. These are CHEAP Amazon levers so I ordered the Harley levers.
The PO had used a piece of tubing when he removed the heel shifter and had wrapped packing tape around the shifter shaft so it wouldn't rattle...……. :frown::serious::frown: Did I mention how much I hate fixing stupid crap PO's do to a bike.
My nearest dealer didn't have the spacer in stock so I ordered it from Surdyke along with some other parts. But I wanted to be able to ride my bike until the parts get here so I went to the hardware store and bought a 3/8ID x 1/2" bushing that drilled out to 1/2" to fit the shifter shaft. It isn't perfect and the shaft still has a little play in it but I can ride the bike.
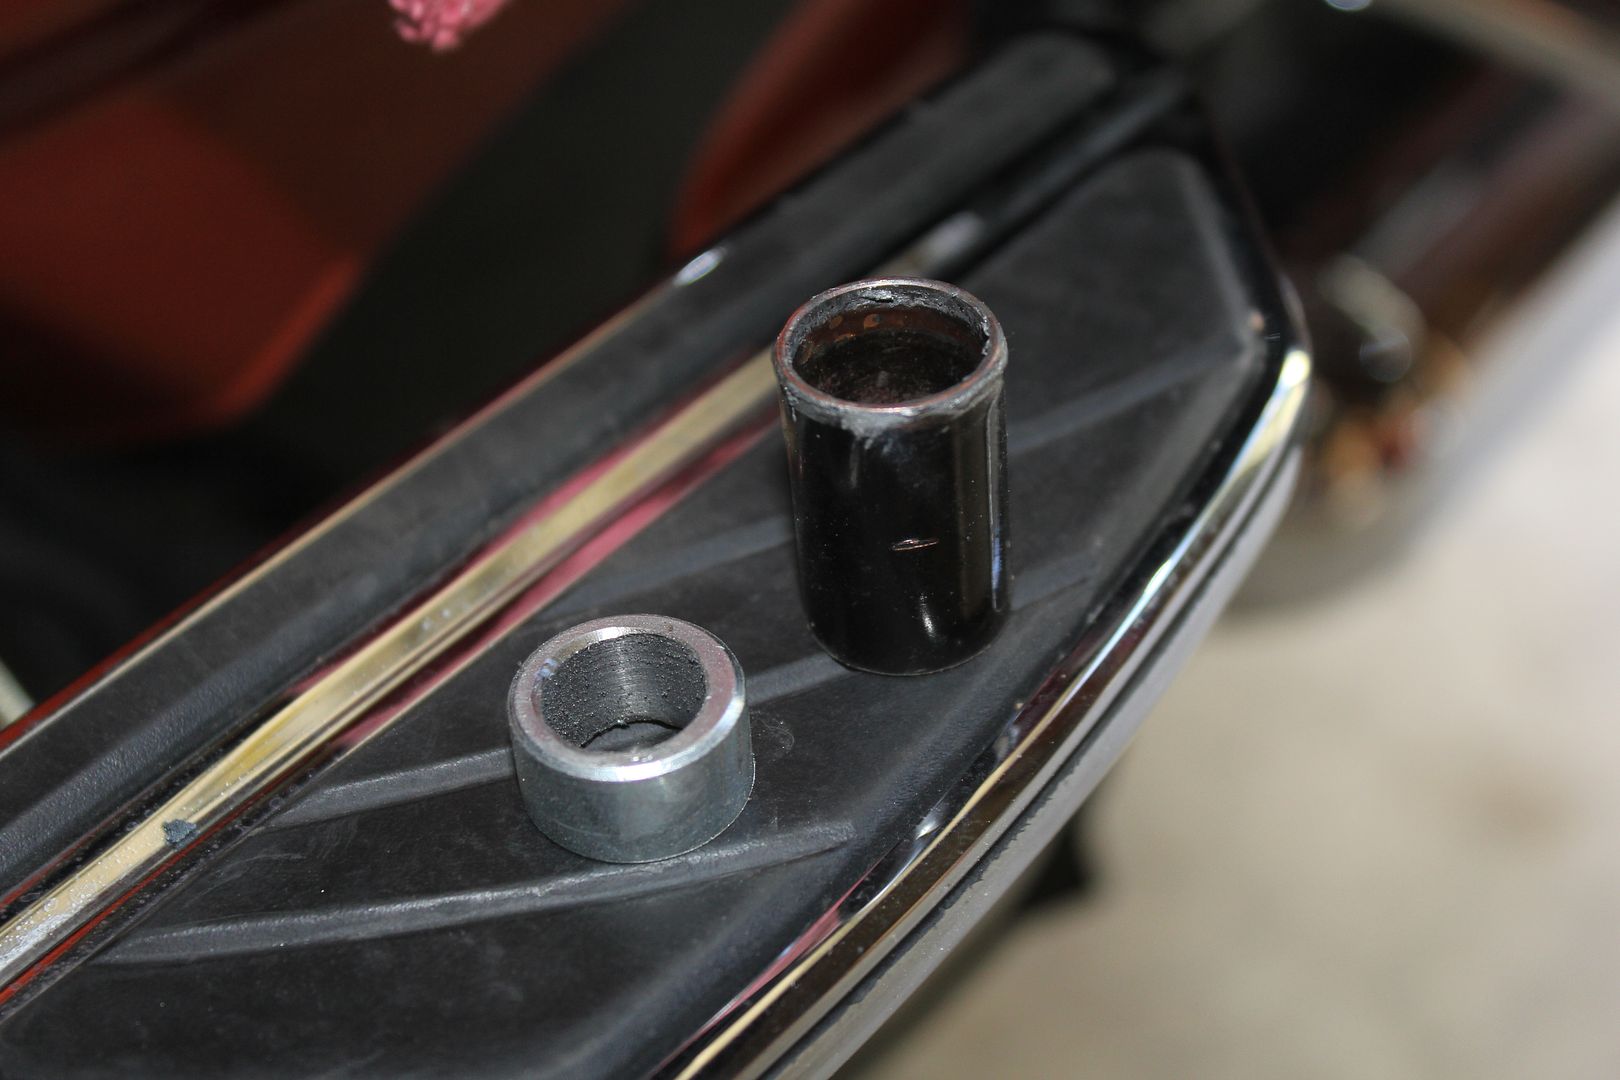
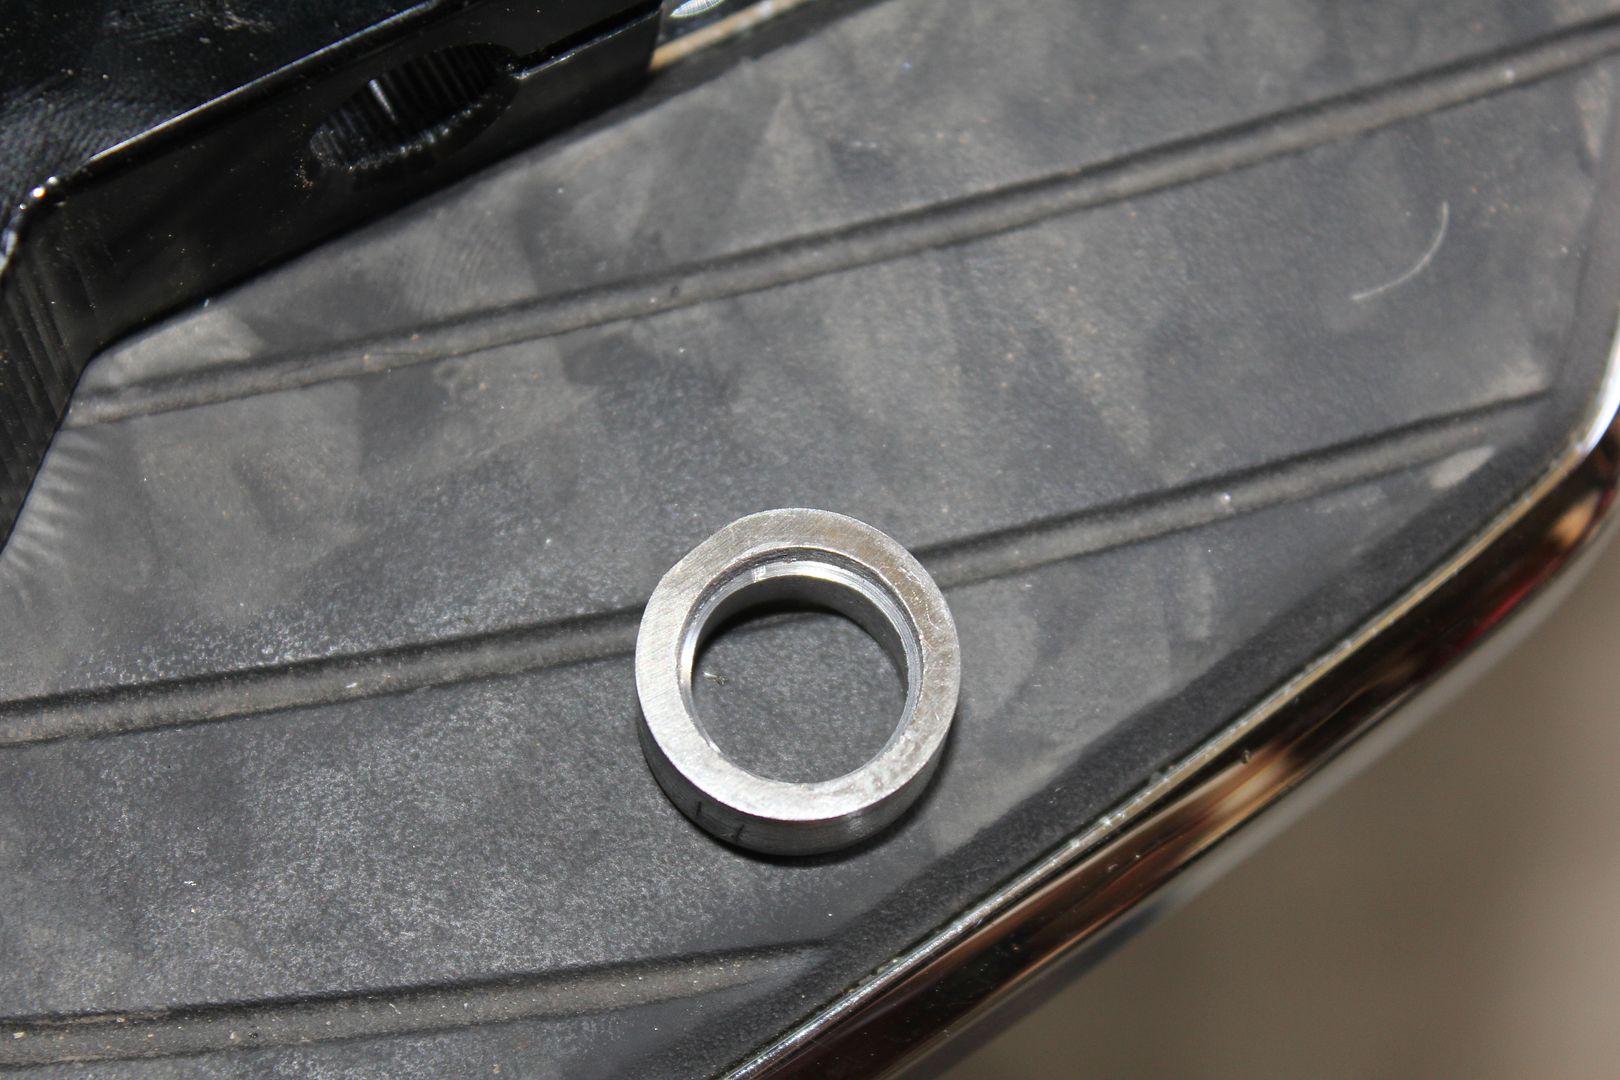
I had to try and bevel the spacer a little to go over the shaft where it goes from splined to smooth.

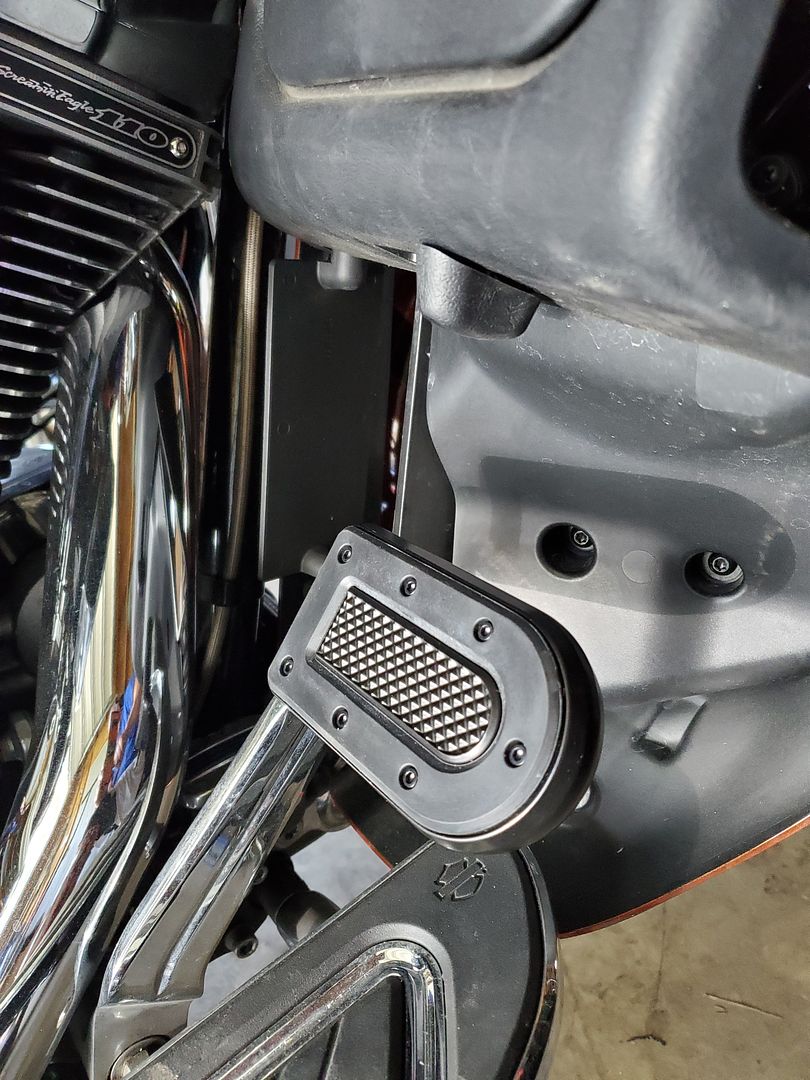
The new heel-toe shift levers I got from Amazon came with these pegs but the PO had installed floorboard spacers so I wanted to move the pegs out some.
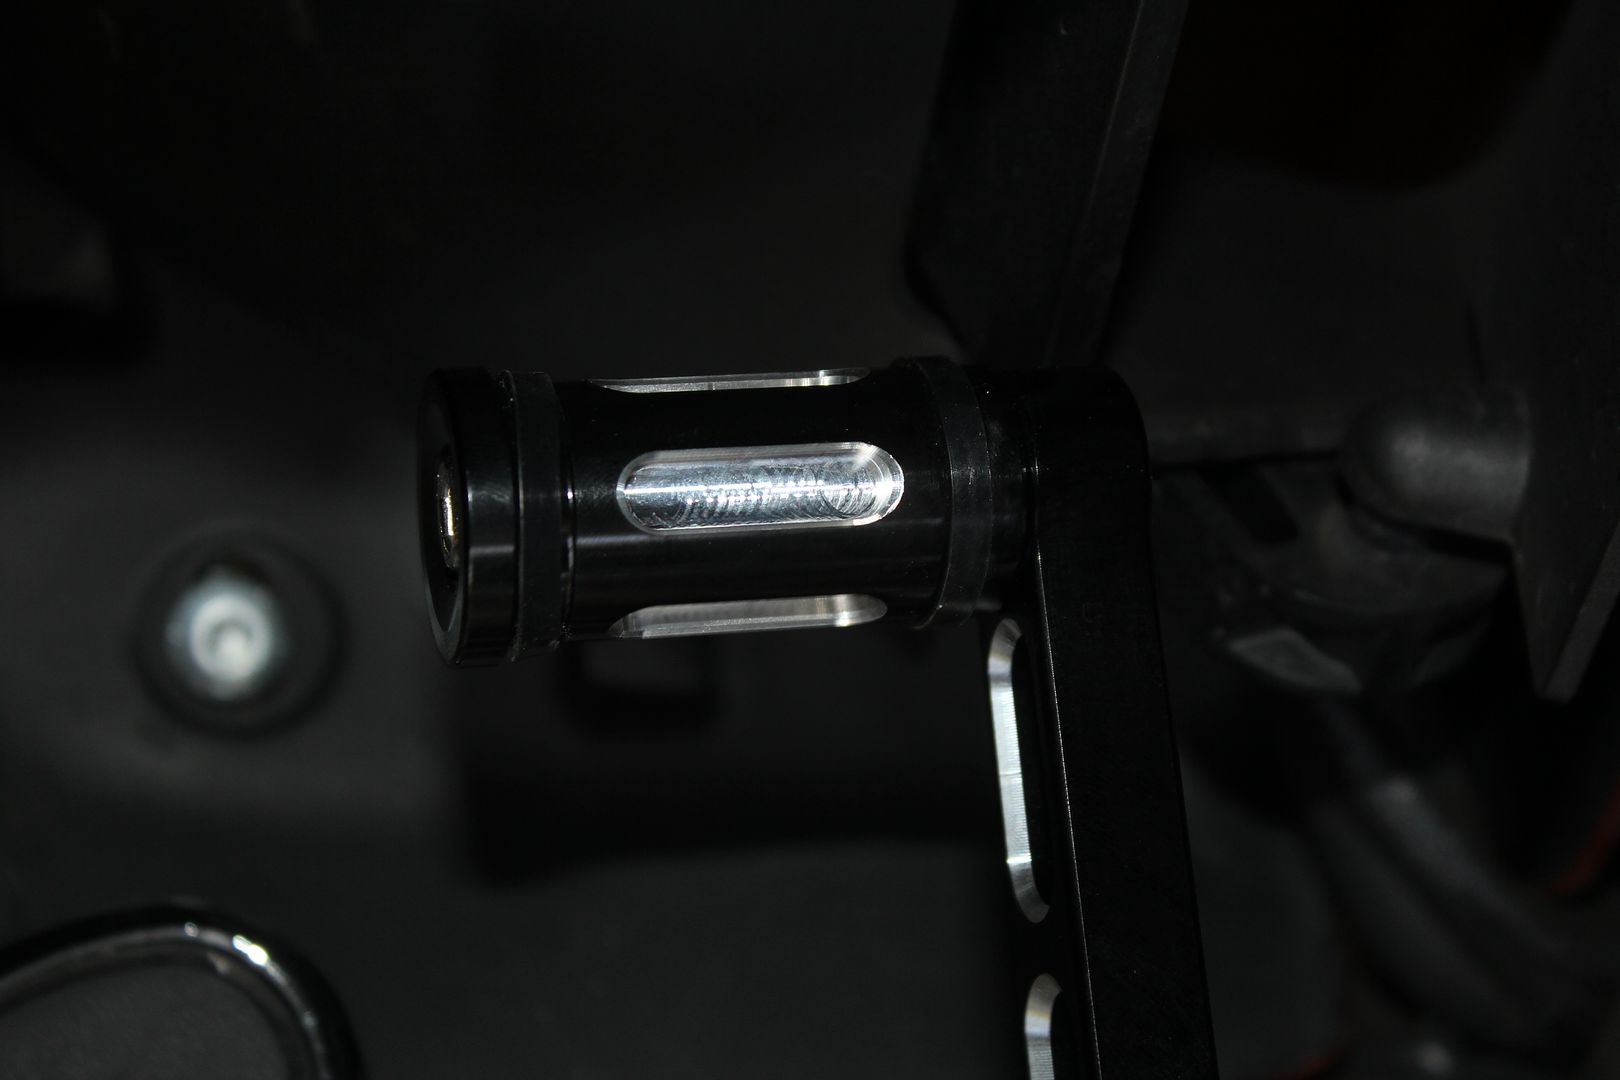
This wasn't my idea I got it off a post on the RoadGlide forum.

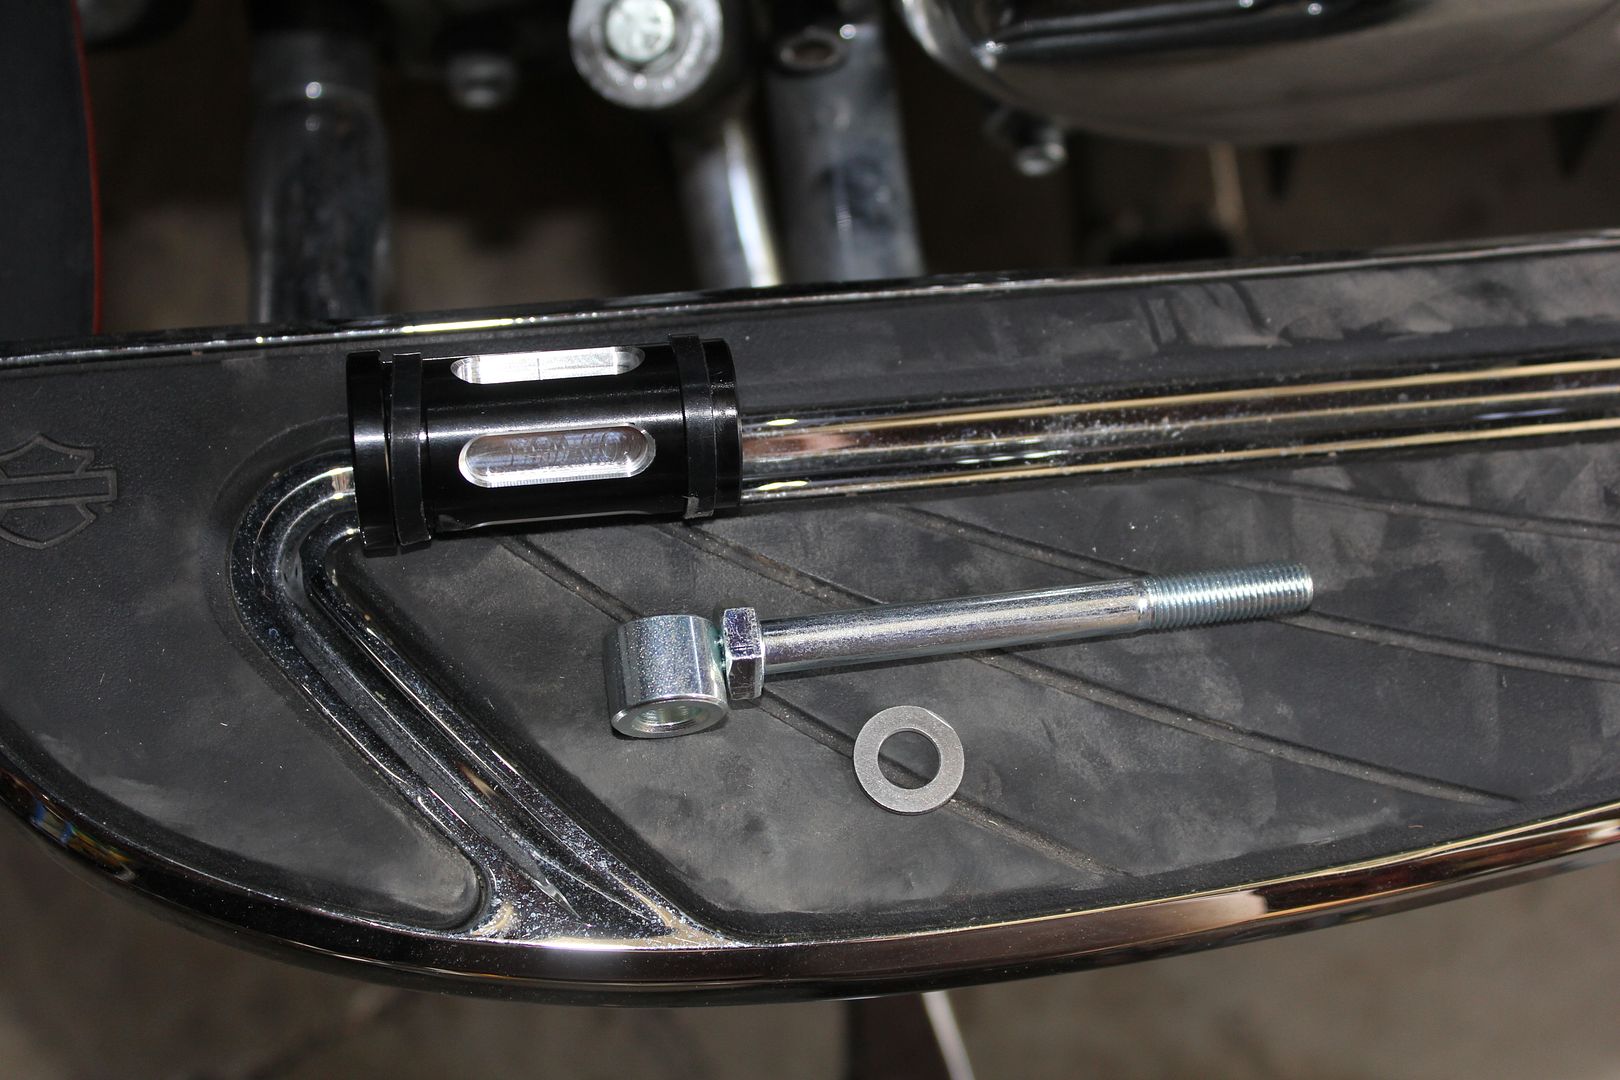
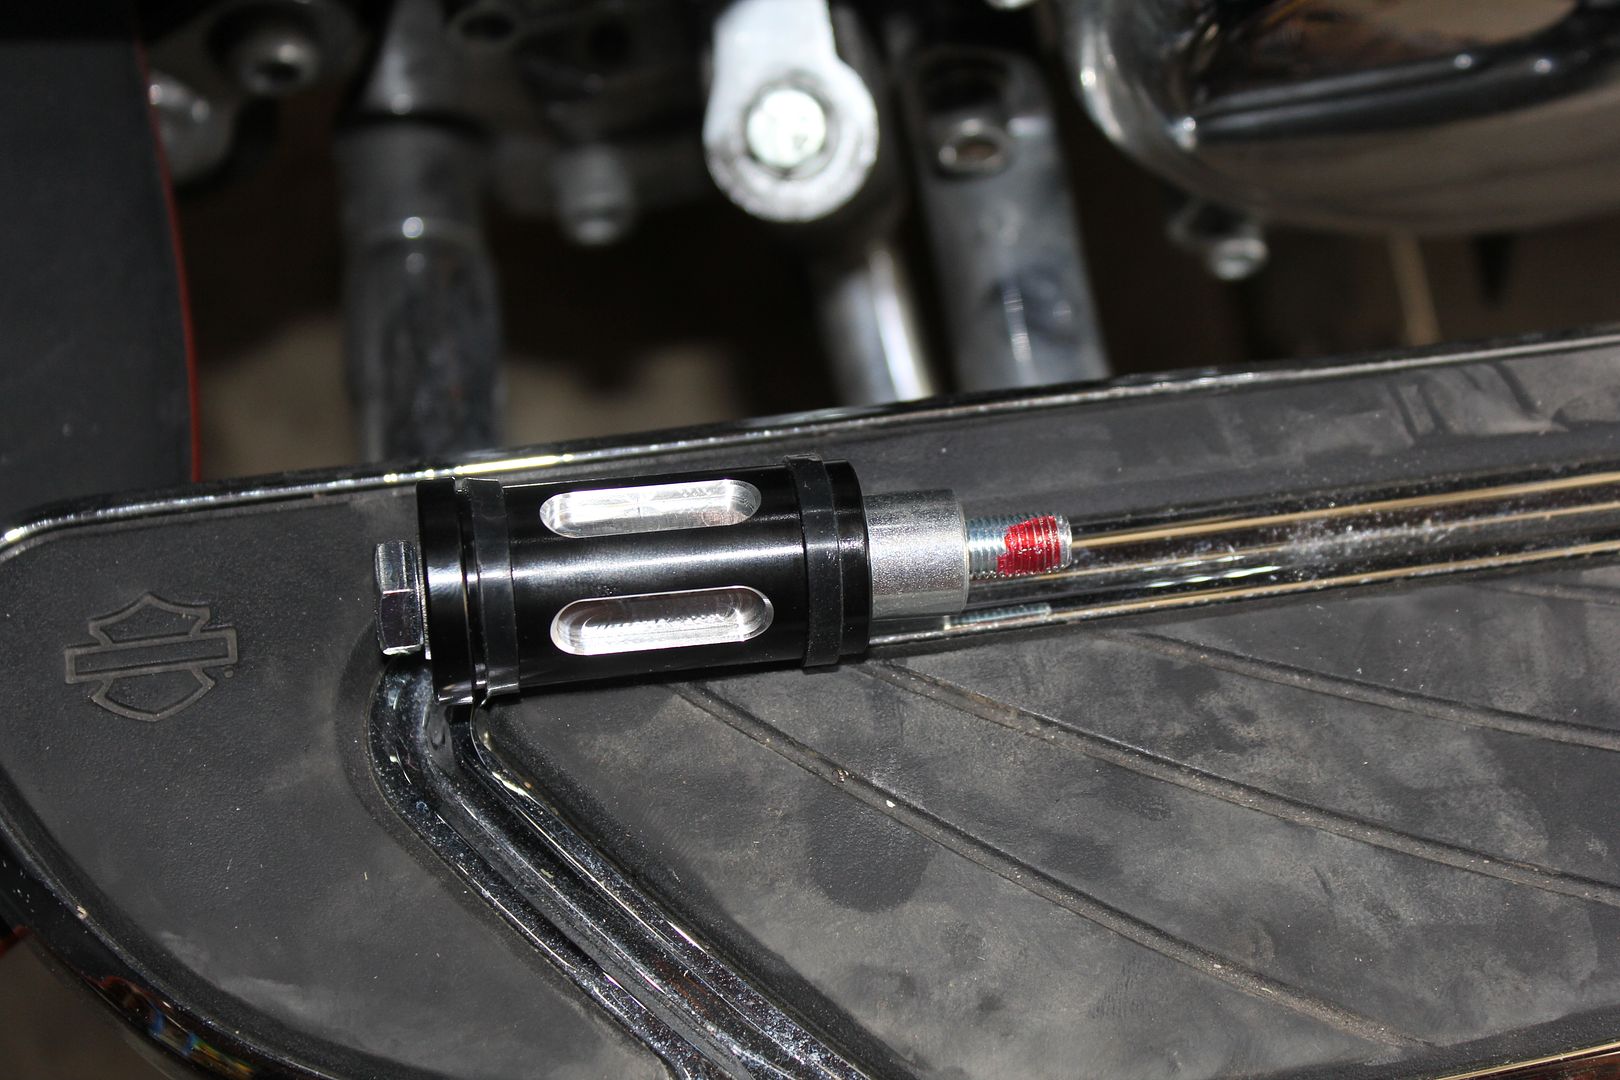
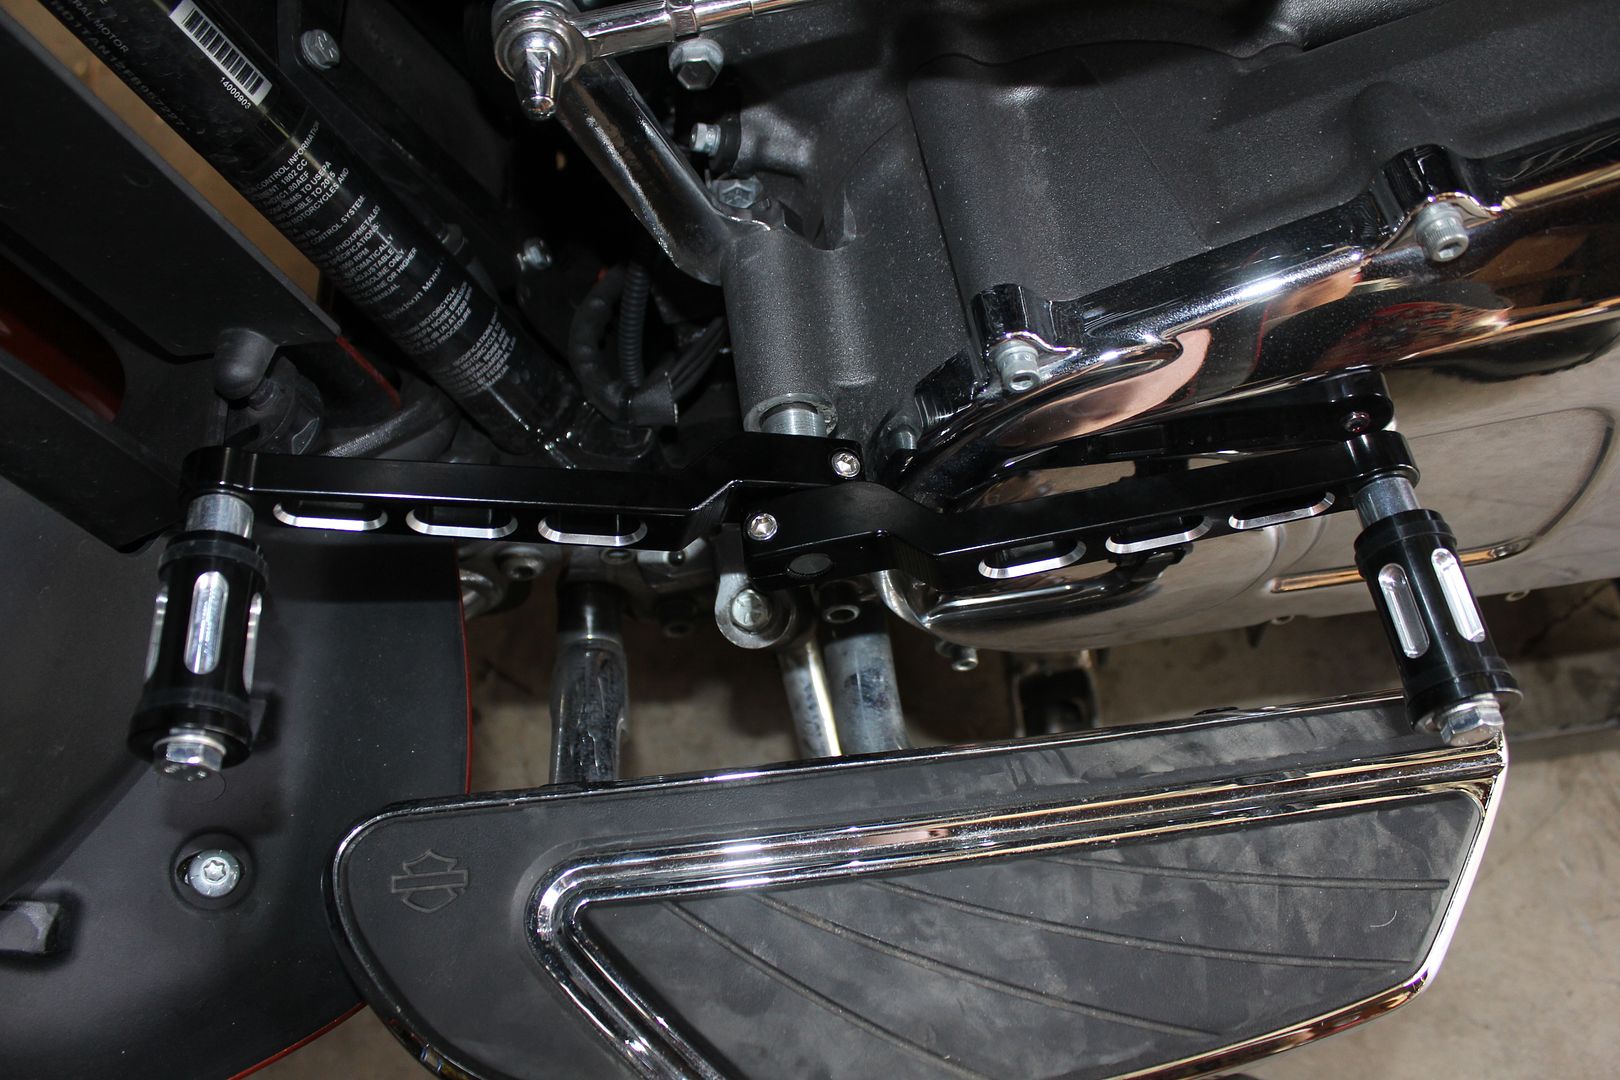
Here is what it looks like with the heel & toe pegs spaced out 1/2".
The PO had used a piece of tubing when he removed the heel shifter and had wrapped packing tape around the shifter shaft so it wouldn't rattle...……. :frown::serious::frown: Did I mention how much I hate fixing stupid crap PO's do to a bike.
My nearest dealer didn't have the spacer in stock so I ordered it from Surdyke along with some other parts. But I wanted to be able to ride my bike until the parts get here so I went to the hardware store and bought a 3/8ID x 1/2" bushing that drilled out to 1/2" to fit the shifter shaft. It isn't perfect and the shaft still has a little play in it but I can ride the bike.
I had to try and bevel the spacer a little to go over the shaft where it goes from splined to smooth.
The new heel-toe shift levers I got from Amazon came with these pegs but the PO had installed floorboard spacers so I wanted to move the pegs out some.
This wasn't my idea I got it off a post on the RoadGlide forum.
Here is what it looks like with the heel & toe pegs spaced out 1/2".
Thread Starter
|
Tourer
Joined: Aug 2009
Posts: 252
Likes: 47
From: Cle Elum, WA
Here is a shot with my spacer I made.
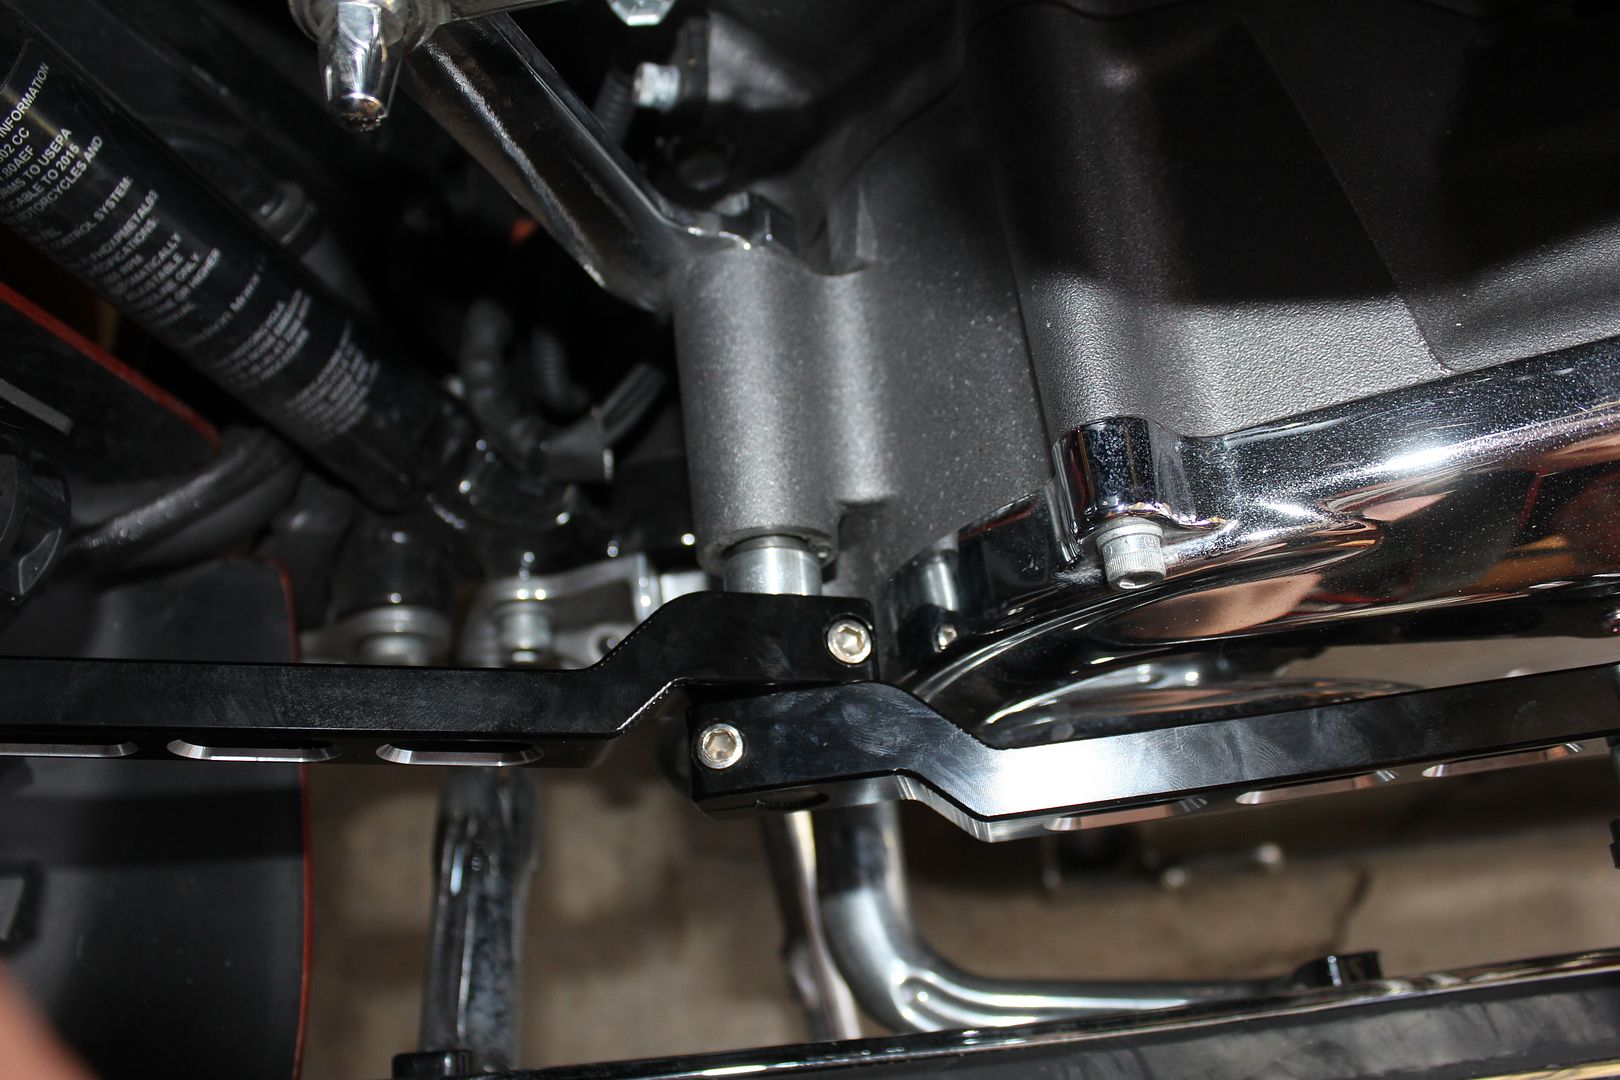
And a closeup.
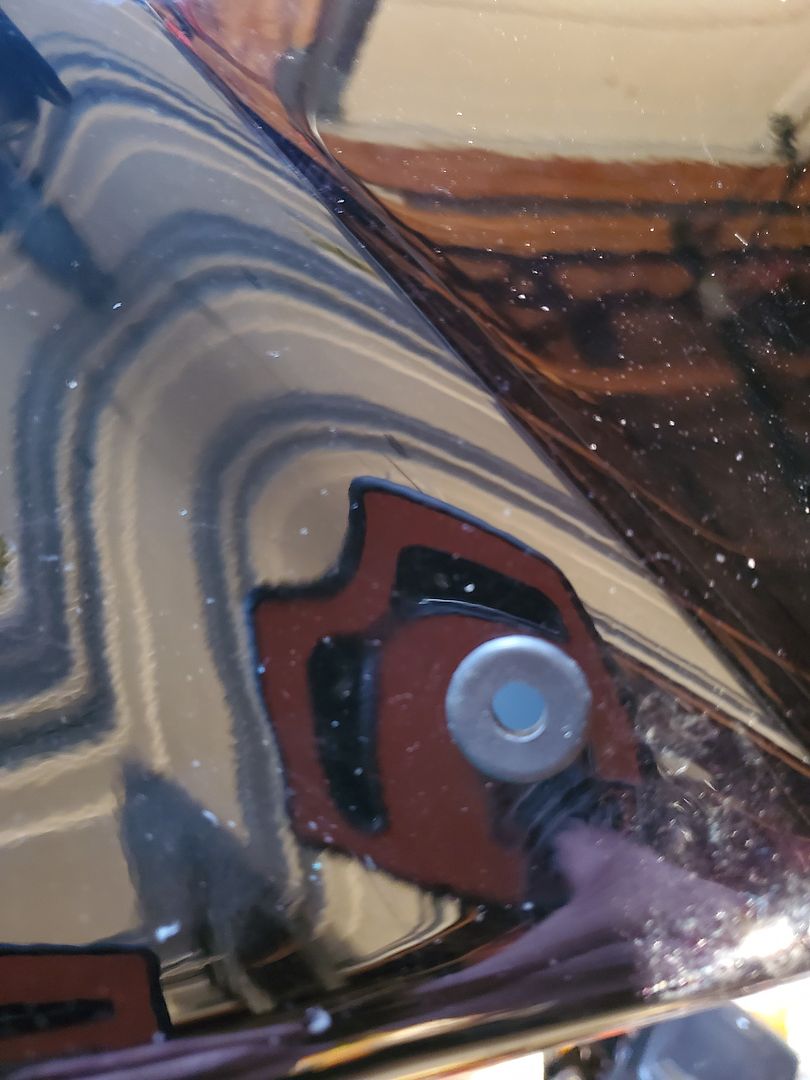
Next I took the chrome tank console off and installed a gloss black console.
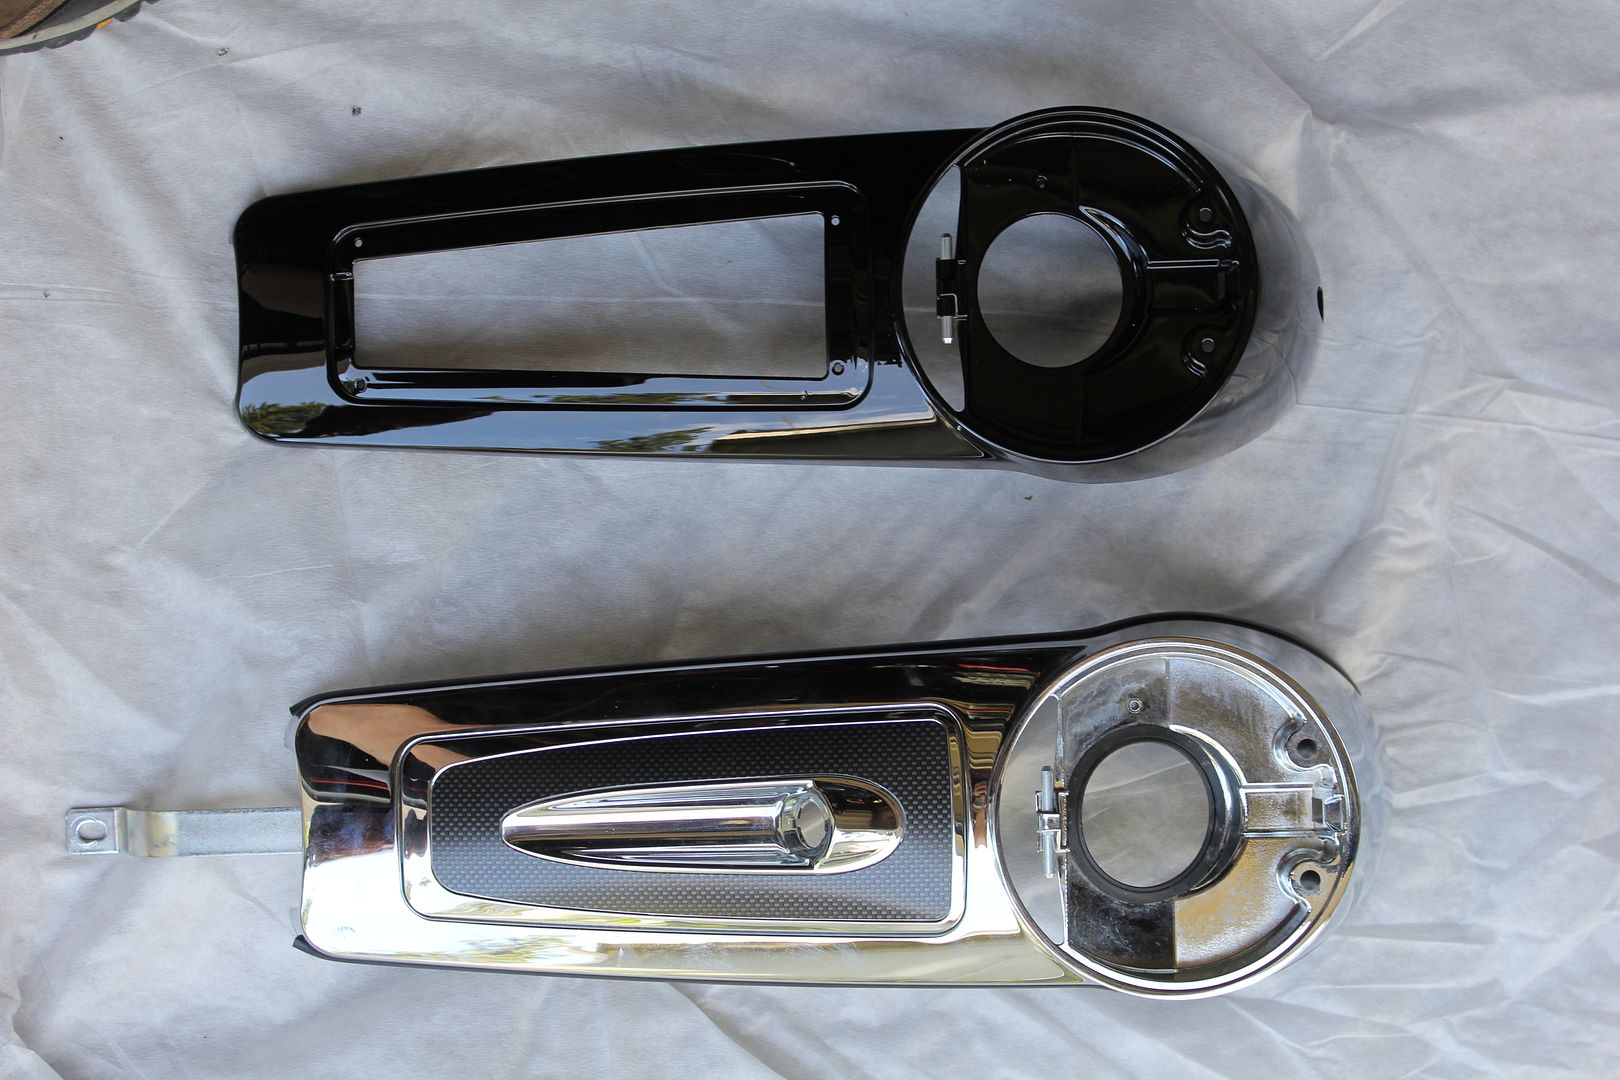
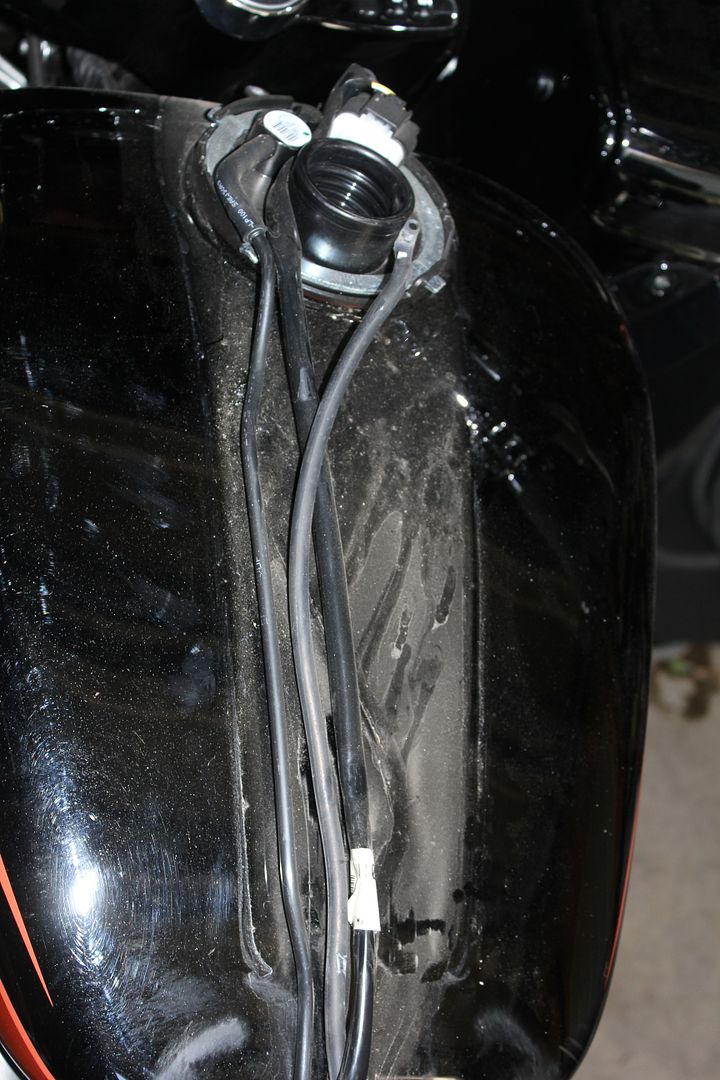
It was dirty under the console so I cleaned it up before I installed the new one.
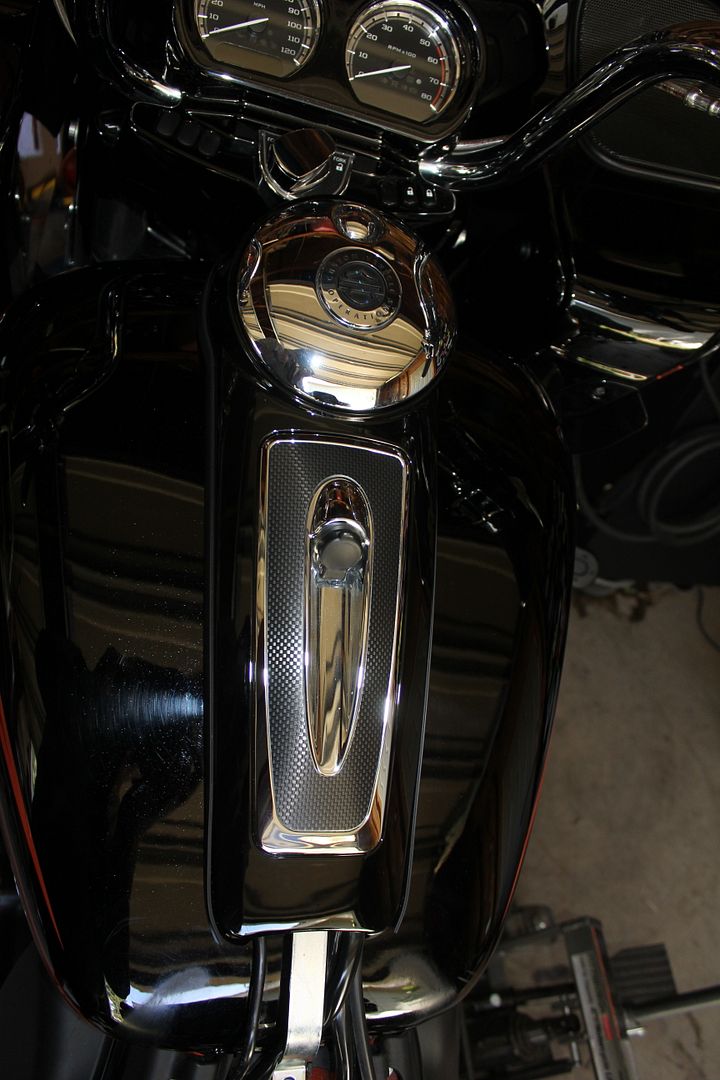
I kept the CVO fuel door because it has the CVO badge on it. And I also kept the CVO insert because it is metal and the one that came with the black console was plastic. Plus I think it just looks better. I am real happy with how this turned out. IHMO I think the black console looks better than the chrome one.

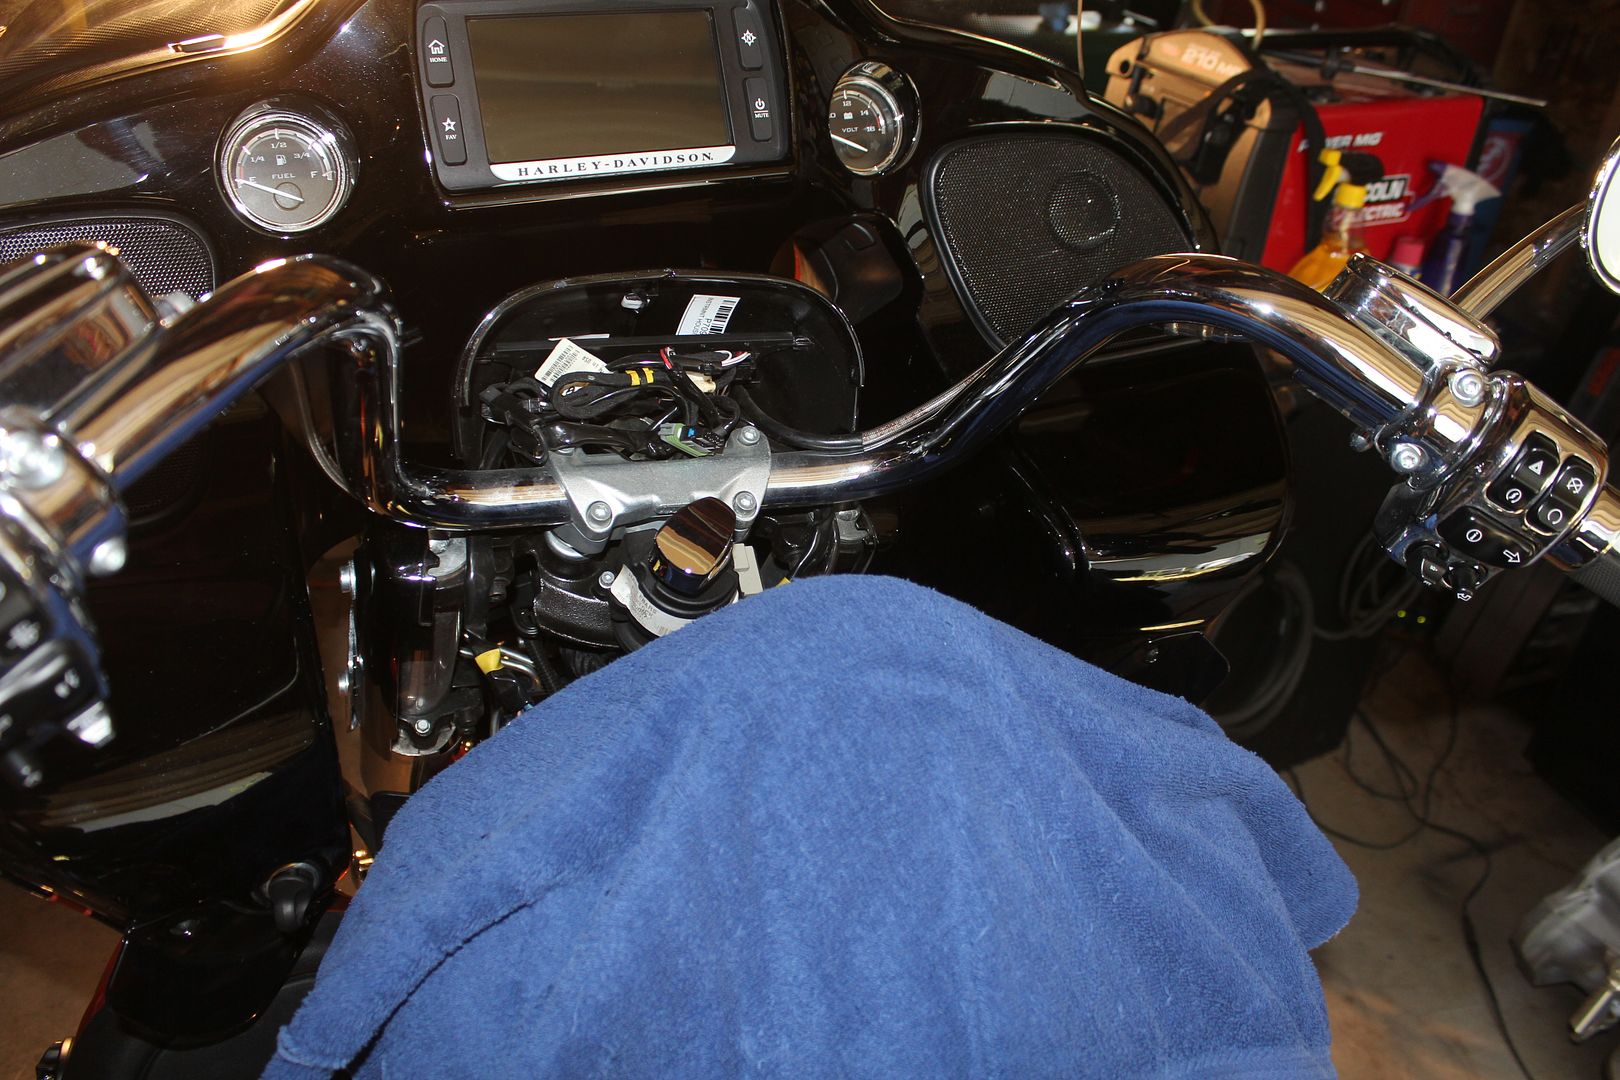
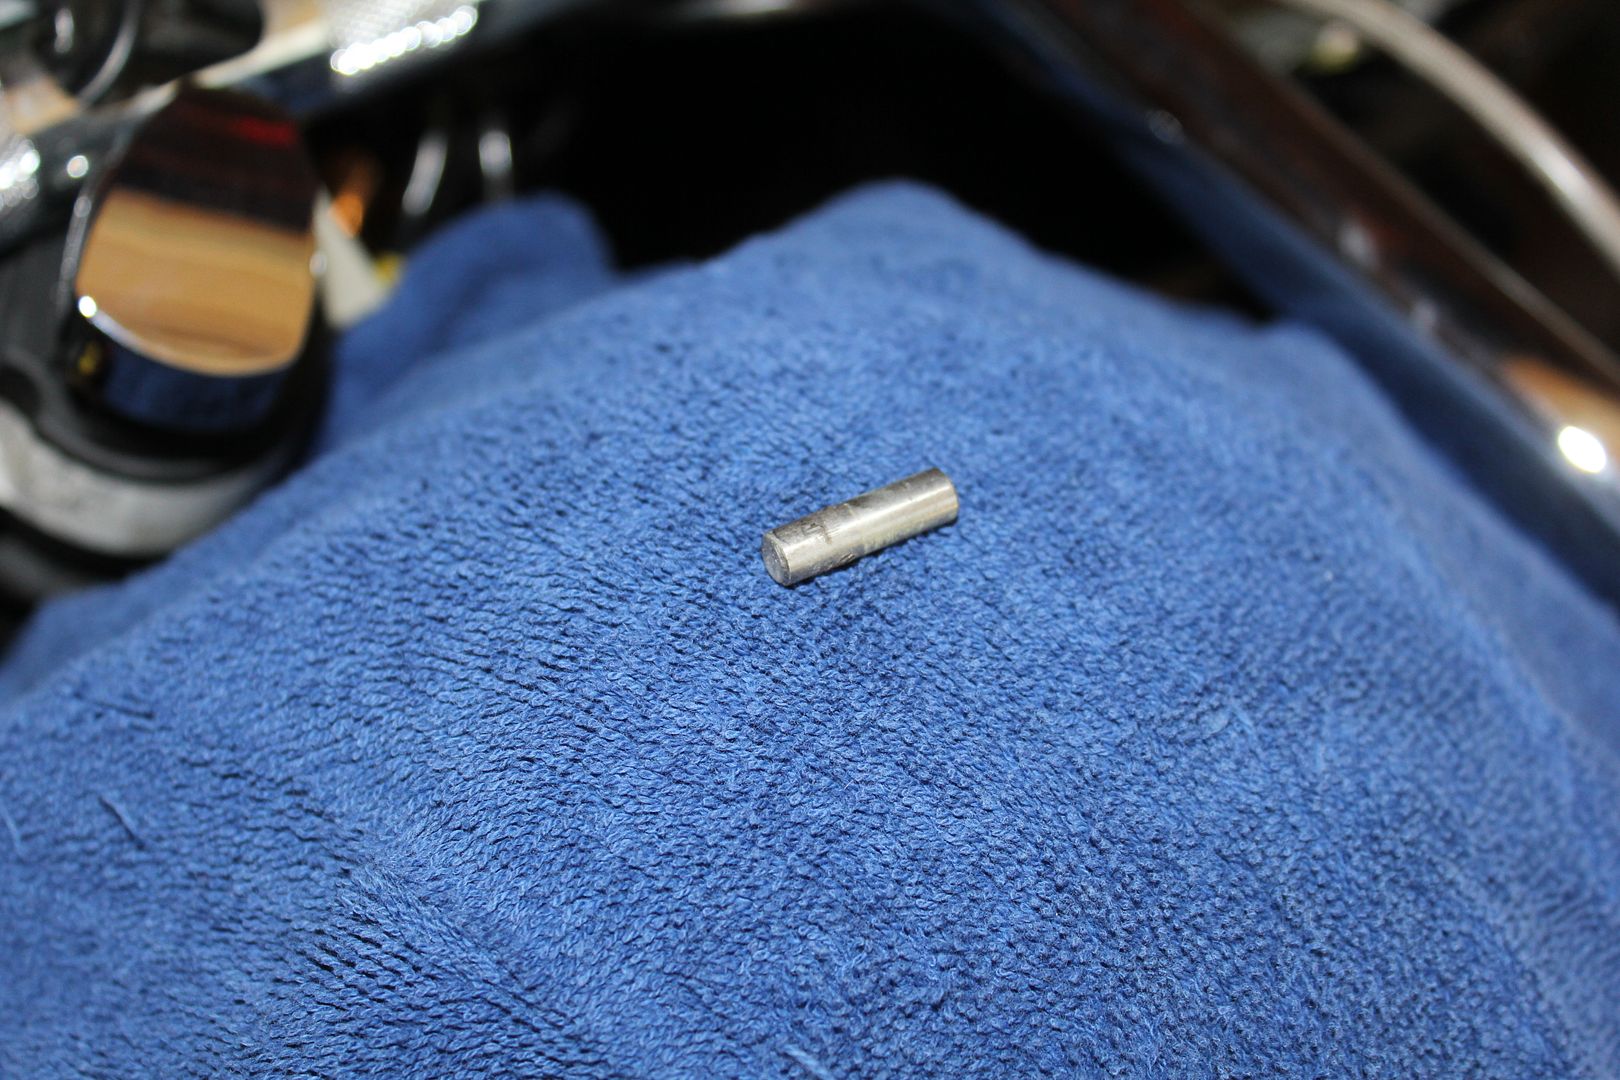
And the last thing I did was to pull the pin in the tree so I could roll the handlebars forward some since I didn't like how close they were.
And a closeup.
Next I took the chrome tank console off and installed a gloss black console.
It was dirty under the console so I cleaned it up before I installed the new one.
I kept the CVO fuel door because it has the CVO badge on it. And I also kept the CVO insert because it is metal and the one that came with the black console was plastic. Plus I think it just looks better. I am real happy with how this turned out. IHMO I think the black console looks better than the chrome one.
And the last thing I did was to pull the pin in the tree so I could roll the handlebars forward some since I didn't like how close they were.
Last edited by Wildman4x4nut; Jun 23, 2019 at 08:19 PM.
Thread Starter
|
Tourer
Joined: Aug 2009
Posts: 252
Likes: 47
From: Cle Elum, WA
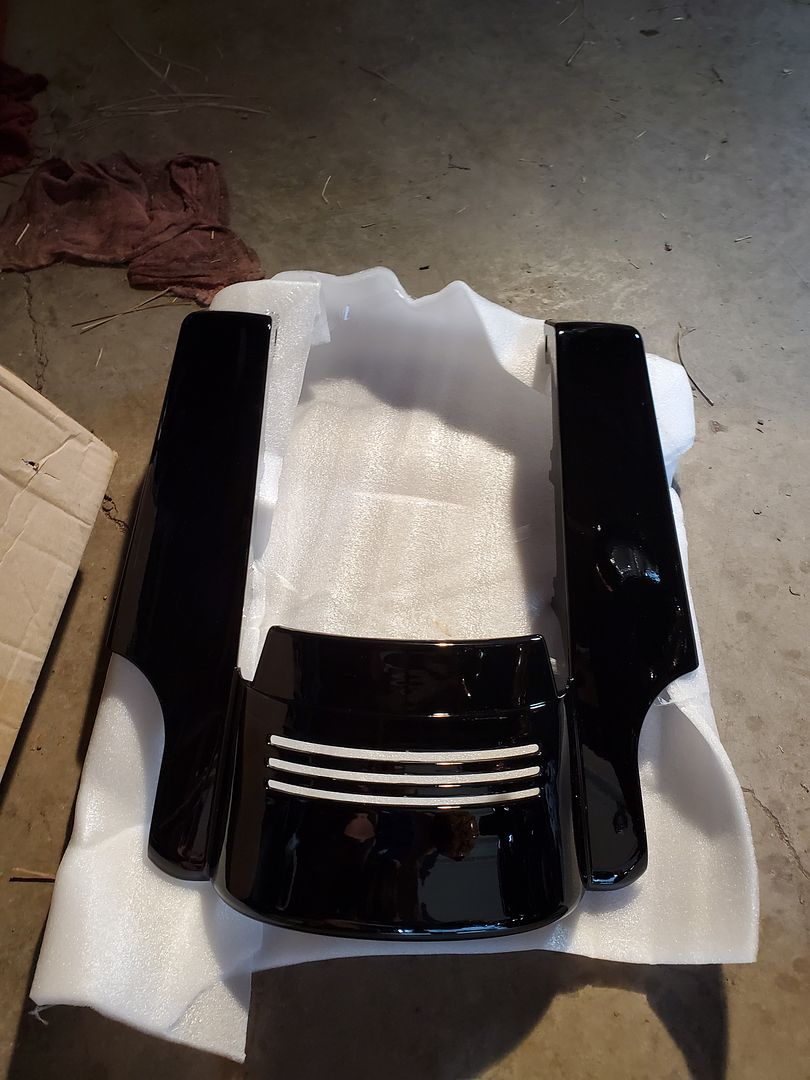
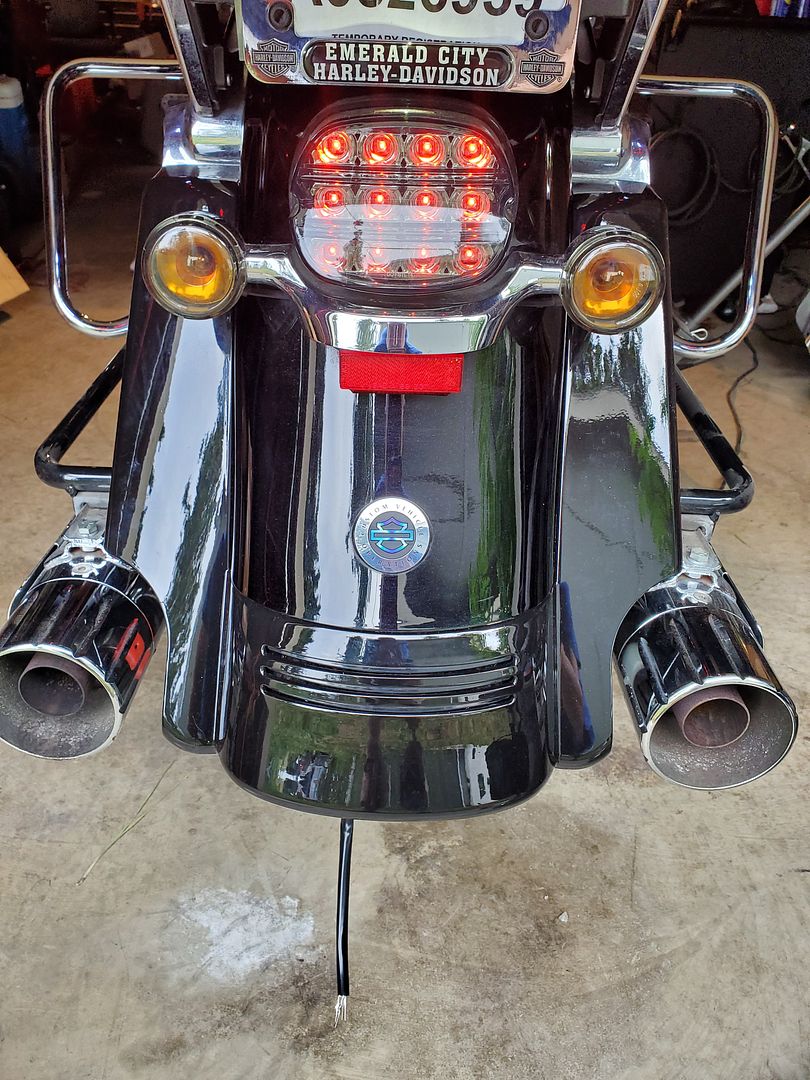
I like the look of the Tri-Bar light on the rear fender extension and had done this mod to my old bike but because it's a CVO I was having trouble finding a rear fender extension in Carbon Dust. So I took a chance and ordered one in Gloss Black since the tank console had turned out so well. While it isn't a complete match it is a 10' match and will work until I can get a part color matched.
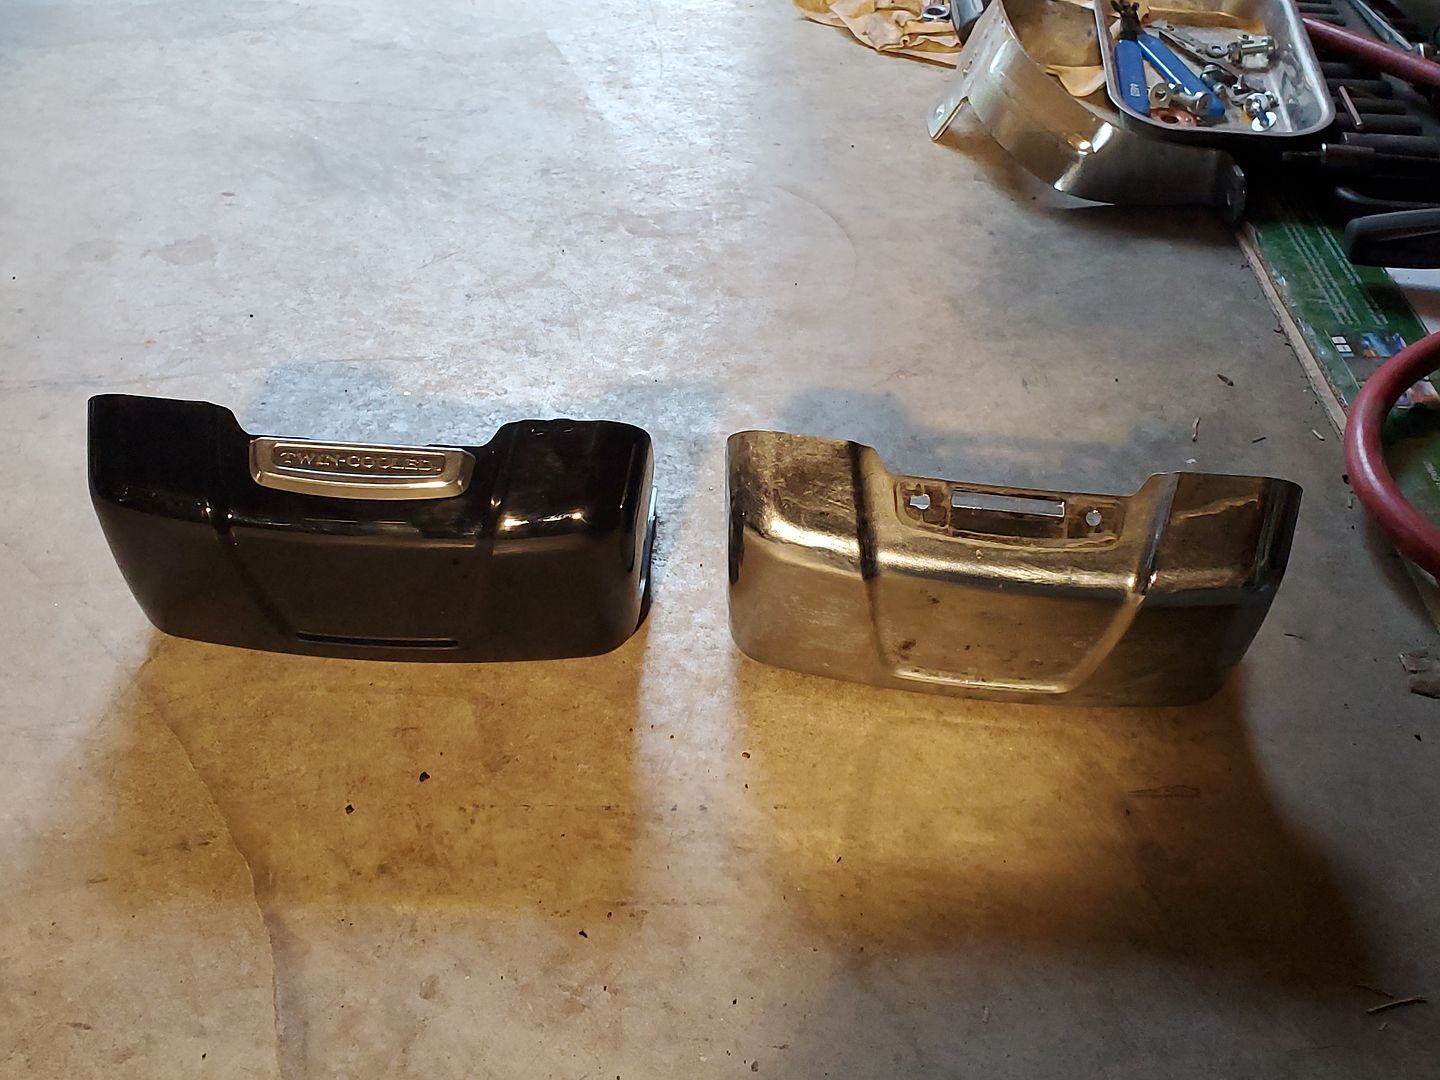
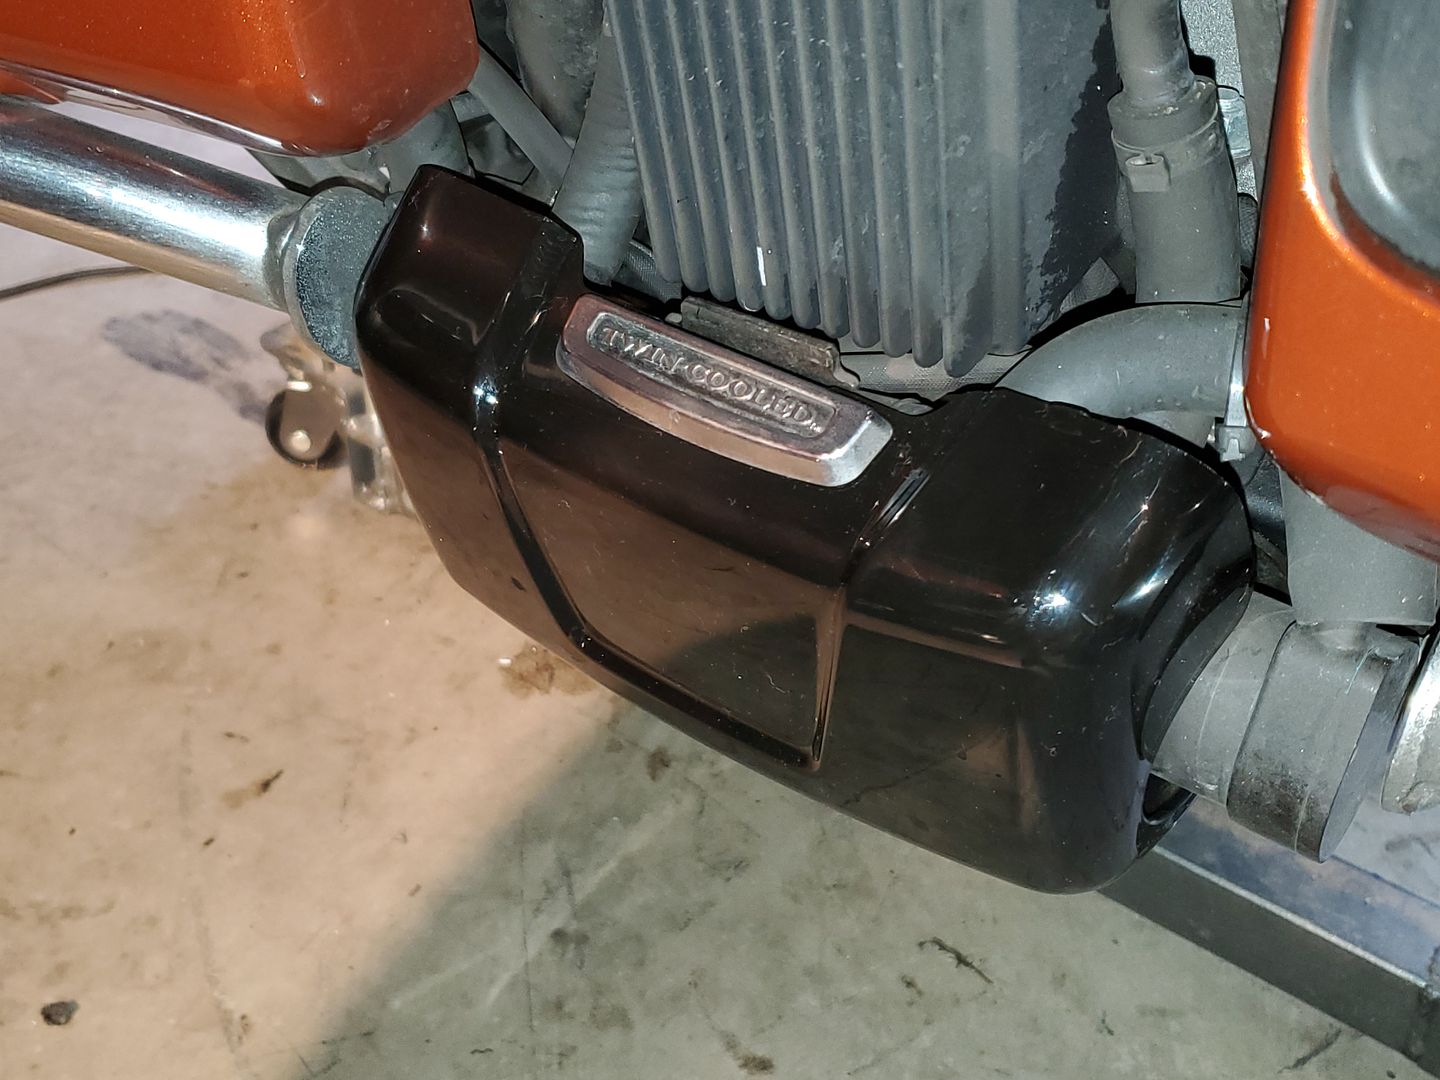
I also didn't like the big chunk of chrome hanging off the front of the bike they call the water pump cover so I found one in Gloss Black and changed it out.
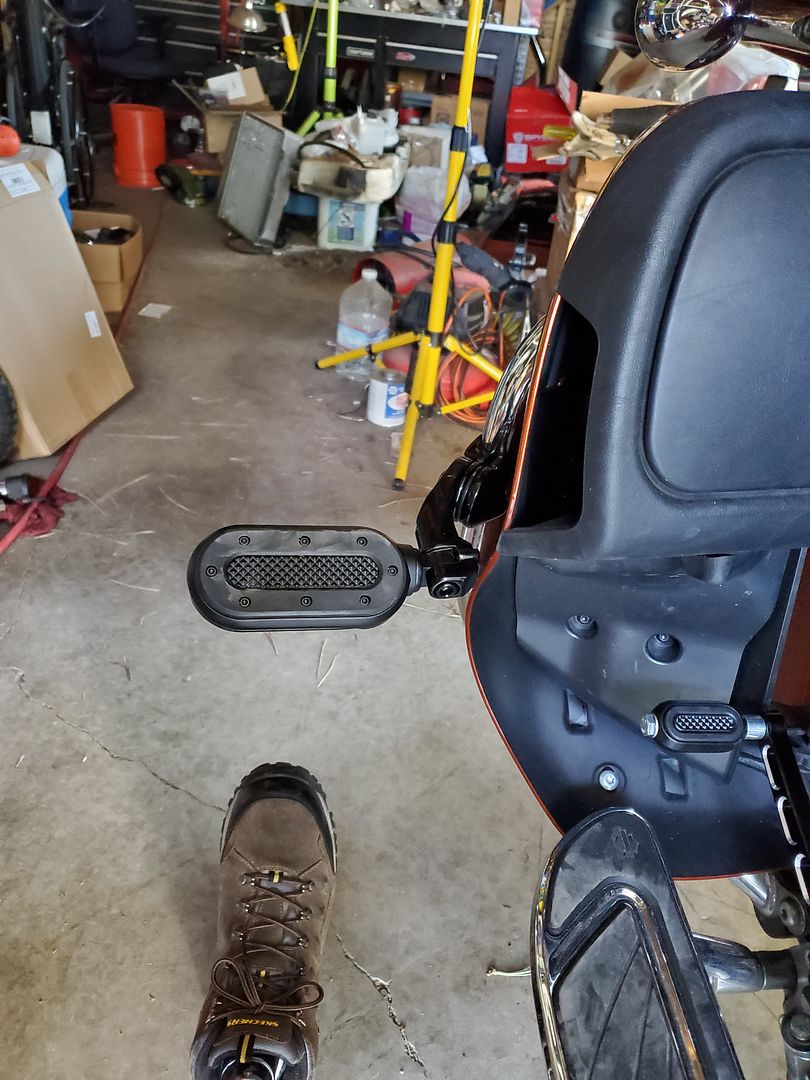
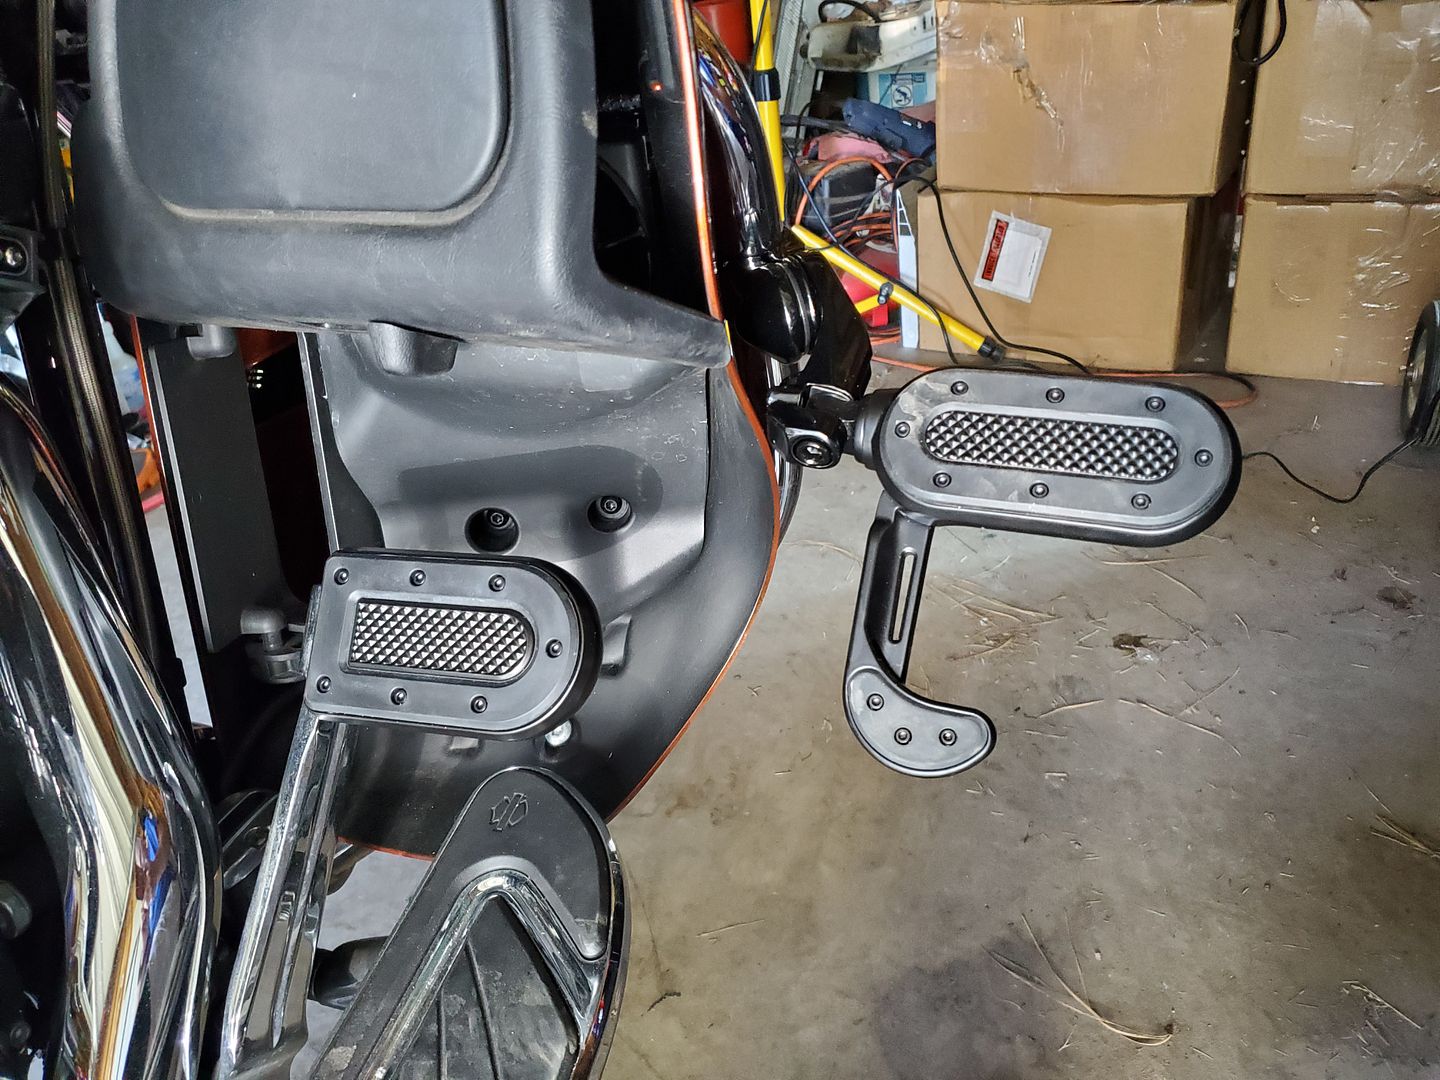
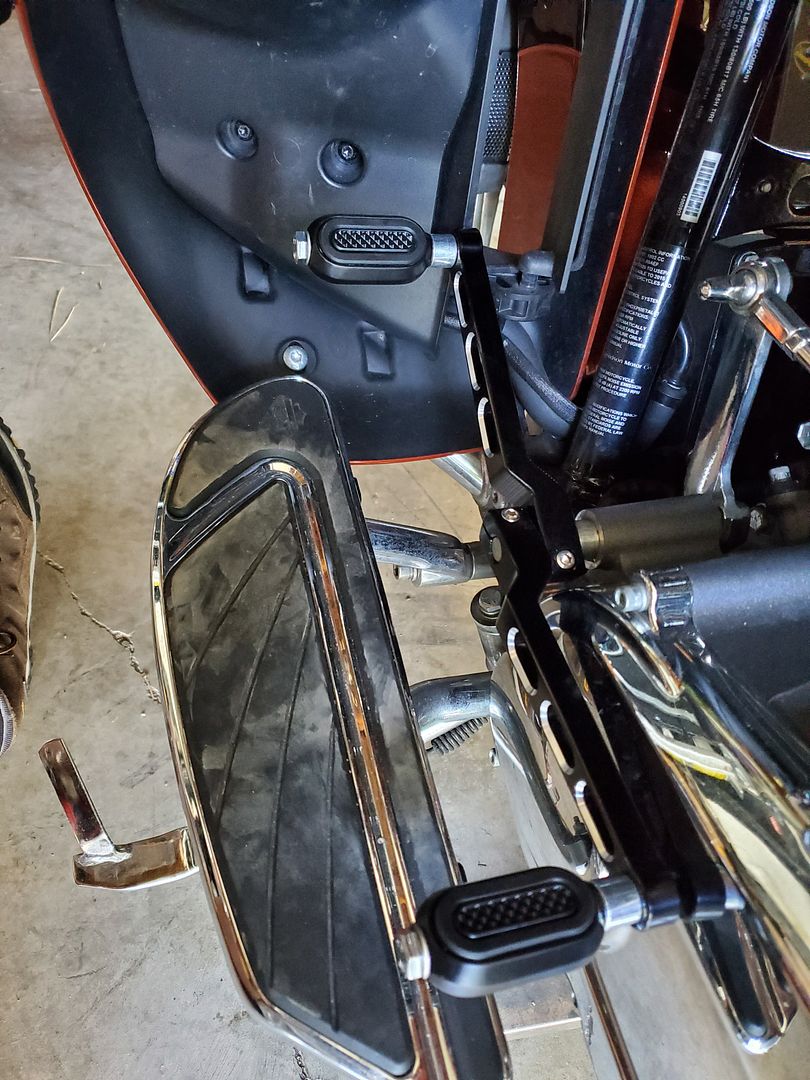
I also didn't like how close the stock highway peg mounts put my feet to the lowers so I changed to HD short arm mounts and also got Kurakyn Heavy Industrial Switchblade pegs. With my prosthetic on my right leg I need that stirrup to support my heal when using the pegs.
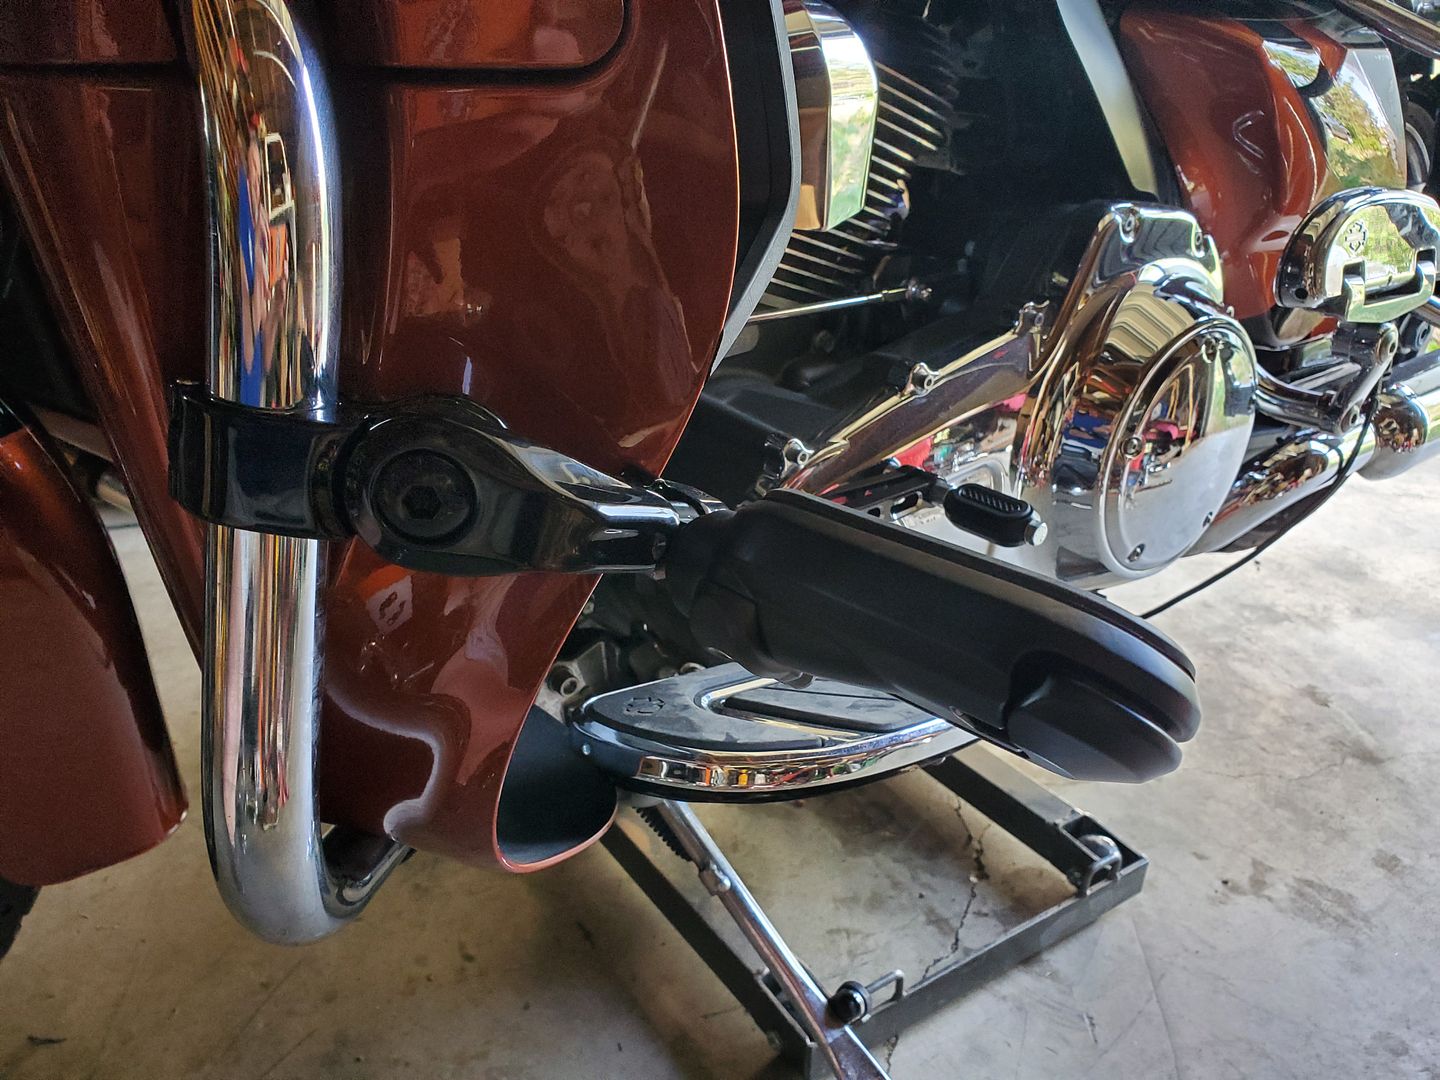
I also changed out the brake pad and shifter pegs to all match.
Going to be going to see Soft Brake next week for my new rear brake lever.
I also didn't like the big chunk of chrome hanging off the front of the bike they call the water pump cover so I found one in Gloss Black and changed it out.
I also didn't like how close the stock highway peg mounts put my feet to the lowers so I changed to HD short arm mounts and also got Kurakyn Heavy Industrial Switchblade pegs. With my prosthetic on my right leg I need that stirrup to support my heal when using the pegs.
I also changed out the brake pad and shifter pegs to all match.
Going to be going to see Soft Brake next week for my new rear brake lever.
Thread Starter
|
Tourer
Joined: Aug 2009
Posts: 252
Likes: 47
From: Cle Elum, WA
I got another package from the Brown Santa today.
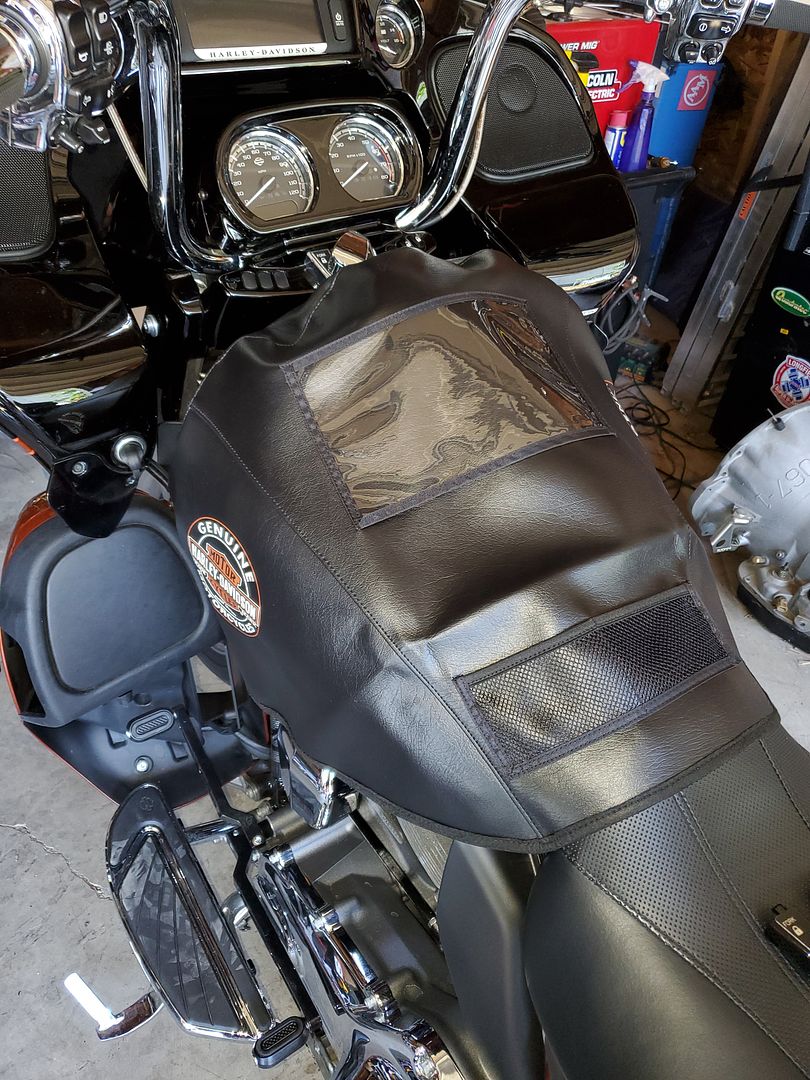
First was a tank protector to keep my paint looking good.
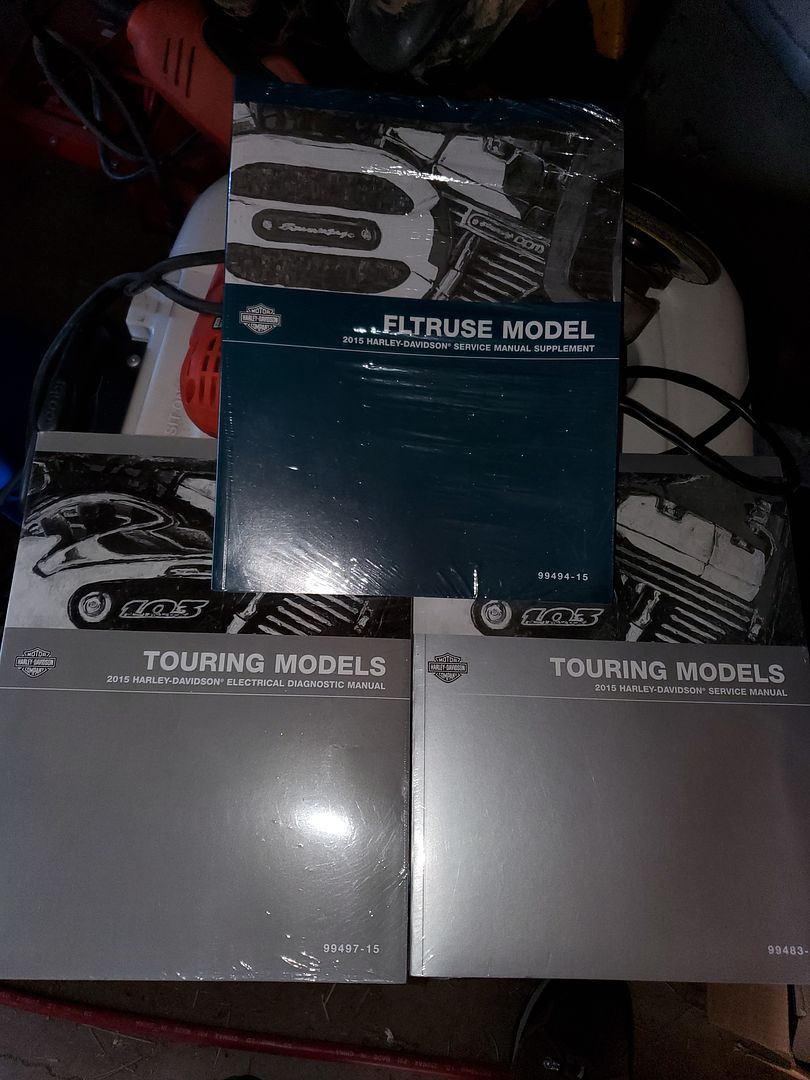
And then the manuals for the bike. Now I have paper & PDF versions of them.
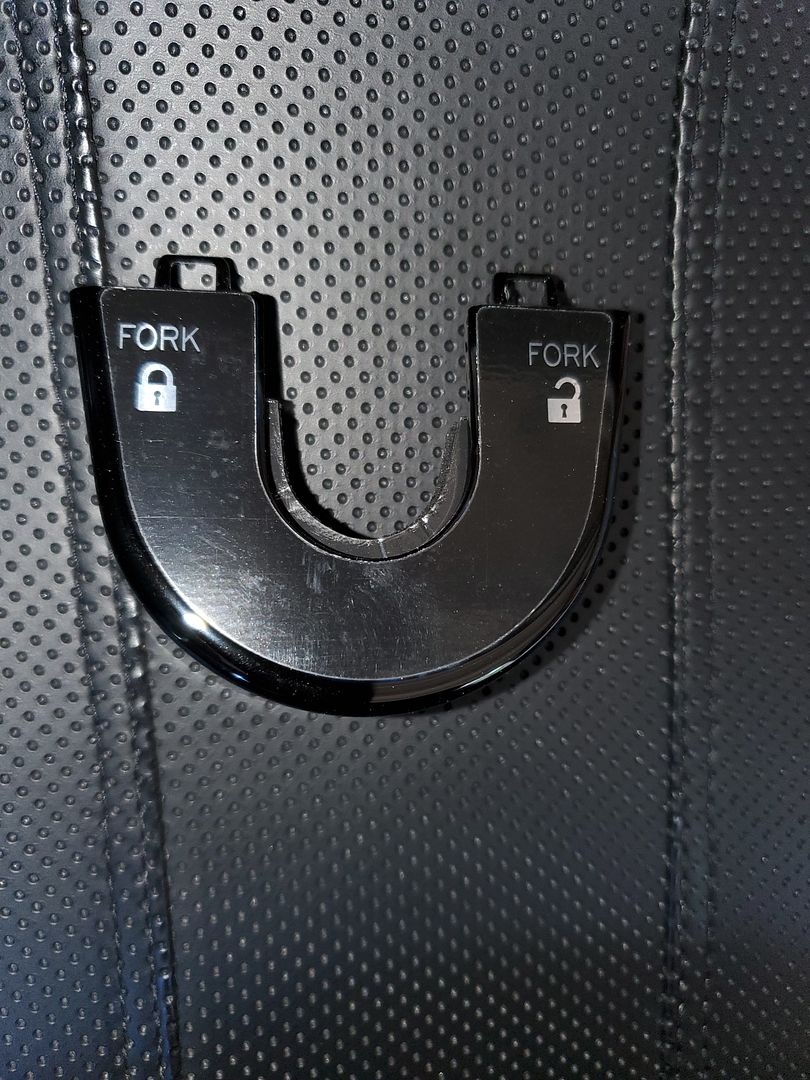
So since I have been blacking out some parts I ordered a gloss black switch cover.
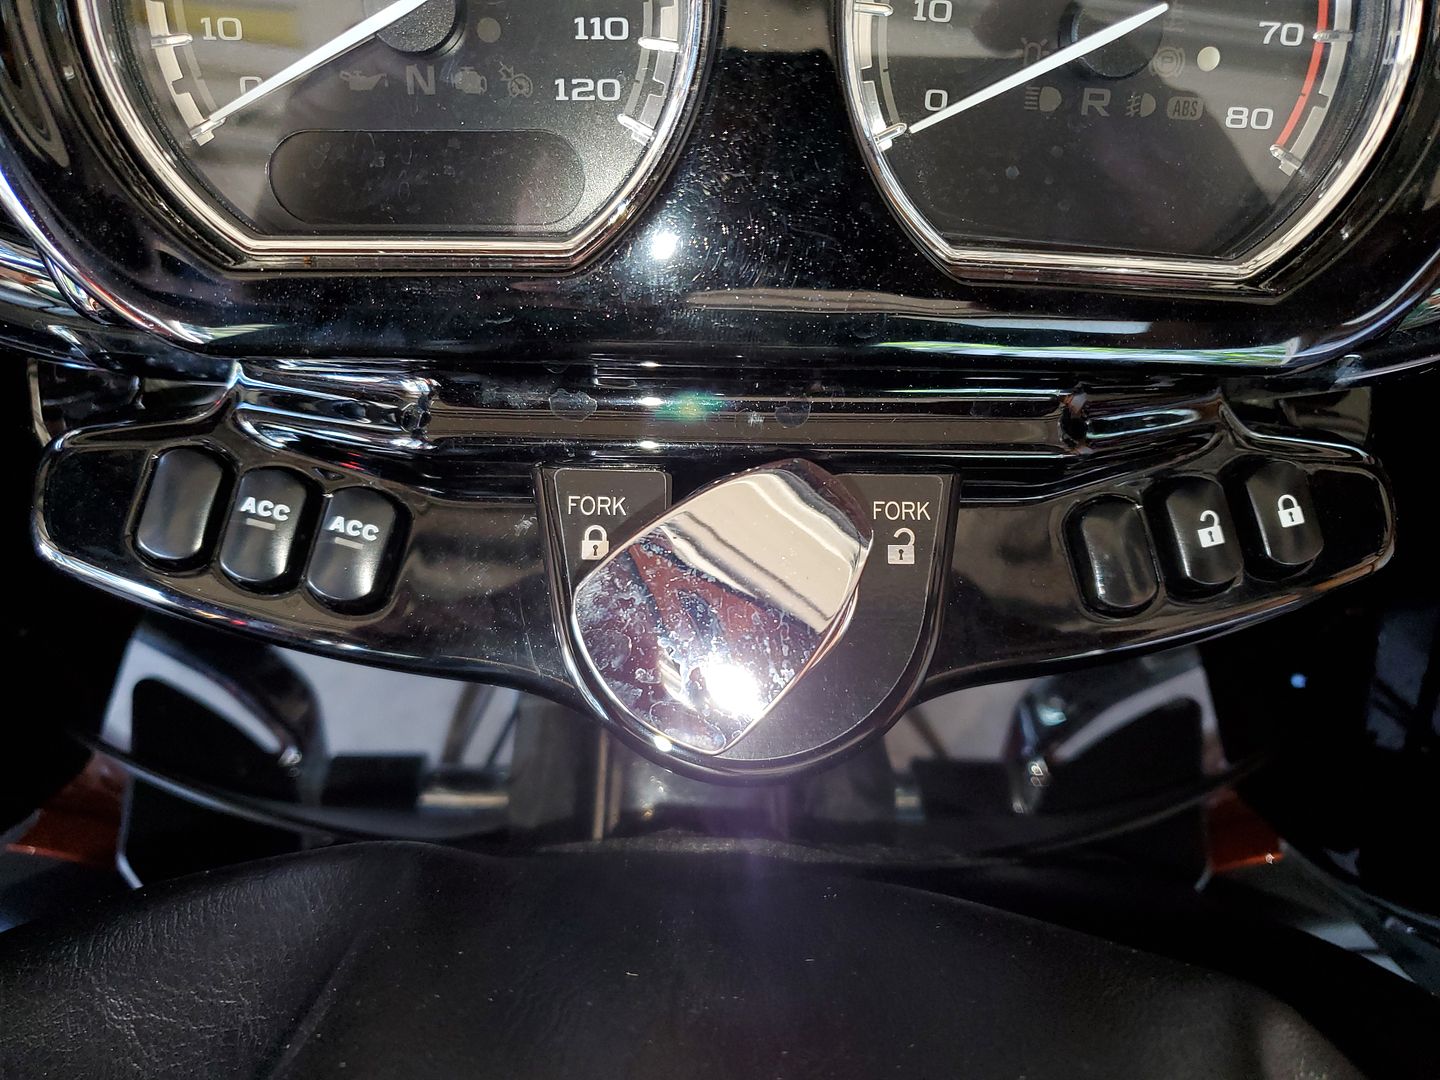
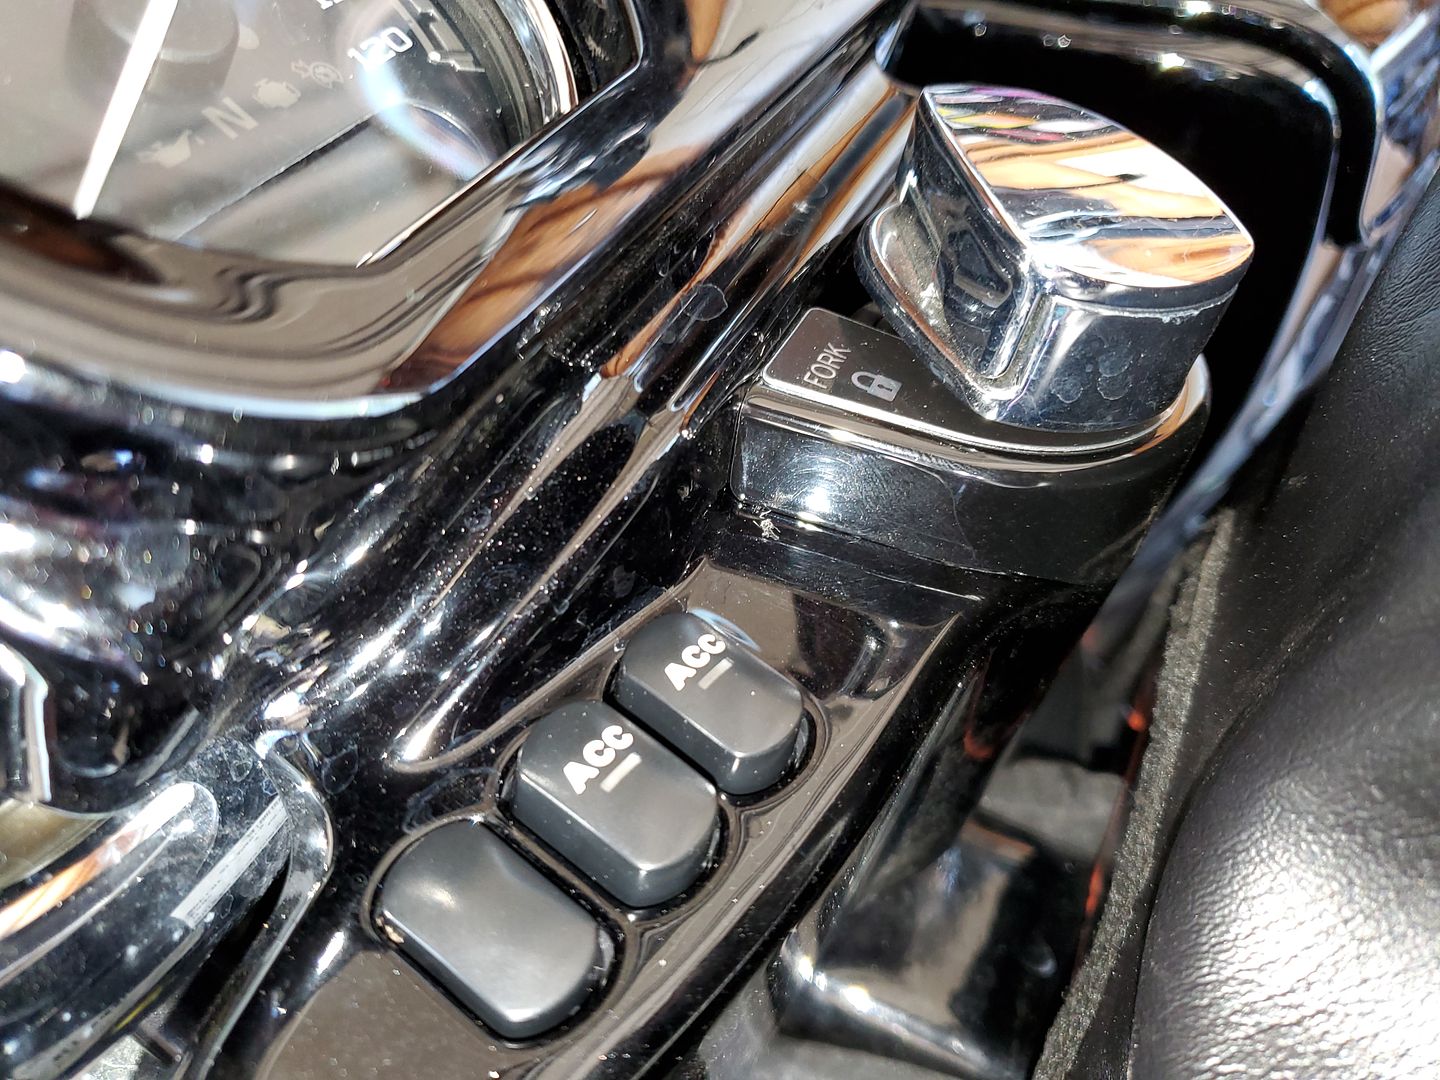
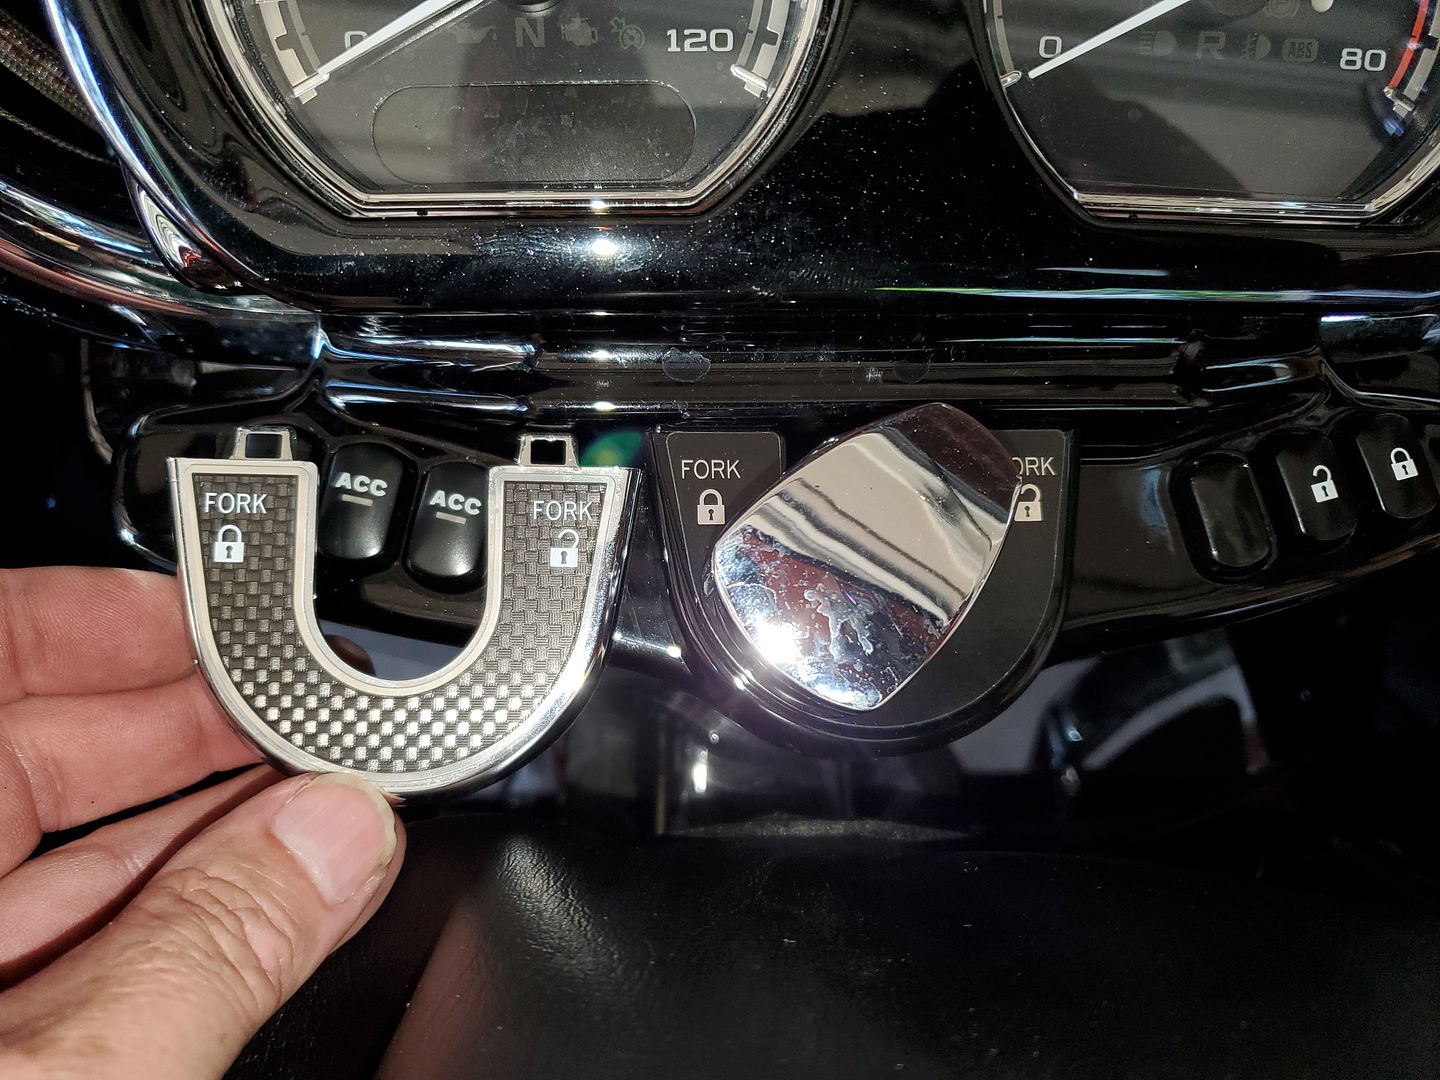
And while I had it apart I installed the aux switch assembly for the Suspension Technologies M.R.P. reverse I am going to be installing.
First was a tank protector to keep my paint looking good.
And then the manuals for the bike. Now I have paper & PDF versions of them.
So since I have been blacking out some parts I ordered a gloss black switch cover.
And while I had it apart I installed the aux switch assembly for the Suspension Technologies M.R.P. reverse I am going to be installing.

Road Master

Joined: Jan 2012
Posts: 897
Likes: 307
From: se wi
Trending Topics
Thread Starter
|
Tourer
Joined: Aug 2009
Posts: 252
Likes: 47
From: Cle Elum, WA
Well I had sat here lookin at this box for 2 days and just couldn't wait any longer.

So instead of waiting for Monday to get here and going over to my Army buddies house I started working on it today. I'll still go over to his house on Monday and check out all the work I did and make sure I didn't screw anything up.
So yesterday I installed the aux switch and had started on the wiring. So the first thing I did was finish that off. Adding the aux switch gives you wiring plus one plug.
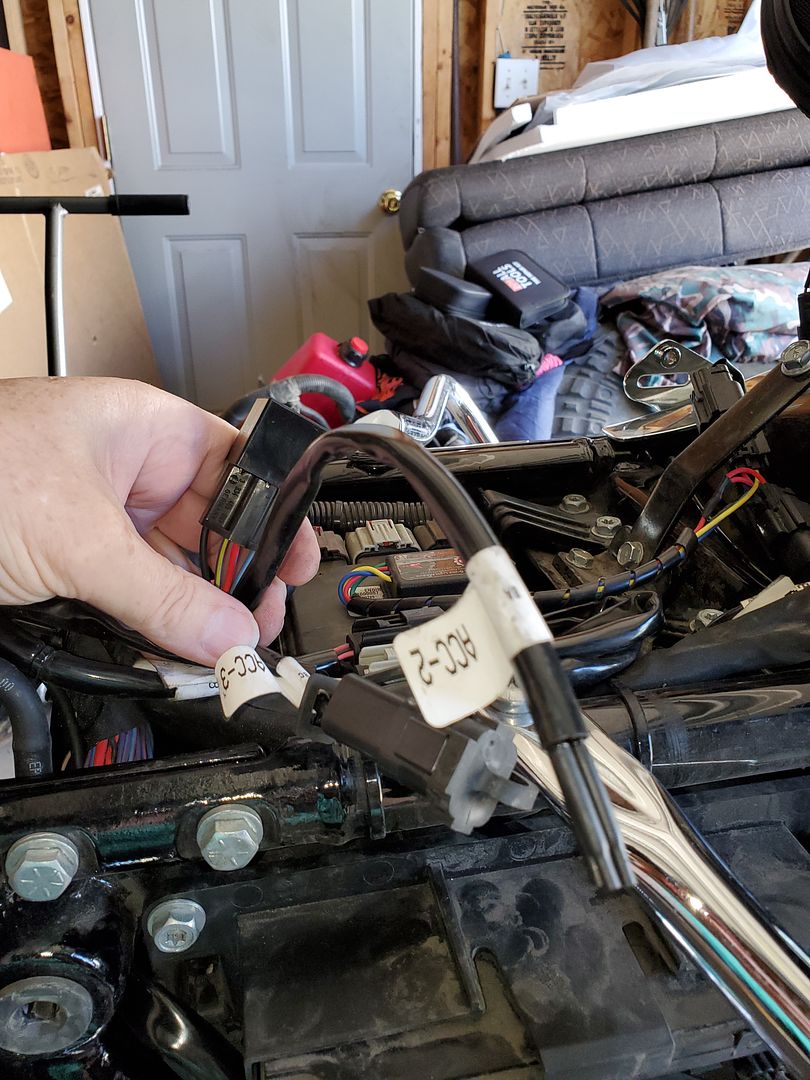
So then it was time to figure out how to lower the rear tire but not have it fall out. Well guess what? My floor jack worked real good for that.
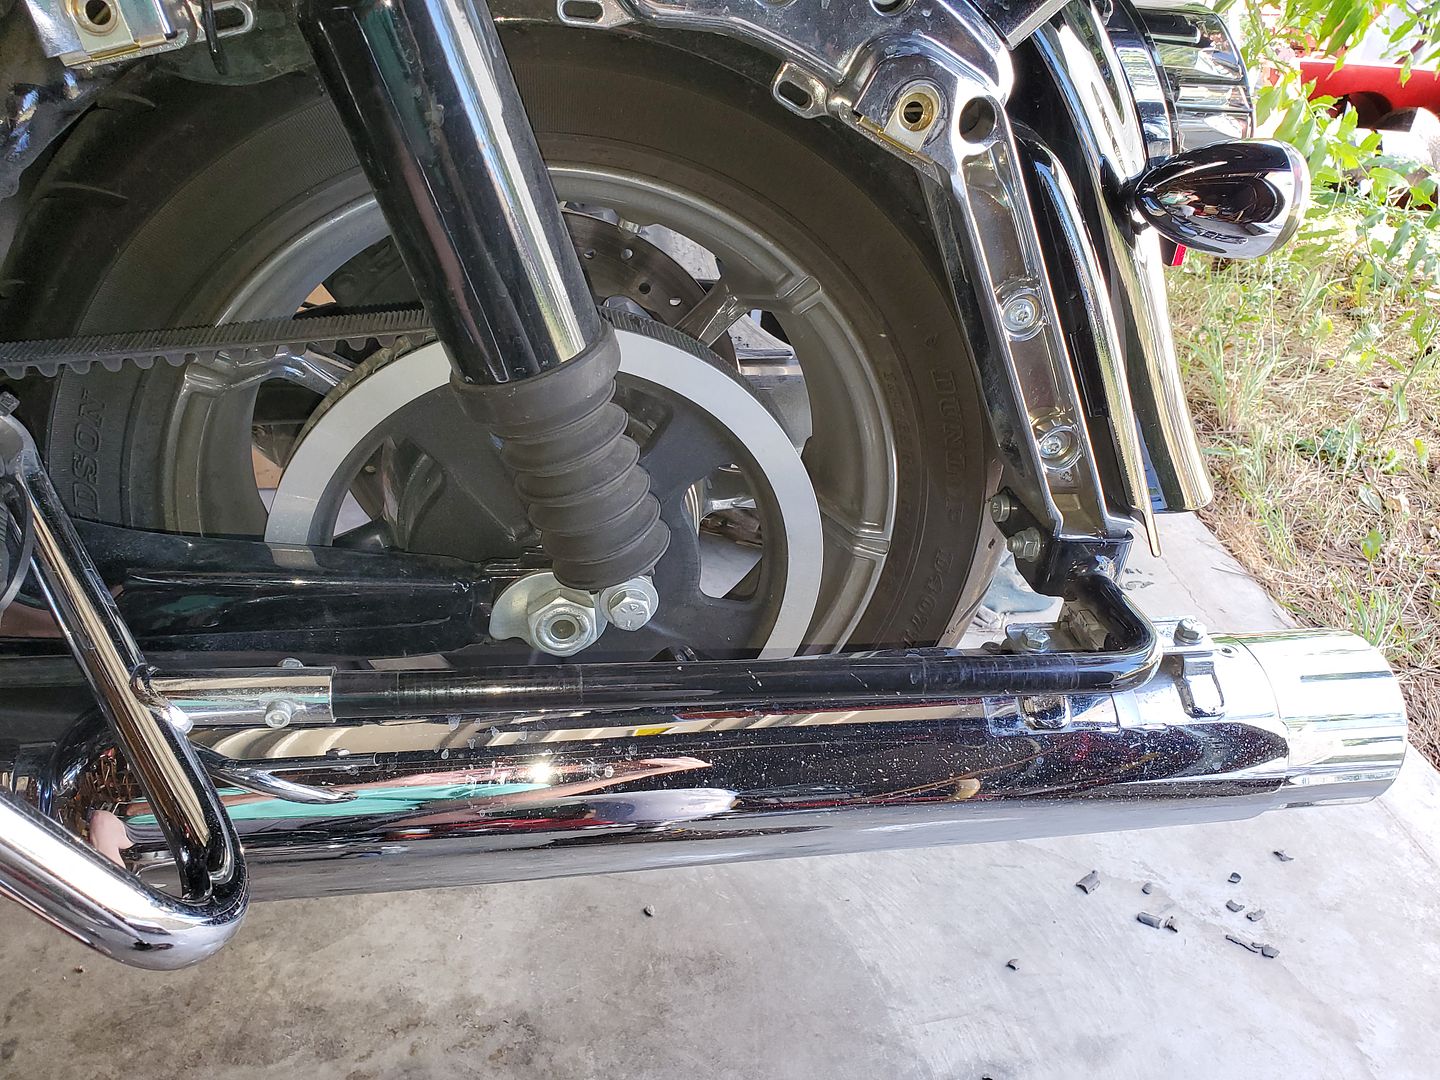
The stock rear axle almost all the way out. Once I pull it I'll find out for sure if my idea will work or not.
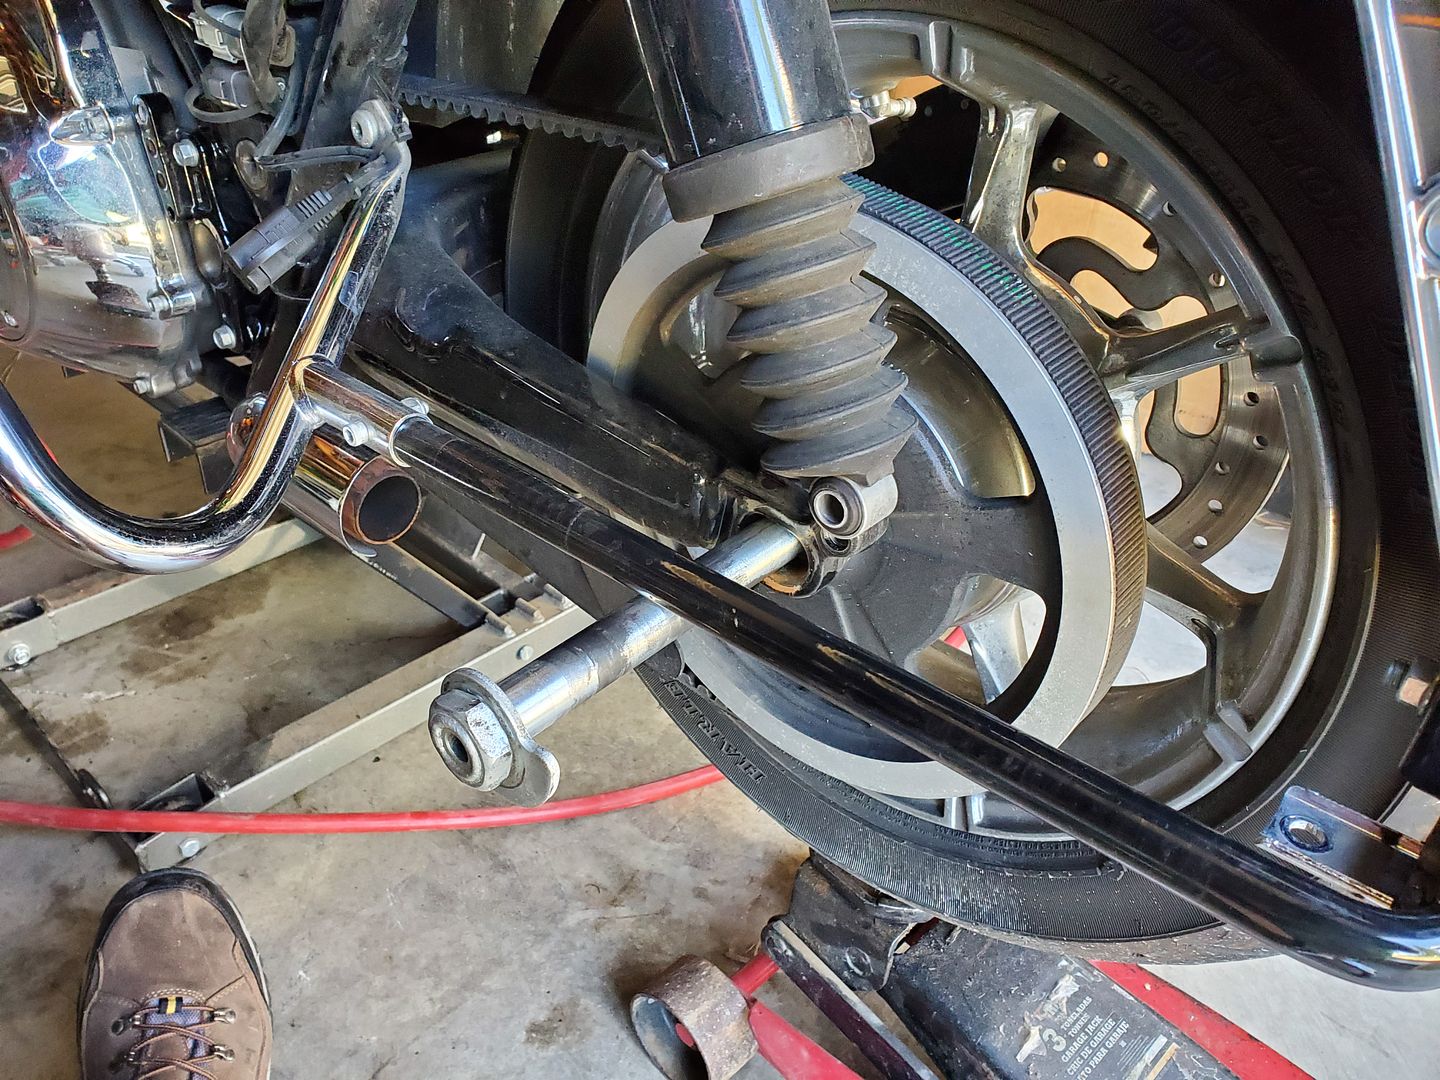
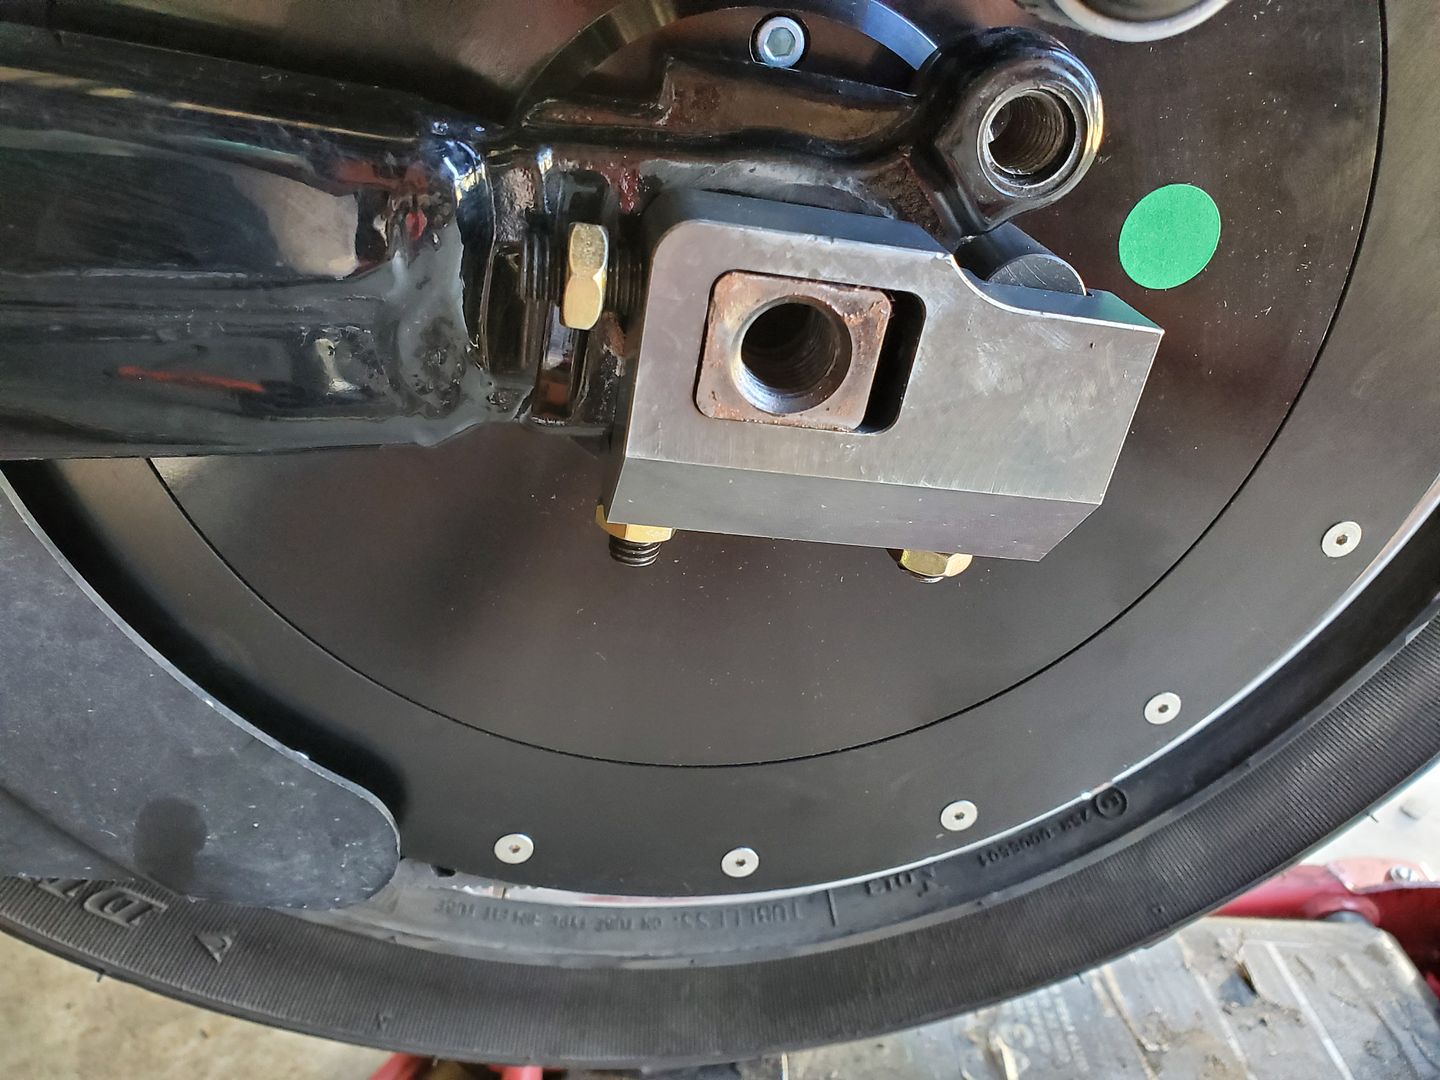
Yes it worked and here is the cush drive which you can see with the stock rear pulley removed.
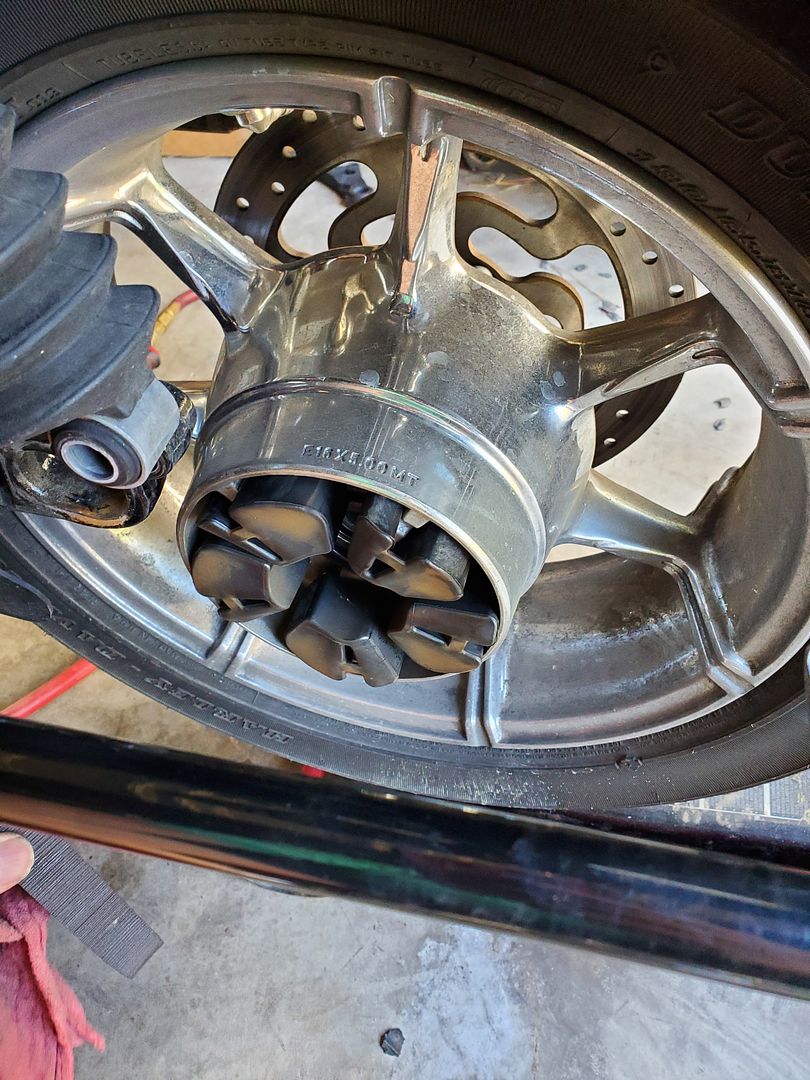
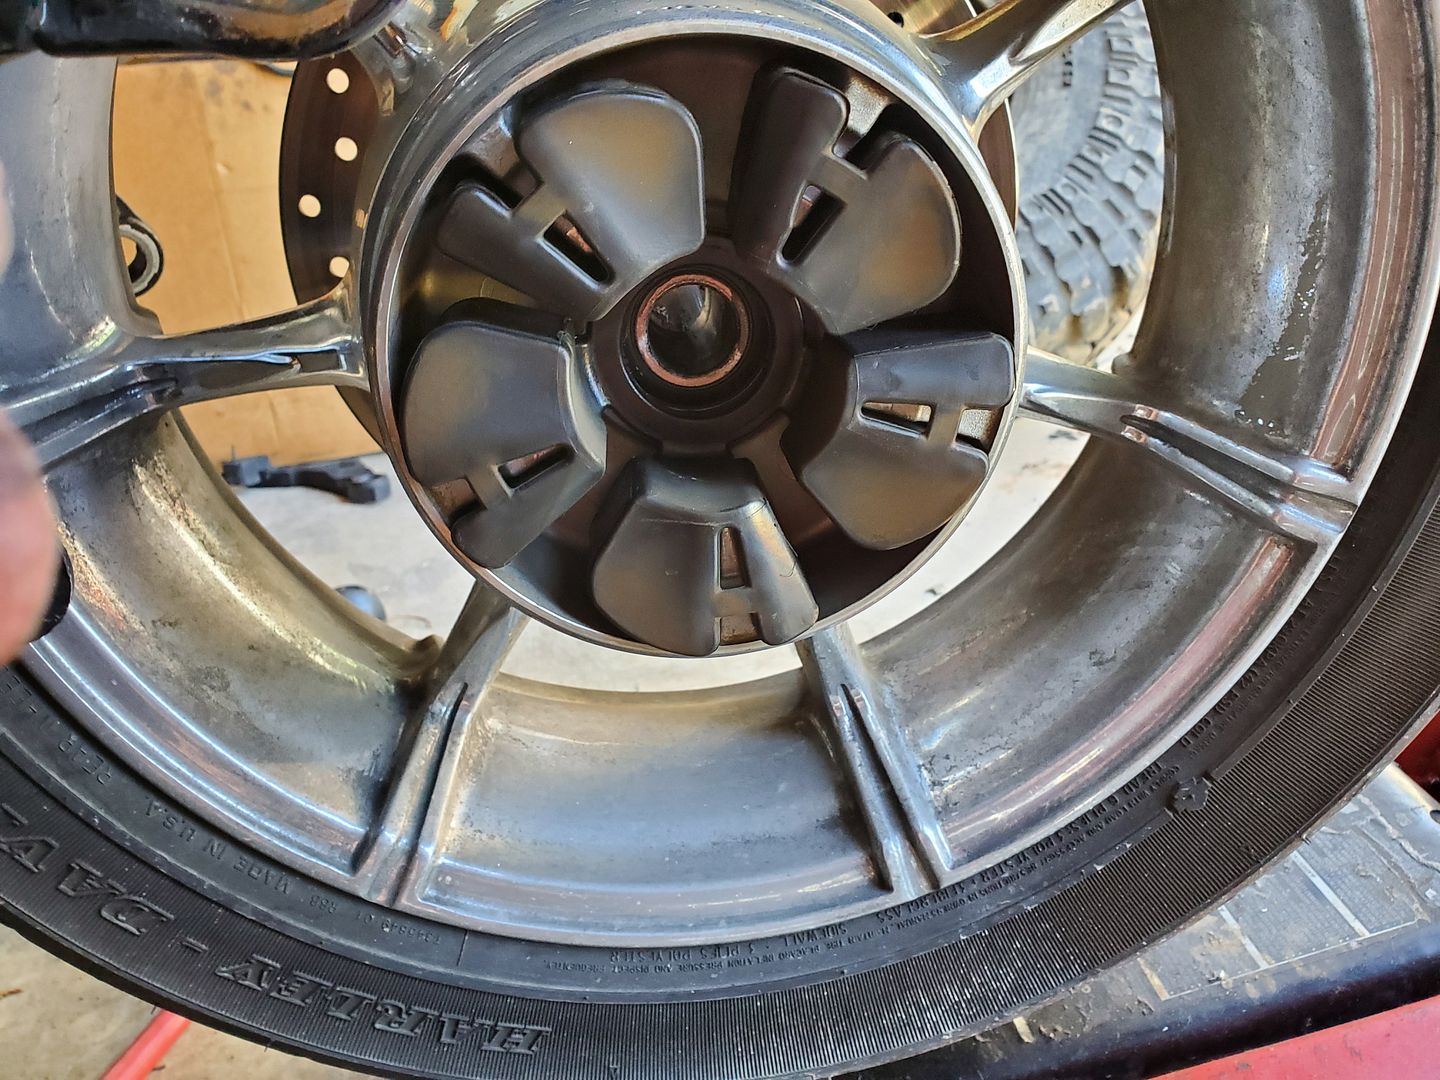
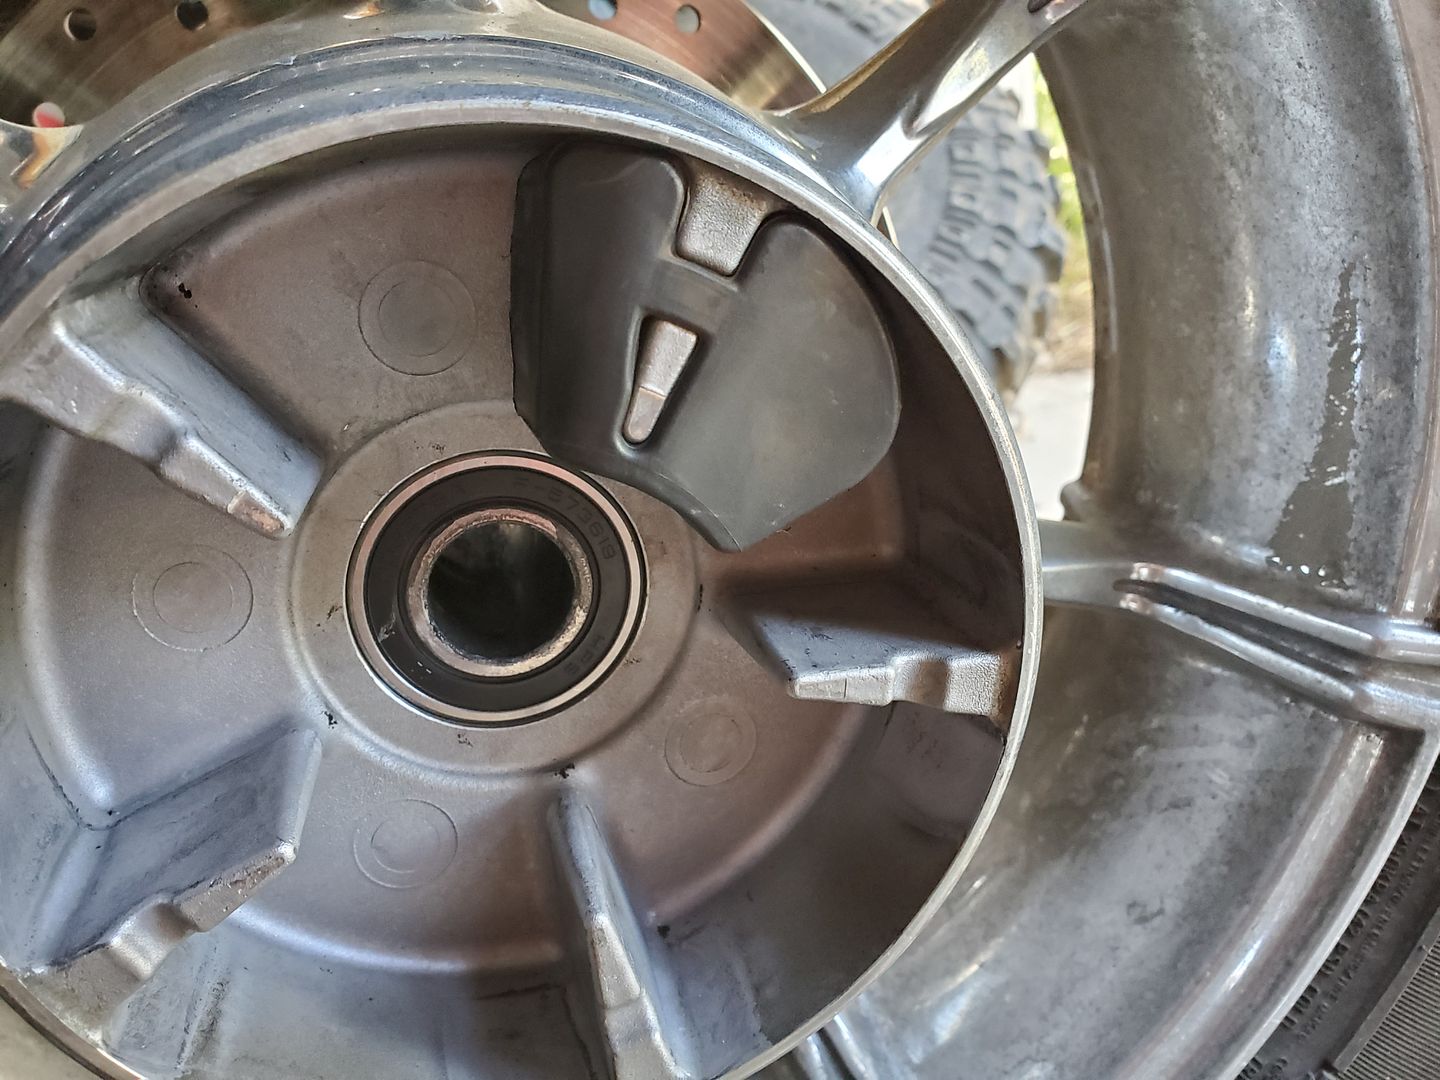
To install the M.R.P. you have to remove the cush drive and cut the ring that holds them together so that each piece is now separate.
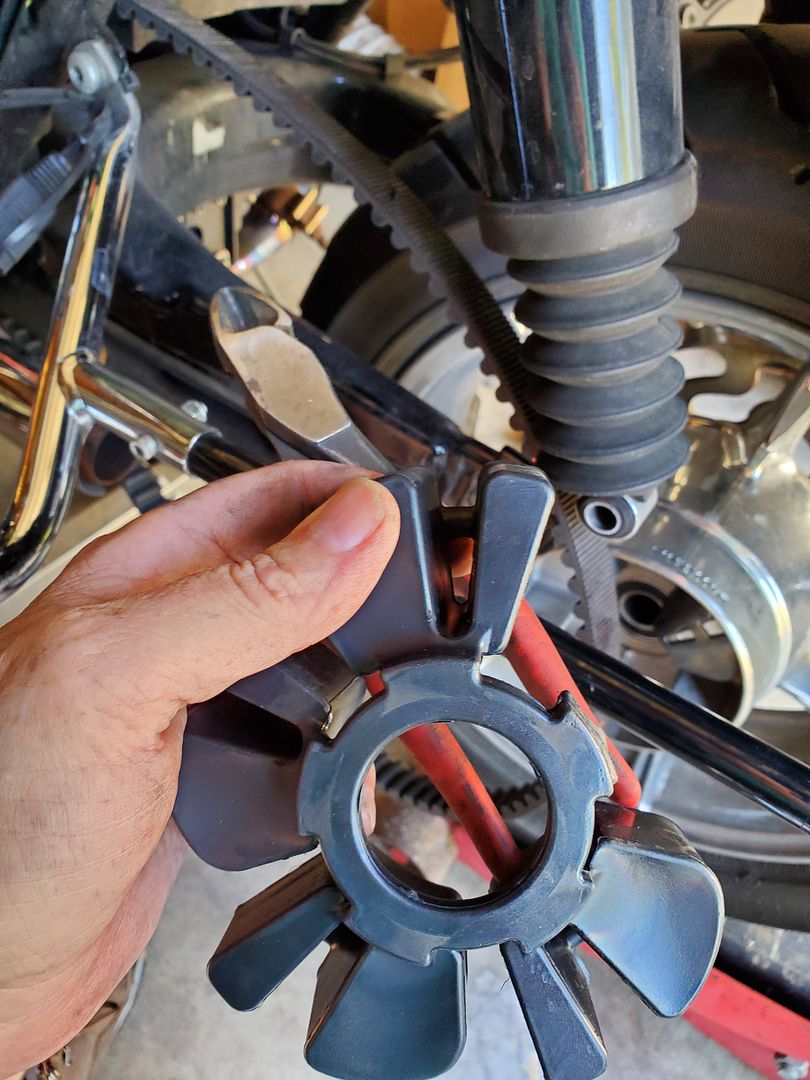
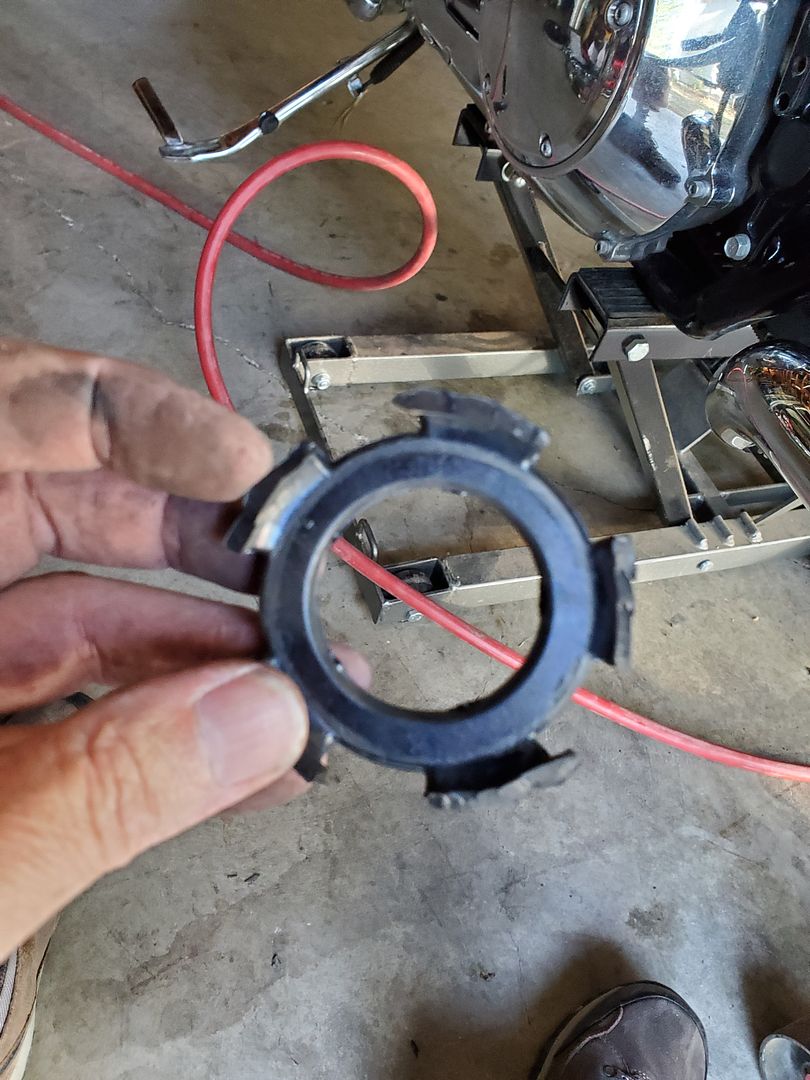
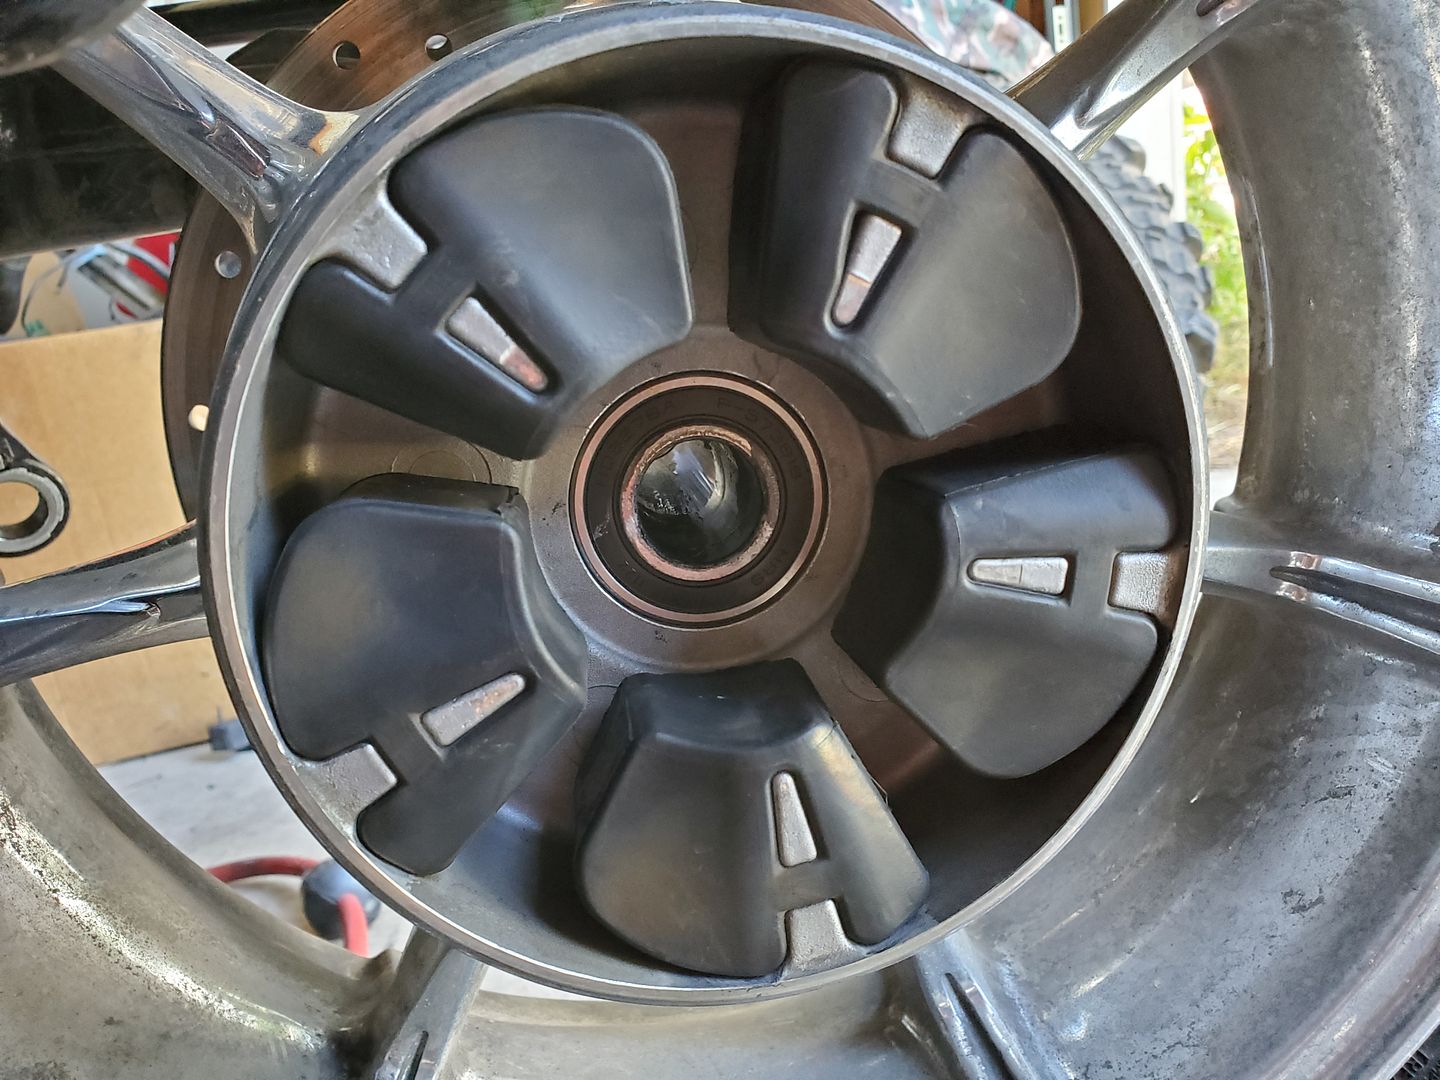
What it looks like without the cush drive installed.
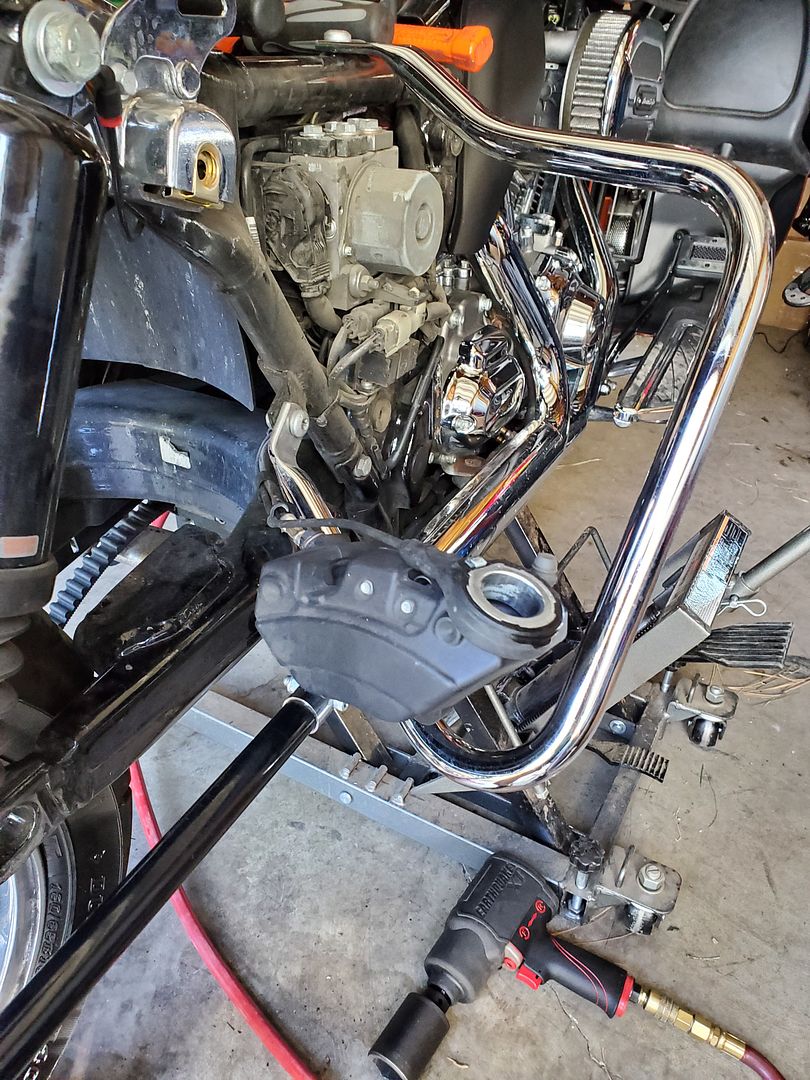
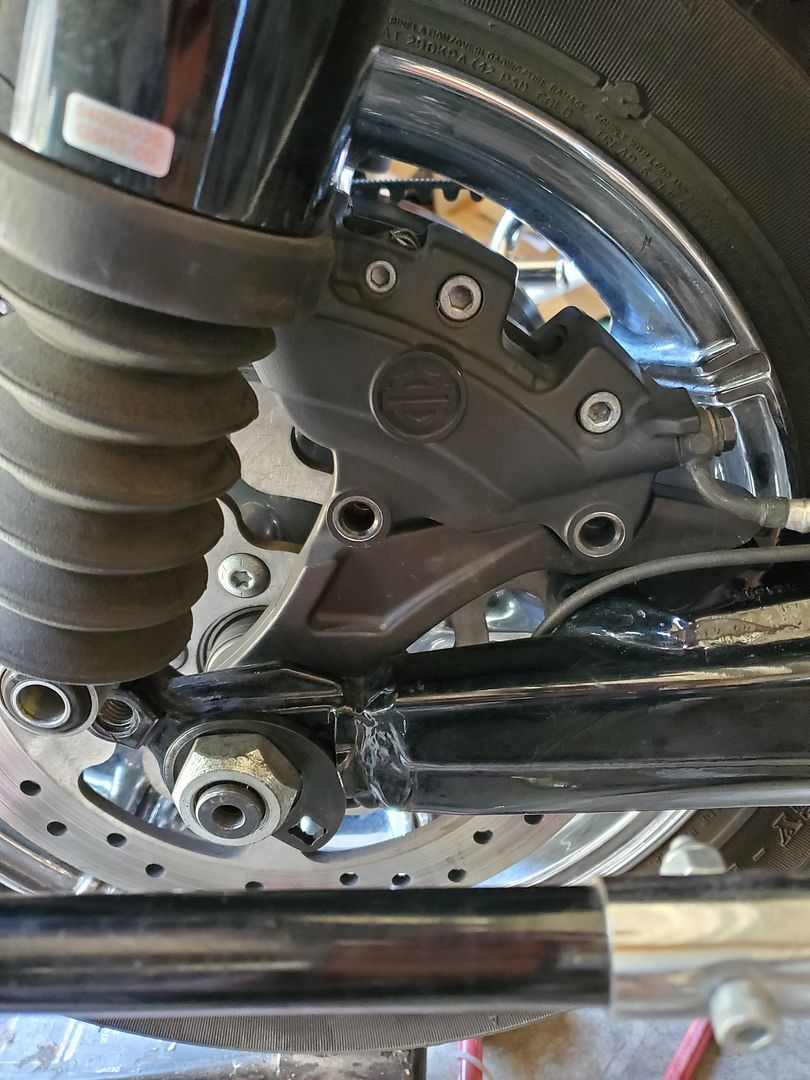
Rear brake caliper, ABS sensor are removed and set off to the side.
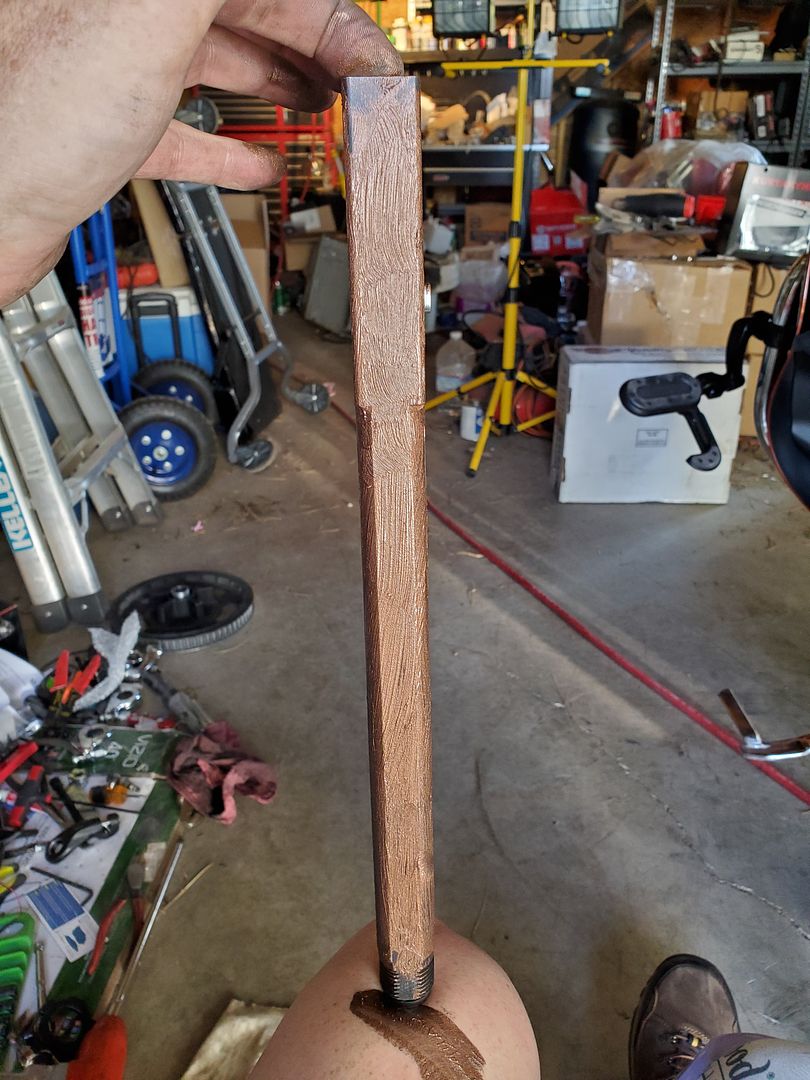
Before I installed the new axle shaft I put a thin coating of Anti-Seize on it.
Shaft back in and the torque plate installed.
Here is a video of me testing the reverse function as shown on ST's web site. It works as it should.
Yes it is suppose to make that noise. They explain the what's and why's of it doing this so instead of my trying to explain it please watch their video here.
Rear brake caliper bracket and rear caliper reinstalled back on the bike. All of this went as well as can be expected. Then the fun began with setting the belt tension and rear tire alignment.
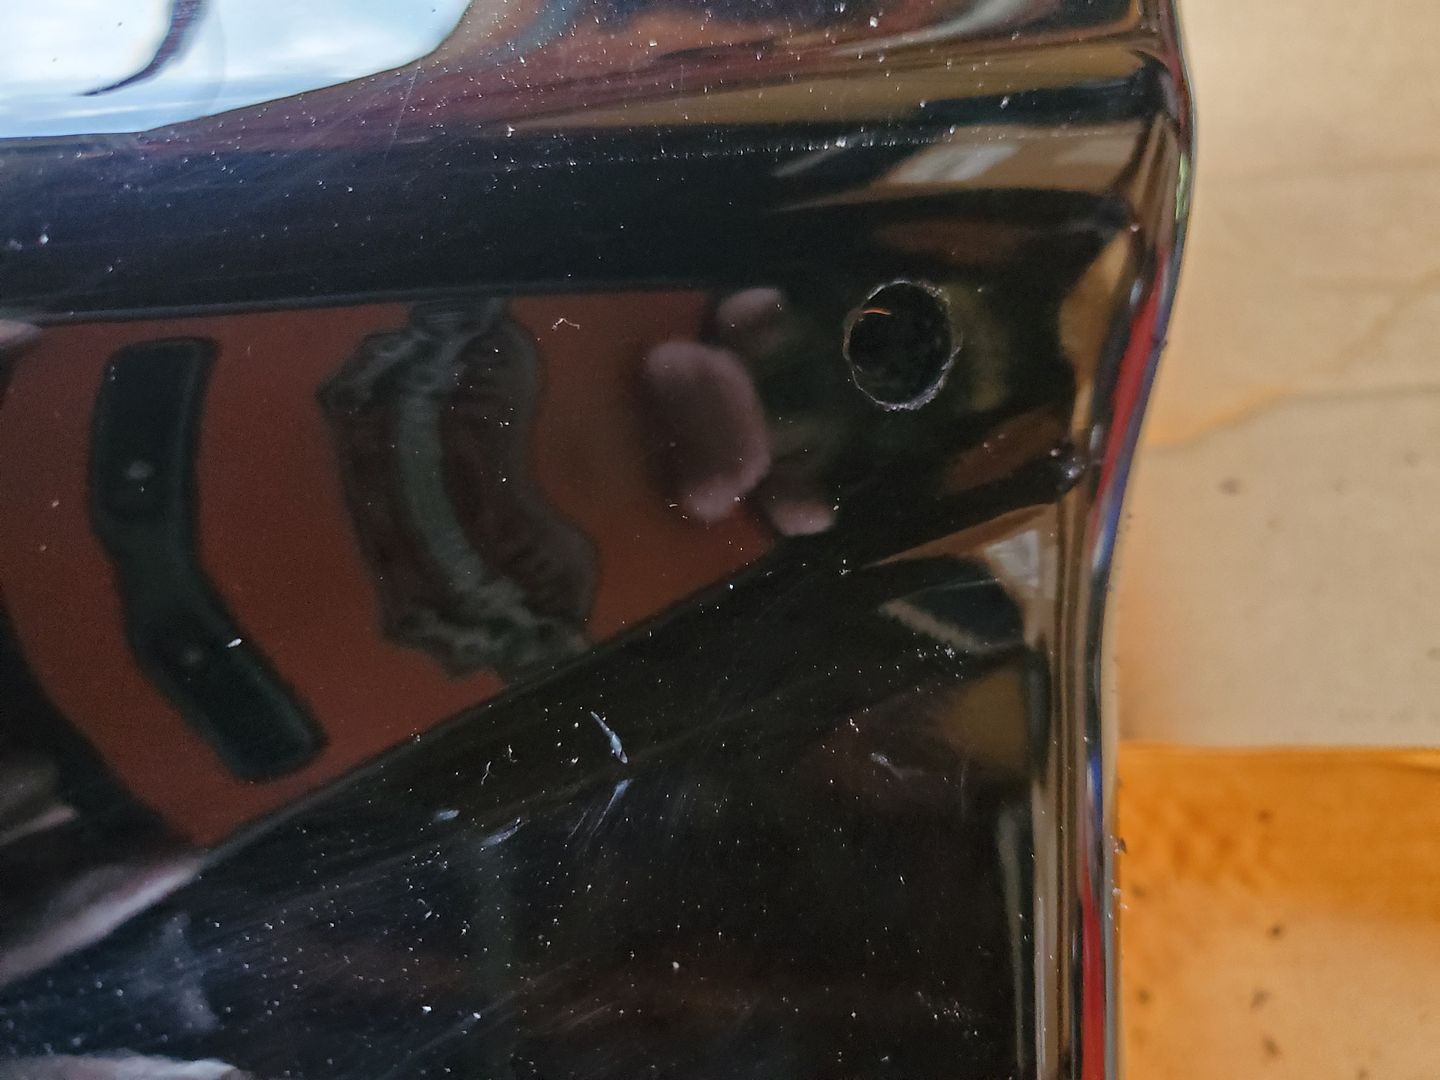
Now the FUN and the HARDEST part of the whole install, Drilling a hole into my saddlebag. I know it isn't a BIG deal but these saddlebags are in good shape and I just cringed having to drill this hole.
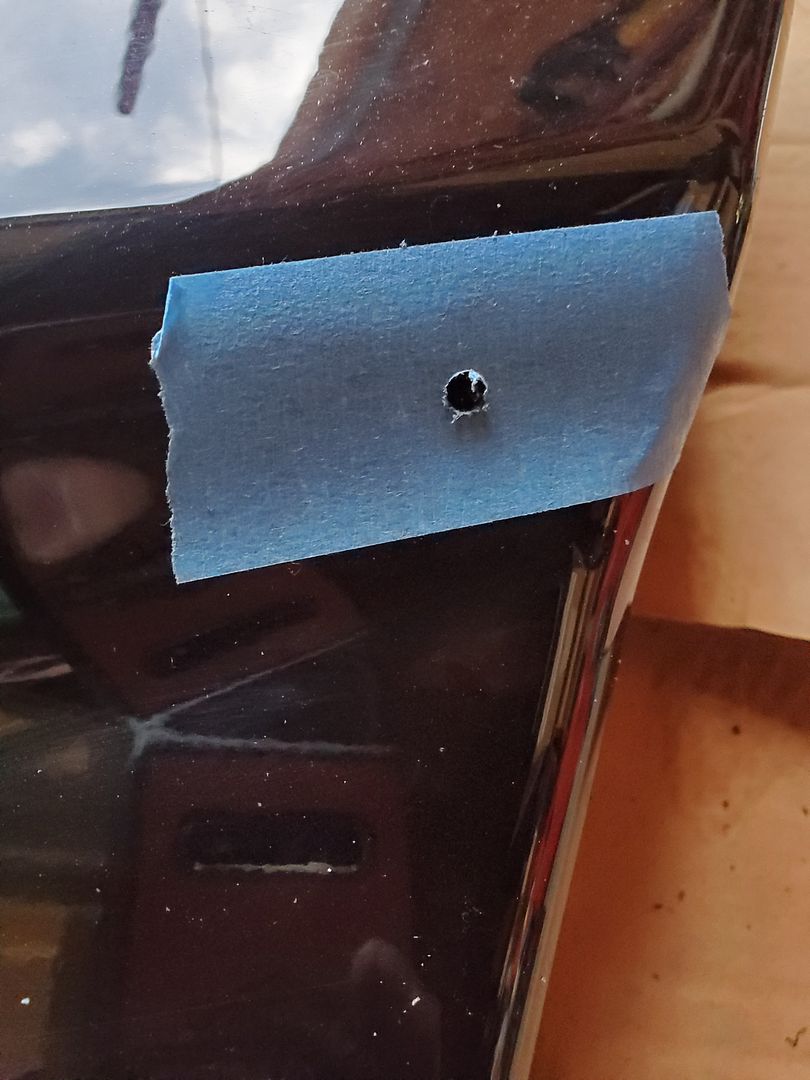
Final hole size is 7/16th and then you install a rubber grommet. Because I have the power locks I already have a hole for the wiring for the locks so instead of drilling two holes like the instructions say I ran the compressor wiring up thru that grommet.
I ran out of time to finish off today so I will be back at it tomorrow and finish the compressor install and final wiring of the compressor. Then it will be a quick final check of everything that I had removed and then I can check out how this reverse works and what I think of having it on my bike.
So instead of waiting for Monday to get here and going over to my Army buddies house I started working on it today. I'll still go over to his house on Monday and check out all the work I did and make sure I didn't screw anything up.
So yesterday I installed the aux switch and had started on the wiring. So the first thing I did was finish that off. Adding the aux switch gives you wiring plus one plug.
So then it was time to figure out how to lower the rear tire but not have it fall out. Well guess what? My floor jack worked real good for that.
The stock rear axle almost all the way out. Once I pull it I'll find out for sure if my idea will work or not.
Yes it worked and here is the cush drive which you can see with the stock rear pulley removed.
To install the M.R.P. you have to remove the cush drive and cut the ring that holds them together so that each piece is now separate.
What it looks like without the cush drive installed.
Rear brake caliper, ABS sensor are removed and set off to the side.
Before I installed the new axle shaft I put a thin coating of Anti-Seize on it.
Shaft back in and the torque plate installed.
Here is a video of me testing the reverse function as shown on ST's web site. It works as it should.
Yes it is suppose to make that noise. They explain the what's and why's of it doing this so instead of my trying to explain it please watch their video here.
Rear brake caliper bracket and rear caliper reinstalled back on the bike. All of this went as well as can be expected. Then the fun began with setting the belt tension and rear tire alignment.
Now the FUN and the HARDEST part of the whole install, Drilling a hole into my saddlebag. I know it isn't a BIG deal but these saddlebags are in good shape and I just cringed having to drill this hole.
Final hole size is 7/16th and then you install a rubber grommet. Because I have the power locks I already have a hole for the wiring for the locks so instead of drilling two holes like the instructions say I ran the compressor wiring up thru that grommet.
I ran out of time to finish off today so I will be back at it tomorrow and finish the compressor install and final wiring of the compressor. Then it will be a quick final check of everything that I had removed and then I can check out how this reverse works and what I think of having it on my bike.
Last edited by Wildman4x4nut; Jul 28, 2019 at 11:41 AM.
HD Forum Stories
The Best of Harley-Davidson for Lifelong Riders

7 Surprising Harley-Davidson Products that Are Not Motorcycles
Verdad Gallardo
8 Best Harley-Davidson Motorcycles Ever
Pouria Savadkouei
10 Worst Harley-Davidson Motorcycles Ever
Pouria Savadkouei
Killer Custom's Jail Break Is The Breakout That Refused to Blend In
Verdad Gallardo
Crazy Bunderbike Build Looks Amazing, But Is It Impossible to Ride?
Verdad Gallardo
Harley-Davidson Reveals Super Cool Cafe Racer Concept
Verdad Gallardo
Engraved Rebellion: Inside Bundnerbike's Glam Rock II
Verdad Gallardo
10 Motorcycles You Should Never Buy
Joe Kucinski
10 Things Harley-Davidson Needs to Fix in 2026
Verdad Gallardo
Thread Starter
|
Tourer
Joined: Aug 2009
Posts: 252
Likes: 47
From: Cle Elum, WA
I like the look of the extended rear fender on the Street glides and Road Glides. But becasue I have an Ultra they don't put this on these bikes. So I have added one to my last bike and now this one.
Becasue I have a CVO finding painted parts for it is a HUGE PITA so for now I got a extended rear fender painted Gloss Black and then bought a Eagle Lights Tri-Bar since it had turn signals also. I finally got it installed and wired up today.