


Air shocks
Thread Starter
|
Road Warrior


Joined: Sep 2006
Posts: 1,605
Likes: 82
From: nj
I have a 2011 flhtp road king. I put in 12 pounds of air down to 5 pounds after a week. Is this normal. I had a cargo on the back saddle bags packed, went on a trip. Any suggestions thanks

HDF Community Team


Joined: Jan 2020
Posts: 1,434
Likes: 800
From: Colorado

Yep soapy water to check the hose connectors to find the leak.
If you find leak, clip about 1/4" off the hose once removed from the fitting, make sure to push the hose all the way in with outer clip pushed all the way in, then keep pushing forward until you have in end clip pulled all the way out, the pull on hose slightly, so it detent seats to seal ring in connector.
Also, pull down on the shock boots, to take a look at the rods on the shocks as well. If you have a great deal of oil on the rods in the boot void area, then it may be time to rebuild the shocks, which will cost about $30 in parts to rebuild them. The showa air shocks are the same ones used on the older Honda gold wings, and Honda does have the parts to rebuild the shocks.
As for what fork oil weight, go 15w in front forks, and go 10w in shocks (oem is 10 forks/7w shocks), and only use the air pressure to set ride sag, not to try to add more pressure to increase the dampening on shocks and forks (oil weight is what sets the damping and rebound speeds on the two).

Banned
Joined: Apr 2024
Posts: 150
Likes: 126
From: in a box
Those air shocks suck at best. I went with Pro Action, 13 inch and couldn't be happier.
Before I upgraded the shocks I deleted the air line and installed a Shrader valve directly on the shocks. Stopped the leak but the ride was still less than favorable.
Before I upgraded the shocks I deleted the air line and installed a Shrader valve directly on the shocks. Stopped the leak but the ride was still less than favorable.
Last edited by allike; Jun 9, 2024 at 01:18 PM.
It's refreshing to see some solid advice beyond "Just buy new ones" on here. Aftermarket shocks have almost a cult following on here, it's cute, but I'm one of those people who has had absolutely ZERO issues with the factory air shocks on 3 bikes, one-up or two.
Same goes for the factory forks and even seats. I feel like a lot of people who rave high praises for the $1000 cartridges they dropped in after 30,000 miles have no idea what a difference a simple rebuild kit would have done for those tired shocks. I'm in NO way saying there isn't some improvement to be had from throwing money at the issue, I'm just saying that it's not always the fix for everyone, and stock parts aren't nearly the 'junk' that people make them out to be. Being a bigger guy, I surmise that a lot of people who have these issues are smaller / lighter, or perhaps lack natural padding in the rear.
I swear that people make those posts about how that set of shocks changed their lives and made their bike like new do it just to justify and ease their minds about the money and time they spent. Rebuilding the forks on mine have always made them feel 'just like new' too - because they are back to factory specs. Different strokes for different folks, I guess.
Yep soapy water to check the hose connectors to find the leak.
If you find leak, clip about 1/4" off the hose once removed from the fitting, make sure to push the hose all the way in with outer clip pushed all the way in, then keep pushing forward until you have in end clip pulled all the way out, the pull on hose slightly, so it detent seats to seal ring in connector.
Also, pull down on the shock boots, to take a look at the rods on the shocks as well. If you have a great deal of oil on the rods in the boot void area, then it may be time to rebuild the shocks, which will cost about $30 in parts to rebuild them. The showa air shocks are the same ones used on the older Honda gold wings, and Honda does have the parts to rebuild the shocks.
As for what fork oil weight, go 15w in front forks, and go 10w in shocks (oem is 10 forks/7w shocks), and only use the air pressure to set ride sag, not to try to add more pressure to increase the dampening on shocks and forks (oil weight is what sets the damping and rebound speeds on the two).
If you find leak, clip about 1/4" off the hose once removed from the fitting, make sure to push the hose all the way in with outer clip pushed all the way in, then keep pushing forward until you have in end clip pulled all the way out, the pull on hose slightly, so it detent seats to seal ring in connector.
Also, pull down on the shock boots, to take a look at the rods on the shocks as well. If you have a great deal of oil on the rods in the boot void area, then it may be time to rebuild the shocks, which will cost about $30 in parts to rebuild them. The showa air shocks are the same ones used on the older Honda gold wings, and Honda does have the parts to rebuild the shocks.
As for what fork oil weight, go 15w in front forks, and go 10w in shocks (oem is 10 forks/7w shocks), and only use the air pressure to set ride sag, not to try to add more pressure to increase the dampening on shocks and forks (oil weight is what sets the damping and rebound speeds on the two).
Trending Topics
There are some good videos on YT on how to change the shock oil. It's on my preventative maintenance list for this winter if we get enough snow.
HD Forum Stories
The Best of Harley-Davidson for Lifelong Riders

7 Surprising Harley-Davidson Products that Are Not Motorcycles
Verdad Gallardo
8 Best Harley-Davidson Motorcycles Ever
Pouria Savadkouei
10 Worst Harley-Davidson Motorcycles Ever
Pouria Savadkouei
Killer Custom's Jail Break Is The Breakout That Refused to Blend In
Verdad Gallardo
Crazy Bunderbike Build Looks Amazing, But Is It Impossible to Ride?
Verdad Gallardo
Harley-Davidson Reveals Super Cool Cafe Racer Concept
Verdad Gallardo
Engraved Rebellion: Inside Bundnerbike's Glam Rock II
Verdad Gallardo
10 Motorcycles You Should Never Buy
Joe Kucinski
10 Things Harley-Davidson Needs to Fix in 2026
Verdad Gallardo
HDF Community Team
Joined: Jan 2020
Posts: 1,434
Likes: 800
From: Colorado
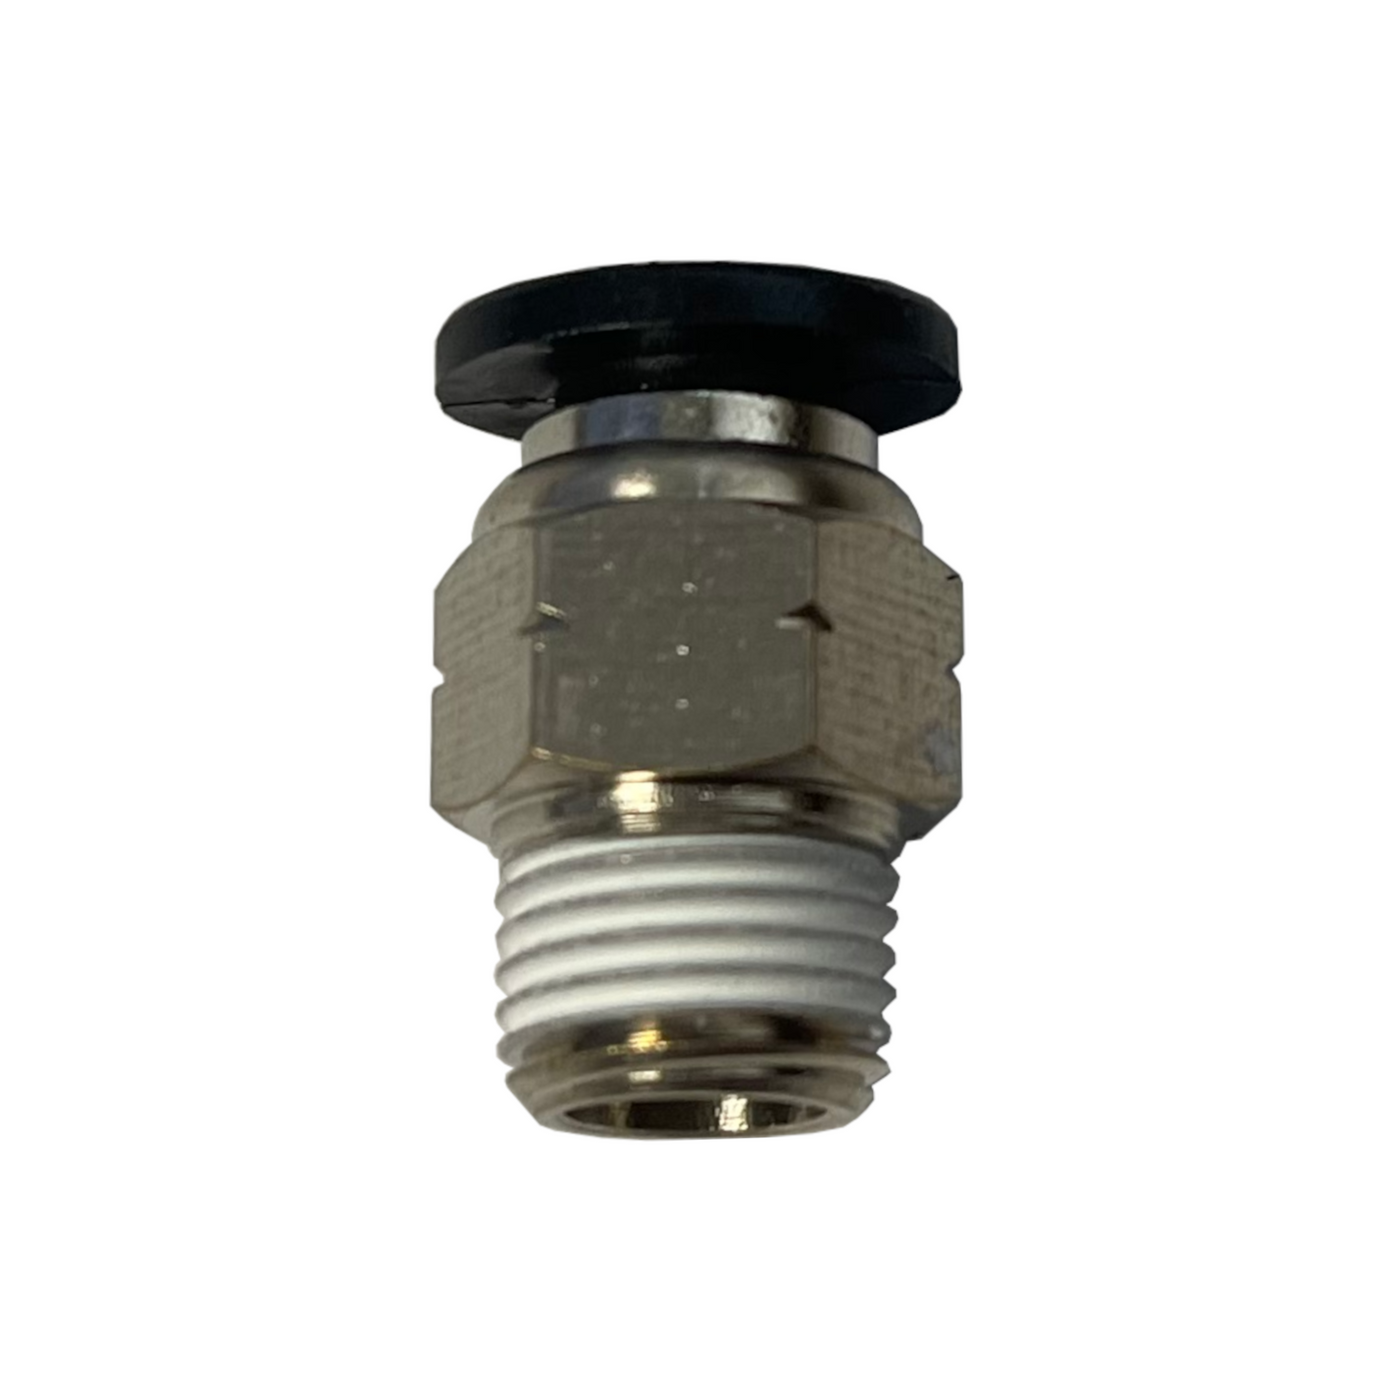
Coupling to hose most of the time on the shock side. you have connector to single line at valve with cap, splitter under the set, then fitting on the shocks themselves.
so lets just take a look at the coupling T fitting.
HD uses composite fitting, but will use this one to show you the release and lock ring, which is black on the end.
Myself, since I have a lathe, just use copper inserts on the chuck jaws and clamp the shaft at the rebound spring section to hold the shaft while removing the nut, once the peen section of the shaft threads after the nut have been removed.
So if leak is coming from the tube to coupling going to push the black ring in all the way and keep it in, push the tube inwards in the fitting, then pull the tube out wards to remove it from the fitting. Over time, the tubing and end up with a indent around from the connector lock, and if see this and have a leaking tube to fitting, cut the tubing just past the indent ring on it to clean that up, push the black ring inwards all the way, insert the tube as far as it will go in and hold it there, then pull the black ring outwards to lock it, then give slight tug on line to make sure it seated and lock has engaged.
So again, about 10lbs of air in the lines, then use spray bottle with just a little dish soap in the water, and give the fittings a good spray down. If fittings are leaking, then will produce bubbles that you will able to see. Also, don't forget to give the shrader valve a shot of soapy water, since it may be leaking, and just use a schrader valve tool to remove it, and most of time you can clean them up to stop them leaking, or just replace it.
If replacing it, make sure to get one the same length. The way the pump works, it creates a seal before it presses the vavle in, and will allow the valve to seal off, before the pump breaks the steam seal. Most the time if valve is leaking,
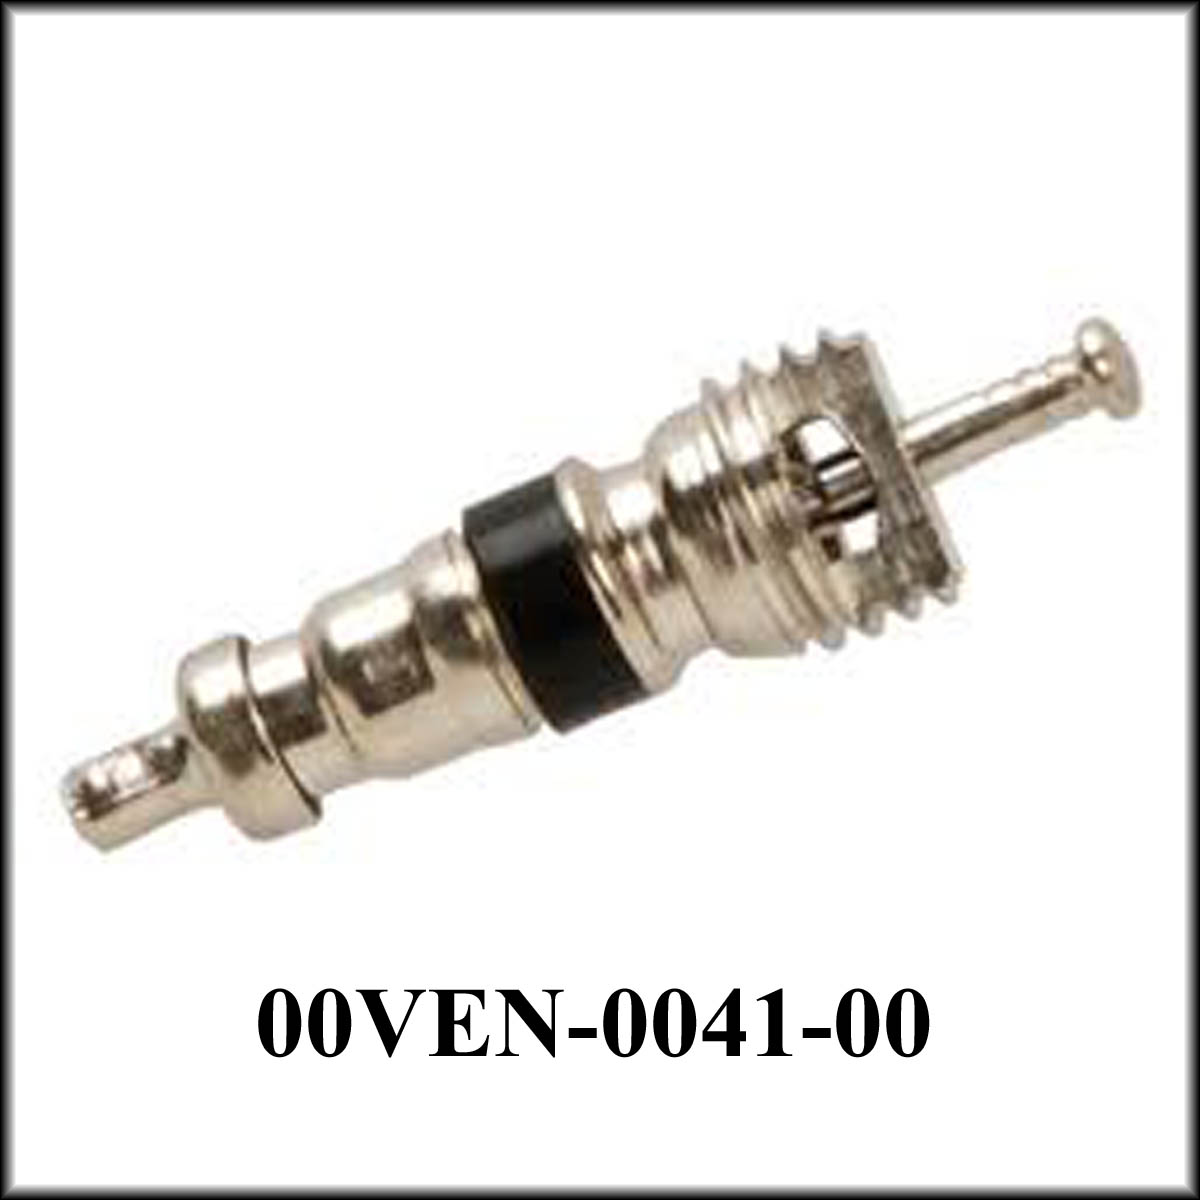

With it in hand removed, press the end piece innards to open the bottom cup section, and you can use a silicone lube spray to clean out the debris in the bottom cup section that is not allowing it to seal. Hence hand pump seal rubber section can start to deteriorate, pushing some of it rubber into the valve while you are pumping up the shocks to leave debris in the valve seal section, so kind of get into a habit when you are checking pressures every so often, to remove the valves and give the valves a silicon spray cleaning every so often. Do not us a petroleum base sprays , since it will cause problems with the rubber parts in short order as it make then swell. That includes the composite pneumatic fittings, while silicon spray is fine to use on them as well.
As for shocks, so going to break this up into two sections.
One just being changing the oil in the shocks when you are changing the fork oil or rebuilding the forks every 30k, while the second will be if the shocks are leaking fluid at the section under the rubber boot isntead.
So to remove the fluid from the shocks to just change that out, vacuum pump method works like a charm. The 13" air shocks have 10.5 oz of fluid in them, so easy to vacuum out the old fluid and add new fluid in.
Also point out, oem fluid is 10w in the forks, and 7 weight in the shocks.
Change the fluid out to 15 weight in the forks, and 10 weight in the shocks (oem levels), and you will surprised on how well this increases the way the bike corners/handles, much less stops the popo'g of the suspension in the hard long corners as well.
Now if you pull the rubber boot down, and see that the bottom oil seal is leaking oil, then its time to pull the shock semi apart to replace the Oil seal, and again, same showa shocks in the older GL1100 gold wings, and Honda does carry replacement parts and seals.
As for full pull down if you want to change out the spring, or have to replace the bumper,
or take it down to this level,


As for valve stack if you have to pull the stack to clean them up, use wood blocks to hold the shaft in a vise to keep it from spinning and not mar the shaft, and the end shaft threads are peen after the nut.
So grind shaft threaded section flush with top of nut, and when remove the washer stack, lay them out in order on a towel, so you can clean them and reinstall them on the correct order, and use red loctite to bond the nut back on the shaft in the end with the nut tightened to 38ft lbs.
And yes, bumper is missing in the photo above, since it disintegrated and the mess you see, and kind of why the shock needed to come apart to clean that mess up, and replace the bumper as well.
Last edited by Dano523; Jun 9, 2024 at 05:39 PM.