


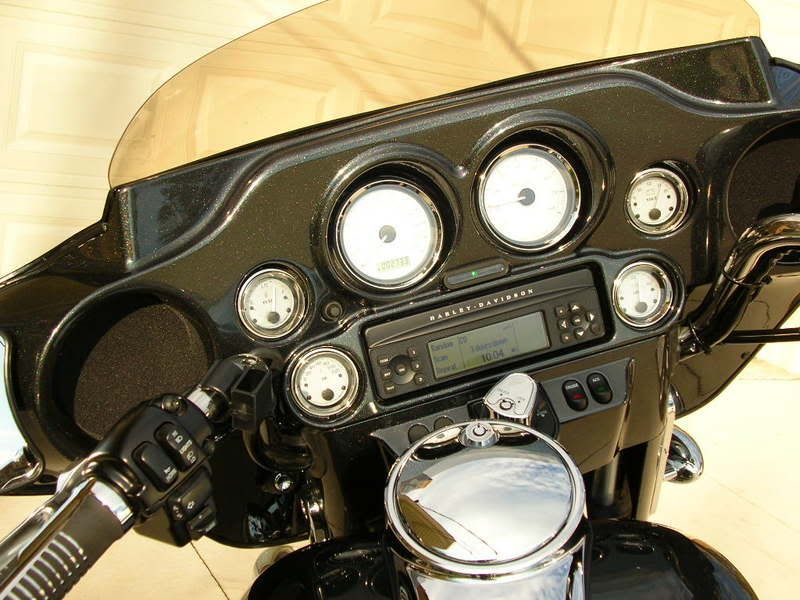
Get Inner Fairing Painted
Outstanding HDF Member
Joined: Oct 2006
Posts: 2,253
Likes: 1
From: Southeastern Michigan
I bought one off of ebay and had it painted to match my bike, then installed with very little down time, about 2 - 2.5 hours. Loaned my "take off" fairing to a bud and he did the same thing. We ended up doing 4 bikes like that. I still have a inner fairing and cap if you are interested in doing the same, its off an 07 street glide.
Stellar HDF Member


Joined: Nov 2007
Posts: 2,307
Likes: 53
From: California
I'm in the middle of this project right now. It's easy taking the inner fairing off. Took me about an hour and thats with taking my time and labeling/numbering each wire harness (for a quick install...just match the numbers).
I should have my inner fairing and cap tomorrow, vivid black (should add about 7-10 more horse power LOL). I'm doing a new stereo, inner fairing and taller bars.
I should have my inner fairing and cap tomorrow, vivid black (should add about 7-10 more horse power LOL). I'm doing a new stereo, inner fairing and taller bars.

Intermediate
Joined: May 2007
Posts: 45
Likes: 0
same thing with me I'm right in the middleof the upgrade, I also added the Klock works strut covers look forward to get it all back form the paint shop,question when you guys pulled the switch and cover plate how did you het the forks back to the unlock position
Outstanding HDF Member
Joined: Oct 2006
Posts: 2,253
Likes: 1
From: Southeastern Michigan
You can buy the HD tool, or cheat like I did an use a long slot screw driver. I suggest using a flashlight from the bottom of the triple tree, you can see how to line up the slots to unlock the forks 
Stellar HDF Member


Joined: Oct 2007
Posts: 2,314
Likes: 31
From: Eastern PA

Road Master
Joined: Sep 2006
Posts: 1,200
Likes: 24
From: Greenfield, WI
My bike has some cosmetic damage after we were hit by a cager in August. Insurance is paying for a replacement inner due to scuff marks and the dealer has agreed to apply the $167 cost to painting the inner fairing/cap which they send out for painting for $247. So $80 out of pocket and they will do all of the labor when they replace the other painted parts that were damaged.
You might check how much a dealer charges to paint the inner instead of buying a spare on Ebay or the HD one for $550.
You might check how much a dealer charges to paint the inner instead of buying a spare on Ebay or the HD one for $550.
HD Forum Stories
The Best of Harley-Davidson for Lifelong Riders

7 Surprising Harley-Davidson Products that Are Not Motorcycles
Verdad Gallardo
8 Best Harley-Davidson Motorcycles Ever
Pouria Savadkouei
10 Worst Harley-Davidson Motorcycles Ever
Pouria Savadkouei
Killer Custom's Jail Break Is The Breakout That Refused to Blend In
Verdad Gallardo
Crazy Bunderbike Build Looks Amazing, But Is It Impossible to Ride?
Verdad Gallardo
Harley-Davidson Reveals Super Cool Cafe Racer Concept
Verdad Gallardo
Engraved Rebellion: Inside Bundnerbike's Glam Rock II
Verdad Gallardo
10 Motorcycles You Should Never Buy
Joe Kucinski
10 Things Harley-Davidson Needs to Fix in 2026
Verdad GallardoRoad Warrior
Joined: Nov 2006
Posts: 1,738
Likes: 7
From: St. Charles, IL
Tip #1; Take lots of pictures when you are removing the outer fairing. Pics of the wire harnesses and where they were routed and such.
Tip #2; Use lots of notes and stickers or tape flags to the wires so that when you go to install again you just have to match the stickers to eachother. Like you put a sticker on both sides of a plug and mark both with "A" so you know A goes into A, etc...
Is it worth the time&effort? Heck YES!!


Tip #2; Use lots of notes and stickers or tape flags to the wires so that when you go to install again you just have to match the stickers to eachother. Like you put a sticker on both sides of a plug and mark both with "A" so you know A goes into A, etc...
Is it worth the time&effort? Heck YES!!

Advanced
Joined: Aug 2007
Posts: 52
Likes: 0
From: Madison, Wis
I had mine done in Black Cherry to match the bike, really ads to the bike instead of the plastic look. Had a independent bike shop do it for $300 included everything, take off and install. The spun gauges look nice but a little too pricey for me.