Harley Davidson Sportster: How to Relocate Speedometer
Customization is a huge part of Harley Davidson ownership. A good early mod a lot of owners do is the relocation of the speedometer gauge from its position on the handlebars. Moving the speedometer improves the aesthetic of the bike and it allows owners an opportunity to make their bike unique with the endless number of possible gauge mounting locations.
This article applies to the Harley Davidson Sportster (1995-2015).
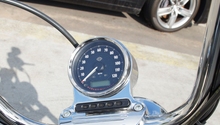
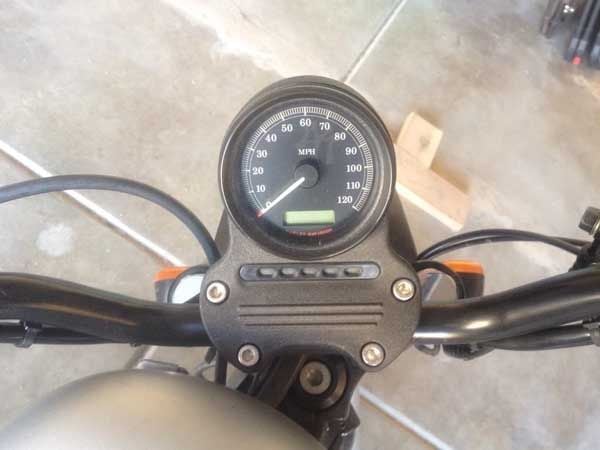
The speedometer gauge on various Harley Sportster models are placed in an unfashionable location—above the headlight shell—to offer the rider a clear view while riding. The speedometer housing is incorporated into the handlebar top mount as a one piece unit and, while it is clear that Harley engineers were focused on visibility and functionality of the speedometer, most agree that they dropped the ball in the styling department. The gauge sits quite high above the rest of the bike and tends to stick out like a sore thumb. Individuals looking for that sleek, low-slung profile concur that the gauge assembly must go. Relocation of the gauge is an easy job that can greatly improve the look of the bike while maintaining the ability to monitor your speed. This article will outline the procedure for relocating the speedometer gauge on various Harley Davidson Sportster models.

Materials Needed
- SAE wrench and socket set
- 3/8" drive ratchet and extension
- Hex (Allen) key set
- Torx driver set
- Speedometer relocation kit
- Wire ties and wire cutters
- Torque wrench
This article applies to Harley Sportster models with an electronically operated speedometer.
Step 1 – Remove speedometer
To begin your speedometer relocation, remove the speedometer gauge from its mount.
- Remove the speedometer gauge backing plate to access the wiring harness. There is a rubber gasket behind the backing plate the can be removed as well.
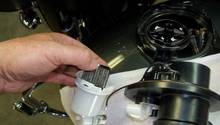
- Remove the trip reset button and wiring from the backing plate by simply unscrewing the rubber button from the plate and sliding the switch out. (See Figure 2.)
- Disconnect the wiring harness plug(s) from the speedometer gauge.
- Pull the speedometer gauge from the handlebar top clamp (speedo housing bracket). The gauge typically fits tight into the housing, so a firm pull is often required to free it.

Figure 2. Speedo backing plate fasteners. 
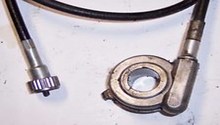
Figure 3. Electrical plug disconnected from gauge. 
Figure 4. Gauge removed from housing.
Pro Tip
There is a rubber gasket on the front of the gauge similar to the gasket on the backside. Leave this gasket in place on the gauge, as it is used with many relocation kits.
Step 2 – Remove handlebar top clamp and indicator lights
- Using a 1/4" hex (Allen) wrench, undo the bolts securing the handlebar top clamp in place.
- With the top clamp free, flip it over to remove the indicator lights from the clamp. The light assembly is held in place by two small Torx screws. With the screws removed, slide the light assembly from the top clamp.
- Be sure to retrieve the light cover (on the topside of the clamp) before setting the clamp aside.
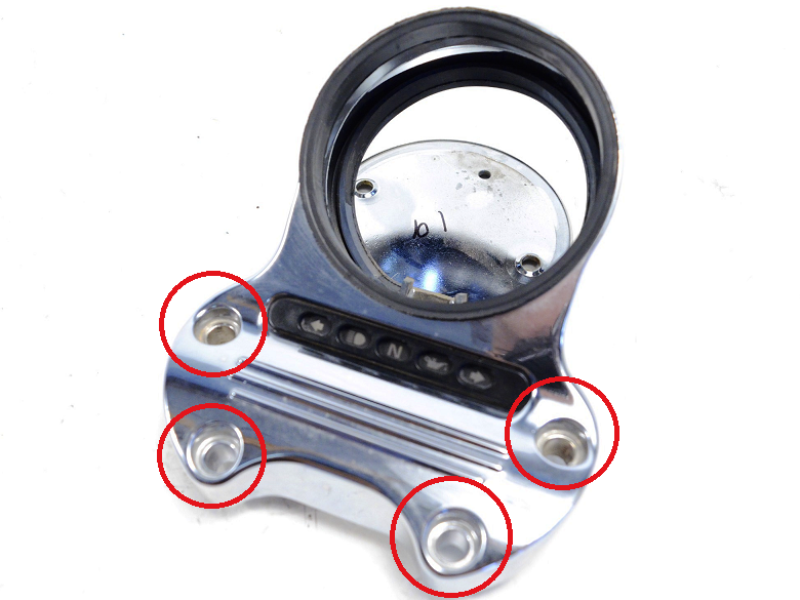
Figure 5. Handlebar top clamp (speedometer gauge housing). 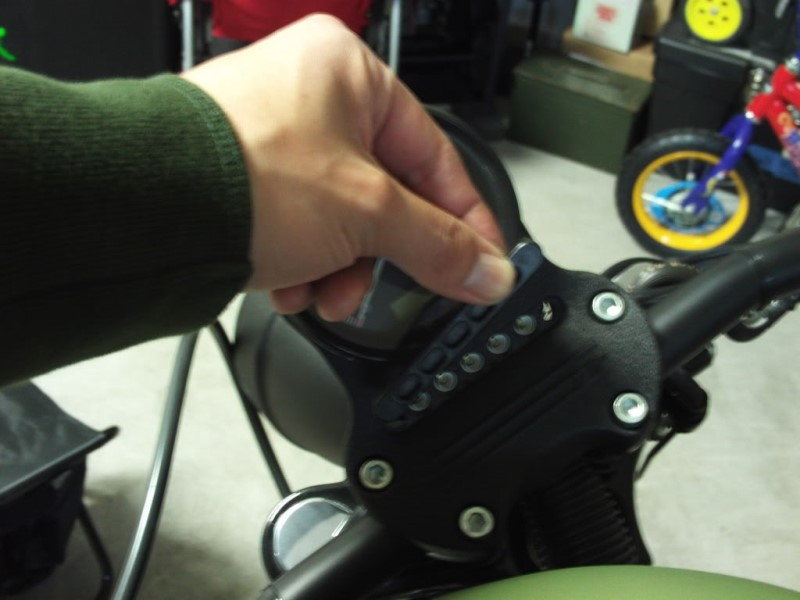
Figure 6. Indicator light cover removal. 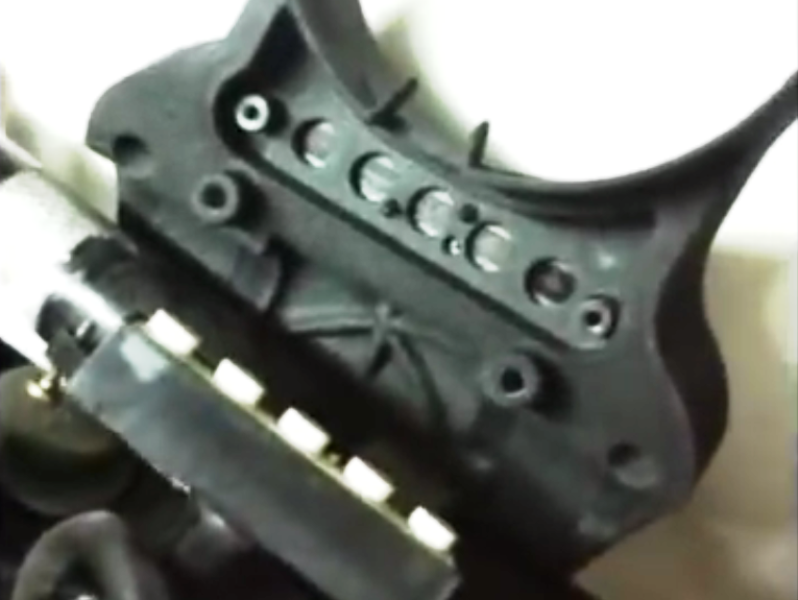
Figure 7. Removing indicator lights from handlebar clamp.
Step 3 – Configure new speedometer mount
Various kits are available to relocate the speedometer gauge to places such as the the side of the upper triple clamp, lower triple clamp, or even the front fuel tank mount. Similarly, with some minor fabrication work, a mount can be made to relocate the speedometer virtually anywhere. In addition to relocating the speedometer gauge, some individuals prefer to move the indicator lights as well. In any case, the wiring to the gauge/indicator lights will need to be routed to the new location. The stock wiring harness typically has enough free length to accommodate most new gauge mounting locations; however, the fuel tank may need to be removed in some instances to cut a few wire ties and free a bit more wire length. For additional information on removing the fuel tank from your Sportster, see How to Remove Gas Tank.
- Follow the manufacturer's instructions for mounting your new speedometer housing.
- Slide the speedometer gauge into the housing. Be sure it is firmly seated and secured in the mount.
- Reattach the trip reset button to the gauge backing plate before connecting the electrical plug(s) to the backside of the gauge.
- Install the backing plate to the gauge and tighten the (3) screws.
Step 4 – Install handlebar top clamp
Since the stock handlebar top clamp houses the indicator lights, individuals have the choice of installing a new top clamp that accommodates the indicator lights without a speedo gauge housing, modifying the stock top clamp to remove the old speedo gauge housing, or installing a plain top clamp and relocating the indicator lights.
- If using a top clamp that houses the indicator lights, swap the indicator light assembly and rubber cover over to the new clamp.
- Install the clamp bolts and torque in a criss-cross pattern to 12-18 ft/lbs.
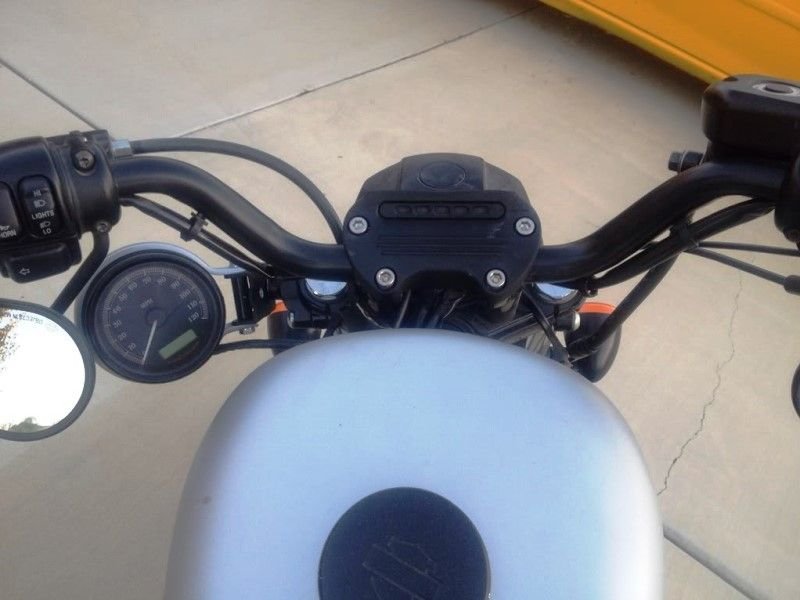
Figure 9. Stock handlebar clamp with speedo housing cut off. 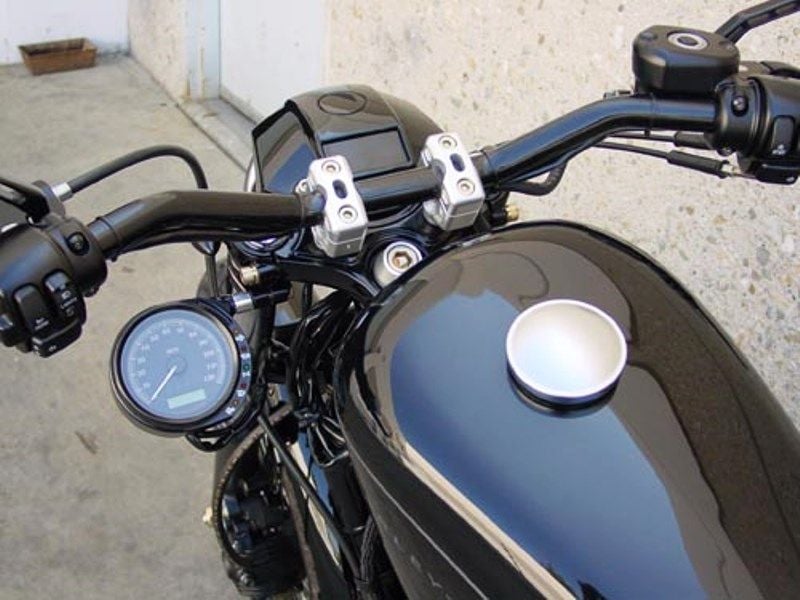
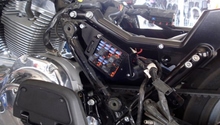
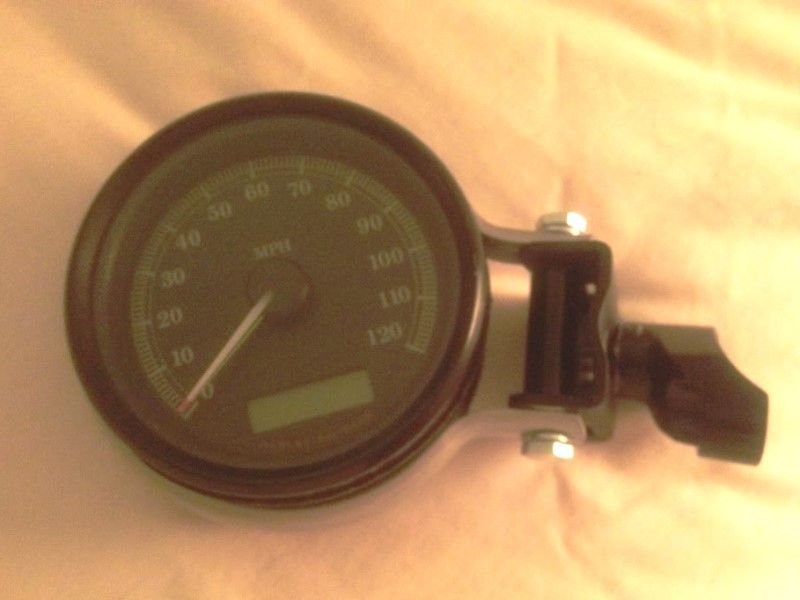
Figure 10. Speedo relocated to left fork leg. 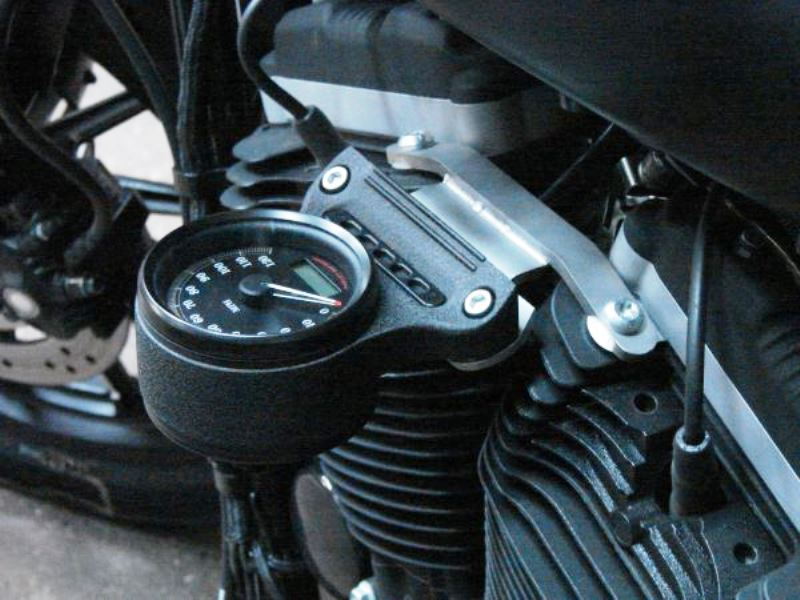
Figure 11. Speedo relocated to coil mount.
Pro Tip
Many owners have installed a plain handlebar top mount and attached the indicator lights to the headlight bezel using double-sided adhesive tape.
Featured Video: Speedometer Relocation
Related Discussions
- Speedo Relocation Instructions - HDForums.com
- Speedo Relocated - HDForums.com
- Nightster Bar with Indicator Lights and NO Speedo Mount?- HDForums.com