When you click on links to various merchants on this site and make a purchase, this can result in this site earning a commission. Affiliate programs and affiliations include, but are not limited to, the eBay Partner Network.
Dyna Glide ModelsSuper Glide, Super Glide Sport, Super Glide Custom, Dyna Glide Convertible, Super Glide T-Sport, Dyna Glide Police, Dyna Switchback, Low Rider, Street Bob, Fat Bob and Wide Glide.
So I've been talking about doing the dual disc conversion on my 07' street bob for quite some time now, and I'm finally in the process of doing it. As of this writing, I'm still waiting on my tires to be installed, so I'm going to post up what I have so far.
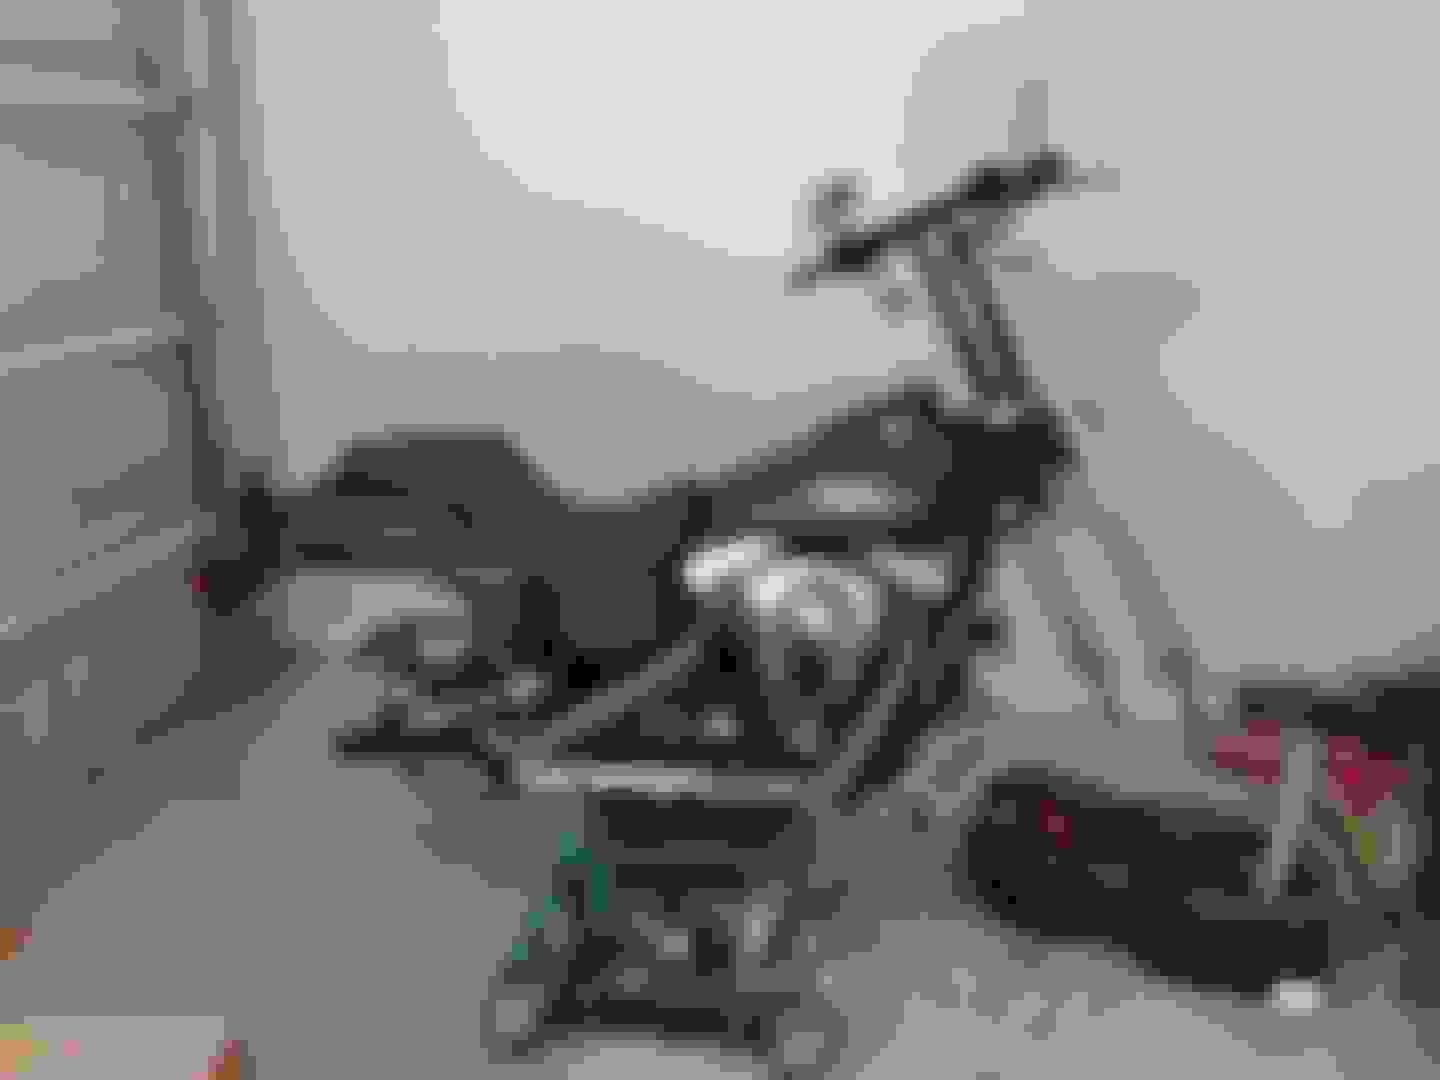
First, here's a pre-build shot of the bike.
I got a fairly good deal on the bike when I bought it, but the PO had not cared for the bike super well. The rims were rusted from his dogs peeing on them, and the pipes are the OEM headers, wrapped, with Cycle Shack mufflers, and apparently a not very good tune. The only things different in this picture from when I bought it are the bars (14" T's) and the Lucky Dave's seat.
Awhile back, I was able to score an extra set of trees, rocker boxes, and lifter blocks for $150, from a guy who was converting his bob to chrome. Separately, I picked up a set of '14 Low Rider wheels for $250 each from ebay. The thinking was buy a new fork slider, all the necessary hardware and powdercoat everything black.
Tear down went a lot more easily than I thought it would. I went from complete bike, to jacked on stand and stripped down in a handful of hours.
Unfortunately, there was a casualty in my eagerness to get the bike apart.
For those who don't know, this part is held onto a plastic piece with double sided tape, and the plastic piece snaps into the battery cover. Getting the plastic piece and trim away from the battery cover was easy enough, but heating did nothing to help loosen the adhesive. After I had it about halfway removed, the damn thing folded back on itself. After some futility with a hammer I ended up tossing it across the garage. Oh well, its $30 which is not nearly as much as I thought it would be.
So here's all the parts I've ordered, and much to my wife's delight, they've been sitting in our dining room. I think you could say she was excited to have everything back on the bike as opposed to her table.
I didn't take any action shots, but I bought the Pit Posse bearing remover/installer tool, which made short work of the existing bearings. I also went with the Timken 205PP for replacements (after powder coating of course)
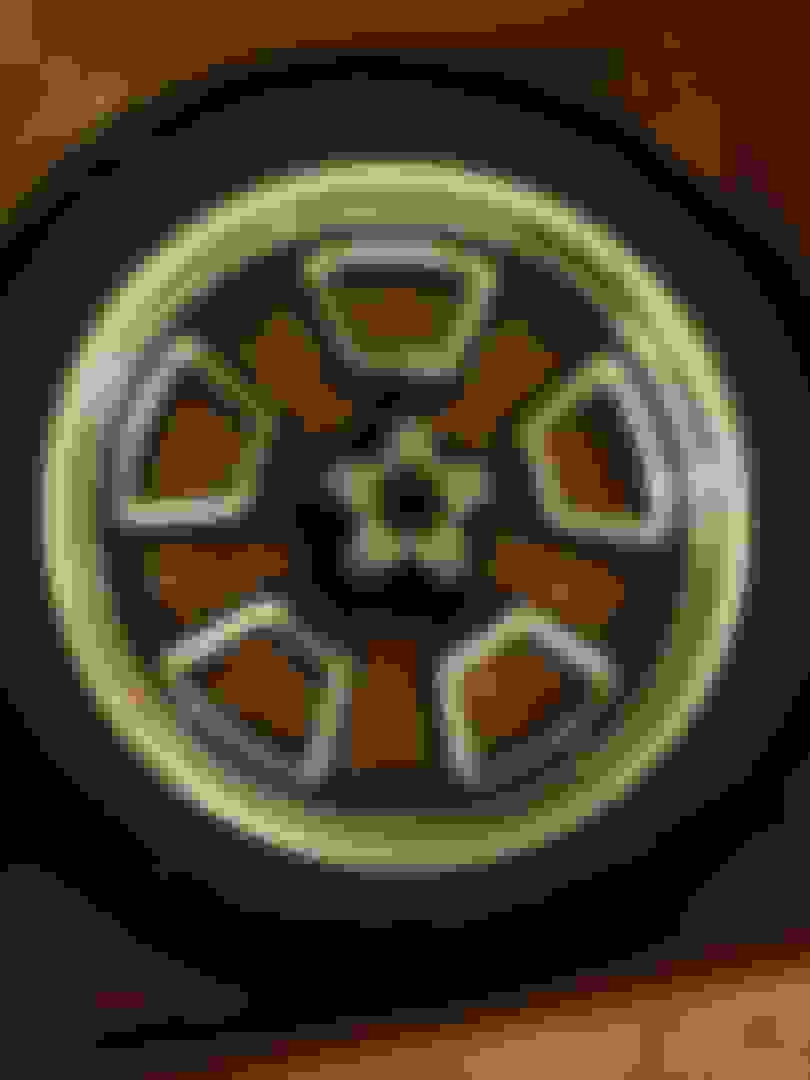
Fresh from powder coating! Everything at the shop was extremely well wrapped, except for the wheels, which were left exposed. I went with High Gloss Black, and man was I stunned. Honestly, the pictures just can't do it justice.
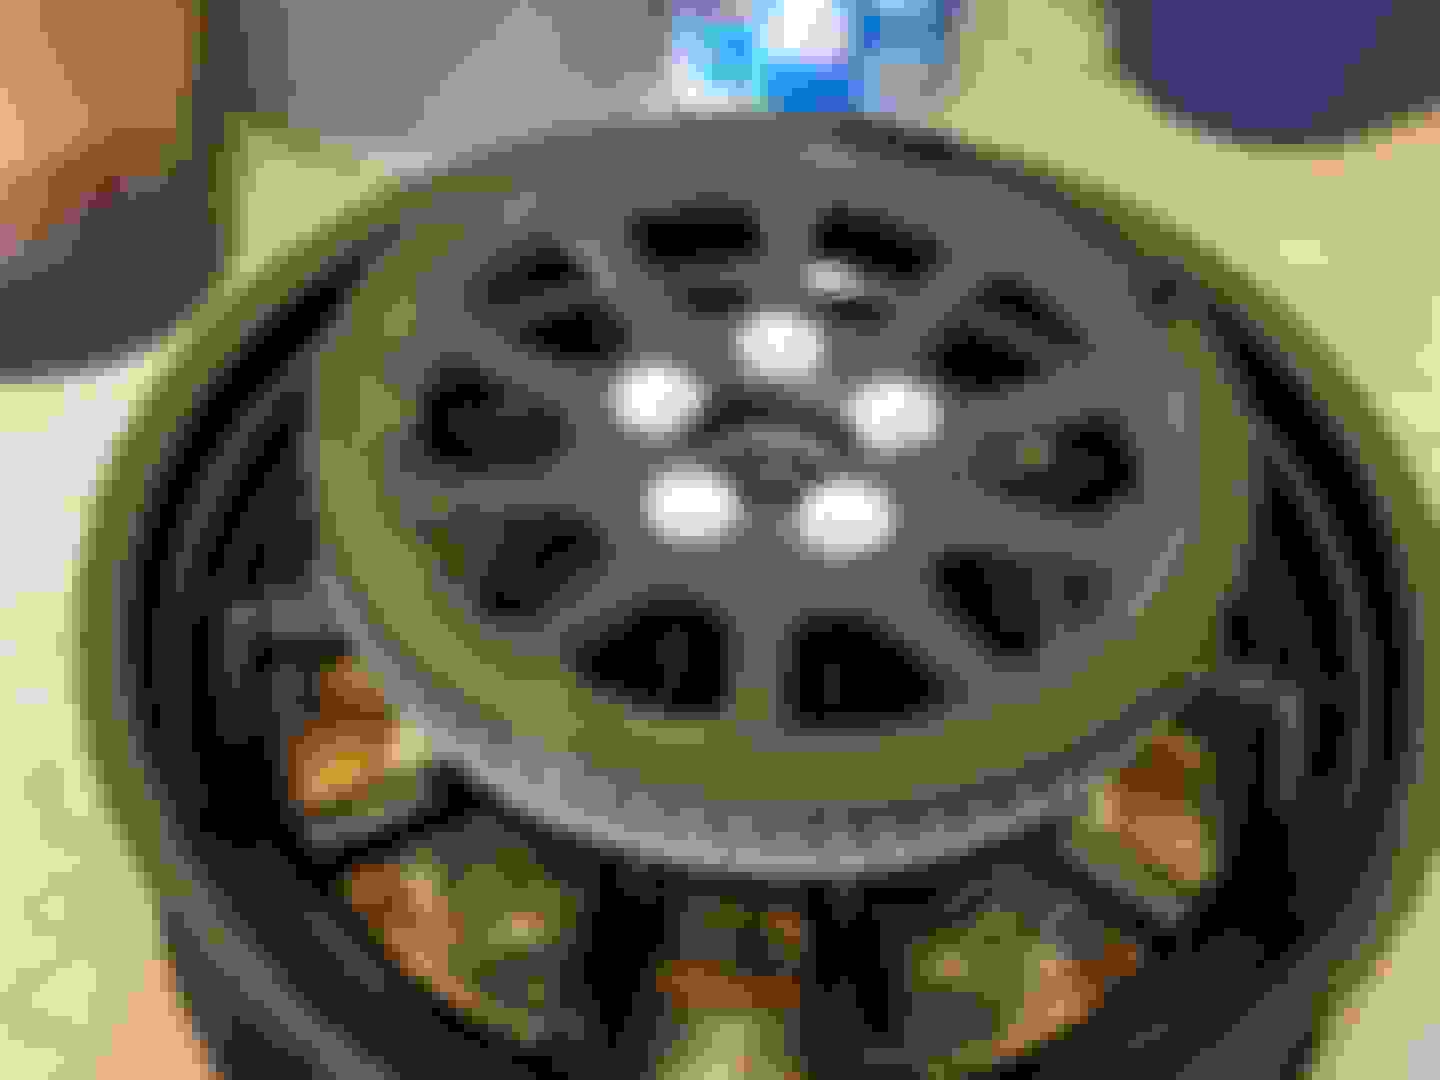
My excitement turned to annoyance not long after getting home. It seems that they didn't follow instructions for masking to the letter. The rear wheel had some powdercoat in one bearing pocket, which had to be carefully buffed out. And of course this:
Instead of removing the powdercoat here, i elected to sand down the powdercoat on the inside of the dust covers. Which did end up working, after a lot of sanding.
For the rear pulley I decided to try something, and I have pretty mixed feelings on the result. I'm thinking it was one of those ideas that sounded way better in my head than it did in practice. I decided to have just the exposed aluminum lip powdercoated with the gloss black, but leaving the wrinkle in the middle. I need to figure out how to clean the wrinkle finish, because it's a large part of what's causing the mixed feelings. Seems there's mud or dirt embedded. Decide for yourselves if you like it or not.
And now that you've seen the assembled rear wheel, here's the assembled front.
Another spot where I got excited and didn't take too many pictures. Here's the trees and legs thrown back on.
These high gloss black parts look really good on the bike. Really wish I had my wheels so I could set it down and clean the hand smudges off of everything.
Unfortunately, in order to get high gloss powder coat to flow, its a little softer than most regular powdercoat. And like a real jackass, I forgot to take my wedding band off (tungsten) when assembling the trees. When the light catches the top tree just right, you can see all these nice scratches.
Here's a shot of the fender strut cover:
Side note: The reflector popped off with little resistance. On the back end of the adhesive there is some light surface rust. Anyone know how to fix that on denim paint? I found a denim black paint pen on amazon, but not sure if it will look like ***.
And here's the full bike, with new master cylinder, brake lines, calipers, and front fender installed.
Tires should be installed this afternoon or tomorrow morning. Once I have those thrown on, its basically bleeding the brakes, correcting fallaway, installing the mufflers (currently painting them), and torquing everything down.
Since you have the 07 dyna then your axle must be 1". Which year and model is the right bottom fork from, or you can use whatever model since axle rod from right side is the same on all models?
FYI on using new Harley replacement rear pulley bolts. The stock ones are a one use item. Some other member found out the hard way and ended up with a lot of damage when the bolts backed out.
Your bike is coming out good!
Dave
Last edited by TOE_CUTTER; Mar 27, 2019 at 08:12 PM.
Since you have the 07 dyna then your axle must be 1". Which year and model is the right bottom fork from, or you can use whatever model since axle rod from right side is the same on all models?
The left hand fork slider is the 07, and the right hand is from the 14 low rider. The polished aluminum ones still carry a -06 PN from the factory. and the mounting portions of the axles are the same.
I purchased the axles and spacers with the wheels. So I'm converting to 25mm axles/bearings.
FYI on using new Harley replacement rear pulley bolts. The stock ones are a one use item. Some other member found out the hard way and ended up with a lot of damage when the bolts backed out.
Your bike is coming out good!
Dave
Thanks! I did spring for brand new pulley and disc bolts at the dealer. Definitely read some of the horror stories on here.
Forgot to mention guys, I will be including a PDF'd spreadsheet that has all PN's, where sourced from, and costs. I'll probably add it to the first post when everything is done.
7 Surprising Harley-Davidson Products that Are Not Motorcycles
Slideshow: The bar-and-shield logo shows up on far more than motorcycles, some of the company's most unexpected products have nothing to do with riding.
Slideshow: From the troubled AMF years to modern misfires, these bikes earned reputations for reliability issues, questionable engineering, or disappointing performance.
Crazy Bunderbike Build Looks Amazing, But Is It Impossible to Ride?
Slideshow: The Swiss custom shop has taken a Harley Softail and stretched it into something so long and low that it looks closer to a rolling sculpture than a conventional motorcycle.
Engraved Rebellion: Inside Bundnerbike's Glam Rock II
Slideshow: A standard cruiser becomes an intricate metal canvas in the hands of a Swiss custom house known for pushing Harley-Davidson platforms far beyond their factory brief.
Slideshow: Harley-Davidson's challenges aren't abstract; they show up in dropping shipments, shrinking dealer traffic, and strategic decisions that aren't yet translating into growth.