


First winter mod!! Street glide turn sigs!!
Thread Starter
|
Ultimate HDF Member
Joined: Dec 2008
Posts: 5,120
Likes: 17
From: Indiana
I haven't wired it yet!! The light bar came with with purple and black wires still attached. The guy that sold them to me on ebay actually removed the stocked connectors properly. Once I remove the old lights I'll take the connector apart and slide the wires from the light bar into the connector. I gotta take the rear tail light off and notch the bottom of the chrome for the wires to fit and go under the tail light into the back and plug it in. If I wasn't clear I'll take pics when I finish her up and post up on here.
Thread Starter
|
Ultimate HDF Member
Joined: Dec 2008
Posts: 5,120
Likes: 17
From: Indiana
Yup and I think you are the only one that did the right way, but that's a lot of talent I don't have at all!! I saw your write up, good stuff!!
Road Master
Joined: Feb 2008
Posts: 918
Likes: 0
From: Calgary, Canada
Thanks....
Yours will be just as good.
When i was gonna do it it took me forever to get around to it.
John had already started his.....
There was one other i dont remember who !! That had it done before i started
and john had his done before me as well.
Nice job you are doing, take your time .
Yours will be just as good.
When i was gonna do it it took me forever to get around to it.
John had already started his.....
There was one other i dont remember who !! That had it done before i started
and john had his done before me as well.
Nice job you are doing, take your time .
Last edited by Wireguided; Nov 10, 2009 at 04:57 PM.
Thread Starter
|
Ultimate HDF Member
Joined: Dec 2008
Posts: 5,120
Likes: 17
From: Indiana
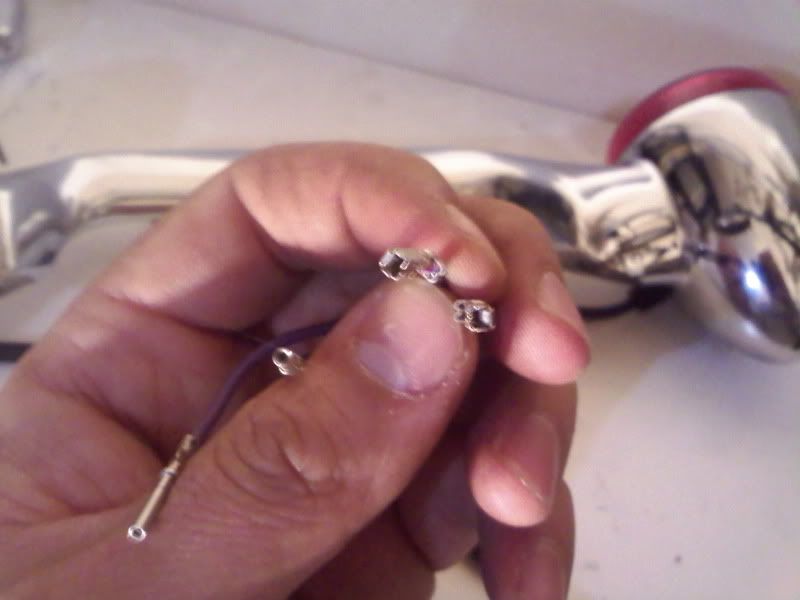
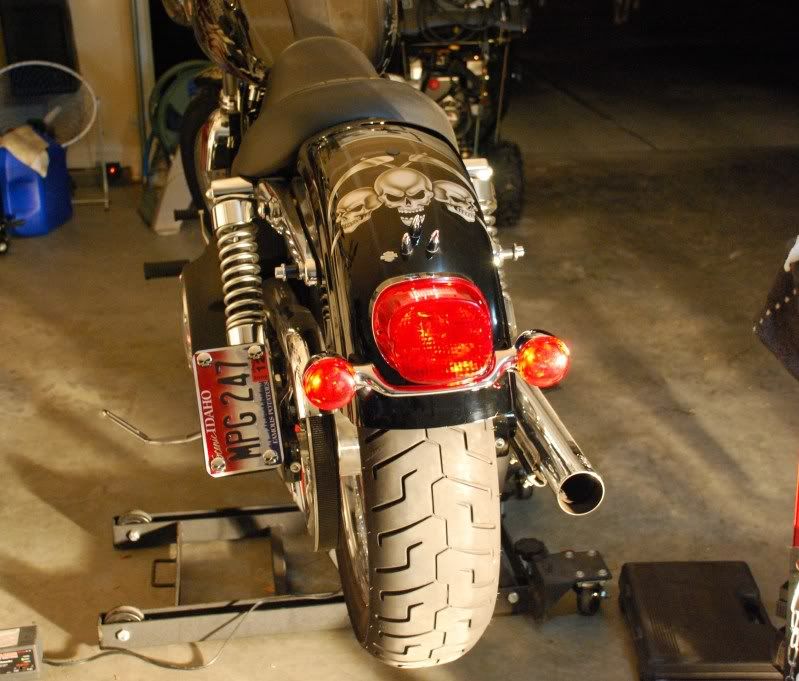
Alright it's all wired and works. For wiring who would have thought Harley had standard wiring?? Nope guess the street glide has round connectors so I had to cut and solder the connectors from the old sigs. Instead of notching the bottom of the tail light I drilled another hole below the light bar to run the wiring. Running it under the tail light would have exposed more wire then I like. You can't see the holes unless you actually look under the sigs. I'm happy with it. Don't mind the bike it needs a good buffing and waxing.
Here's the connectors.
Here's the extra holes I drilled.
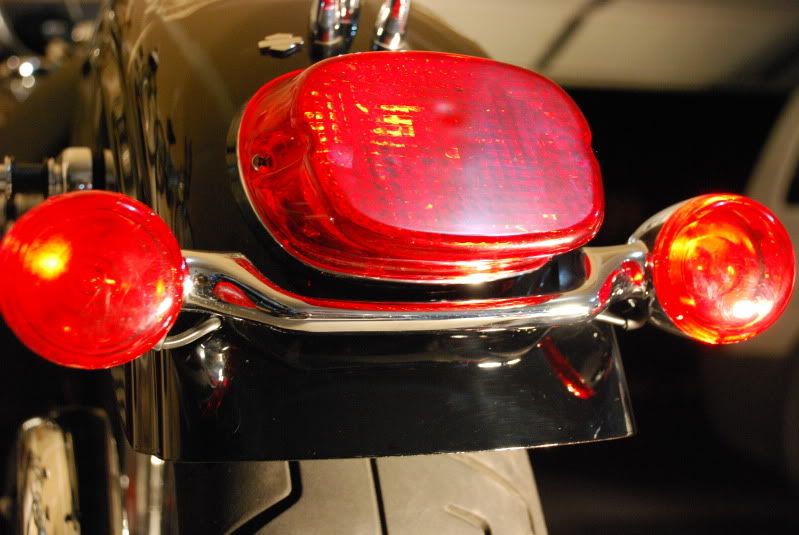
And here's the view
Here's the connectors.
Here's the extra holes I drilled.
And here's the view
Thread Starter
|
Ultimate HDF Member
Joined: Dec 2008
Posts: 5,120
Likes: 17
From: Indiana
Yea they have pretty thick heat shrink on there and I made sure the wires are tight so they don't wiggle. I'm thinking about putting some clear silicone on the back side for a little extra holding strength!! We'll see!!
Outstanding HDF Member
Joined: Jan 2007
Posts: 3,438
Likes: 3
From: Chesterfield, VA
HD Forum Stories
The Best of Harley-Davidson for Lifelong Riders

7 Surprising Harley-Davidson Products that Are Not Motorcycles
Verdad Gallardo
8 Best Harley-Davidson Motorcycles Ever
Pouria Savadkouei
10 Worst Harley-Davidson Motorcycles Ever
Pouria Savadkouei
Killer Custom's Jail Break Is The Breakout That Refused to Blend In
Verdad Gallardo
Crazy Bunderbike Build Looks Amazing, But Is It Impossible to Ride?
Verdad Gallardo
Harley-Davidson Reveals Super Cool Cafe Racer Concept
Verdad Gallardo
Engraved Rebellion: Inside Bundnerbike's Glam Rock II
Verdad Gallardo
10 Motorcycles You Should Never Buy
Joe Kucinski
10 Things Harley-Davidson Needs to Fix in 2026
Verdad Gallardo


... Instead of notching the bottom of the tail light I drilled another hole below the light bar to run the wiring. Running it under the tail light would have exposed more wire then I like. You can't see the holes unless you actually look under the sigs. I'm happy with it. Don't mind the bike it needs a good buffing and waxing.
.
Here's the extra holes I drilled.
.
Here's the extra holes I drilled.
I would like to advise you to use grommets in the fender holes. I pasted two types of them plus p/n's from the instruction sheets database into an new diagram for you (see attachment).
Don't forget to put some touch-up paint to the fender, bro!
FXD2003Rider