


Nacelle & Chrome lower slider install Pt2
Thread Starter
|
Advanced
Joined: Apr 2010
Posts: 92
Likes: 0
From: Sydney
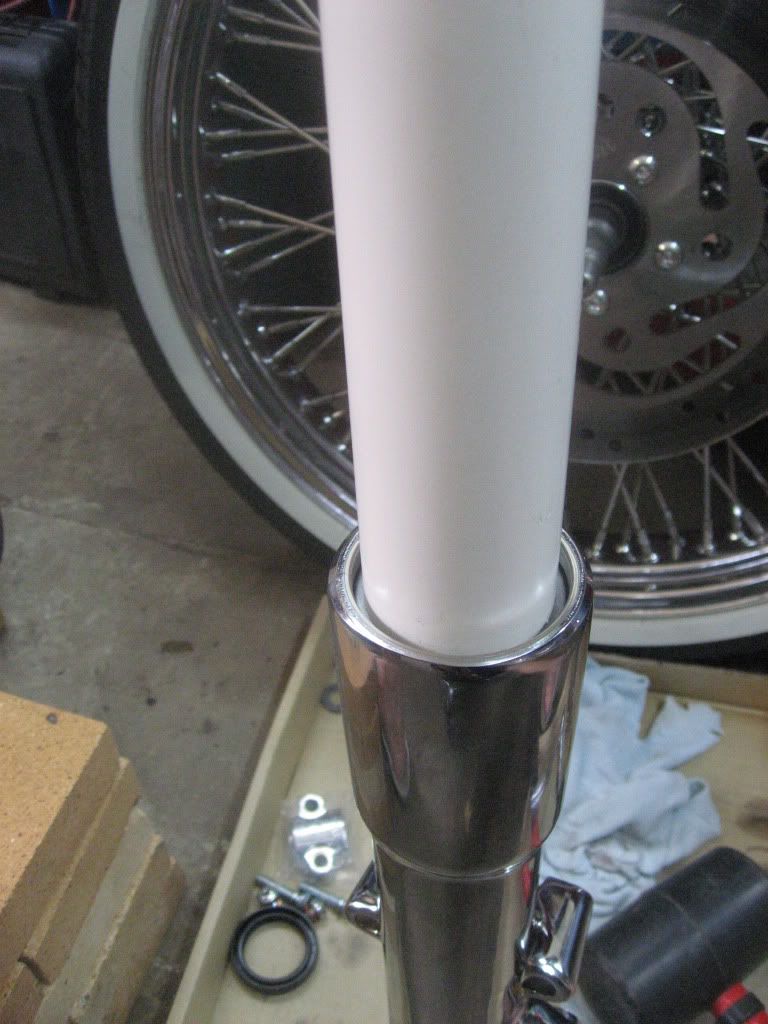
To get the bushing, spacer and fork seal back I used my HD seal installer I bought from the local hardware store for a few dollars. I drive down the bushing and spacer first with the PVC tubing, making it easier to drive down the fork seal without damaging it, then put back the retaining clip.
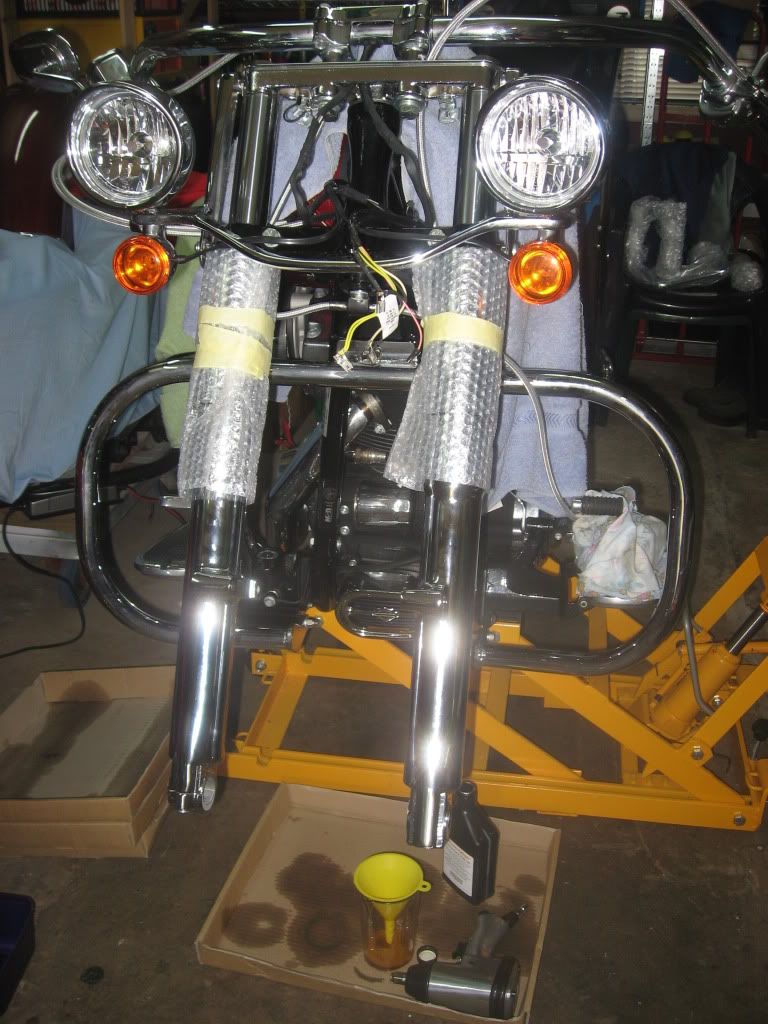
Before putting back the forks I put on new cow bells as the front end would look silly with the old stainless ones.
Okay legs all done.
Okay back to the nacelle. You need to grind off about 1/4 inch off the top section passing lamp bracket where it bolts to the nacelle and about 1/8 inch at the bottom. Before.
After.
 .
.
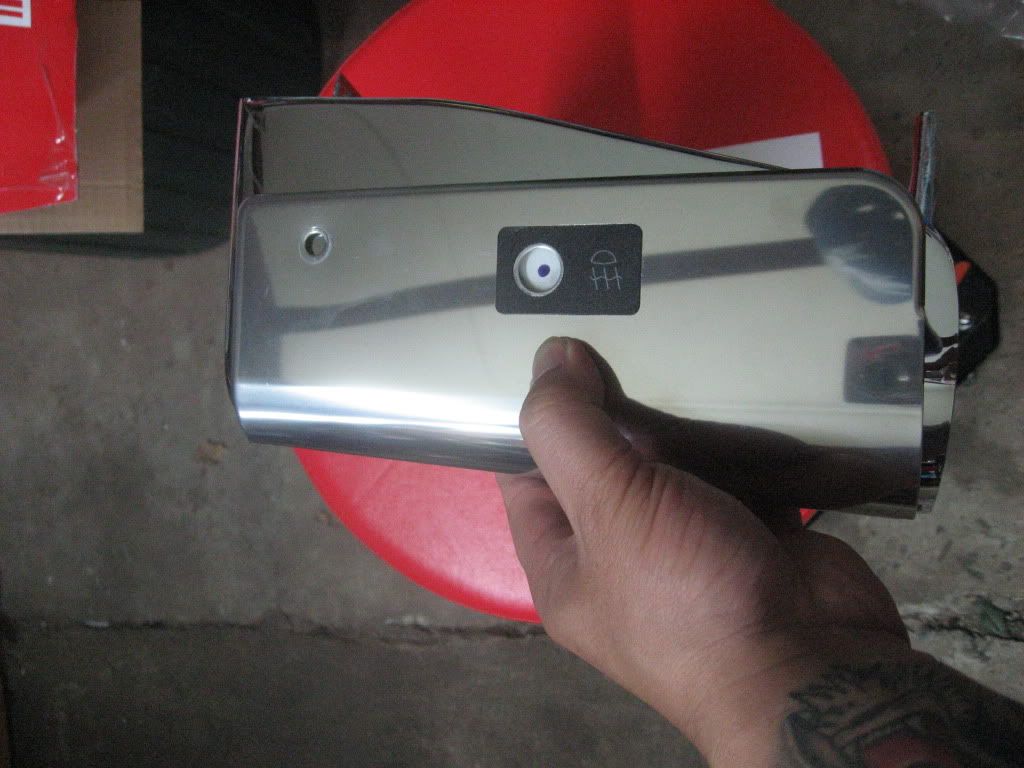
Once done you can install the nacelle halves. I started with the right half, screwed in the bottom passing lamp screw, then the left half, screwed in the other bottom screw. Then went on to install the top screws. The supplied screws from the pack are too short cause of the extra width with the passing lamp brackets. I reused the old screws until I get some new chrome ones.
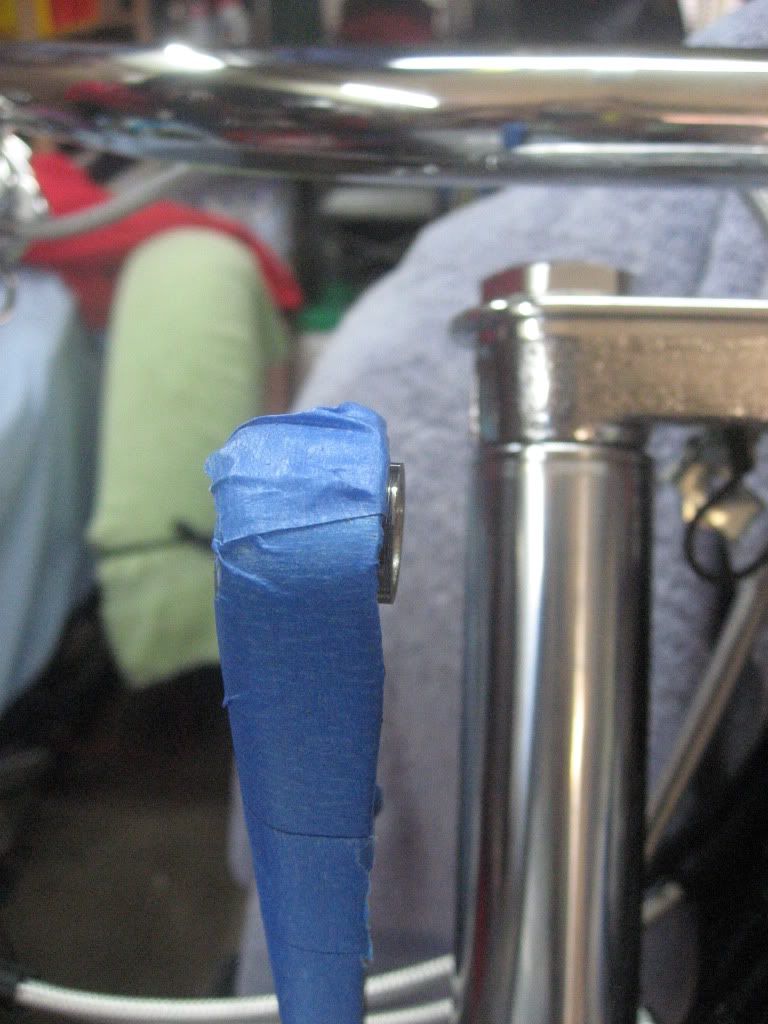
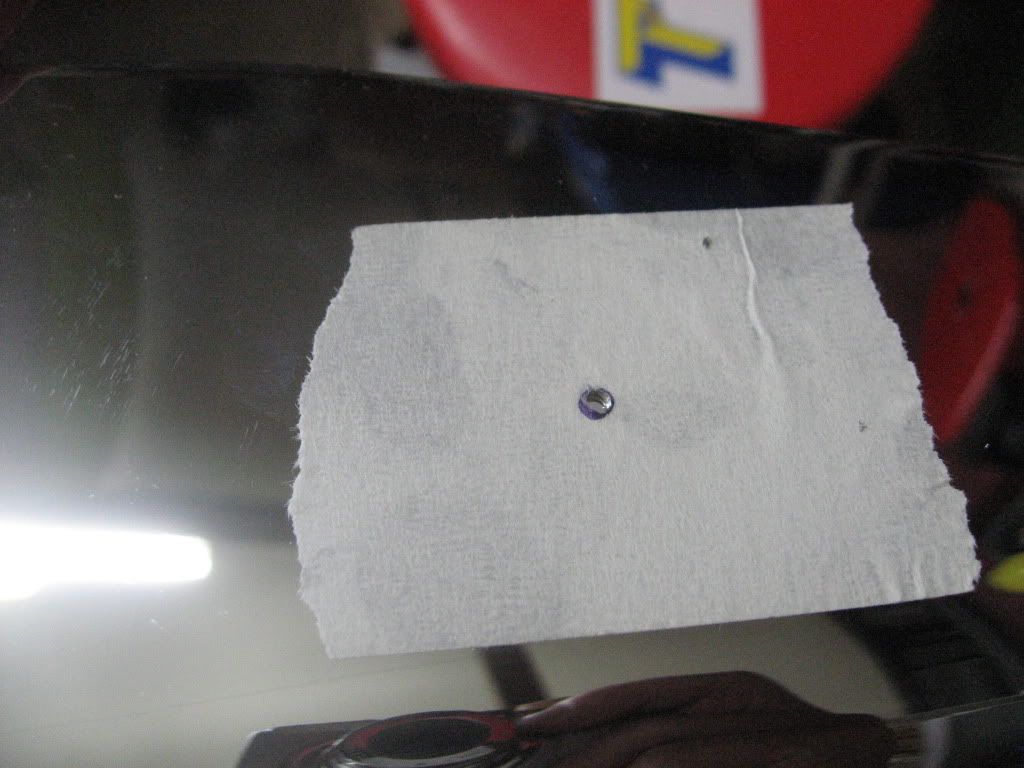
I left out a step, you need to drill a hole for the passing lamp switch.
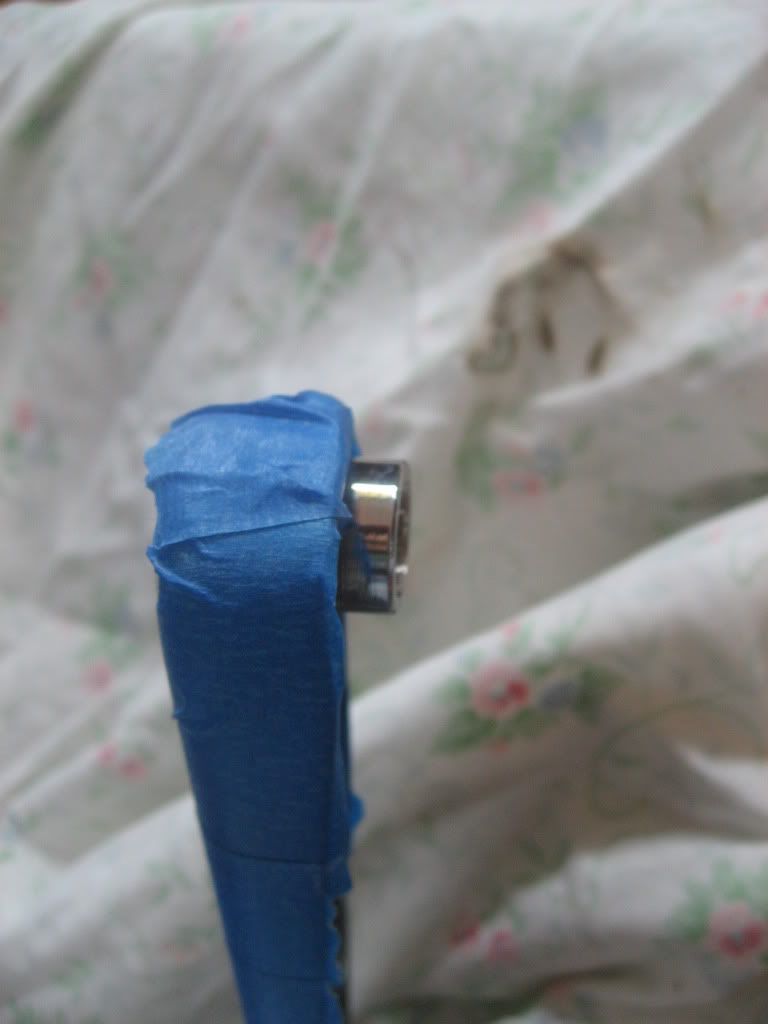
I started by drilling a small hole and worked my way up drill bits to stop the chrome from getting scratched or cracked, until I got the right size hole.
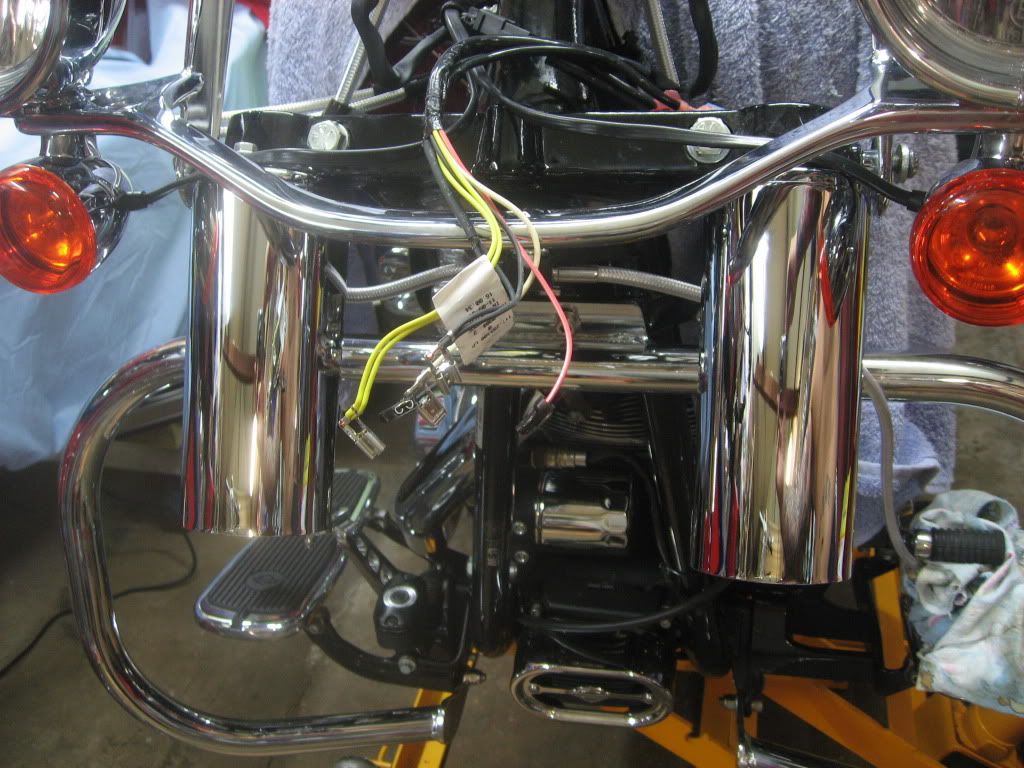
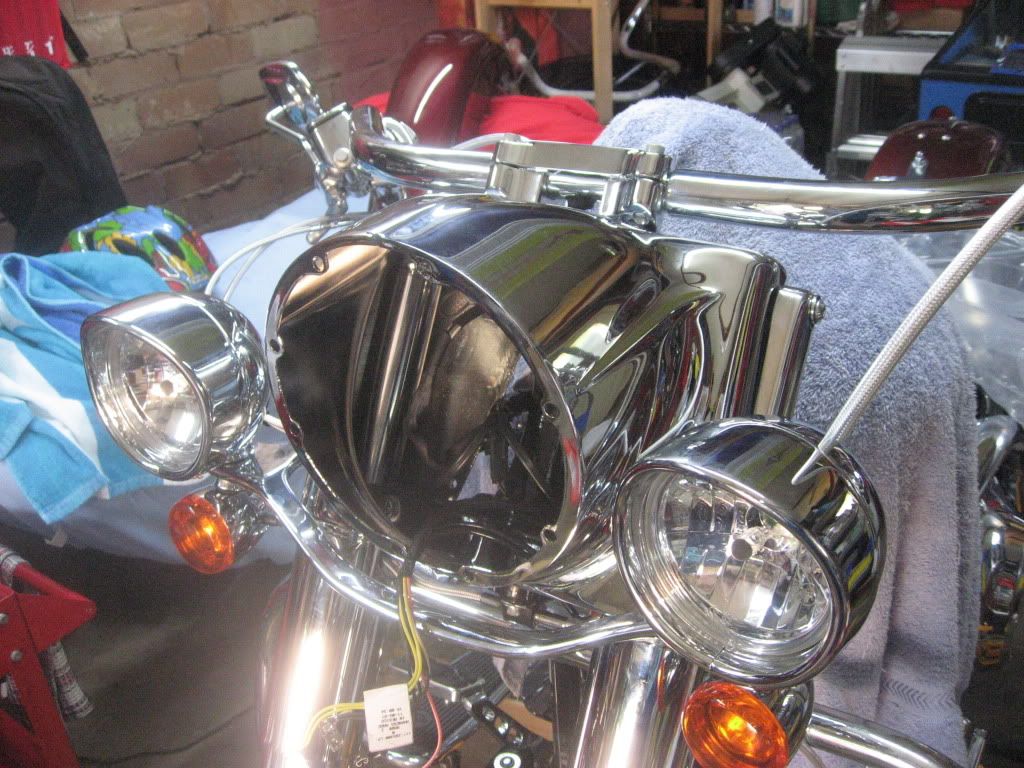
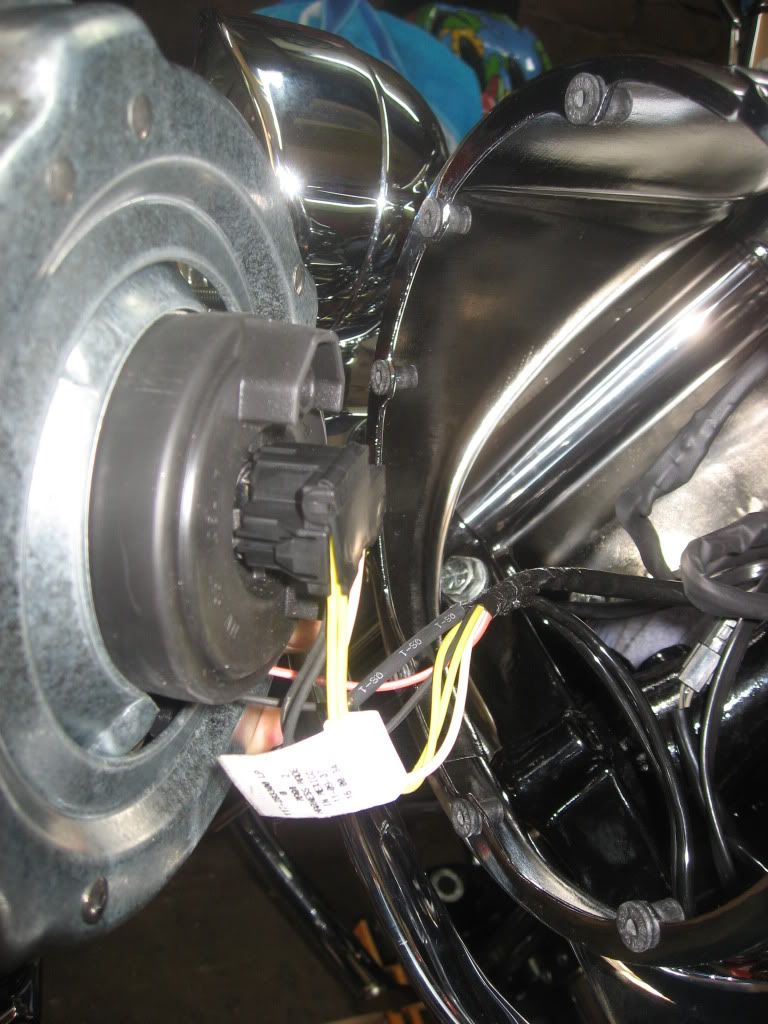
Install headlamp bucket and since no splicing was done you can put the wires back into the connector in the original order and plug it back into the headlamp and install headlamp.
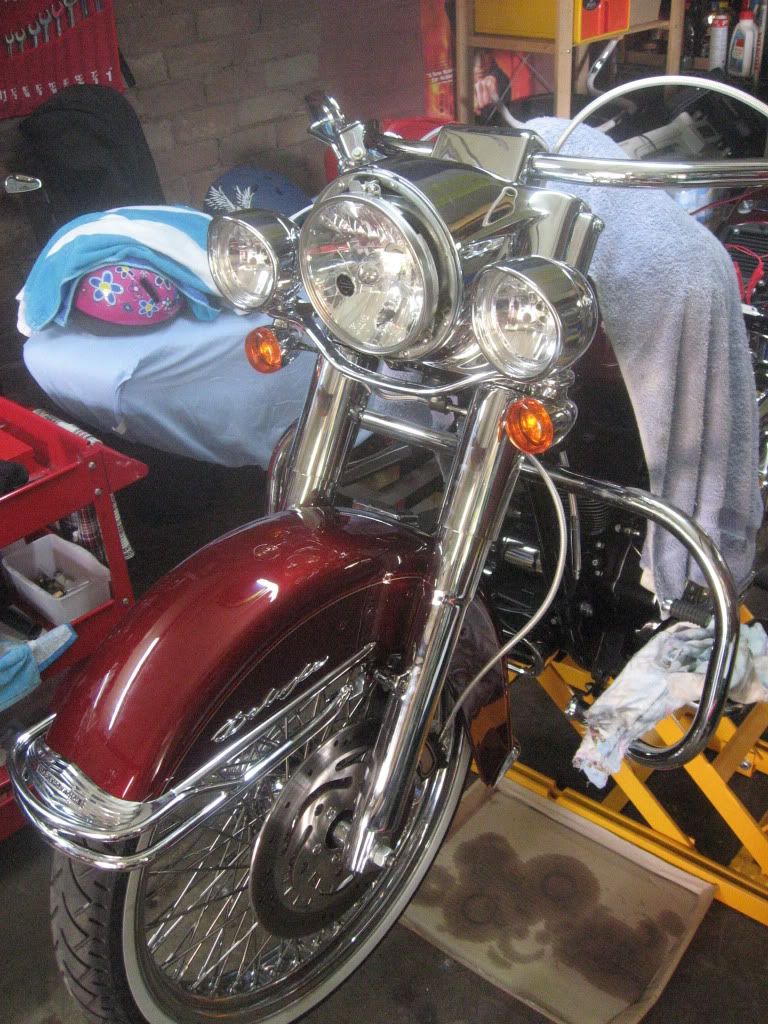
Okay all done. Just waiting for the headlamp visor style trim ring to arrive as I don't like this plane trim ring.
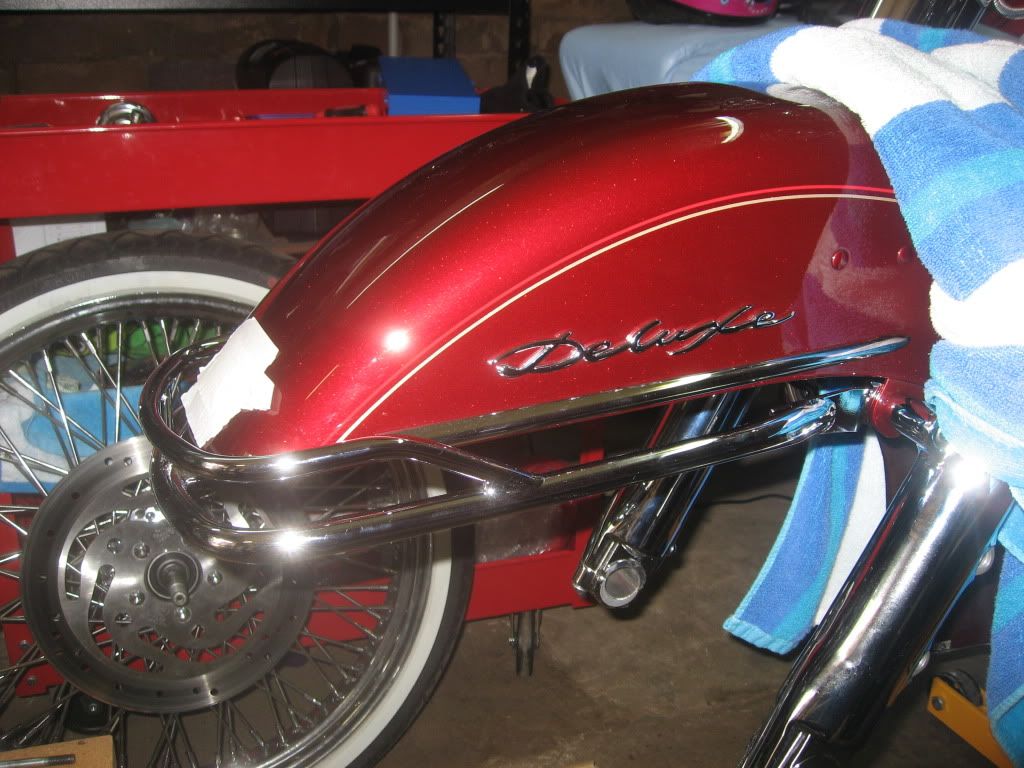
Tomorrow I'll add pics of what I did to make the Heritage fender rail to fit on the Deluxe.
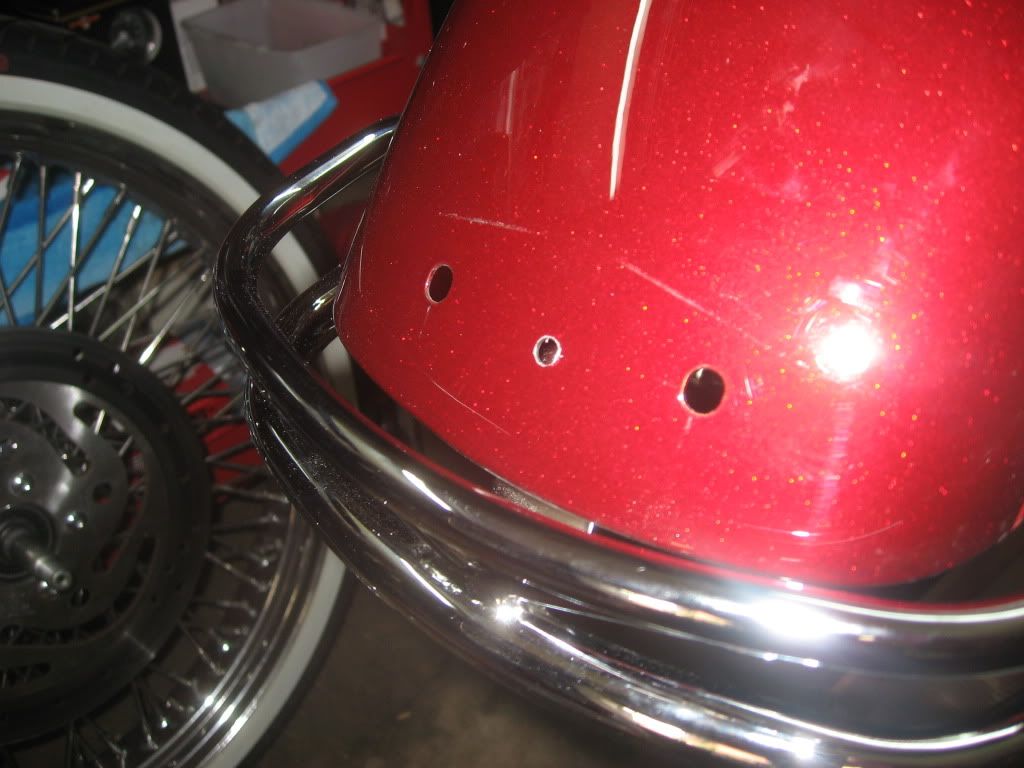
I put the fender rail on with the supplied longer fender bolts. Then I removed the fender tip and mark where to drill a hole in order to support the front of the rail with a bolt.
Small hole big enough for a bolt I had laying around. This hole and the bolt will be covered by the fender tip anyways.
There is a gap between the fender and the front rail bracket, so I just used a spacer and clamped it all down.

Tighten everything up and that's it for the rail.
Before putting back the forks I put on new cow bells as the front end would look silly with the old stainless ones.
Okay legs all done.
Okay back to the nacelle. You need to grind off about 1/4 inch off the top section passing lamp bracket where it bolts to the nacelle and about 1/8 inch at the bottom. Before.
After.
.Once done you can install the nacelle halves. I started with the right half, screwed in the bottom passing lamp screw, then the left half, screwed in the other bottom screw. Then went on to install the top screws. The supplied screws from the pack are too short cause of the extra width with the passing lamp brackets. I reused the old screws until I get some new chrome ones.
I left out a step, you need to drill a hole for the passing lamp switch.
I started by drilling a small hole and worked my way up drill bits to stop the chrome from getting scratched or cracked, until I got the right size hole.
Install headlamp bucket and since no splicing was done you can put the wires back into the connector in the original order and plug it back into the headlamp and install headlamp.
Okay all done. Just waiting for the headlamp visor style trim ring to arrive as I don't like this plane trim ring.
Tomorrow I'll add pics of what I did to make the Heritage fender rail to fit on the Deluxe.
I put the fender rail on with the supplied longer fender bolts. Then I removed the fender tip and mark where to drill a hole in order to support the front of the rail with a bolt.
Small hole big enough for a bolt I had laying around. This hole and the bolt will be covered by the fender tip anyways.
There is a gap between the fender and the front rail bracket, so I just used a spacer and clamped it all down.
Tighten everything up and that's it for the rail.
Last edited by wallah; Dec 9, 2010 at 04:26 AM.
yeah, if it is the same as the touring model visor ring, you may as well go ahead and put the stocker on there now, it has to go on under the visor ring, huge PITA and very difficult to mount it without having a gap....

Banned
Joined: Feb 2009
Posts: 3,500
Likes: 1
Yea bro you have o run the touring model ring and it's garbbage but It looks nice from the side hahahaha
Tourer
Joined: Sep 2008
Posts: 286
Likes: 0
From: College Station, TX
Thanks for the post. I know it's a lot of trouble. I don't have the patience to stop, document, and take pics. Great job!
Trending Topics
Tourer
Joined: Aug 2010
Posts: 296
Likes: 0
From: MN
HD Forum Stories
The Best of Harley-Davidson for Lifelong Riders

7 Times Harley-Davidson Chucked Tradition Out the Window
Verdad Gallardo
7 Surprising Harley-Davidson Products that Are Not Motorcycles
Verdad Gallardo
8 Best Harley-Davidson Motorcycles Ever
Pouria Savadkouei
10 Worst Harley-Davidson Motorcycles Ever
Pouria Savadkouei
Killer Custom's Jail Break Is The Breakout That Refused to Blend In
Verdad Gallardo
Crazy Bunderbike Build Looks Amazing, But Is It Impossible to Ride?
Verdad Gallardo
Harley-Davidson Reveals Super Cool Cafe Racer Concept
Verdad Gallardo
Engraved Rebellion: Inside Bundnerbike's Glam Rock II
Verdad Gallardo