


Help installing front springs 2012 Iron

Thread Starter
|
Advanced
Joined: Mar 2012
Posts: 62
Likes: 2
From: Hammond IN
2012 Iron...just bought Progressive front springs. Wanted to get info from someone that already did it. I tackle the easy stuff. The progressive rep said it's a simple drop-in. 3 shops said the front end had to come off. If it's as simple as getting the front off the ground and removing caps, springs & spacers and putting new ones in reverse order and setting preload?
It's not a lowering kit either... thanks
It's not a lowering kit either... thanks

Road Warrior
Joined: Mar 2012
Posts: 1,391
Likes: 4
From: Upstate NY
It's as simple as jacking the bike up, removing your bars from the clamp laying them on a blanket over your tank. Removing the caps "finding the right socket size and adapters can be a challenge". The old springs are much longer than the ones you are putting in, so beware when you are removing them they are under pressure. Pull them out let them drain off back into the fork tube, then drop the new ones in, set your spacer size for your preload and you are good to go.
^ yup..that easy...
i found using the squeeze grips clamps help keep the cap in place as you make the initial turns to get it back on.
make sure to loosen the upper pinch bolts BEFORE you unscrew the caps.
i found using the squeeze grips clamps help keep the cap in place as you make the initial turns to get it back on.
make sure to loosen the upper pinch bolts BEFORE you unscrew the caps.
Extreme HDF Member

Joined: Jan 2012
Posts: 12,986
Likes: 715
From: NE Philly
It's a simple job. Cover the gas tank. Drain the fork oil while the bike is on the ground.
You'll need a 1 3/8" socket. Make sure the front tire is completely off the ground when you remove the cap. The springs are under pressure so throw a towel over the cap so it doesn't fly all over the garage.
Take the old springs out. Put the new springs in. Add the spacer and make sure it's between 3/8" to 3/4" above the top of the fork. Add the fork oil. I added mine until it just covered the top of the springs.
The easy way to get the caps back on is, before you put in the spacers, screw the cap back on. Where the threads of the cap engage with the fork threads mark the cap and forks with a Sharpie. This will save a lot of trial and error and will prevent you from cross threading or stripping.
Last edited by baka1969; Apr 30, 2013 at 06:09 PM.
Ultimate HDF Member
Joined: Jul 2011
Posts: 5,477
Likes: 5
From: New Braunfels, Texas
If you need the socket, I have one from when I had my sporty. It has the rubber washer so it won't scratch your fork caps....I'll sell it for half price of what you can find for new plus shipping
Extreme HDF Member
Joined: Jan 2012
Posts: 12,986
Likes: 715
From: NE Philly
Not trying to step on a sale, but, the 1 3/8" socket I picked up from Sears (it needed a 3/4 to 1/2 socket conveter) didn't mar or scuff the cap. Plus you could use a little masking tape on the cap if you're worried about it.
Ultimate HDF Member
Joined: Jul 2011
Posts: 5,477
Likes: 5
From: New Braunfels, Texas
Trending Topics
Extreme HDF Member
Joined: Jan 2012
Posts: 12,986
Likes: 715
From: NE Philly
I honestly don't remember. I think around $20 for the 1 3/8" socket.
HD Forum Stories
The Best of Harley-Davidson for Lifelong Riders

6 Weirdest Harley-Davidsons Ever Sold to the Public
Verdad Gallardo
7 Times Harley-Davidson Chucked Tradition Out the Window
Verdad Gallardo
7 Surprising Harley-Davidson Products that Are Not Motorcycles
Verdad Gallardo
8 Best Harley-Davidson Motorcycles Ever
Pouria Savadkouei
10 Worst Harley-Davidson Motorcycles Ever
Pouria Savadkouei
Killer Custom's Jail Break Is The Breakout That Refused to Blend In
Verdad Gallardo
Crazy Bunderbike Build Looks Amazing, But Is It Impossible to Ride?
Verdad Gallardo
Harley-Davidson Reveals Super Cool Cafe Racer Concept
Verdad Gallardo
Engraved Rebellion: Inside Bundnerbike's Glam Rock II
Verdad GallardoStellar HDF Member

Joined: Jun 2011
Posts: 2,158
Likes: 35
From: Gulf Breeze, FL
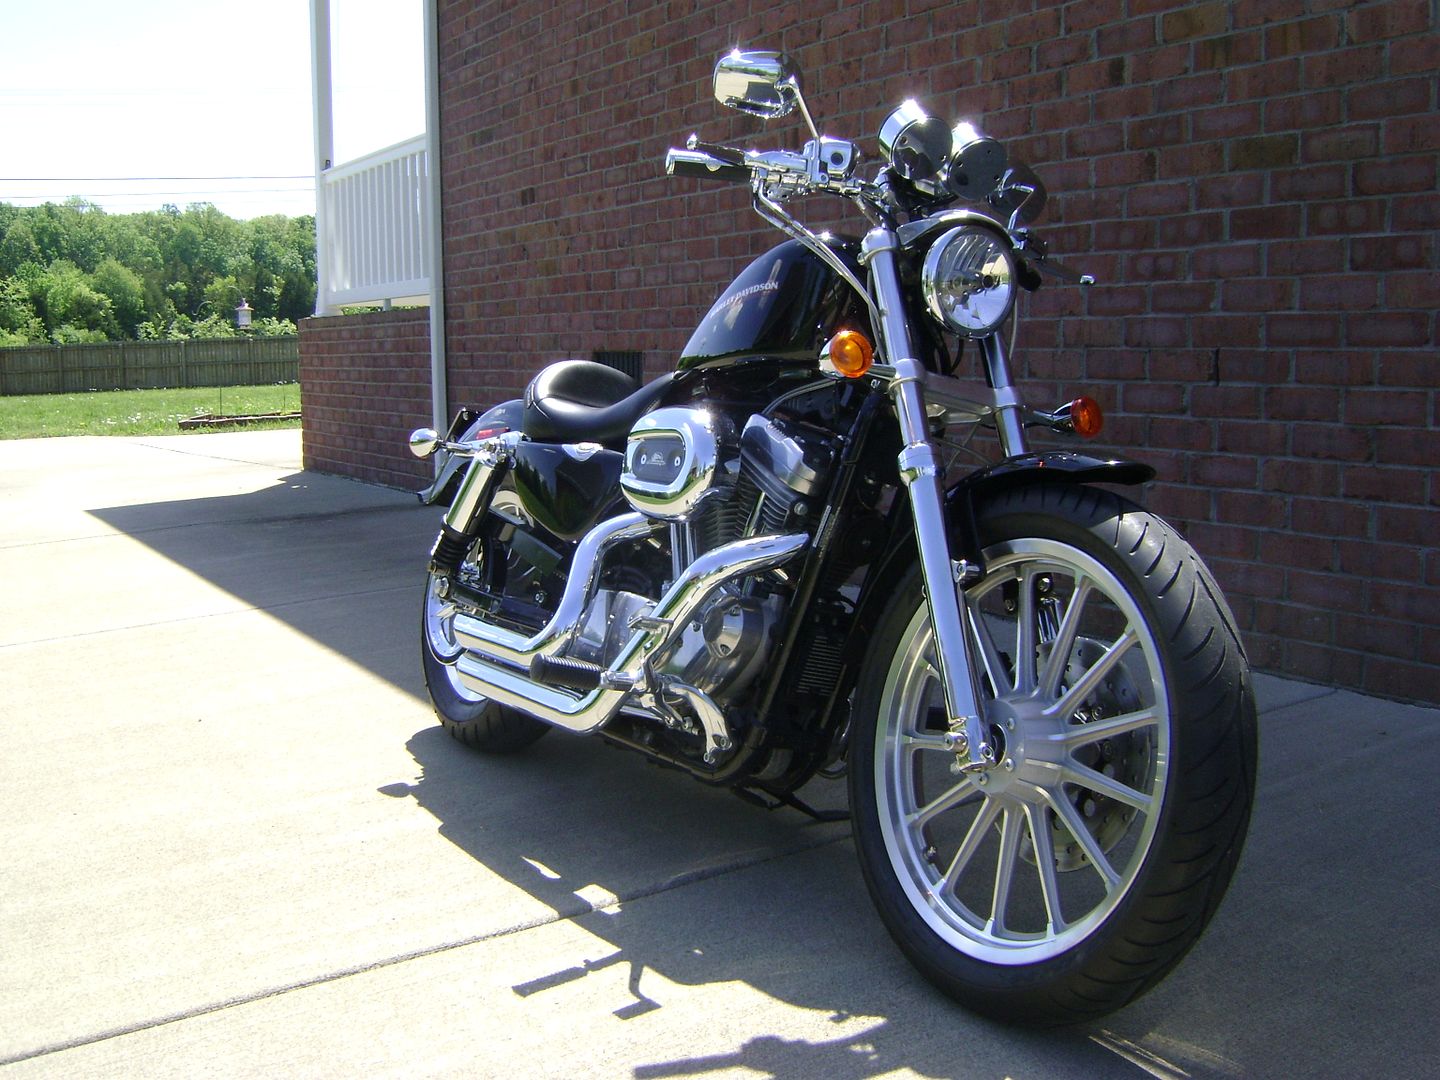
I have done this with the forks on the bike, but I can tell you it is much easier to just remove the tubes from the trees and do the job. I swapped out some chrome lowers on this '07 Sunday afternoon and it was so much easier this way.
Elevate the front-end with the tire barely resting on the floor. Remove the caliper and hang it on the clutch cable retaining clip located on the downtube with a short piece of wire. Remove the wheel and get it out of the way.
Take some masking tape (I use blue painters tape because it is easier to remove and no residue) and tape the perimeter of the fork tube cap to prevent marring the surface. Loosen the upper pinch bolts, then loosen the caps a couple of turns. No need to purchase a specialty socket for this...very little torque involved. I used this adjustable plier for the duty, but a cresent wrench will do just as well. Remember smooth jaws only...no serrations.


Now you can remove the tubes from the trees by loosening the lower pinch bolts. I of course completely disassembled my tubes to replace the lowers, but not necessary if you are just exchanging springs. To remove the caps simply extend the tubes completely, grip the tube with one hand and with a shop towel folded in your other hand begin twisting the cap off. You can see in the pic's how much thread is involved and they are fine. Don't be afraid of the tension of the spring...it isnt that stout. Just keep the shop towel in your hand cupped and it will be contained when it clears the final threaded portion.

Now would be an excellent time to replace that nasty fluid, but that is entirely up to you. Getting those caps started back in the tubes is just the reverse of what you did to take them off. Use some alcohol to clean any oil off the tubes to ensure a good grip. No need to use a shop towel this time on the cap...in fact it will hinder you. Making sure the tubes are fully extended just push down on the cap with your palm while gripping the tube tightly with your other hand. When the cap makes contact with the tube twist the cap clockwise while at the same time twisting slightly counter-clockwise with the tube. This twisting motion will help the threads drop into each other easier and you won't cross thread anything by hand...you will feel it is right and can easily turn the cap with hand pressure.

Go ahead and run the caps all the way down and snug before installing the tubes back in the trees...this will save wrench swinging above the crowded top tree. With the tubes positioned where you want them in the top tree tighten the lower pinch bolts only. Now you can give a little tug on the caps with your wrench...just snug them, doesnt take much. Now you can tighten the upper pinch bolts and get that wheel back on. Did I mention to remove the fender?

Elevate the front-end with the tire barely resting on the floor. Remove the caliper and hang it on the clutch cable retaining clip located on the downtube with a short piece of wire. Remove the wheel and get it out of the way.
Take some masking tape (I use blue painters tape because it is easier to remove and no residue) and tape the perimeter of the fork tube cap to prevent marring the surface. Loosen the upper pinch bolts, then loosen the caps a couple of turns. No need to purchase a specialty socket for this...very little torque involved. I used this adjustable plier for the duty, but a cresent wrench will do just as well. Remember smooth jaws only...no serrations.
Now you can remove the tubes from the trees by loosening the lower pinch bolts. I of course completely disassembled my tubes to replace the lowers, but not necessary if you are just exchanging springs. To remove the caps simply extend the tubes completely, grip the tube with one hand and with a shop towel folded in your other hand begin twisting the cap off. You can see in the pic's how much thread is involved and they are fine. Don't be afraid of the tension of the spring...it isnt that stout. Just keep the shop towel in your hand cupped and it will be contained when it clears the final threaded portion.
Now would be an excellent time to replace that nasty fluid, but that is entirely up to you. Getting those caps started back in the tubes is just the reverse of what you did to take them off. Use some alcohol to clean any oil off the tubes to ensure a good grip. No need to use a shop towel this time on the cap...in fact it will hinder you. Making sure the tubes are fully extended just push down on the cap with your palm while gripping the tube tightly with your other hand. When the cap makes contact with the tube twist the cap clockwise while at the same time twisting slightly counter-clockwise with the tube. This twisting motion will help the threads drop into each other easier and you won't cross thread anything by hand...you will feel it is right and can easily turn the cap with hand pressure.
Go ahead and run the caps all the way down and snug before installing the tubes back in the trees...this will save wrench swinging above the crowded top tree. With the tubes positioned where you want them in the top tree tighten the lower pinch bolts only. Now you can give a little tug on the caps with your wrench...just snug them, doesnt take much. Now you can tighten the upper pinch bolts and get that wheel back on. Did I mention to remove the fender?
Extreme HDF Member
Joined: Jan 2012
Posts: 12,986
Likes: 715
From: NE Philly
I have done this with the forks on the bike, but I can tell you it is much easier to just remove the tubes from the trees and do the job. I swapped out some chrome lowers on this '07 Sunday afternoon and it was so much easier this way.
Elevate the front-end with the tire barely resting on the floor. Remove the caliper and hang it on the clutch cable retaining clip located on the downtube with a short piece of wire. Remove the wheel and get it out of the way.
Take some masking tape (I use blue painters tape because it is easier to remove and no residue) and tape the perimeter of the fork tube cap to prevent marring the surface. Loosen the upper pinch bolts, then loosen the caps a couple of turns. No need to purchase a specialty socket for this...very little torque involved. I used this adjustable plier for the duty, but a cresent wrench will do just as well. Remember smooth jaws only...no serrations.
Now you can remove the tubes from the trees by loosening the lower pinch bolts. I of course completely disassembled my tubes to replace the lowers, but not necessary if you are just exchanging springs. To remove the caps simply extend the tubes completely, grip the tube with one hand and with a shop towel folded in your other hand begin twisting the cap off. You can see in the pic's how much thread is involved and they are fine. Don't be afraid of the tension of the spring...it isnt that stout. Just keep the shop towel in your hand cupped and it will be contained when it clears the final threaded portion.
Now would be an excellent time to replace that nasty fluid, but that is entirely up to you. Getting those caps started back in the tubes is just the reverse of what you did to take them off. Use some alcohol to clean any oil off the tubes to ensure a good grip. No need to use a shop towel this time on the cap...in fact it will hinder you. Making sure the tubes are fully extended just push down on the cap with your palm while gripping the tube tightly with your other hand. When the cap makes contact with the tube twist the cap clockwise while at the same time twisting slightly counter-clockwise with the tube. This twisting motion will help the threads drop into each other easier and you won't cross thread anything by hand...you will feel it is right and can easily turn the cap with hand pressure.
Go ahead and run the caps all the way down and snug before installing the tubes back in the trees...this will save wrench swinging above the crowded top tree. With the tubes positioned where you want them in the top tree tighten the lower pinch bolts only. Now you can give a little tug on the caps with your wrench...just snug them, doesnt take much. Now you can tighten the upper pinch bolts and get that wheel back on. Did I mention to remove the fender?
I did forget to mention that removing the handlebars makes it easier. That takes less than a minute. Other than that, removing the fender, caliper and fork tubes doesn't seem like the easiest route.