When you click on links to various merchants on this site and make a purchase, this can result in this site earning a commission. Affiliate programs and affiliations include, but are not limited to, the eBay Partner Network.
Here's my 08 road king classic with stock bars
Hi everyone. I am fairly new to this site and decided to replace my stock bars with some Burly Beach Bars. I will be wiring them internally and also going to re-install my H.D heated grips also with the wiring inside the bars. I will be attaching pictures that may help others with this year and model bike. This will be my first thread and hope i am doing it right. Lopezluna
Not that difficult, take your time, have service manual ready, take pics, and definitely get and use wire lubricant for pulling your wires, makes life nice and easy. Good luck!
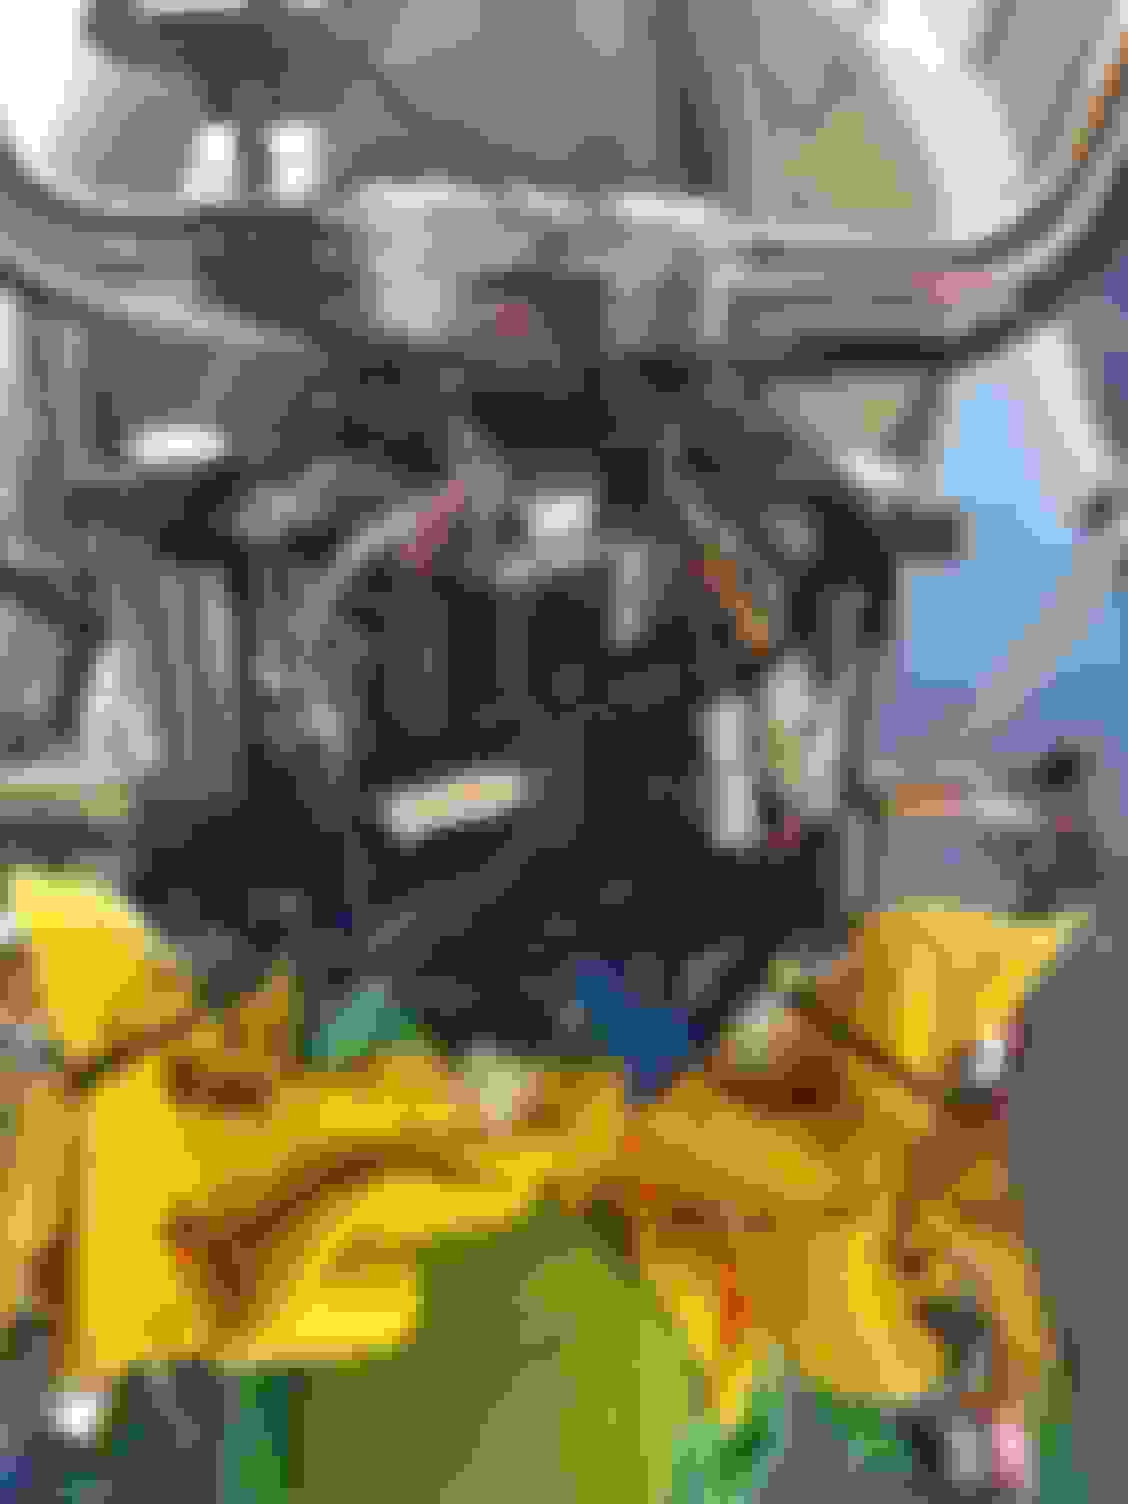
Here are some pictures of the teardown process to remove my handlebars. Hopefully these pix will help someone to remove their bars or just adjust them. Make sure you cover and protect all your painted surfaces and chrome. Make sure to remove the 50 amp fuse that is on the left side cover before you go any further.
Remove fuse
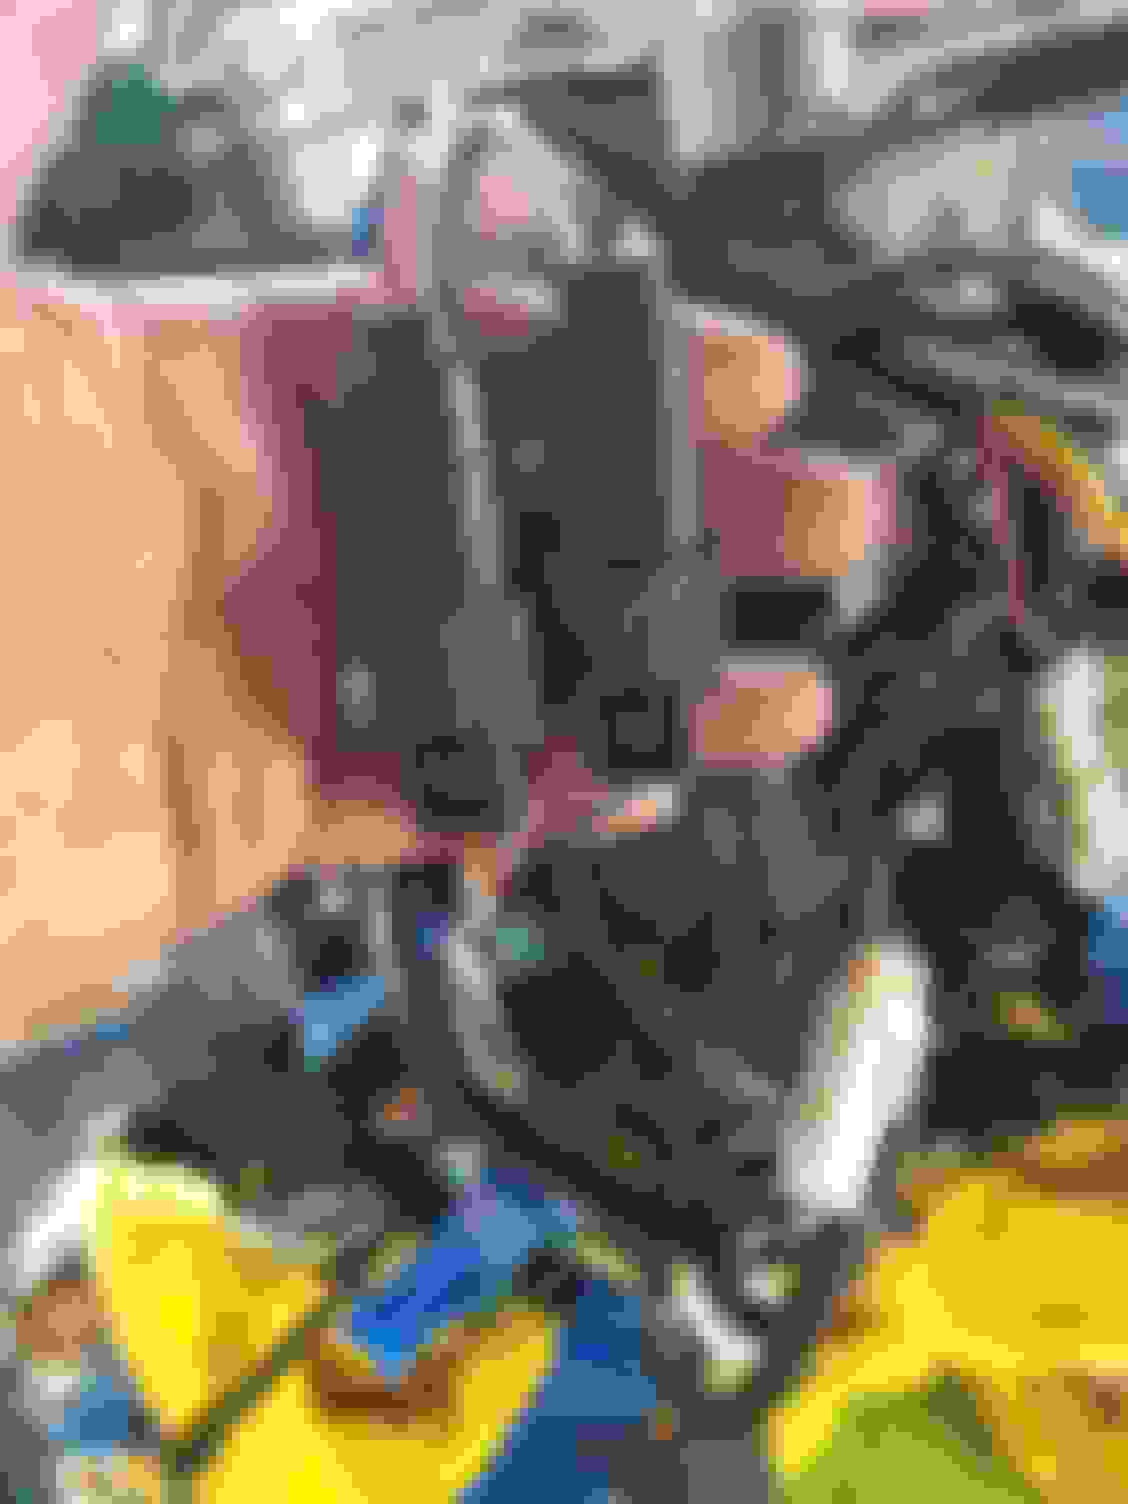
Remove headlight trim
Remove headlight assembly
Headlight assembly removed
Remove lock cover with a small flathead screwdriver. There's a slot you can insert the screwdriver and pri to pop the cap off
Remove two phillips screws
Remove the nut inside that secures the spear on to the nacelle and remove the spear
Notice the end of the spear has a hook
Remove the nut and washer. (Top center )
Now remove the cap covering the handlebar clamp.
Now your handlebar clamp is exposed. If all you need is to adjust your handlebars this is it. Just loosen the bolts with a 1/4 inch allen wrench.
Remove one bolt and one nut from both sides. These hold your brackets for your passing lights.
Make sure not to loose the rubber grommets used to attach the front windshield.
Unplug the connectors from both left and right sides of nacelle. These go to the toggle switches. One controls the passing lights and the other is a aux switch
Almost forgot, i let my passing lights lay on my fender.
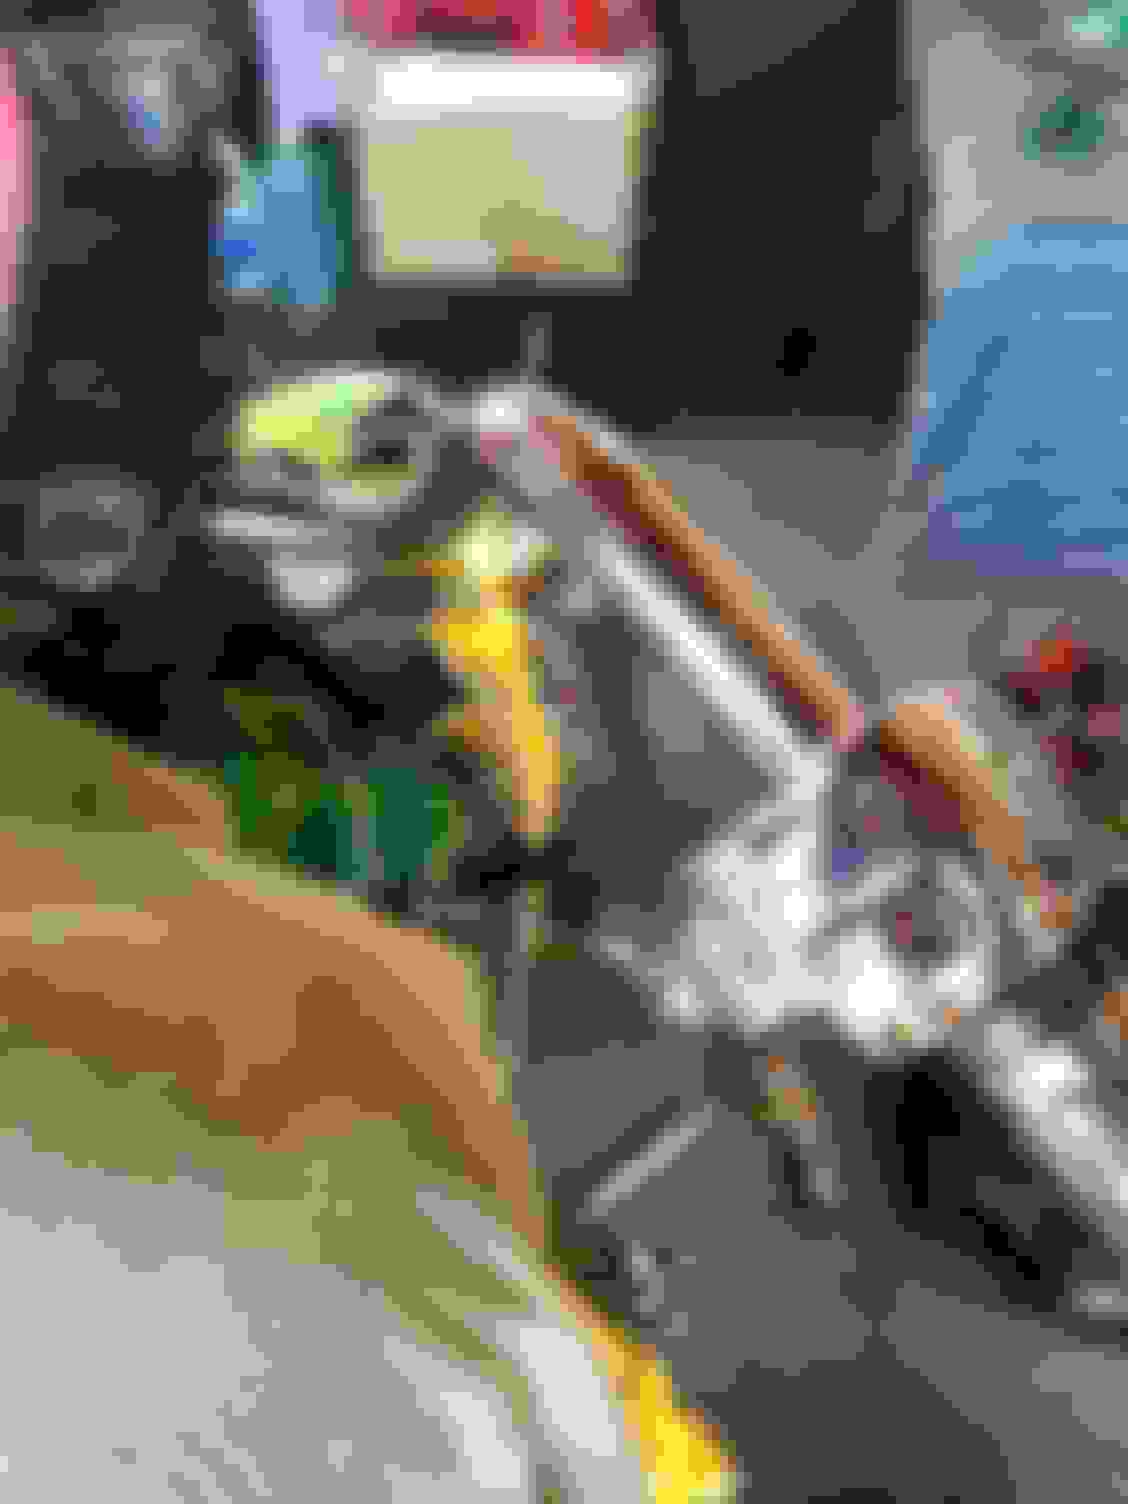
Remove both left and right sides of nacelle carefully pulling on them
Now this is what it looks like with the nacelle removed. You do not have to remove the nacelle but you have much more room to work with if you do. Now you can start unplugging wire harness connectors that pertain to your handlebars
Now you can apply your fron brake lever and wedge a piece of cardboard so the lever does Not go back to its regular position. This is to protect the little switch that is on your control housing from getting damaged. Now do the same for clutch side. Sorry, i forgot to take pix of this. You will need torx sizes t25 and t27 to remove the levers and switch housings. There are two screws on each (one on bottom and one on top).
Remove the 4 bolts holding the clamp with a 1/4 inch allen wrench. Remove the clamp and now you can remove the handlebars.
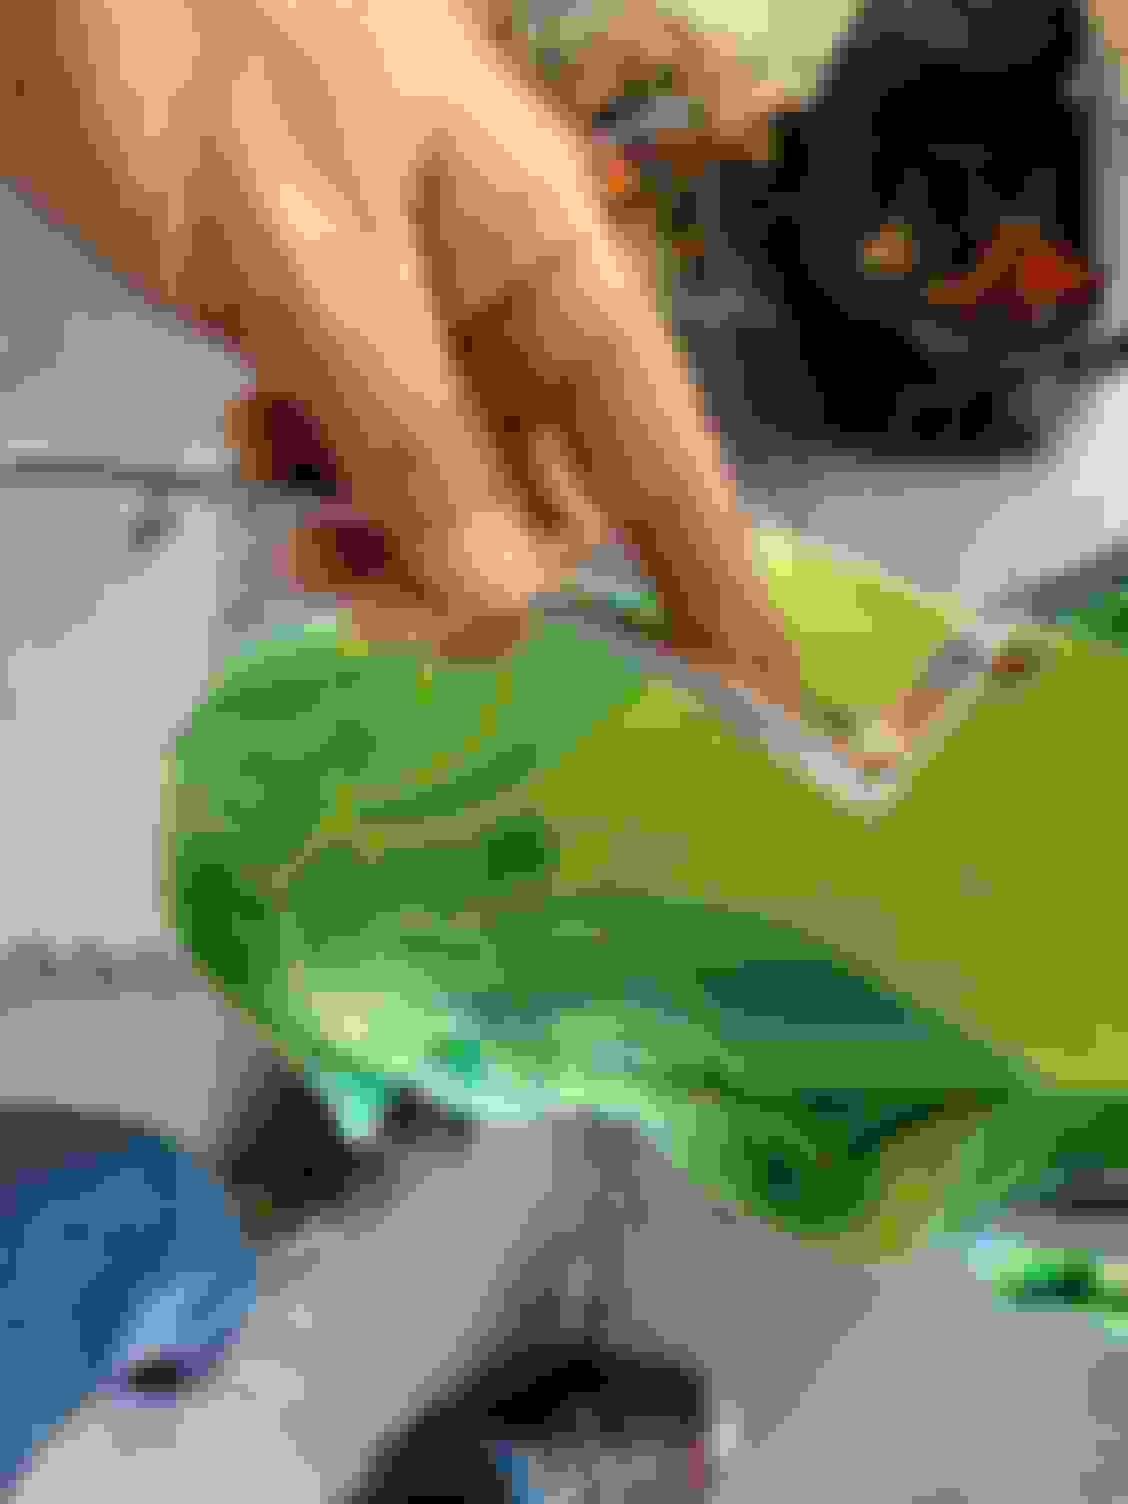
I had the H.D heated grips on my stock bars and am going to install thembon my new bars. The grips were made to where the wires from the left grip have to be ran outside the handlebars. I am modifying mine to run the wires internally.
Thanks guys! My bars are to be delivered any day now so i will be replacing the riser bushings meanwhile. No better time to replace the riser bushings than now. I will be taking pictures as i go.
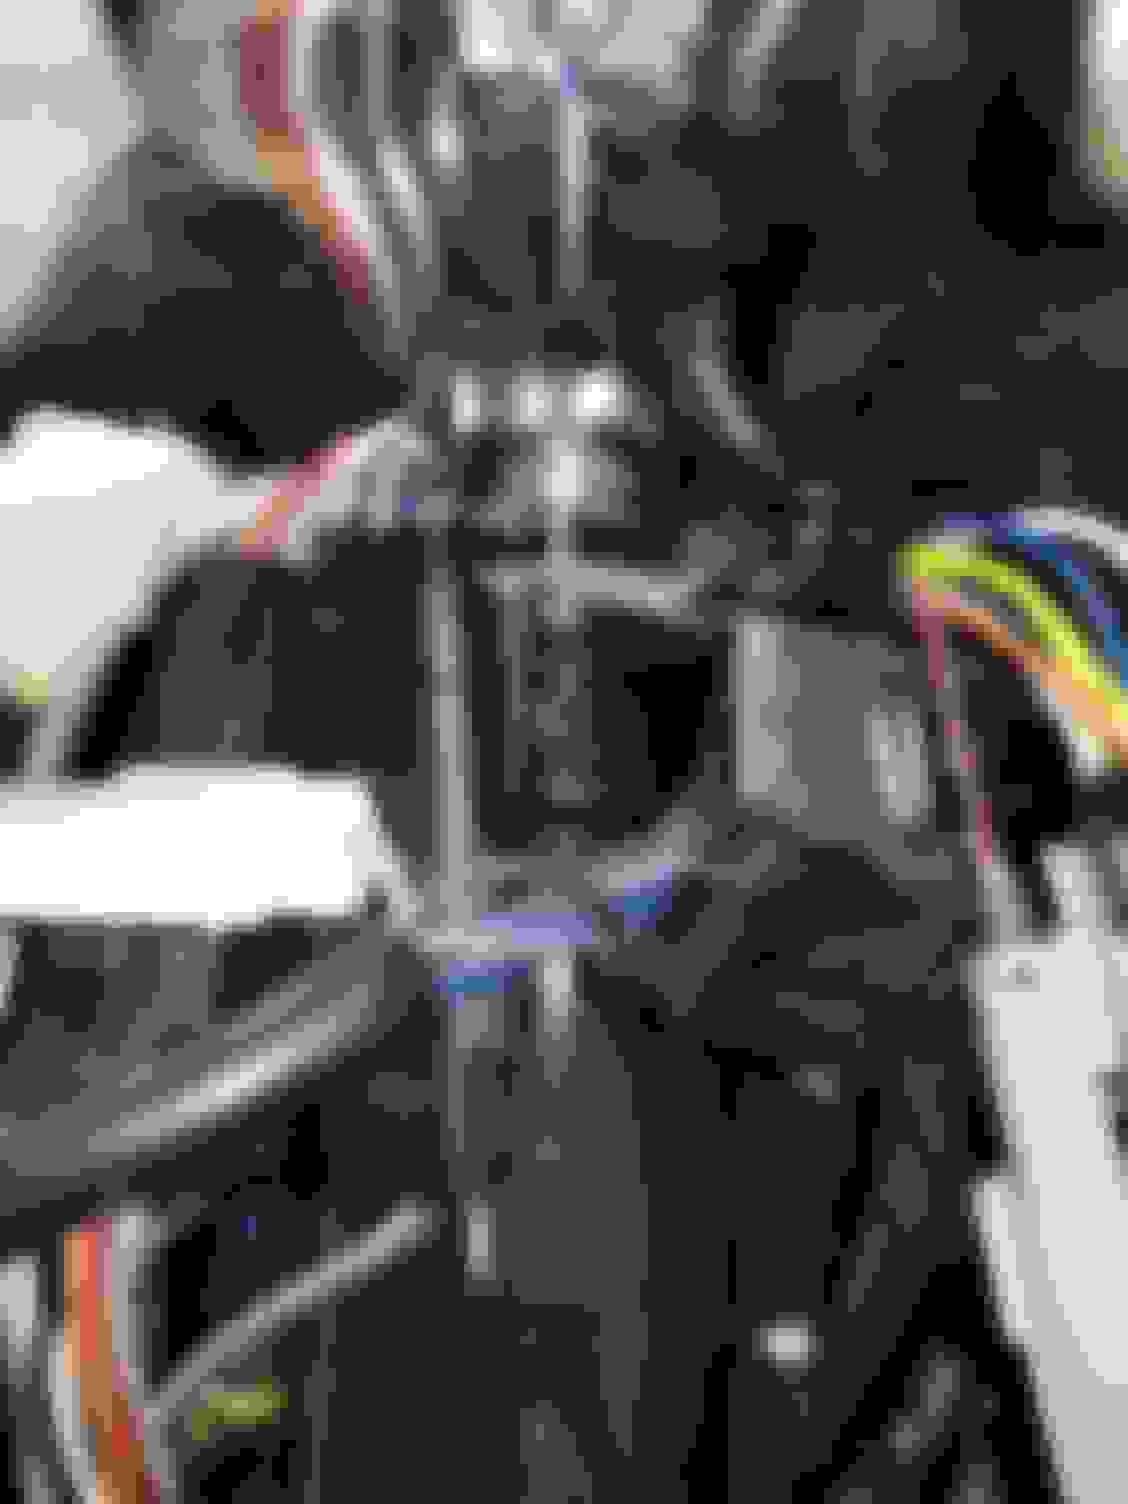
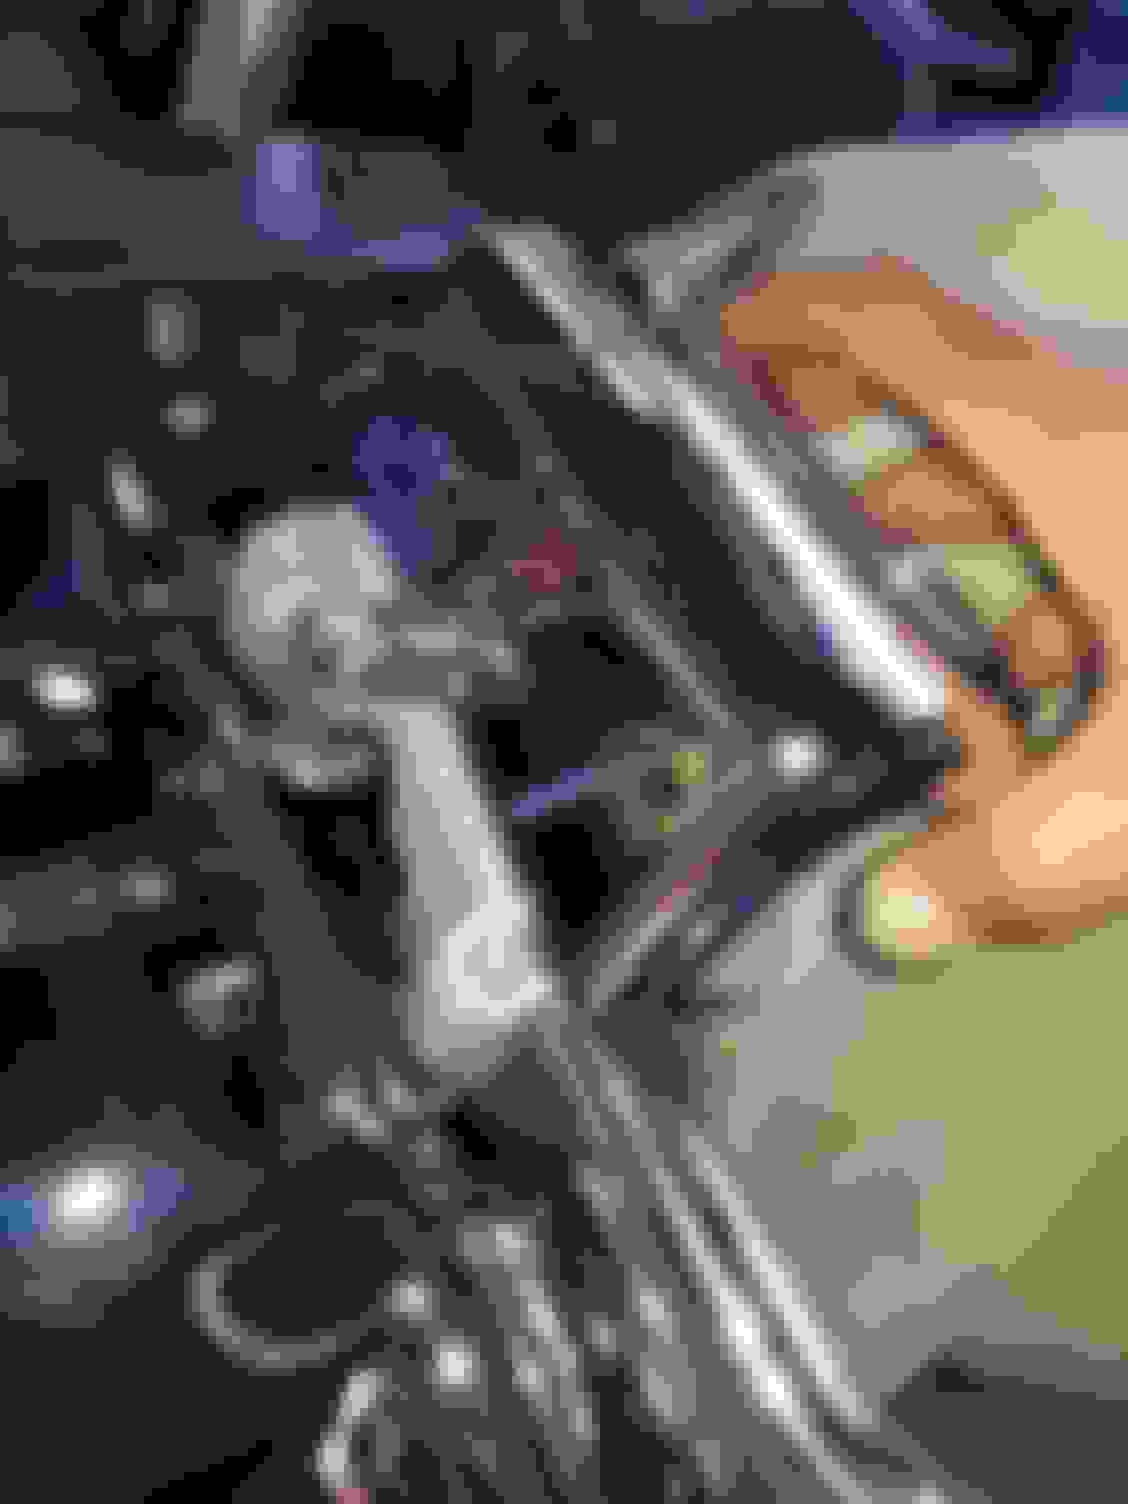
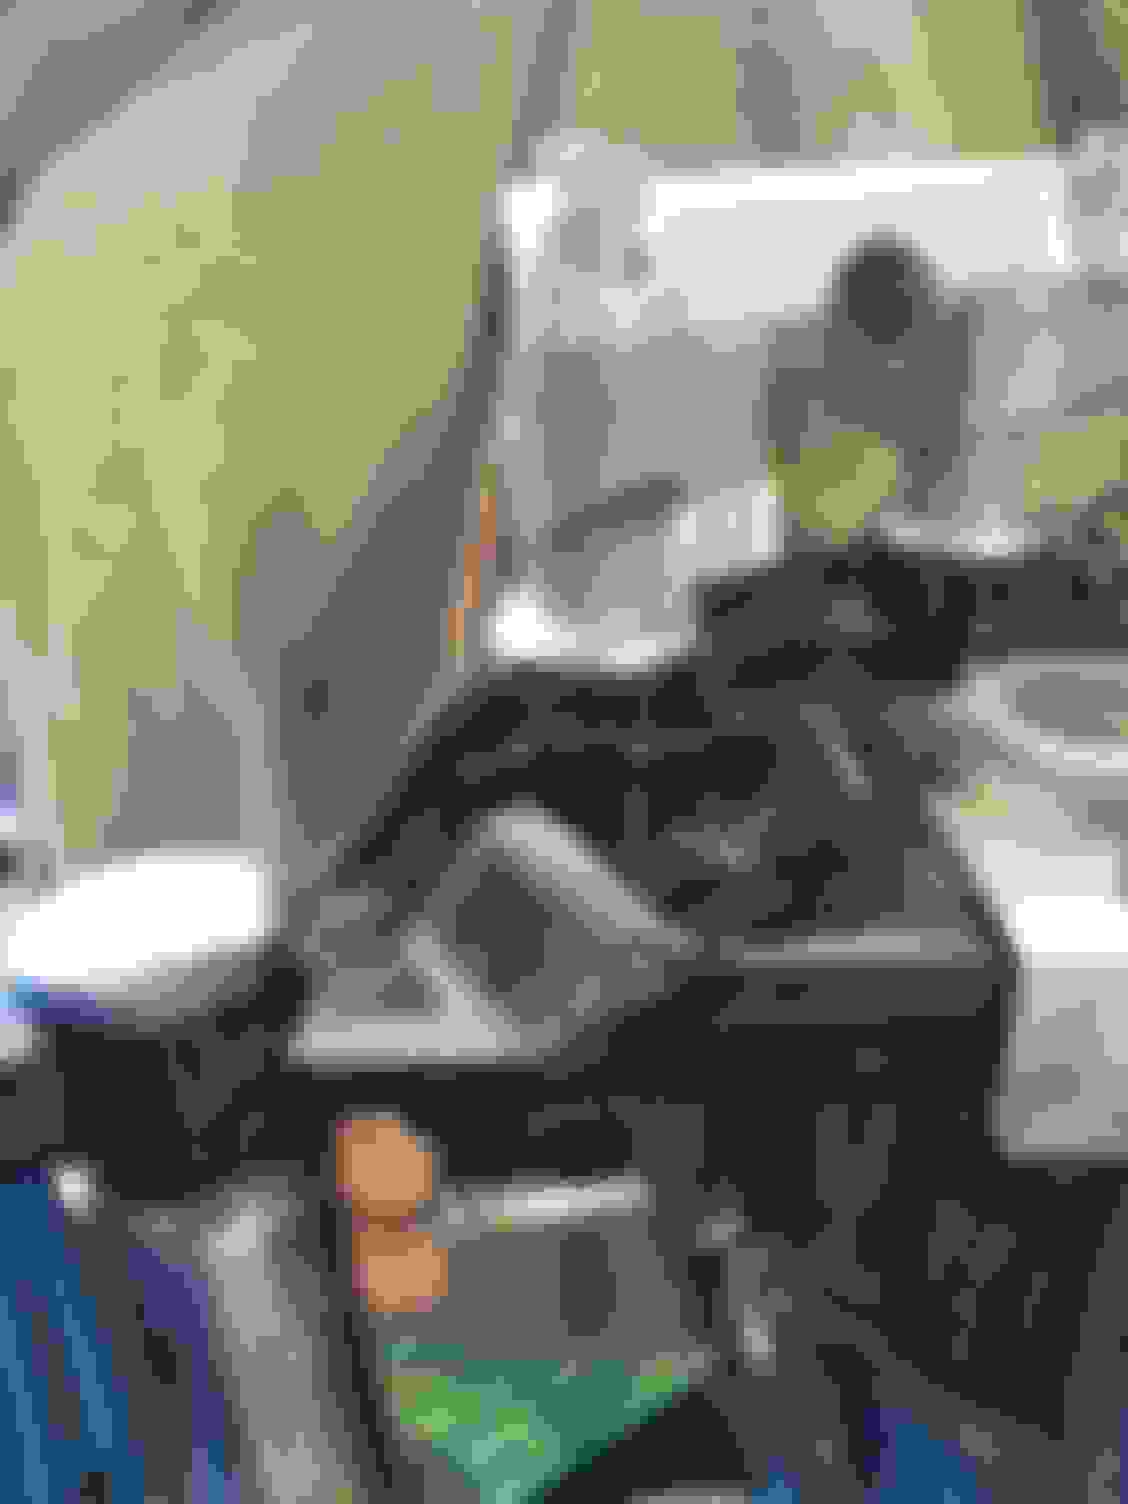
Riser bushings will be replaced. Looking at the riser bolt.
Thanks guys! My bars are to be delivered any day now so i will be replacing the riser bushings meanwhile. No better time to replace the riser bushings than now. I will be taking pictures as i go.
Riser bushings will be replaced. Looking at the riser bolt.
The bushings are right under the risers
Made my wire diagrams Soldered every wire Used shrink tube Crimped on new molex connectors and inserted back in to the connectors. I pulled all the wire harnesses inside the handlebars and tested them. Heres a pic of the burly bars before i replaced the front brake cable. Burly beach bars installed. These are the 38.5 width bars not the bikini bars. I was going to re-install my H.D heated grips but i would have had to bore the inside left of the bars and i chose not to. 08 road king with burly beach bars
Harley-Davidson Fat Boy Becomes a Dark, Decepticon-Inspired Custom
Slideshow: Killer Custom's latest build relies on styling changes rather than performance upgrades, giving the cruiser an entirely different personality.
7 Surprising Harley-Davidson Products that Are Not Motorcycles
Slideshow: The bar-and-shield logo shows up on far more than motorcycles, some of the company's most unexpected products have nothing to do with riding.
Slideshow: From the troubled AMF years to modern misfires, these bikes earned reputations for reliability issues, questionable engineering, or disappointing performance.
Crazy Bunderbike Build Looks Amazing, But Is It Impossible to Ride?
Slideshow: The Swiss custom shop has taken a Harley Softail and stretched it into something so long and low that it looks closer to a rolling sculpture than a conventional motorcycle.
Engraved Rebellion: Inside Bundnerbike's Glam Rock II
Slideshow: A standard cruiser becomes an intricate metal canvas in the hands of a Swiss custom house known for pushing Harley-Davidson platforms far beyond their factory brief.