


2009 & Later - Gas Tank Removal - Step by Step - Pics
Road Warrior
Joined: Jun 2009
Posts: 1,687
Likes: 9
From: SoCal & West TN

Last edited by Ultra89Rider; Jan 2, 2012 at 09:18 PM.
Big Kahuna HDF Member
Joined: Nov 2008
Posts: 35,506
Likes: 27
From: Calgary eh
Took my tank off last night, after consulting this thread again. Didn't see any reason to remove the dash off the tank. Actually I couldn't get a wrench in to remove that forward alan head fastener under the ignition switch.
Just remove the back two bolts, remove the rubber caps and front two bolts, the quick disconnect on the fuel line, unplug the connector that goes to the ecm, pull out the two drain lines that follow the frame tubes on each side of the bike and the tank lifts right off. Easy peasy, no tricks at all. But thanks for the pics, I actually didn't know the fuel connector was a quick disconnect.
Just remove the back two bolts, remove the rubber caps and front two bolts, the quick disconnect on the fuel line, unplug the connector that goes to the ecm, pull out the two drain lines that follow the frame tubes on each side of the bike and the tank lifts right off. Easy peasy, no tricks at all. But thanks for the pics, I actually didn't know the fuel connector was a quick disconnect.

Grand HDF Member

Joined: Jun 2009
Posts: 4,002
Likes: 1,240
From: On the Front Range, CO
With ABS, the front brake lines run down/up the backbone of the frame to the ABS module. They run next to the wire-trough.

Advanced
Joined: Jan 2012
Posts: 85
Likes: 0
From: Oregon City, Oregon
After searching and not finding exactly what I was looking for I posted earlier today asking about removing the gas tank. I needed to run a USB Accessory cable from under the seat to the front of the tank.
Below are my step by step instructions on how I completed this task.
After removing the seat remove this middle bolt with is securing the dash.
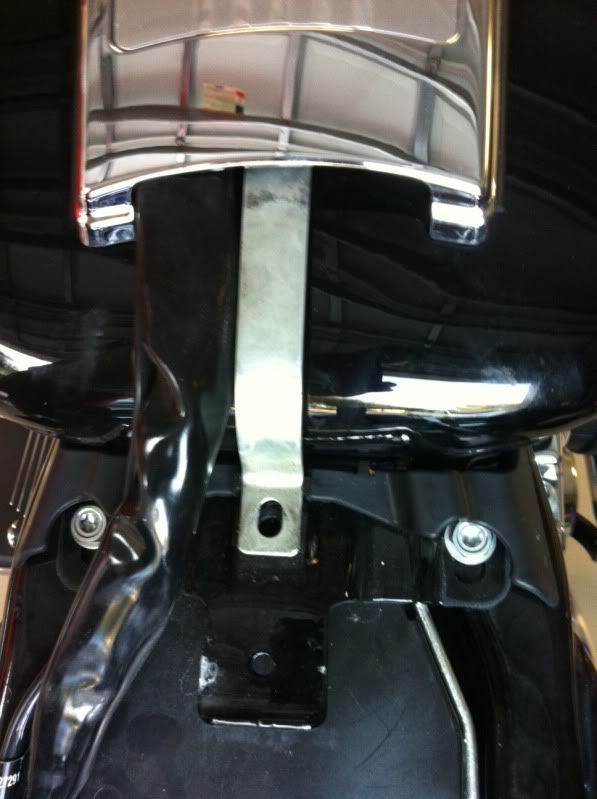
Remove the allen screw on the front side of the dash too.
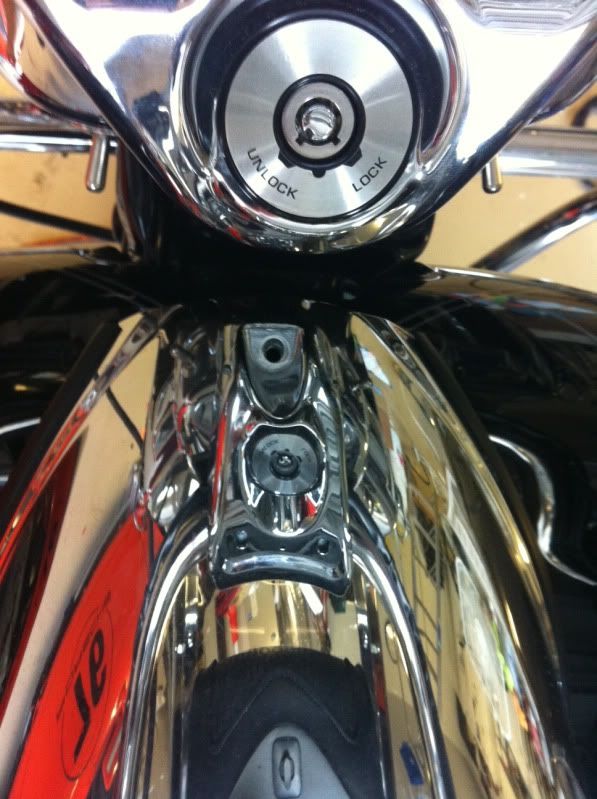
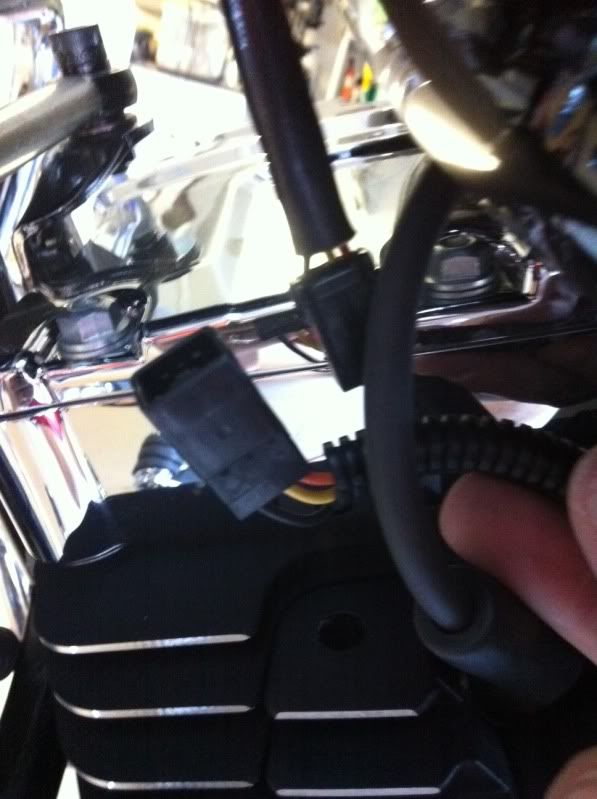
Before lifting the dash from the tank unplug this harness from top of the tank.
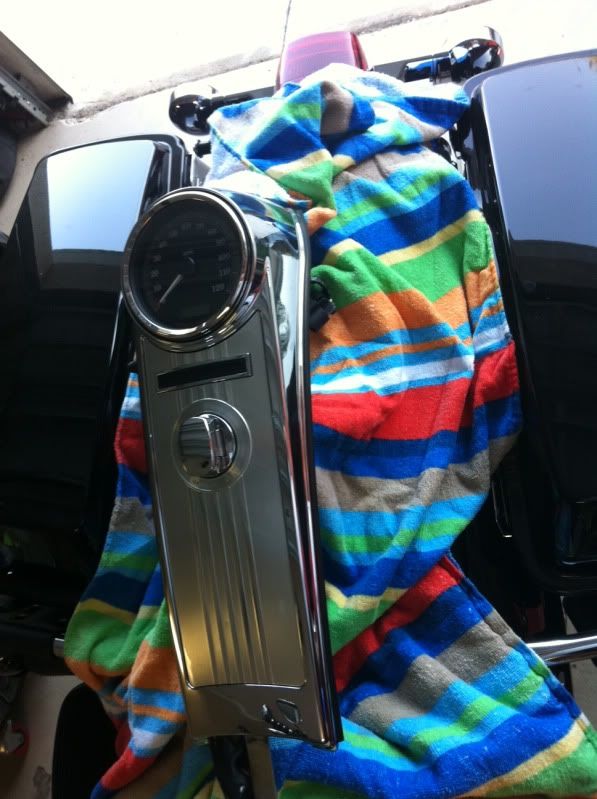
Safely place the dash aside. I did not unplug any harness that went from the dash to the ECM.
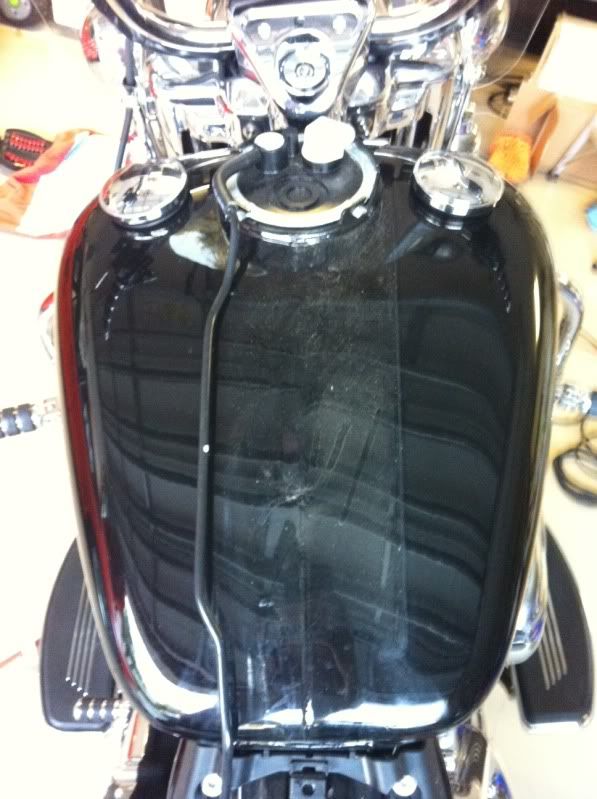
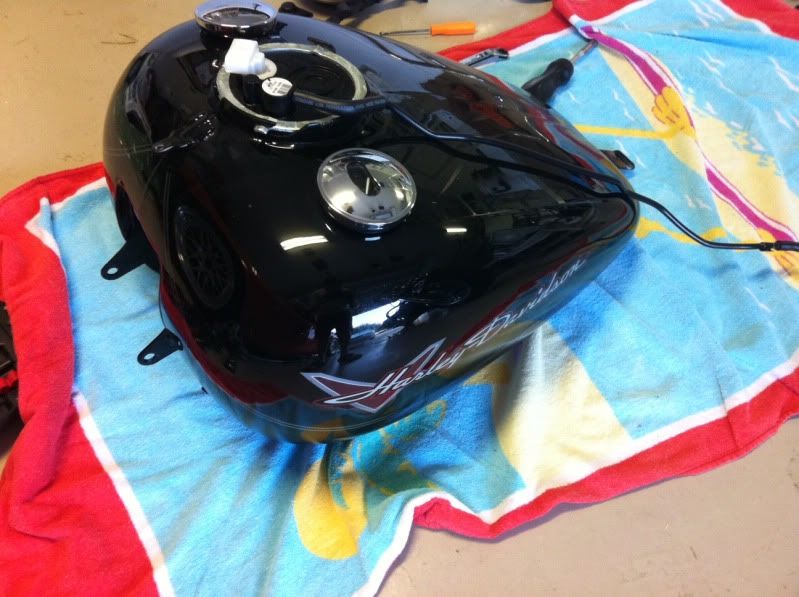
Tank at this stage.
Release this quick disconnect fuel line.

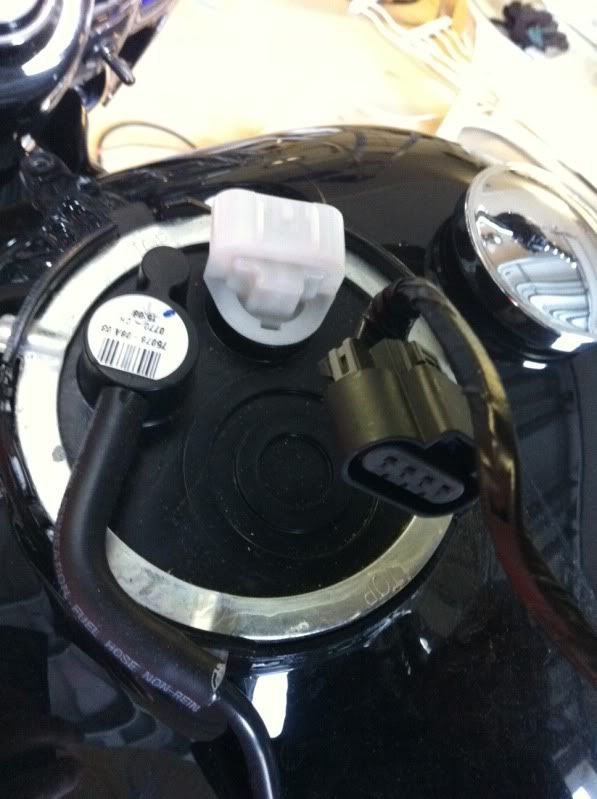
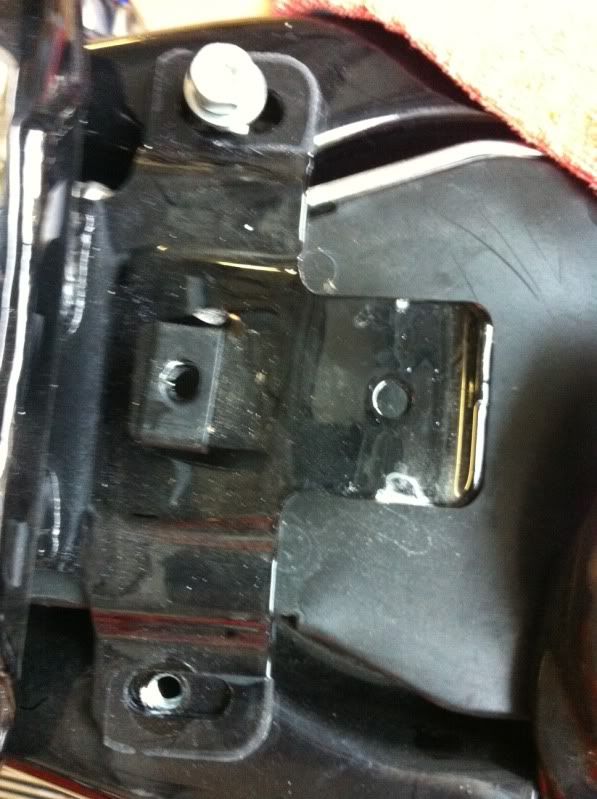
Unplug this harness from under the tank found on the left side.
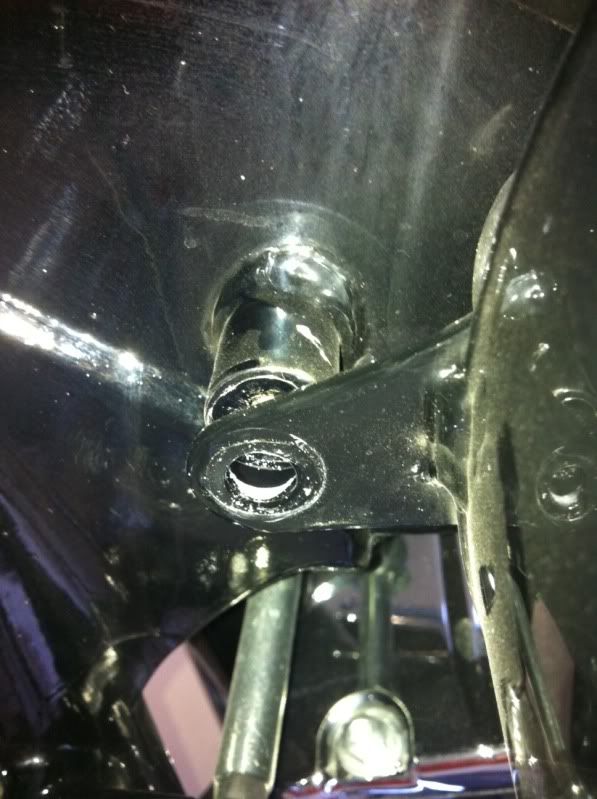
Remove rear tank bolts.
After removing the rubber caps, remove the front tank bolts.
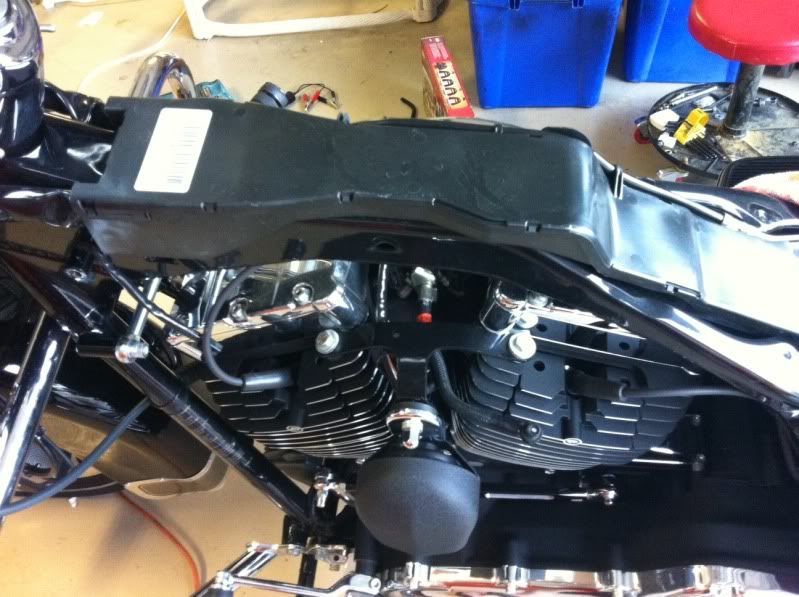
Lift the tank and safely set it aside.
The wire channel is now exposed and I easily ran my wires.
That's it!
Below are my step by step instructions on how I completed this task.
After removing the seat remove this middle bolt with is securing the dash.
Remove the allen screw on the front side of the dash too.
Before lifting the dash from the tank unplug this harness from top of the tank.
Safely place the dash aside. I did not unplug any harness that went from the dash to the ECM.
Tank at this stage.
Release this quick disconnect fuel line.
Unplug this harness from under the tank found on the left side.
Remove rear tank bolts.
After removing the rubber caps, remove the front tank bolts.
Lift the tank and safely set it aside.
The wire channel is now exposed and I easily ran my wires.
That's it!
HD Forum Stories
The Best of Harley-Davidson for Lifelong Riders

8 Best Harley-Davidson Motorcycles Ever
Pouria Savadkouei
10 Worst Harley-Davidson Motorcycles Ever
Pouria Savadkouei
Killer Custom's Jail Break Is The Breakout That Refused to Blend In
Verdad Gallardo
Crazy Bunderbike Build Looks Amazing, But Is It Impossible to Ride?
Verdad Gallardo
Harley-Davidson Reveals Super Cool Cafe Racer Concept
Verdad Gallardo
Engraved Rebellion: Inside Bundnerbike's Glam Rock II
Verdad Gallardo
10 Motorcycles You Should Never Buy
Joe Kucinski
10 Things Harley-Davidson Needs to Fix in 2026
Verdad Gallardo