When you click on links to various merchants on this site and make a purchase, this can result in this site earning a commission. Affiliate programs and affiliations include, but are not limited to, the eBay Partner Network.
Dyna Glide ModelsSuper Glide, Super Glide Sport, Super Glide Custom, Dyna Glide Convertible, Super Glide T-Sport, Dyna Glide Police, Dyna Switchback, Low Rider, Street Bob, Fat Bob and Wide Glide.
I just bought a 2000 FXDL and am sure to be on here often. My choke will not stay open when **** is pulled out. ALL FIXED and THANKS for all your inputs!
Last edited by FXDL32966; Jun 23, 2017 at 04:58 AM.
Reason: problem fixed, need to delete
On the OEM enrichment cable, there are two "nuts", a round knurled one on the **** side and a metal hex nut on the back side. Tighten the metal hex nut on the back side to secure the cable to the horn mount and adjust the knurled nut on the **** side to adjust the clamp friction tension. It should not take much to apply enough friction to hold the cable extended. If the rear nut has been tightened too much, it can break the plastic and the cable may not stay extended. This seems to happen when folks mistakenly tighten the hex nut to increase the cable friction.
OEM and aftermarket cable assemblies are relatively inexpensive and easily replaced.
Do you mean that it won't stay open at all, or that after a few minutes it's moved all the way in? Mine used to do that, but it didn't really bother me... It would stay open when I started it, but would be fully closed by the time I got to the first stop sign coming out of my neighborhood... Which was right where I would've closed it... Automatic choke! But yes, as others have said, you can tighten it.
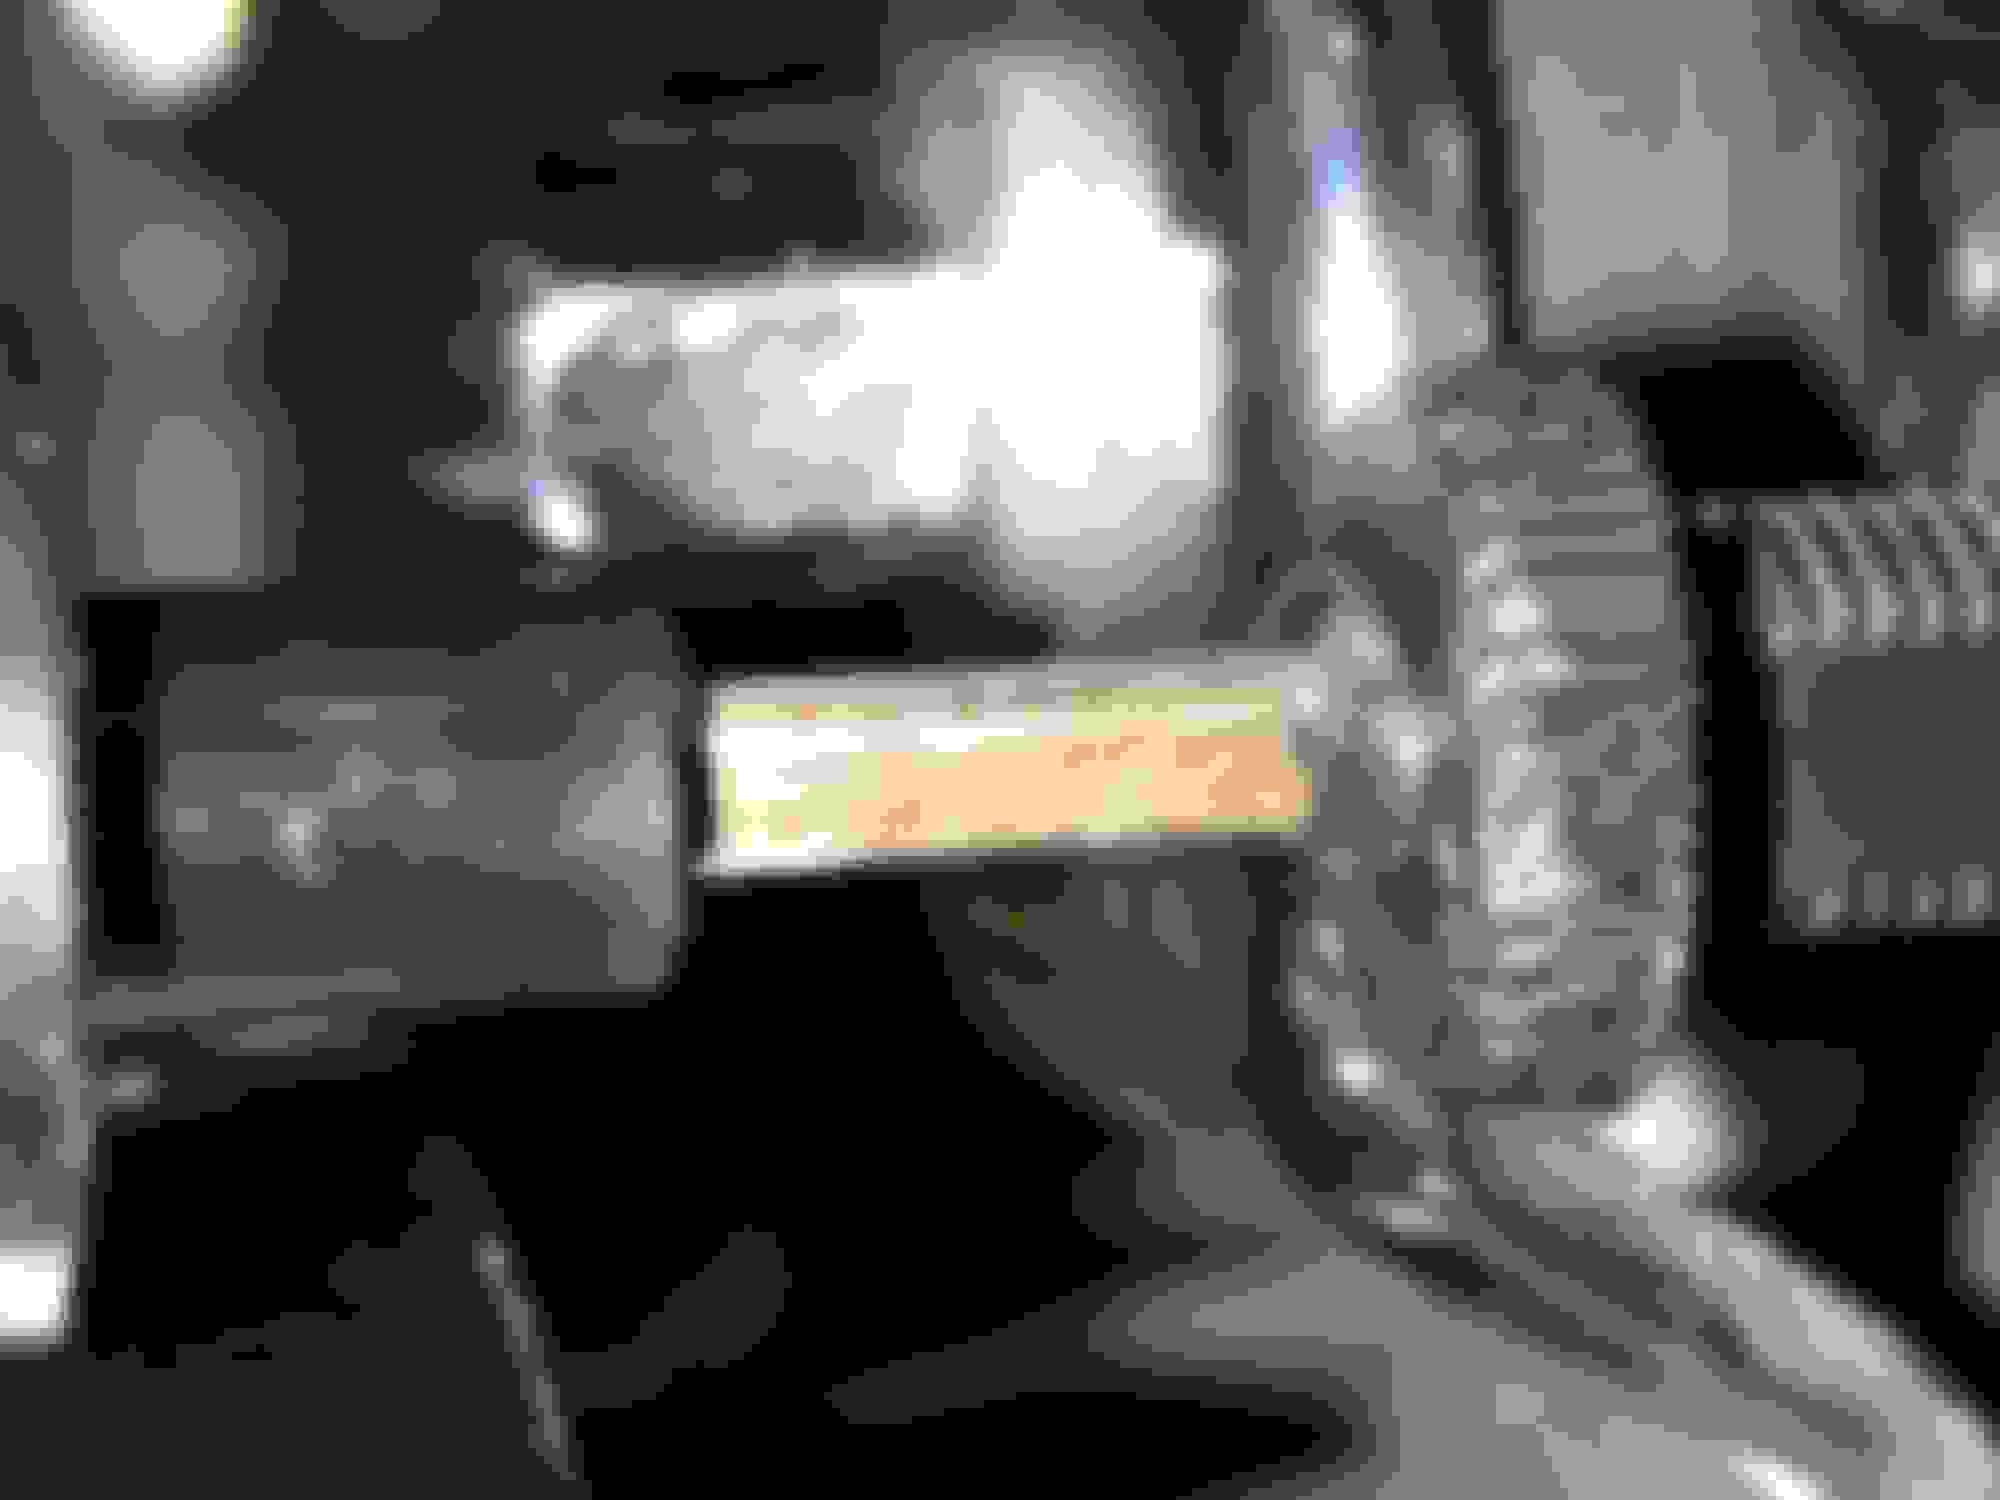
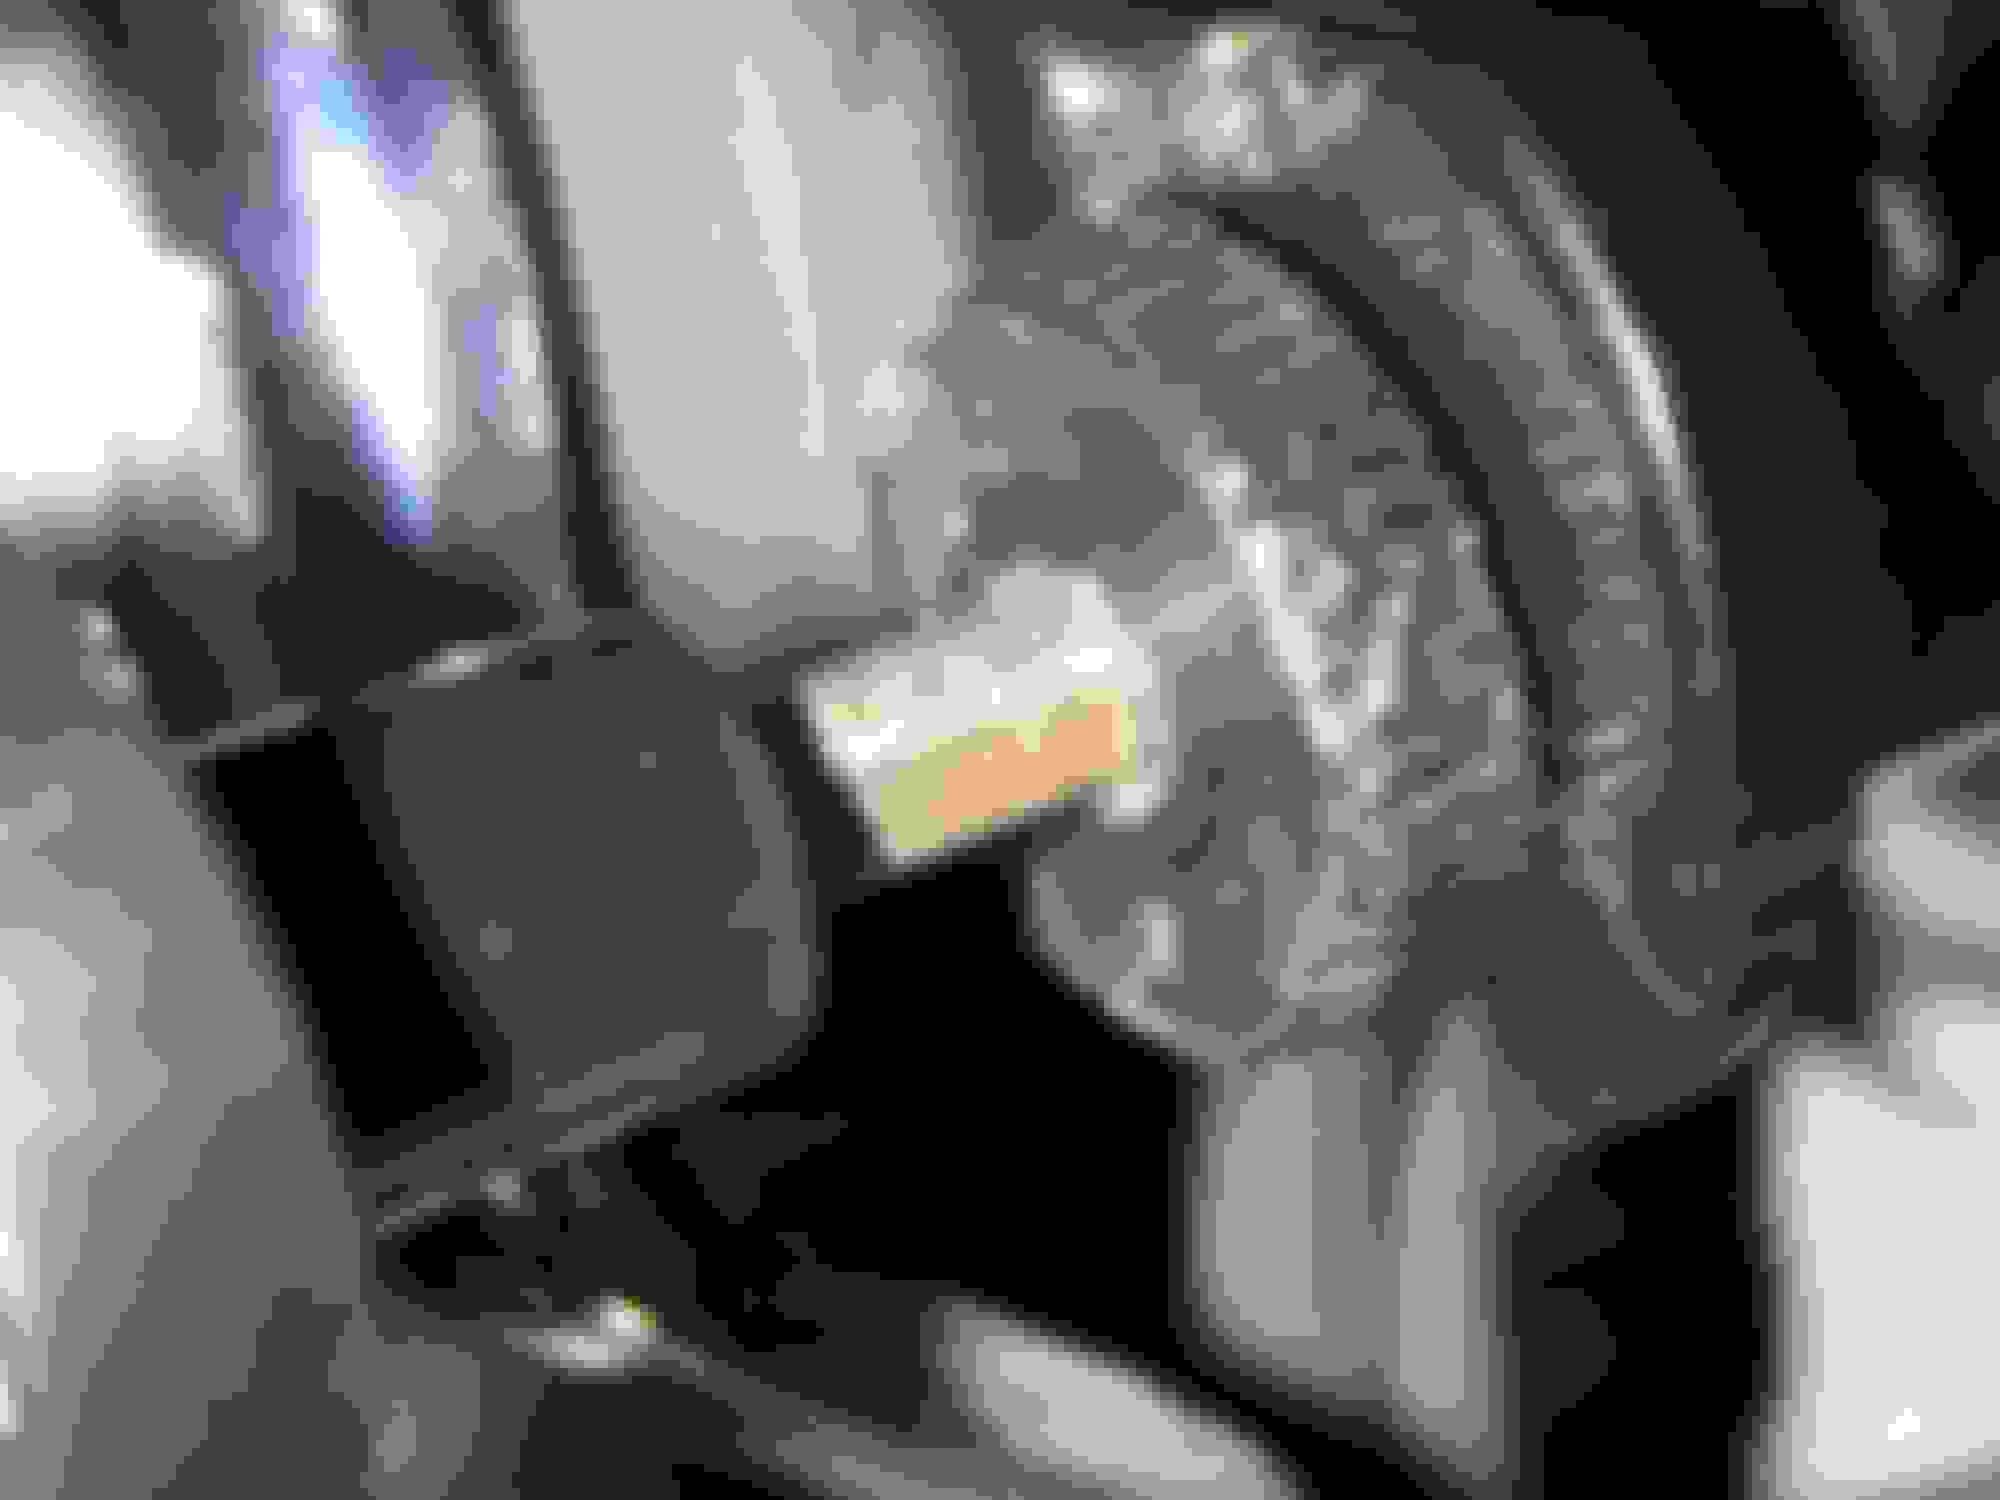
Choke **** on my '03 FXD didn't hold (refused to stay out). Here's how I solved this issue, using a 5 x 12 mm piece of electrical tape.
Here's the trick:
By applying the tape to the cone, the cone's diameter enlarges. As a result of this, the knurled plastic nut puts more pressure to the cone and when pulled, the choke **** will stay out....
Step 1:
Loosen 17 mm hex nut
Loosen knurled plastic nut
Pull out choke **** and secure with spreader tool (made out of a metal wire hanger)
Step 2:
Apply a 5 X 12 mm strip of electrical tape to the cone
Step 3:
Fasten the knurled plastic nut
Step 4:
Remove excess tape using a sharp (breakable) hobby knife
Step 5:
Position the cable assembly in slot in bracket (star washer at nut side of the bracket) and tighten the 17 mm hex nut using an open wrench
For some info if you decide to replace the choke cable assy follow the link below:
Thank so much for this post. I just bought a 2003 Fatboy and the mechanic at the dealer just tightened the back nut, which didn't do anything. The tape trick worked perfectly.
7 Surprising Harley-Davidson Products that Are Not Motorcycles
Slideshow: The bar-and-shield logo shows up on far more than motorcycles, some of the company's most unexpected products have nothing to do with riding.
Slideshow: From the troubled AMF years to modern misfires, these bikes earned reputations for reliability issues, questionable engineering, or disappointing performance.
Crazy Bunderbike Build Looks Amazing, But Is It Impossible to Ride?
Slideshow: The Swiss custom shop has taken a Harley Softail and stretched it into something so long and low that it looks closer to a rolling sculpture than a conventional motorcycle.
Engraved Rebellion: Inside Bundnerbike's Glam Rock II
Slideshow: A standard cruiser becomes an intricate metal canvas in the hands of a Swiss custom house known for pushing Harley-Davidson platforms far beyond their factory brief.
Slideshow: Harley-Davidson's challenges aren't abstract; they show up in dropping shipments, shrinking dealer traffic, and strategic decisions that aren't yet translating into growth.












 Choke pull ****