When you click on links to various merchants on this site and make a purchase, this can result in this site earning a commission. Affiliate programs and affiliations include, but are not limited to, the eBay Partner Network.
@Scrmnvtwins The bolt had the copper on it before plating. It is a front motor mount bolt, so maybe the regulator wire shorted on it some time in the past?
The anode is a ribbon hanging on the side of the tank, 99.95% Tin.
Do you have experience plating? What are plating *****? What do you suggest that I do better?
As usual, operator error caused the problem, although I can put some blame on Eastwood. I put the copper stained bolt back in the tank for another three minutes and then rubbed it with the polish that Eastwood provided to remove the dull grey coating. Still didn't cover the copper! So I put it in for another three minutes, but this time just rubbed it with a dry cloth and that did the trick!
You can see the color difference on another bolt next to its washer and nut. I re-plated the bolt and thick washer, polishing it with a dry cloth. The nut and thin washer were polished with the creme and it removed the plating.
I got half of them done today, I'll finish tomorrow.
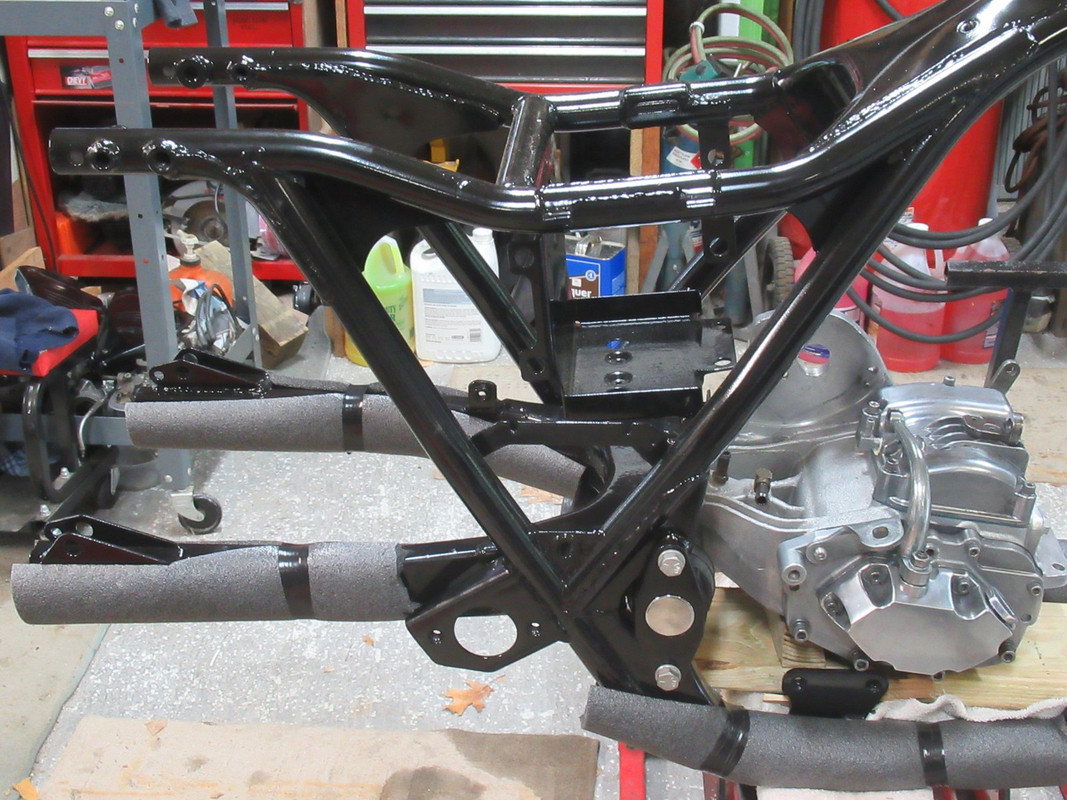
I'm happy the black parts came out good. Can't wait to start assembly!
Lots of progress today. First I finished plating the bolts, had a good system of cleaning, plating and rubbing so it didn't take as long, even with a good 3-5+ minutes in the plating bath. Unfortunately I discovered a problem when I forgot about a couple small bolts that were sitting on a wet towel and actually got slightly rusty looking! Apparently this finish is porous, and lets the water thru? The directions say to follow up plating with their clear paint for "best long-term durability", so I gave them a shot of TEC clear. So I guess this all amounts to an expensive and time-consuming silver paint?
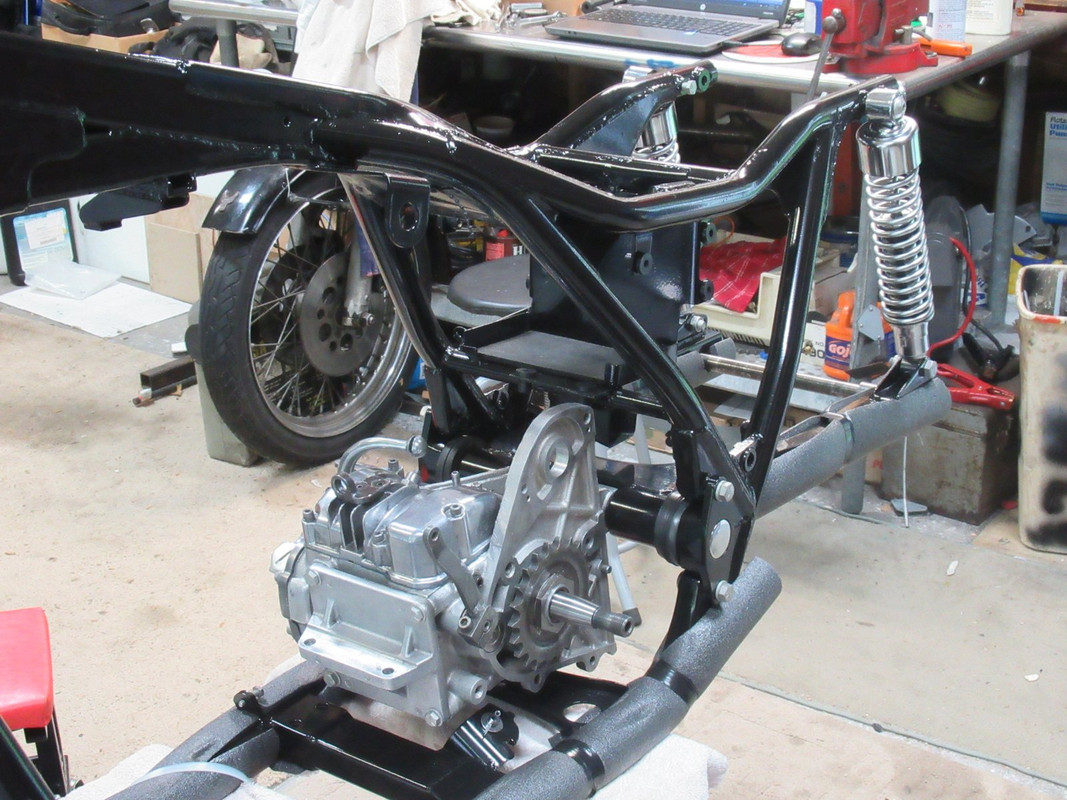
The next thing was to replace the shift pawl in the transmission and install the sprocket. I was never truly happy with the way it shifted by hand, but figured it would be better with in the bike with the motor running. I read on another forum a worn pawl would cause that, so I got a NOS pawl and went about changing it. You can see the difference between the two:
With the top cover off, it was easy to put the trans in two gears to tighten the sprocket nut. I took a lot of time cleaning the threads, because they felt tight and are such a fine thread. Here it is before I bent the lock washer. That washer is obsolete, but lucky for me the local dealer still had three in stock.
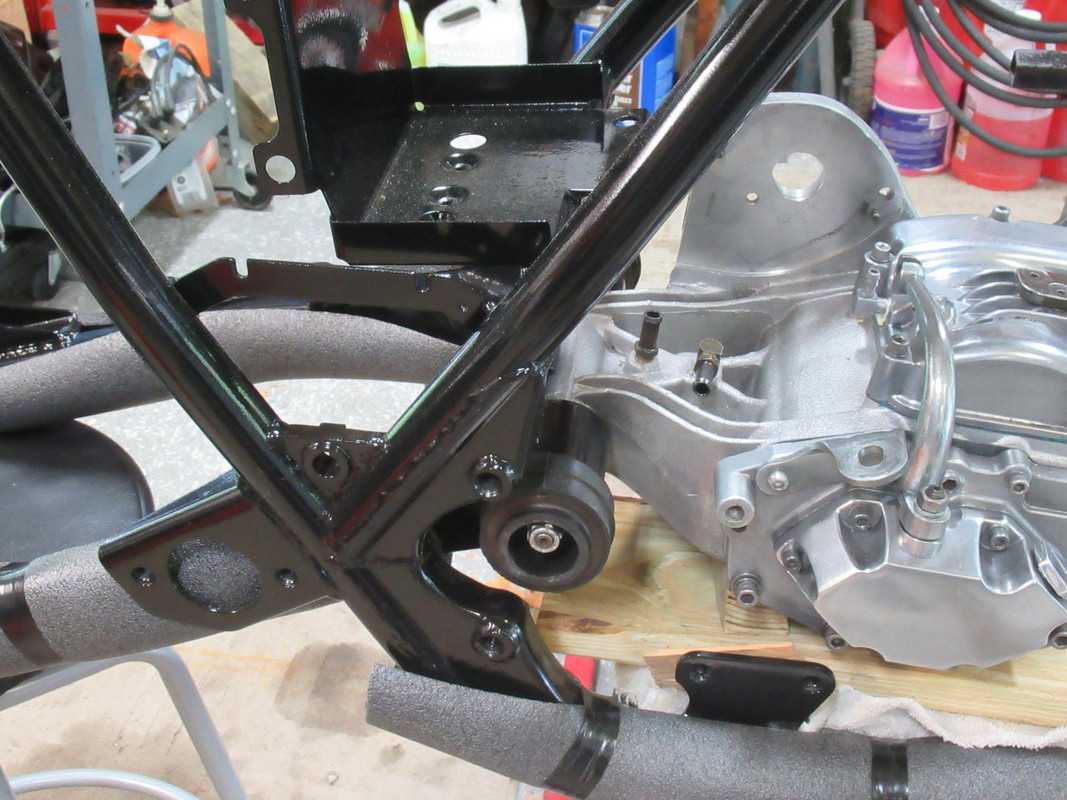
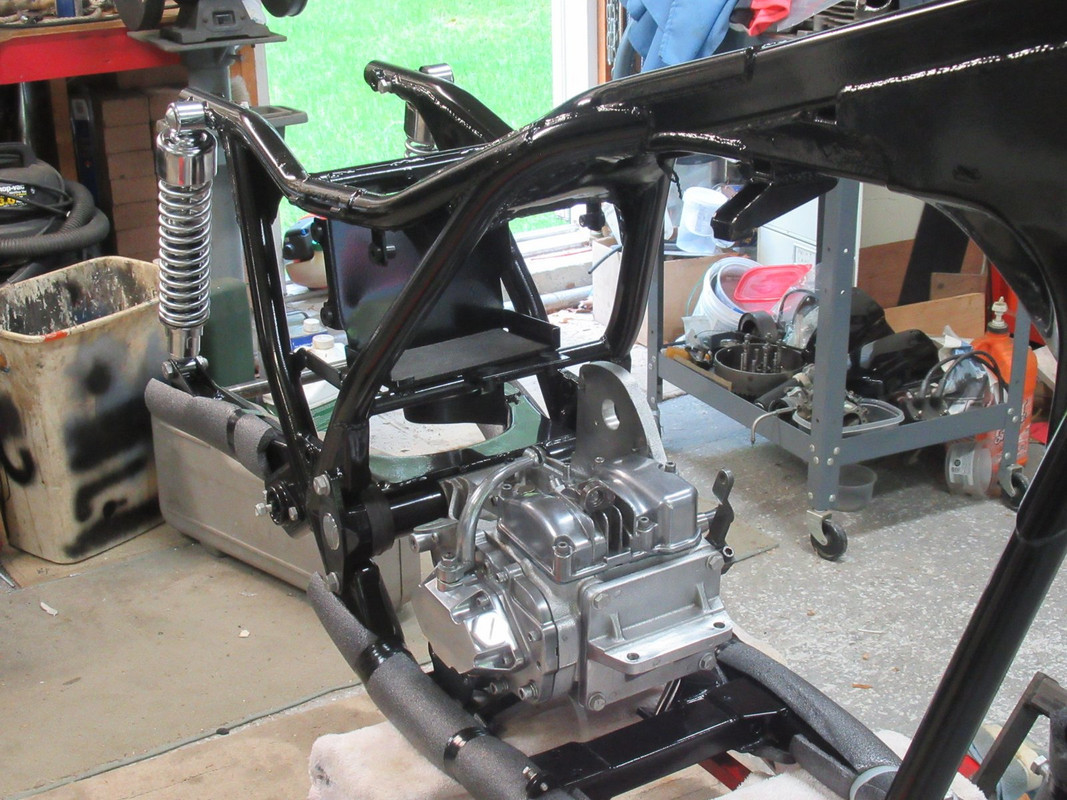
Lastly, I used my newly plated and painted bolts to install the motor mount to the transmission. Nothing left to do but start reassembling the bike!
I believe the issue here is the battery being used. It is not powerful enough to plate these items. A single, fresh 1.5 Volt D Cell battery is capable of providing up to 6.5 amps of current for a short while, 2 in series as in this kit will produce 3 volts still at 6.5 amps at a longer duration. The phone charger being used is only supplying 1 amp which is insufficient.
I'll have to find a better power supply.
Meanwhile, my little task for today. It's a FIAMM Highway Blaster - not original, but loud
.
:
Last edited by Joe12RK; Jun 14, 2021 at 02:14 PM.
Reason: added horn picture
Joe, my only experience was asking the plating guys at Delco Remy to help me plate customer samples for new product development. We had plating departments in a few plants. In most applications I saw them hanging the parts to be plated by a bent wire that it seemed to me was never in the plating solution. They would start with a caustic clean then rinse followed by a plating operation where they would have ***** of plating material in the solution followed by a final rinse. The ***** sacrificed themselves for the plating on the parts to be plated. We did mostly copper, nickel, tin, palladium silver, and hexavalent chrome before it was outlawed in the 90's.
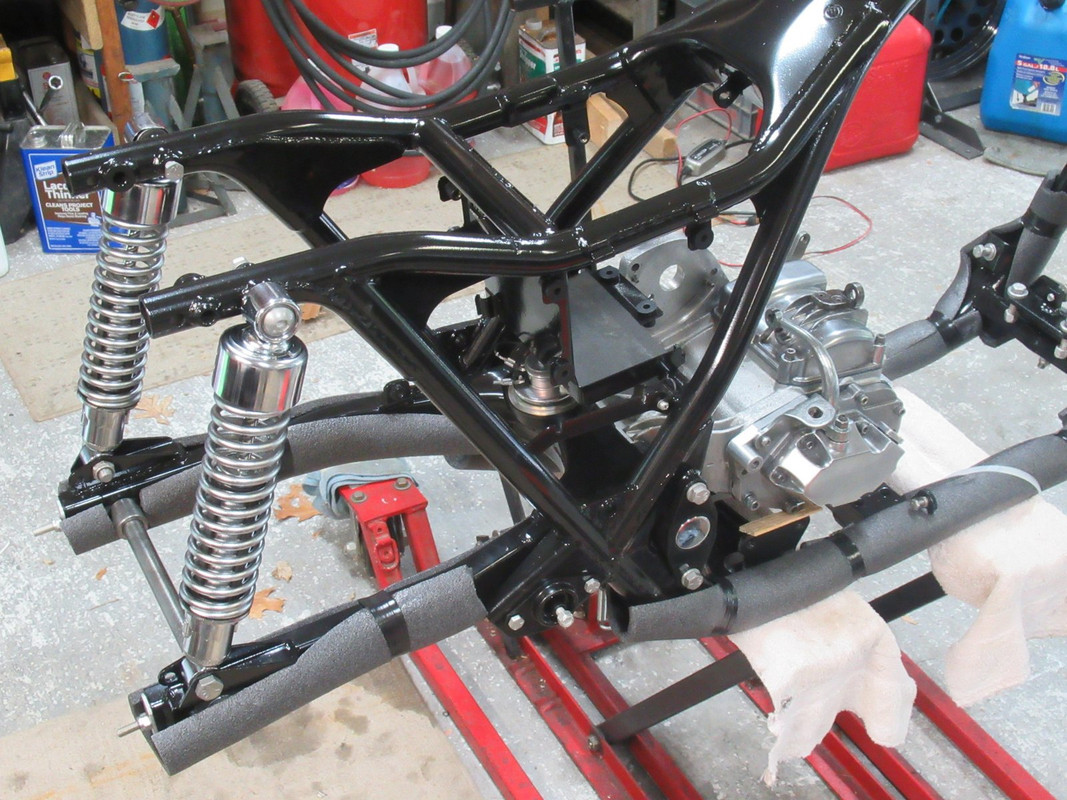
First up, fit the swingarm to the transmission. One would think it would slide back where it was, but I had to spread the cleve blocks 1/8" to make room. There is a Harley special tool, but a long carriage bolt, nut and washers works just fine.
Slide the pivot in from the left, and install the plastic washers and new rubber mounts. Both nuts get installed loosely for now.
Install the caps, with the locating pins forward. Tighten and torque all the nuts and add the bling. The bike is so happy, the swing arm stays up by itself!
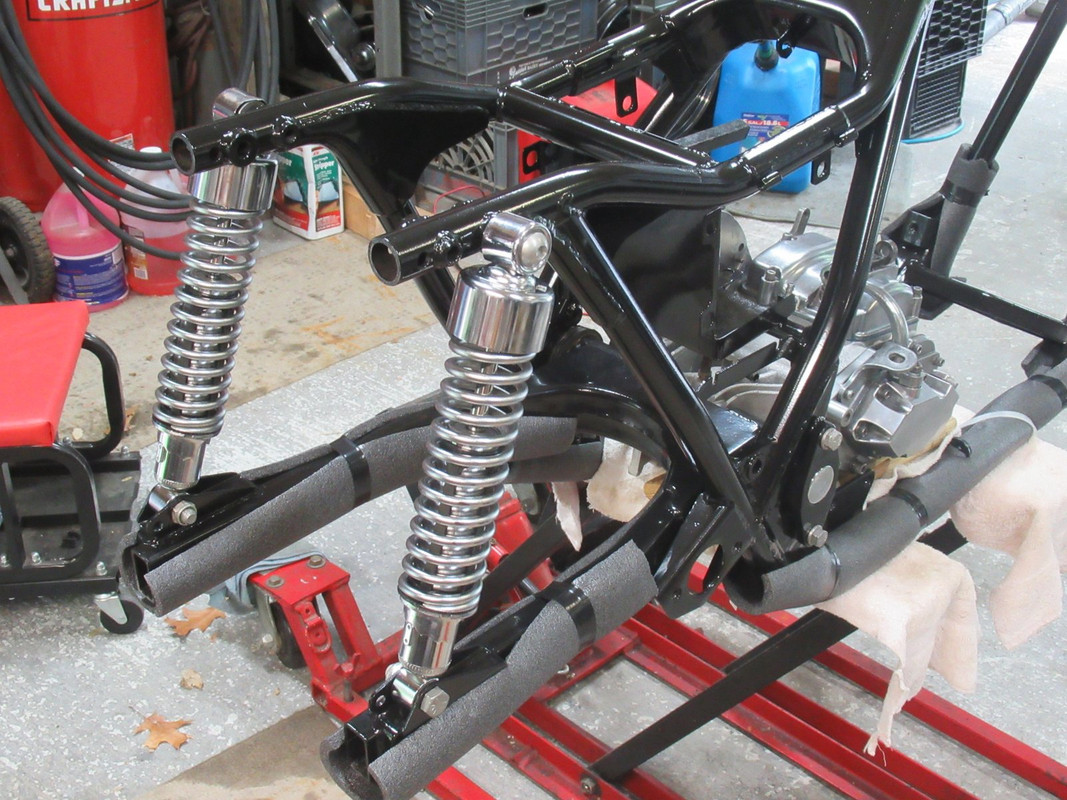
Next up, install the shocks. I just snugged the upper bolts because they will come out again when I install the fender struts.
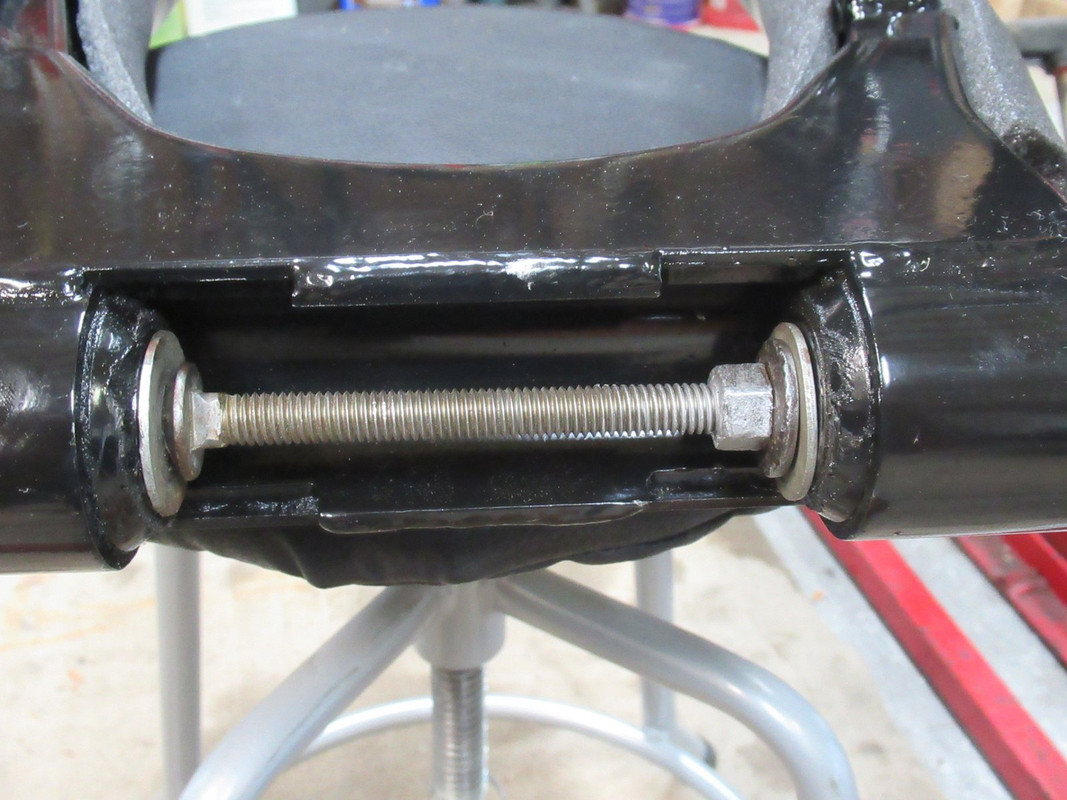
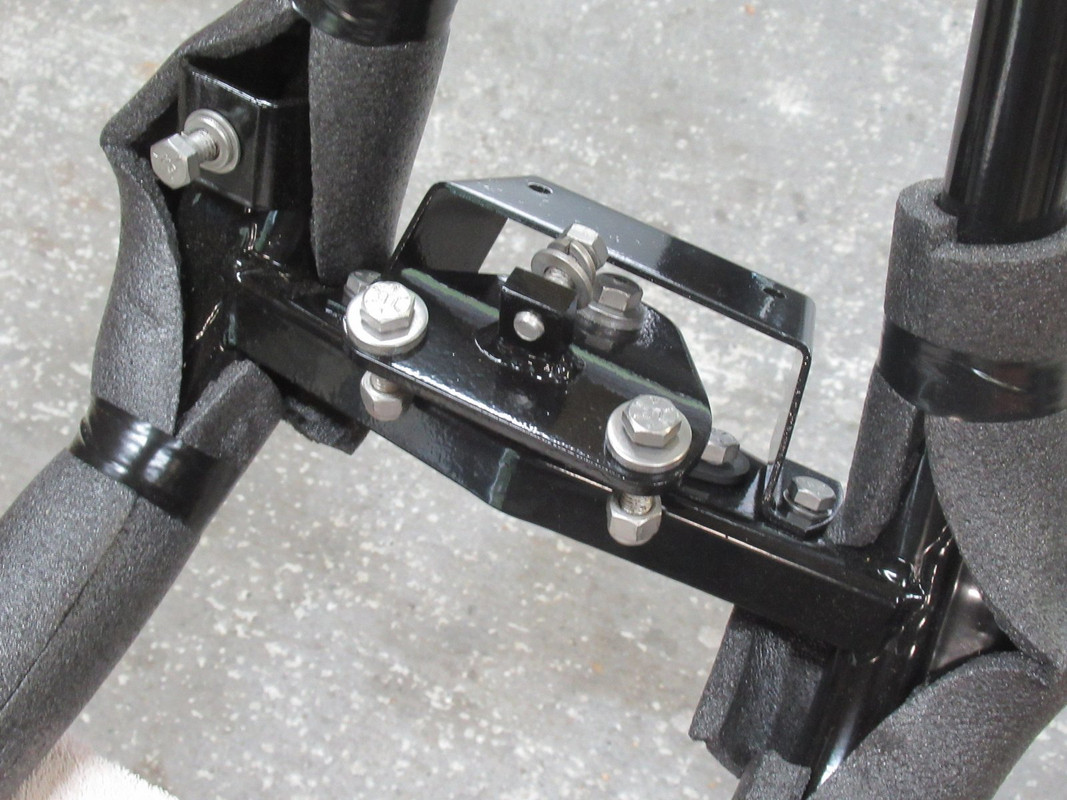
I was happy to loosely install the front mount assembly with all my shiny hardware. New motor links are on backorder, but should arrive in a couple weeks. That'll all get tightened near the end when I align the drive train.
Then came the axle, horn and muffler mount. I also got new wellnuts for the side covers and oil tank.
I was hoping to take advantage of the low humidity this week, but time got away from me. So today I started working on the oil tank. My plan is to spray bomb Majic Tractor paint and use their primer. So first, flush most of the gunk out of it. There must have been 1/4" of sludge at the bottom from forty years of not doing proper oil changes. I had to use an acid brush on the end of a long screwdriver to remove the rest of it. Then rinse a few times with kerosene.
The tank has seen better days, but no major rust. The chips, scrapes, and pits sanded out with 220 grit. I left ta lot of the factory paint because it makes a great base.
There was one little worn spot that I filled with JB Weld because it was on hand. It will sand smoothly enough for this job.
Lastly for today, I filed the damage off the drain plug.
The humidity will be low again on Wednesday, so I'll spray primer then.
7 Surprising Harley-Davidson Products that Are Not Motorcycles
Slideshow: The bar-and-shield logo shows up on far more than motorcycles, some of the company's most unexpected products have nothing to do with riding.
Slideshow: From the troubled AMF years to modern misfires, these bikes earned reputations for reliability issues, questionable engineering, or disappointing performance.
Crazy Bunderbike Build Looks Amazing, But Is It Impossible to Ride?
Slideshow: The Swiss custom shop has taken a Harley Softail and stretched it into something so long and low that it looks closer to a rolling sculpture than a conventional motorcycle.
Engraved Rebellion: Inside Bundnerbike's Glam Rock II
Slideshow: A standard cruiser becomes an intricate metal canvas in the hands of a Swiss custom house known for pushing Harley-Davidson platforms far beyond their factory brief.
Slideshow: Harley-Davidson's challenges aren't abstract; they show up in dropping shipments, shrinking dealer traffic, and strategic decisions that aren't yet translating into growth.