


CGGorman's 99 Wide Glide build thread
Thread Starter
|
Extreme HDF Member
Joined: Jun 2014
Posts: 11,448
Likes: 2,299
From: NW Ohio
Really? I thought the early twin cam XT also had 41mm tubes. Damn. I definitely don't want 39s.
If I stick with 41s, I'll be changing to billet trees.
If I go with 49s, I'll probably just buy an complete take-off front end and run it as-is. Maybe a bit longer tubes depending on how it affects stance/height.
I definitely like the looks of the new parts better than the old ones. Much cleaner lines.
Last edited by cggorman; Jun 3, 2016 at 12:39 PM.
Club Member

Joined: Oct 2011
Posts: 11,175
Likes: 2,483
From: Nor Cal
If I go with 49s, I'll probably just buy an complete take-off front end and run it as-is. Maybe a bit longer tubes depending on how it affects stance/height.
I definitely like the looks of the new parts better than the old ones. Much cleaner lines.
I definitely like the looks of the new parts better than the old ones. Much cleaner lines.
Club Member
Joined: Oct 2011
Posts: 11,175
Likes: 2,483
From: Nor Cal
Using your earlier requirements (or desires), a few considerations...
49mm wide-glide frontends
Wide Glide Trees (FXDWG) = Positive Rake
Fat Bob Trees (FXDF)= Negative Rake (that ought to raise some eyebrows)
Fat Bob Tubes same length as other 49mm Dynas
Wide Glide 2.4" longer
Of course FatBob = Dual disc sliders while WG = Single, but you may want to use Low Rider Dual disc Sliders (different location of caliper mounts (axially) LR more outward). Although if your going use a laced spoke front, you could use the FB Sliders and move the Rim "back over" with the spokes
.
.
.
Last edited by multihdrdr; Jun 5, 2016 at 07:25 AM.
Thread Starter
|
Extreme HDF Member
Joined: Jun 2014
Posts: 11,448
Likes: 2,299
From: NW Ohio
Good info, thanks! I hadn't gotten as far as digging into those details yet.
Definitely a spoke wheel. Aluminum rim. I'll lace it myself.
I could live without the dual disc up front but I like the symmetry and I figure the larger contact patch and heavier rotating mass kinda push me that way anyhow...
I'm not really committed to anything for the front end other than clean, uncluttered, and wide.
Club Member
Joined: Oct 2011
Posts: 11,175
Likes: 2,483
From: Nor Cal
Yeah, it has to fit into your "vision". Myself...in regards to those FL frontends, I'm more partial to the Nacelle type.
Thread Starter
|
Extreme HDF Member
Joined: Jun 2014
Posts: 11,448
Likes: 2,299
From: NW Ohio
Spent some time practicing my welding today. This is only the second time I've ever welded. I think it turned out OK. I've definitely got more to learn, but I already suspect MiG isn't for me. Not enough control. It may be my cheap welder but there's definitely a TIG rig in my future.
Last edited by cggorman; Sep 7, 2017 at 11:18 PM.
HD Forum Stories
The Best of Harley-Davidson for Lifelong Riders

7 Surprising Harley-Davidson Products that Are Not Motorcycles
Verdad Gallardo
8 Best Harley-Davidson Motorcycles Ever
Pouria Savadkouei
10 Worst Harley-Davidson Motorcycles Ever
Pouria Savadkouei
Killer Custom's Jail Break Is The Breakout That Refused to Blend In
Verdad Gallardo
Crazy Bunderbike Build Looks Amazing, But Is It Impossible to Ride?
Verdad Gallardo
Harley-Davidson Reveals Super Cool Cafe Racer Concept
Verdad Gallardo
Engraved Rebellion: Inside Bundnerbike's Glam Rock II
Verdad Gallardo
10 Motorcycles You Should Never Buy
Joe Kucinski
10 Things Harley-Davidson Needs to Fix in 2026
Verdad GallardoThread Starter
|
Extreme HDF Member
Joined: Jun 2014
Posts: 11,448
Likes: 2,299
From: NW Ohio
Well dammit, I tried! Took a lot longer than I expected to get the seat mounting finished up and the gas gauge was also unexpectedly difficult. I did get them both installed but I didn't have enough time to get the console mounting bracket fabbed up. Didn't really want to ride it with the console flapping in the wind.
I didn't take any pics of the gas gauge. Not much to see, really. It's the factory gauge with LED backlight. I wanted simple and classic. The PO had a Kury fuel/ammeter in it and the wiring was...not great. I had to cut it all out and re-wire it from the main harness back. Also had to change connector pins and some other stuff. The bike harness has AMP connector and the gauge came Deutsch (odd..) Of course, I didn't check to see that my wire bundle would fit thru the tiny conduit that runs thru the tank....so I had to build that bundle twice. Shrink wrapped and Techflexed, obviously. The back side of the LED version is considerably different than the original It didn't want to go all the way down into the tank cavity. Took some dremel work and careful wire routing but I got it...now it just looks stock. Yay?
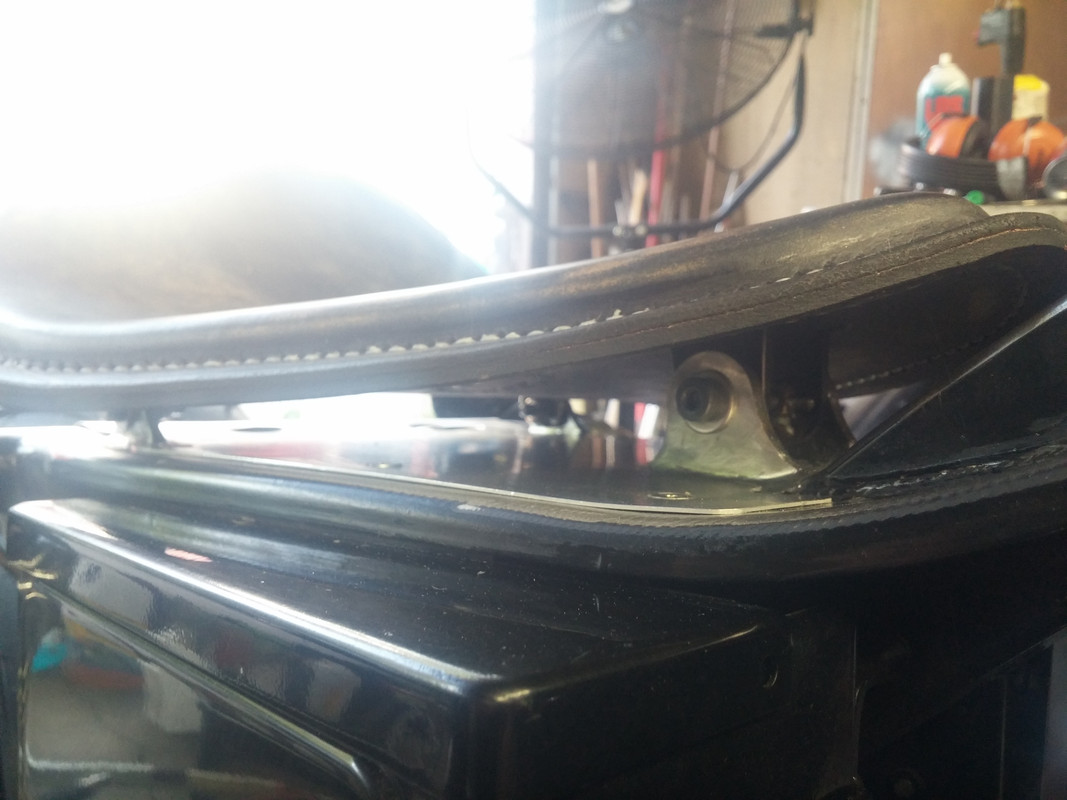
Seat mounted. Position and angle are pretty good. My thighs hit the battery and elec boxes pretty bad when standing, but I think the riding postion will be fine. Hard to tell for sure sitting on the stand.

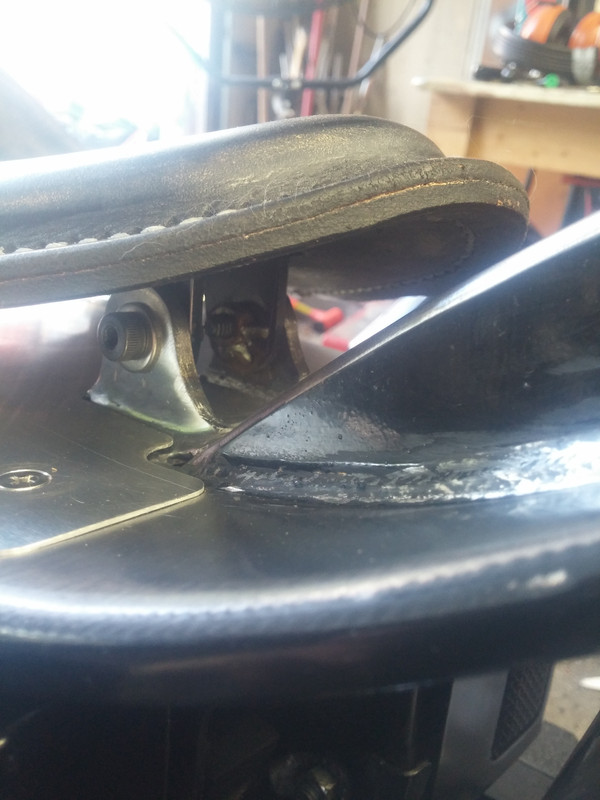
Can't get the seat any lower without coming up with a tool-less rear mount
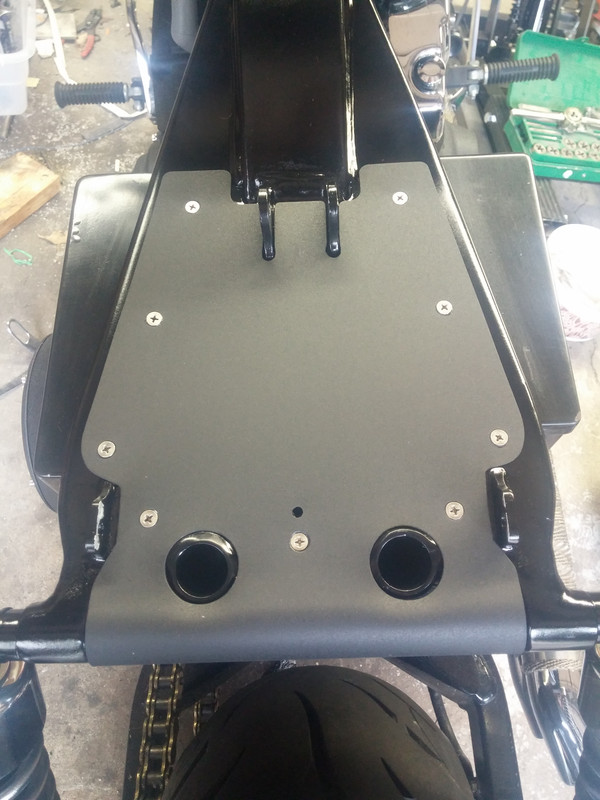
Trim panel all mounted up. Stainless undercut flat head screws gave me just enough room to be able to both countersink and thread the frame. I wish it was a little cleaner, but it will work. I'll probably polish the screws to match the rest of the bike's hardware. (I've changed at least 80% of it to polished stainless so far. The bucket of take-off bolts weighs about 5 pounds)
I didn't take any pics of the gas gauge. Not much to see, really. It's the factory gauge with LED backlight. I wanted simple and classic. The PO had a Kury fuel/ammeter in it and the wiring was...not great. I had to cut it all out and re-wire it from the main harness back. Also had to change connector pins and some other stuff. The bike harness has AMP connector and the gauge came Deutsch (odd..) Of course, I didn't check to see that my wire bundle would fit thru the tiny conduit that runs thru the tank....so I had to build that bundle twice. Shrink wrapped and Techflexed, obviously. The back side of the LED version is considerably different than the original It didn't want to go all the way down into the tank cavity. Took some dremel work and careful wire routing but I got it...now it just looks stock. Yay?
Seat mounted. Position and angle are pretty good. My thighs hit the battery and elec boxes pretty bad when standing, but I think the riding postion will be fine. Hard to tell for sure sitting on the stand.
Can't get the seat any lower without coming up with a tool-less rear mount
Trim panel all mounted up. Stainless undercut flat head screws gave me just enough room to be able to both countersink and thread the frame. I wish it was a little cleaner, but it will work. I'll probably polish the screws to match the rest of the bike's hardware. (I've changed at least 80% of it to polished stainless so far. The bucket of take-off bolts weighs about 5 pounds)
Last edited by cggorman; Jan 26, 2020 at 03:22 PM.