When you click on links to various merchants on this site and make a purchase, this can result in this site earning a commission. Affiliate programs and affiliations include, but are not limited to, the eBay Partner Network.
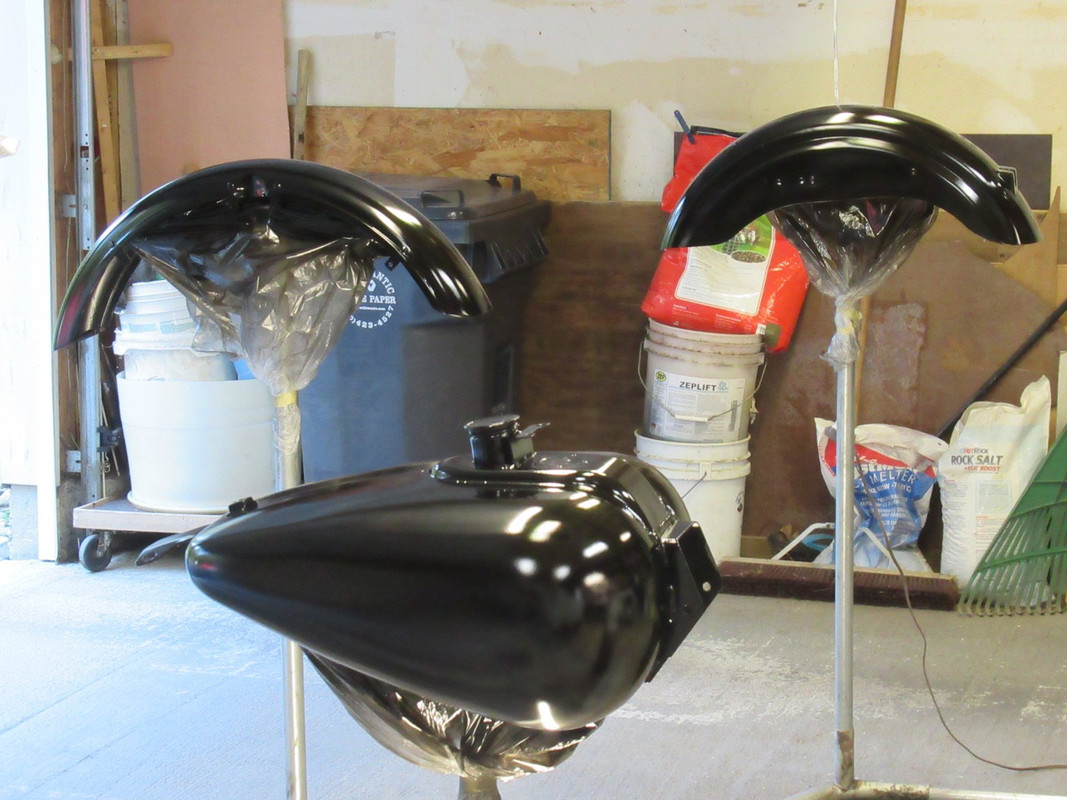
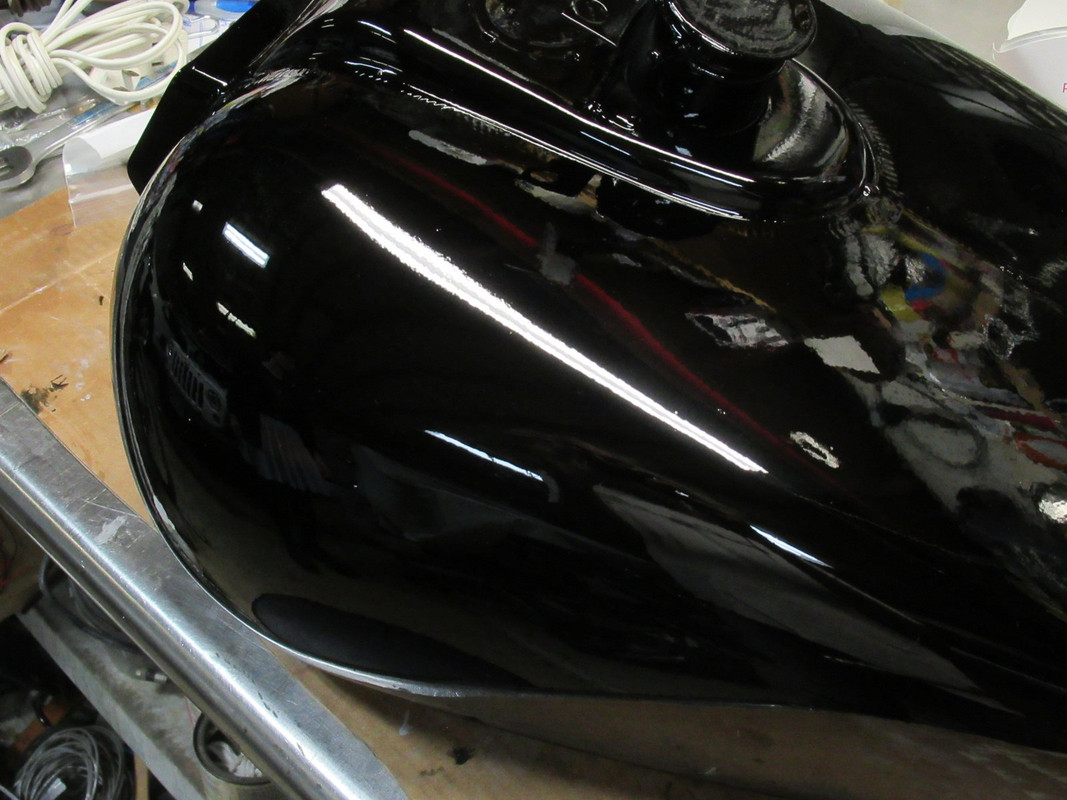
Got the decals on. Even though the clear looks nice, there is some orange peel.
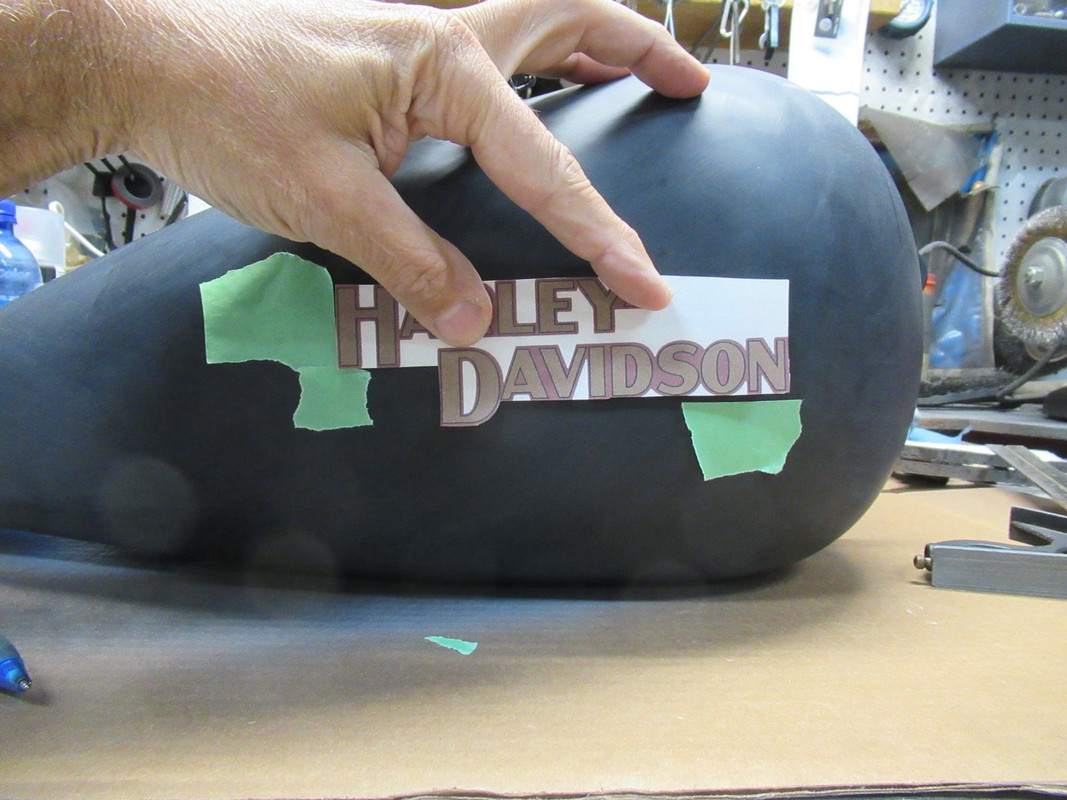
So I sanded with 500 and 1000 grit to prepare for clear over the decals. Then I measured my dimensions with a copy of the decal and marked with tape:
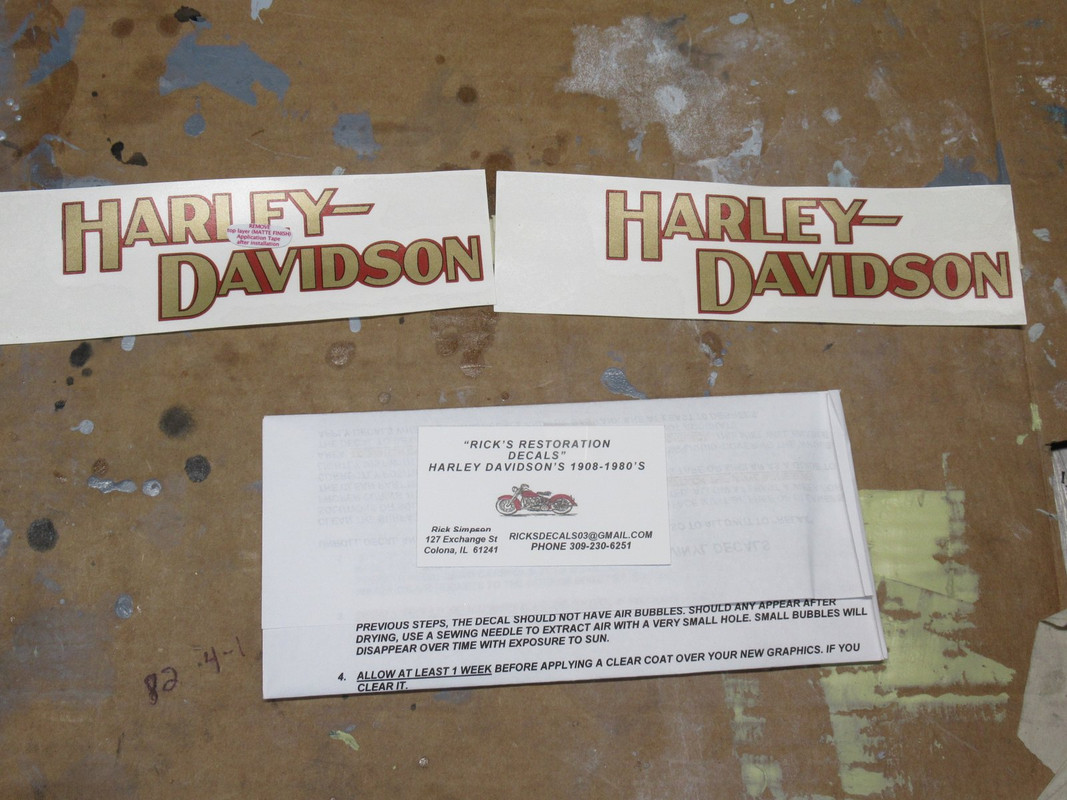
A little water sprayed to give me a chance to adjust and then I stuck them on. Rubbed the transfer paper with a spreader to get it stuck without bubbles. Peeled that off and it came out great!
I'm embarrassed to say I messed up the other side, applied it exactly 1" too far forward, so I peeled it off and ordered another one.
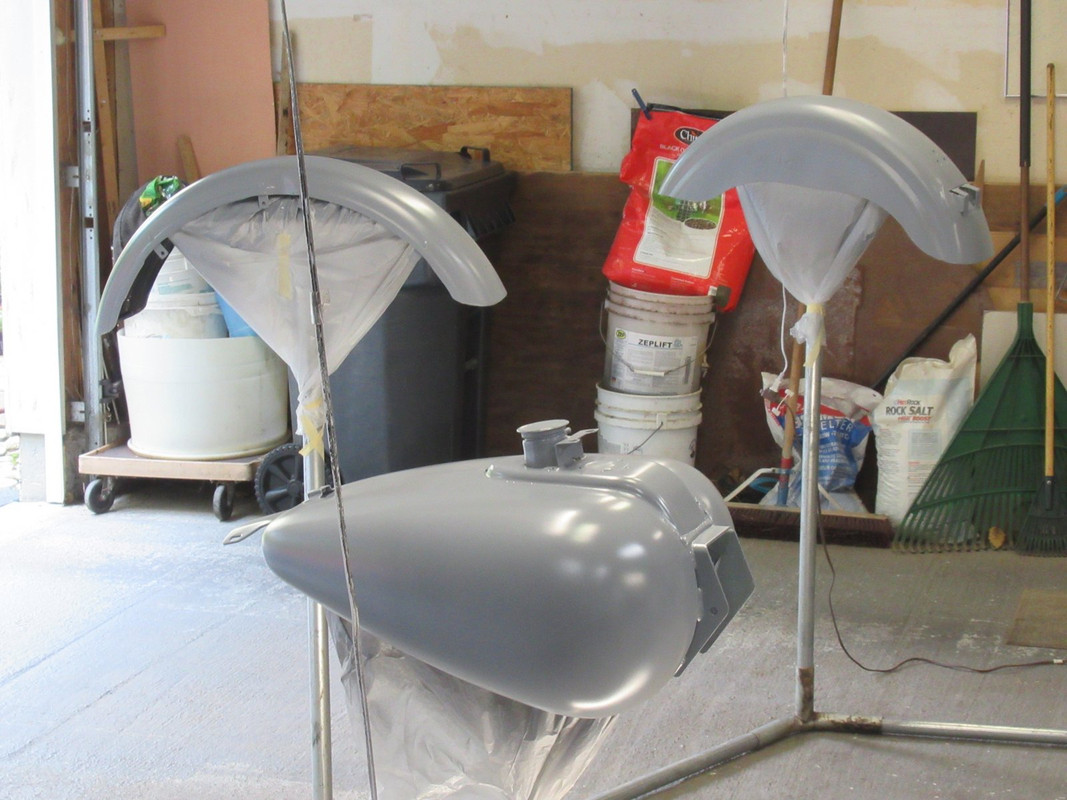
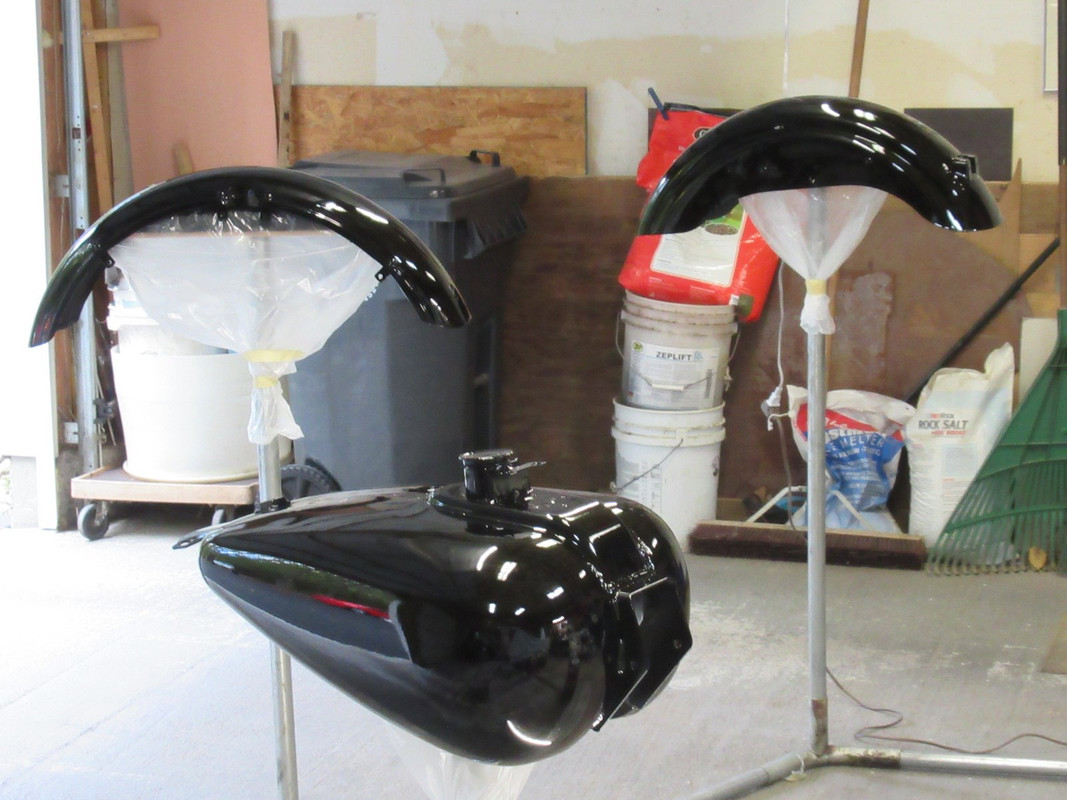
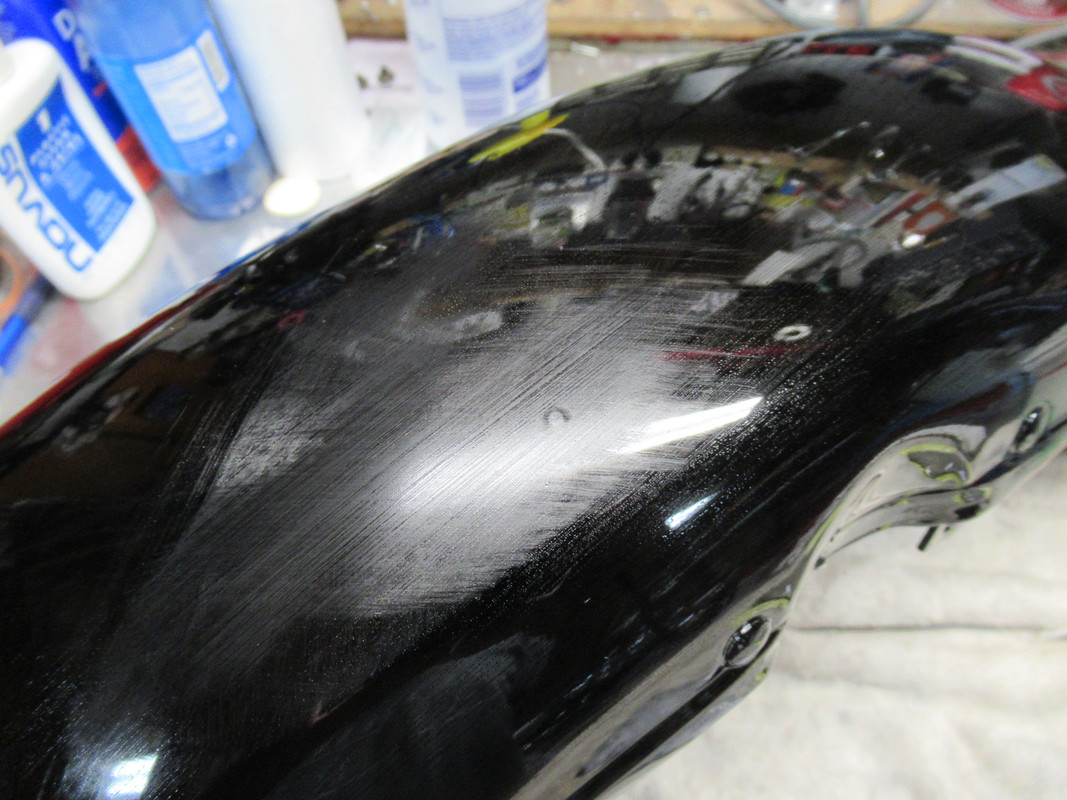
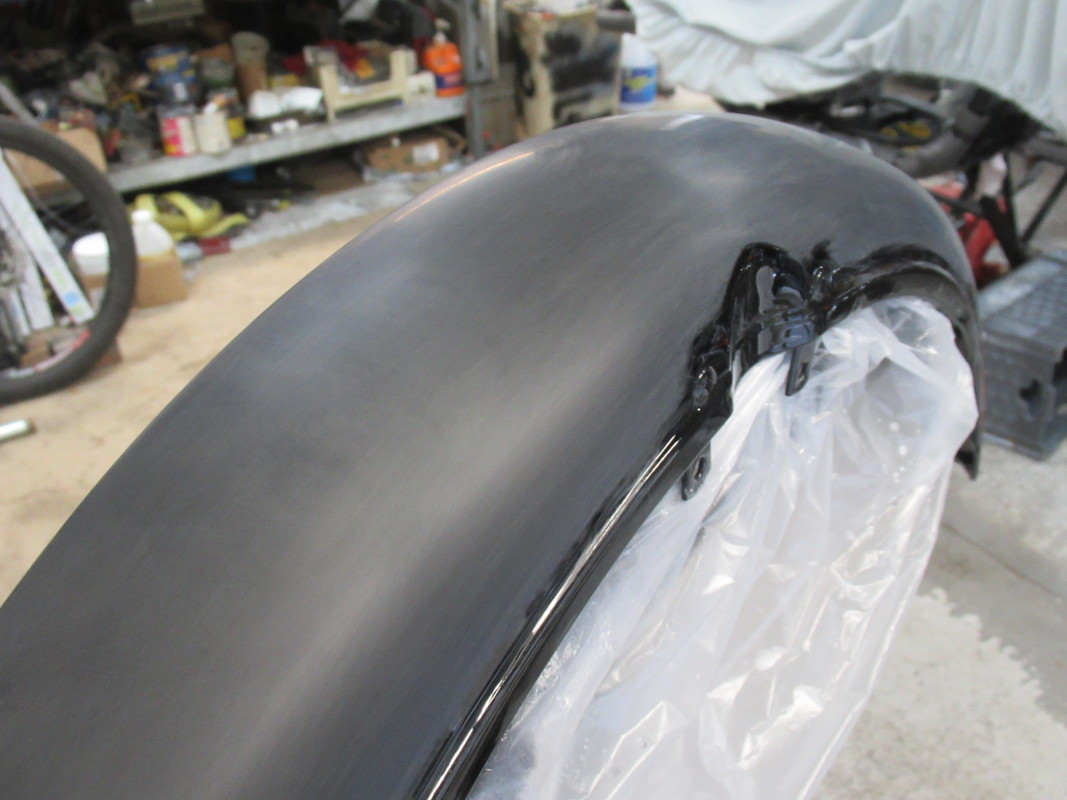
It's been a week so time to start cutting and buffing. First up, a little work with 600 grit to remove dirt, orange peel, etc. I spray in my garage, so there is bound to be something.
Then lightly sand with 1000 and 1200 to remove scratch marks. It's looking pretty good so far
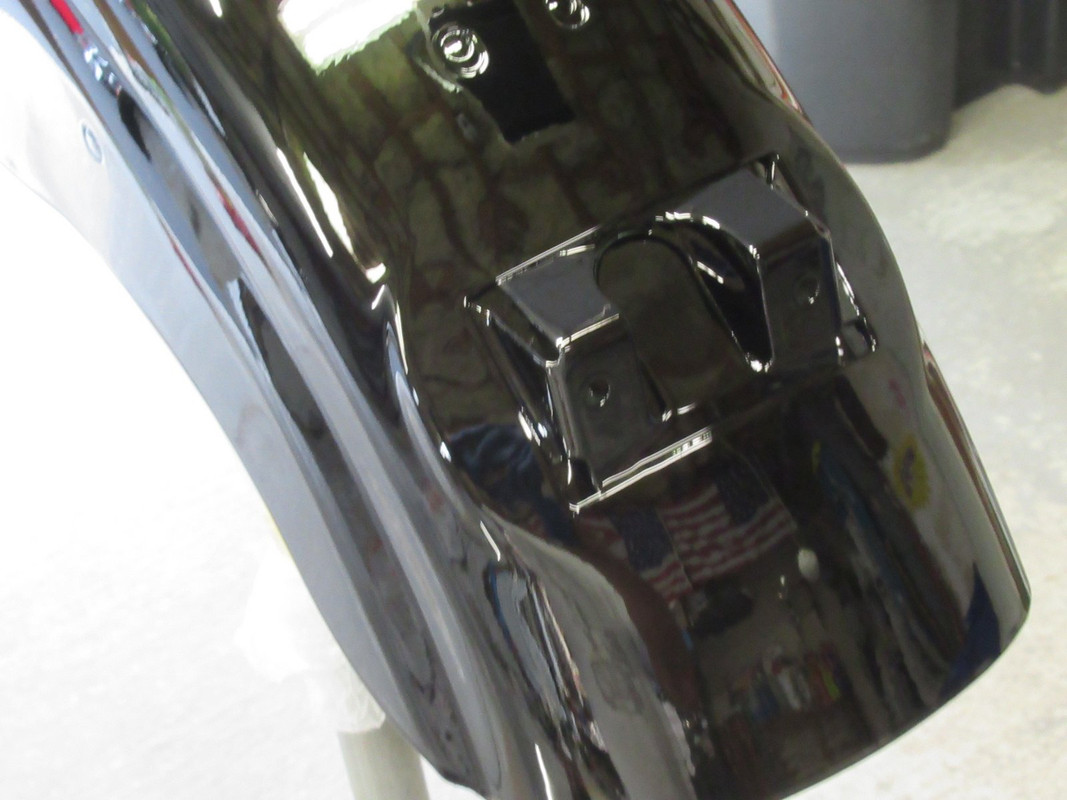
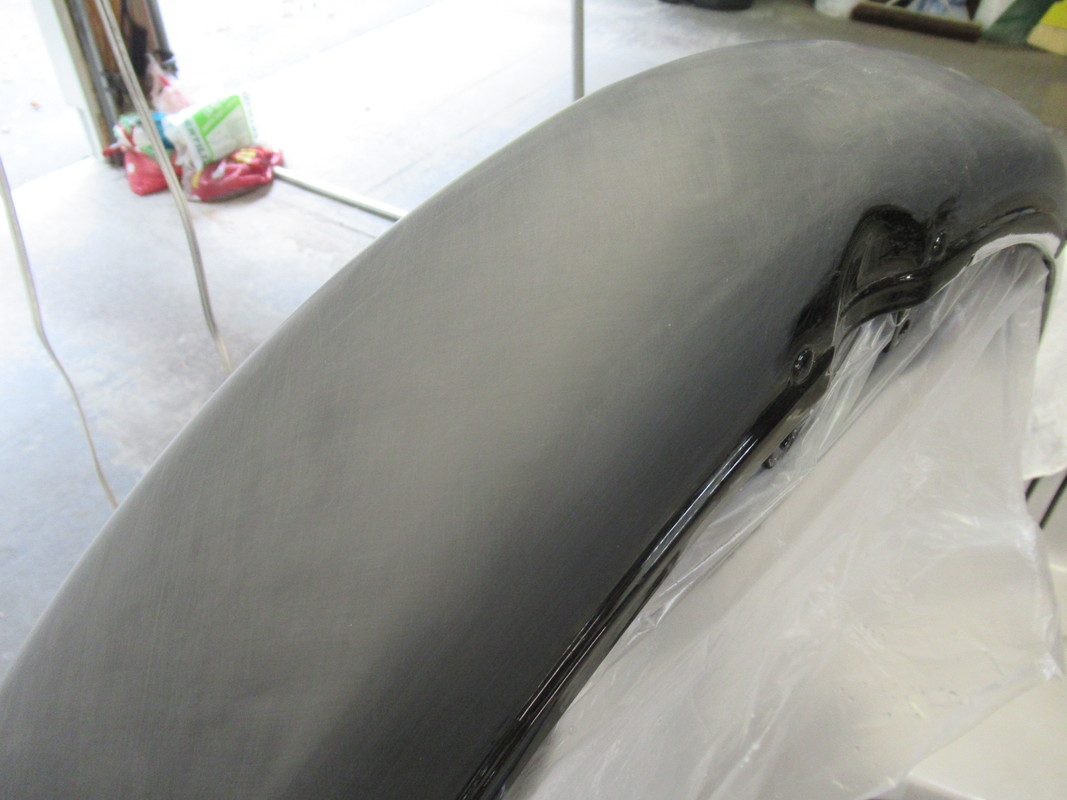
Then real lightly with 1500 and 2000 grit and it's ready for polishing. You can see I didn't sand the edges, rivets, etc. Didn't want to take a chance of burning thru.
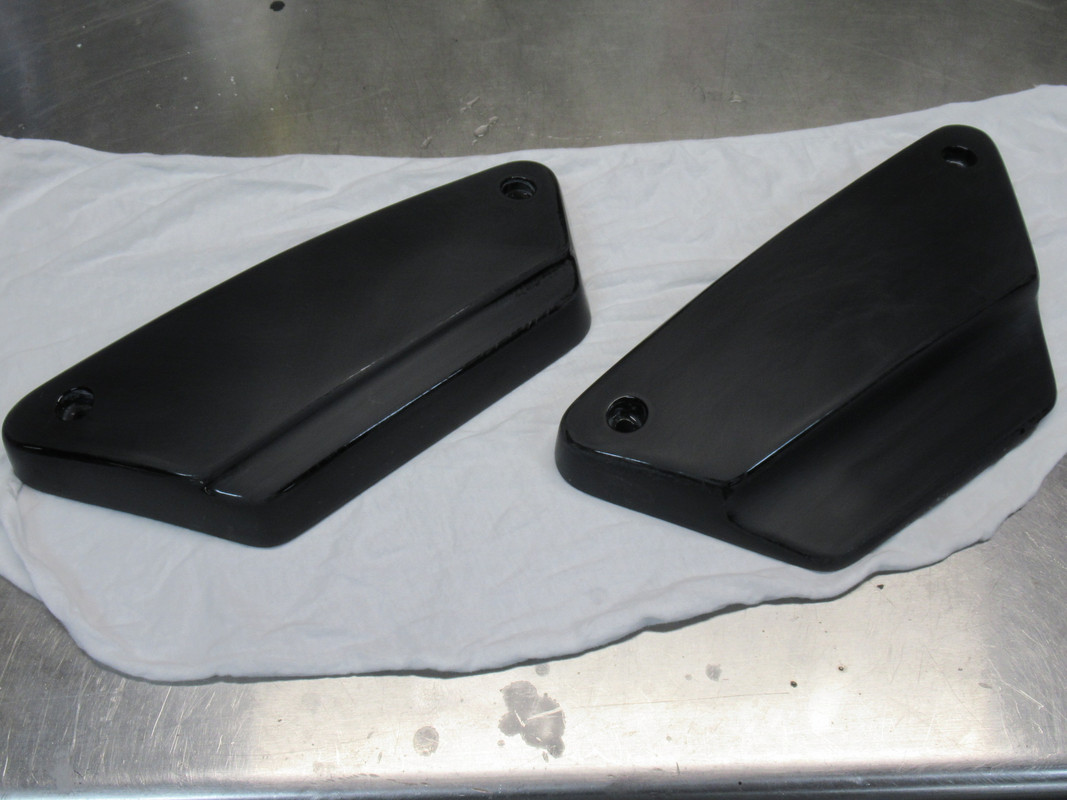
Did the same with the side covers.
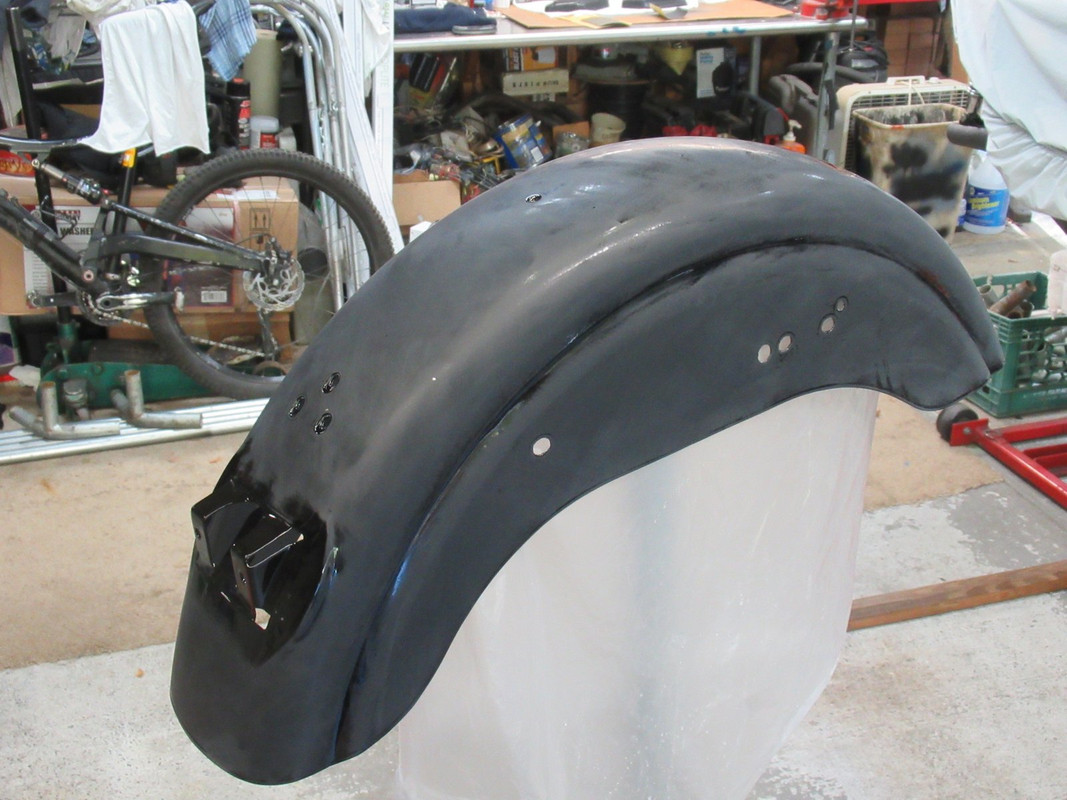
Still have to do the rear fender, maybe tomorrow. Then I'll polish and buff them all.
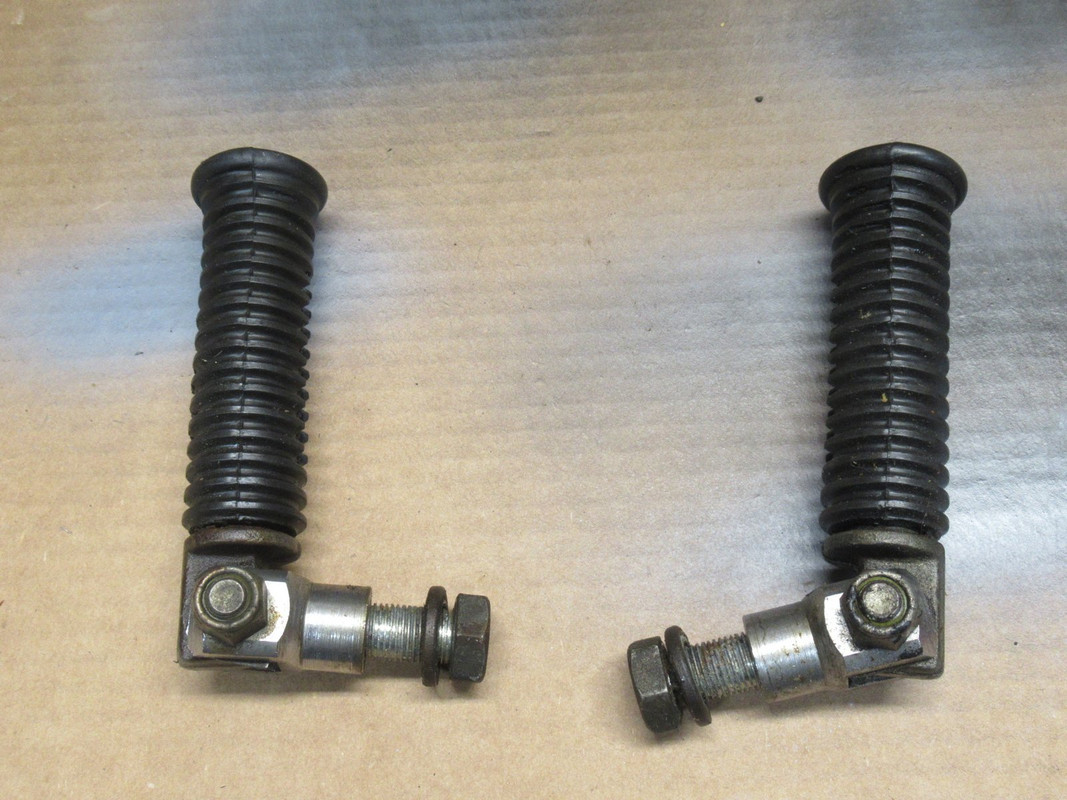
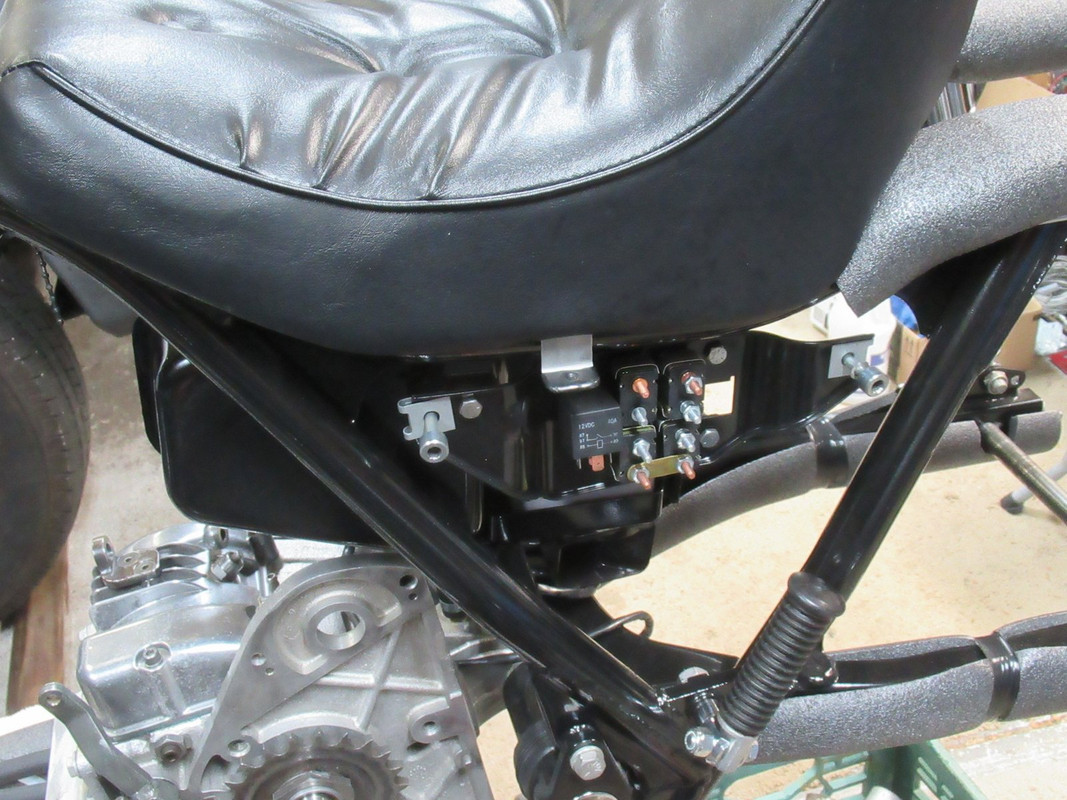
While waiting for new polishing pads, I tackled a couple small tasks that can go on the bike now.
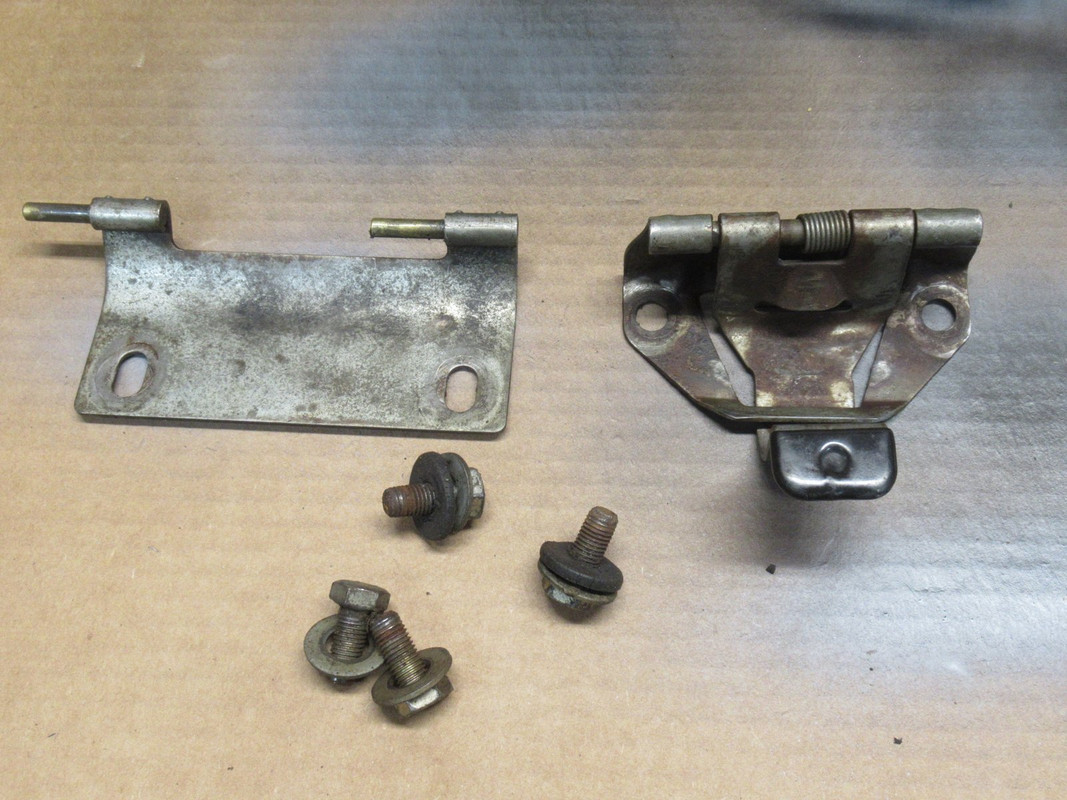
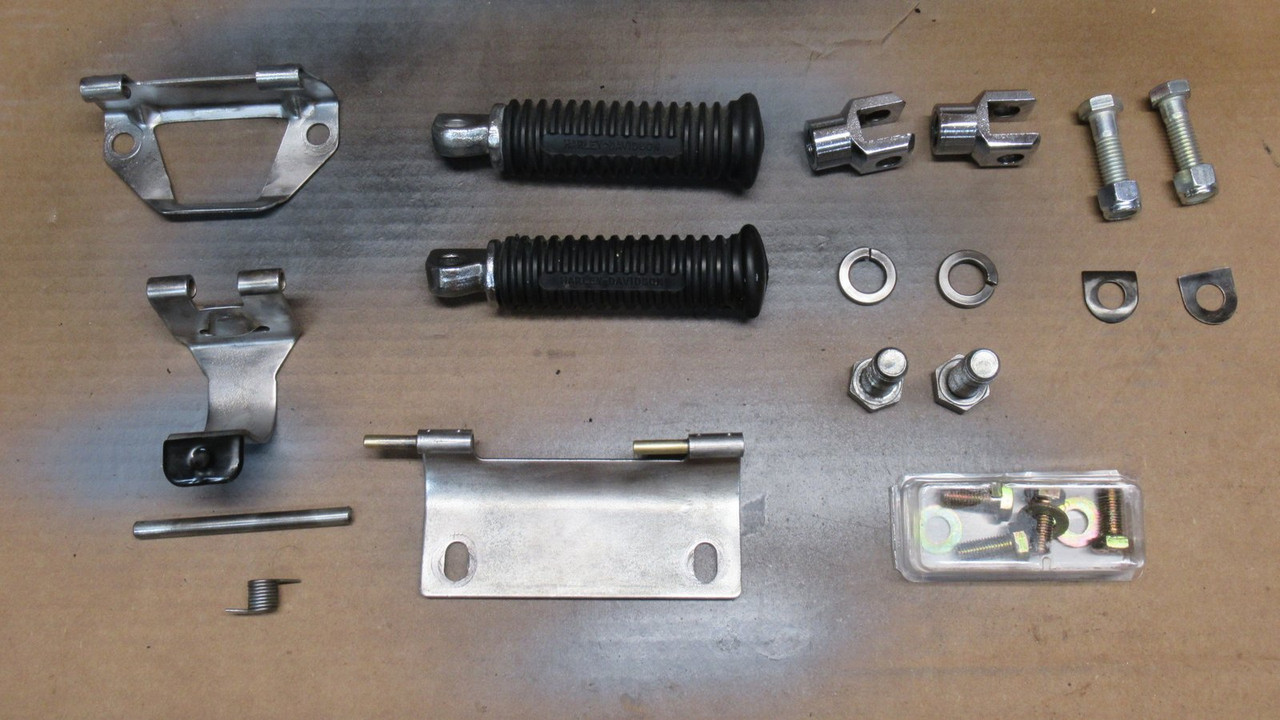
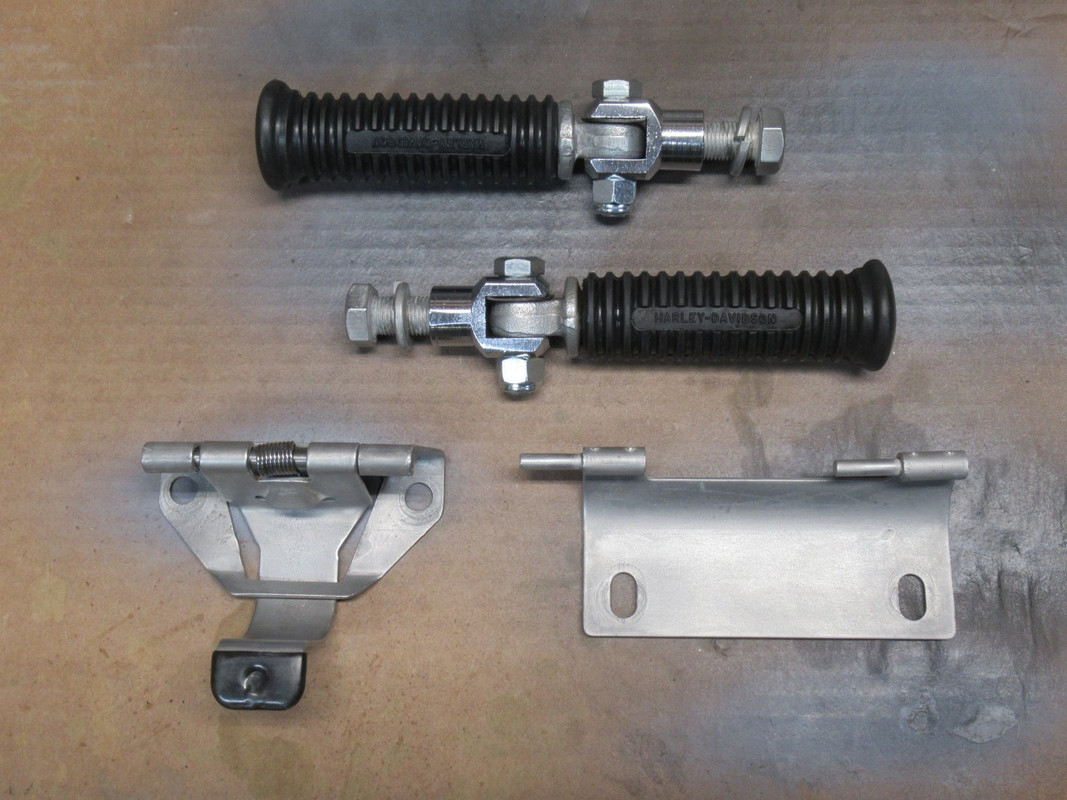
Took everything apart and cleaned them up. I was happy how good the seat hinge parts came out, they are hard to find and expensive.
Spent a bunch of time with the electroplating kit. The hinge parts needed three treatments to look even, but they look great!
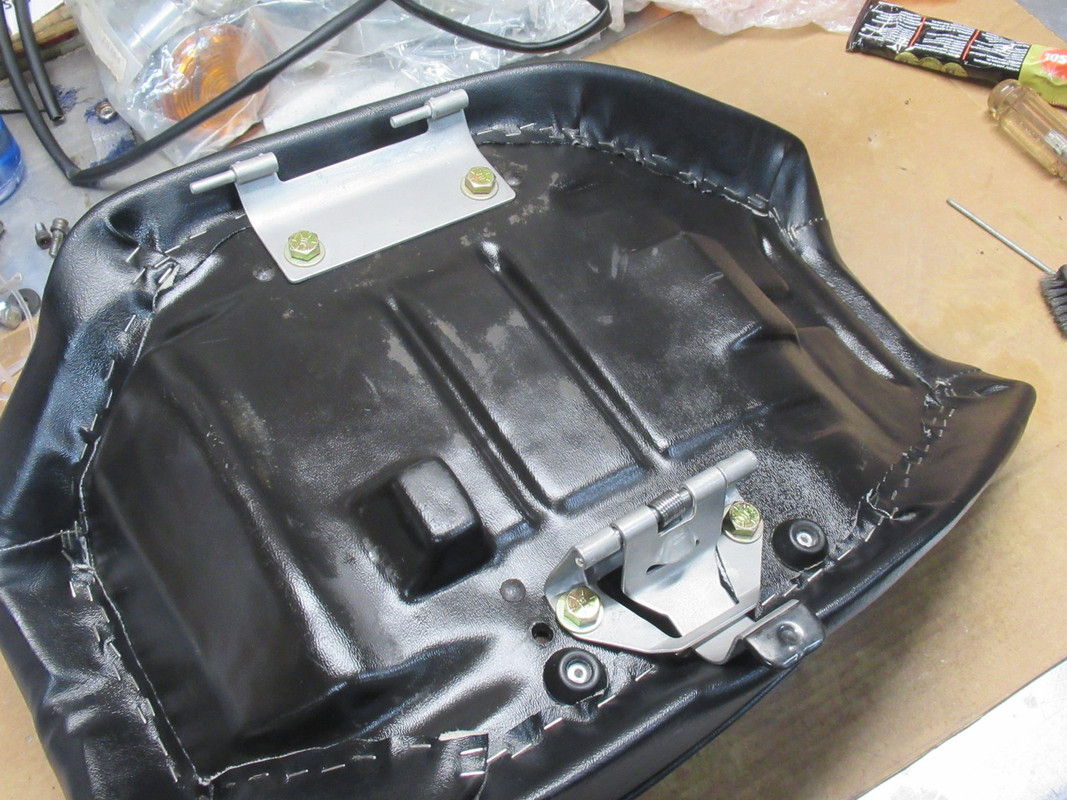
The original bolts were grade 8 for whatever reason, so I got new ones and bolted the hinge parts on. Somewhere in my parts drawers is the original restraint string and the little part that holds it into the seat. Once that reappears I'll install a new shoelace.
There were flecks of what appeared to be black paint in the release lever but I didn't commit to that yet. Can anyone confirm the part that shows should be black?
Harley-Davidson Fat Boy Becomes a Dark, Decepticon-Inspired Custom
Slideshow: Killer Custom's latest build relies on styling changes rather than performance upgrades, giving the cruiser an entirely different personality.
7 Surprising Harley-Davidson Products that Are Not Motorcycles
Slideshow: The bar-and-shield logo shows up on far more than motorcycles, some of the company's most unexpected products have nothing to do with riding.
Slideshow: From the troubled AMF years to modern misfires, these bikes earned reputations for reliability issues, questionable engineering, or disappointing performance.
Crazy Bunderbike Build Looks Amazing, But Is It Impossible to Ride?
Slideshow: The Swiss custom shop has taken a Harley Softail and stretched it into something so long and low that it looks closer to a rolling sculpture than a conventional motorcycle.
Engraved Rebellion: Inside Bundnerbike's Glam Rock II
Slideshow: A standard cruiser becomes an intricate metal canvas in the hands of a Swiss custom house known for pushing Harley-Davidson platforms far beyond their factory brief.


 First step the same, remove imperfections with 600 grit: