When you click on links to various merchants on this site and make a purchase, this can result in this site earning a commission. Affiliate programs and affiliations include, but are not limited to, the eBay Partner Network.
Yes, I'm leaning towards finding a good aluminum welder. There is one decent looking fork leg on ebay but it has similar dents as the ones I repaired, just less of them. Another pair of them, the guy thinks the crap all over them is gold, lol.
Thanks John, this is what I need, right leg, 10" dual disks. Let me know what you have.
Yes, Mike did a great job on my transmission case, you can't see where it was repaired. But shipping back and forth would be a killer. I'm sure there is someone around here that can do the welding and I'll take care of the cosmetics. Thanks though
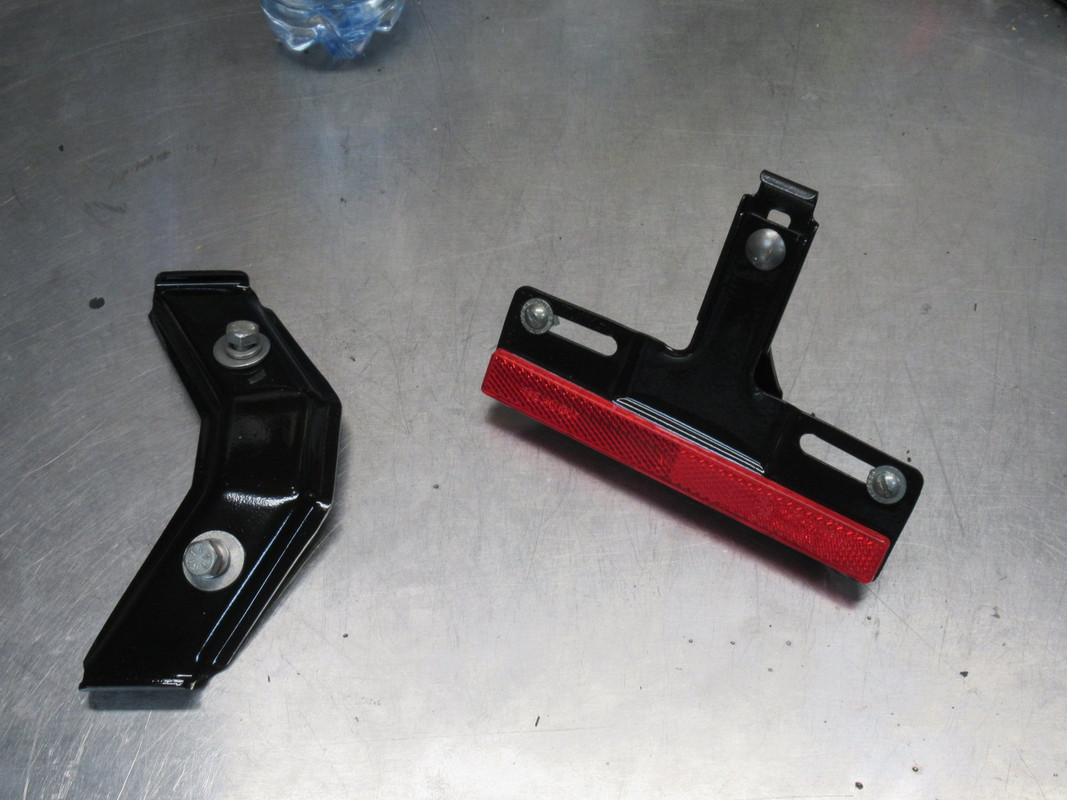
Over the weekend I finished painting the brackets for the license plate and passenger seat strap
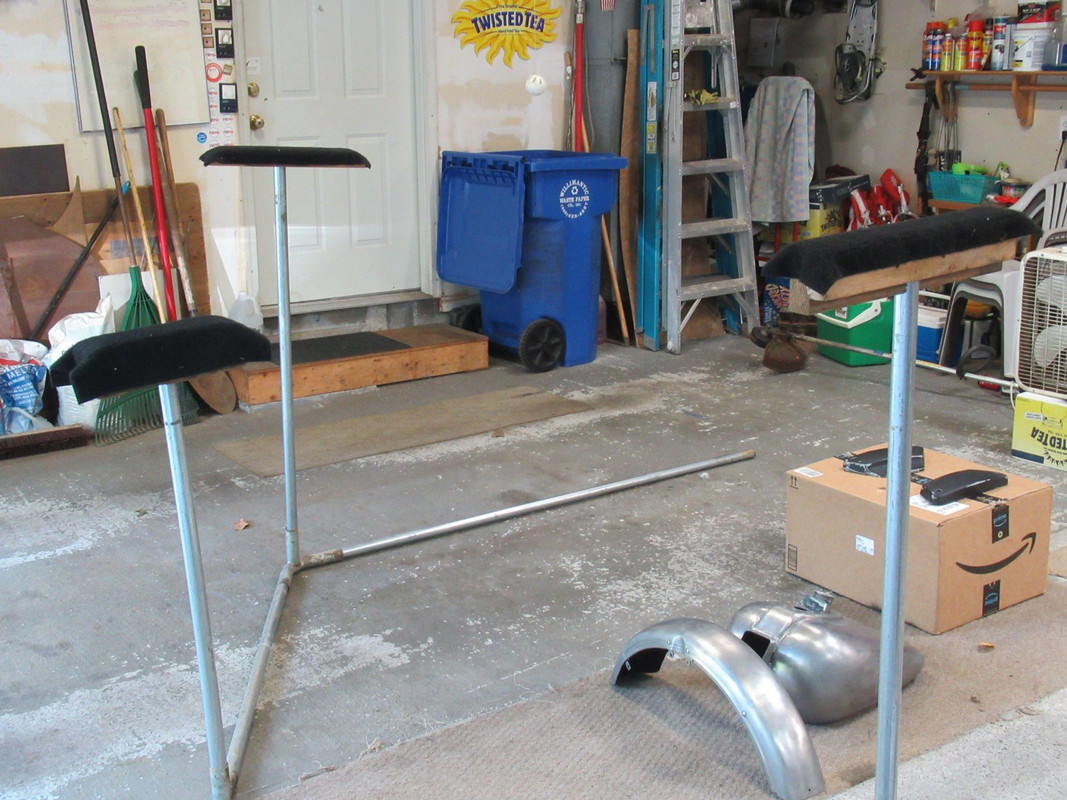
Then today was 70 degrees with low humidity. Perfect paint weather. I made stands for the tank and fenders with parts from a friend's tent, and some wood covered with boat trailer bunk cloth.
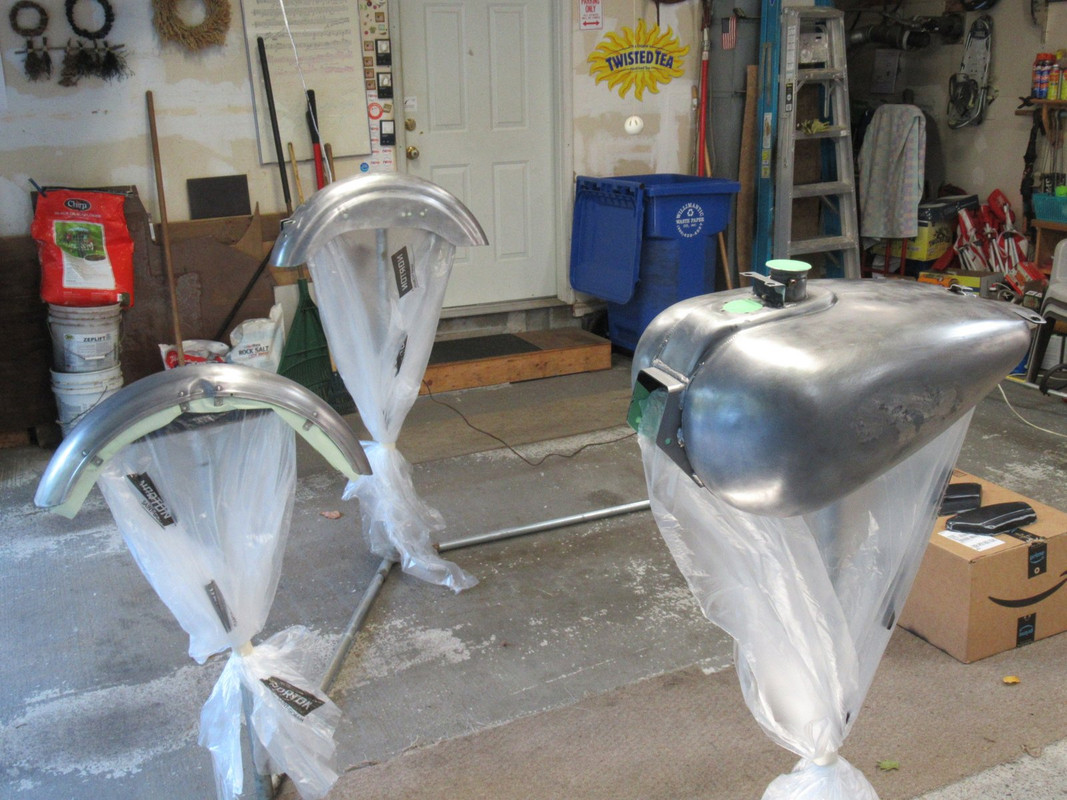
Gave the parts a quick once over with 320 grit paper and then spent an hour or so cleaning them with acetone. I also saw on the right side of the tank where the original tank decals discolored the metal! Now I have true measurements.
A little masking tape and they are ready, along with the side covers:
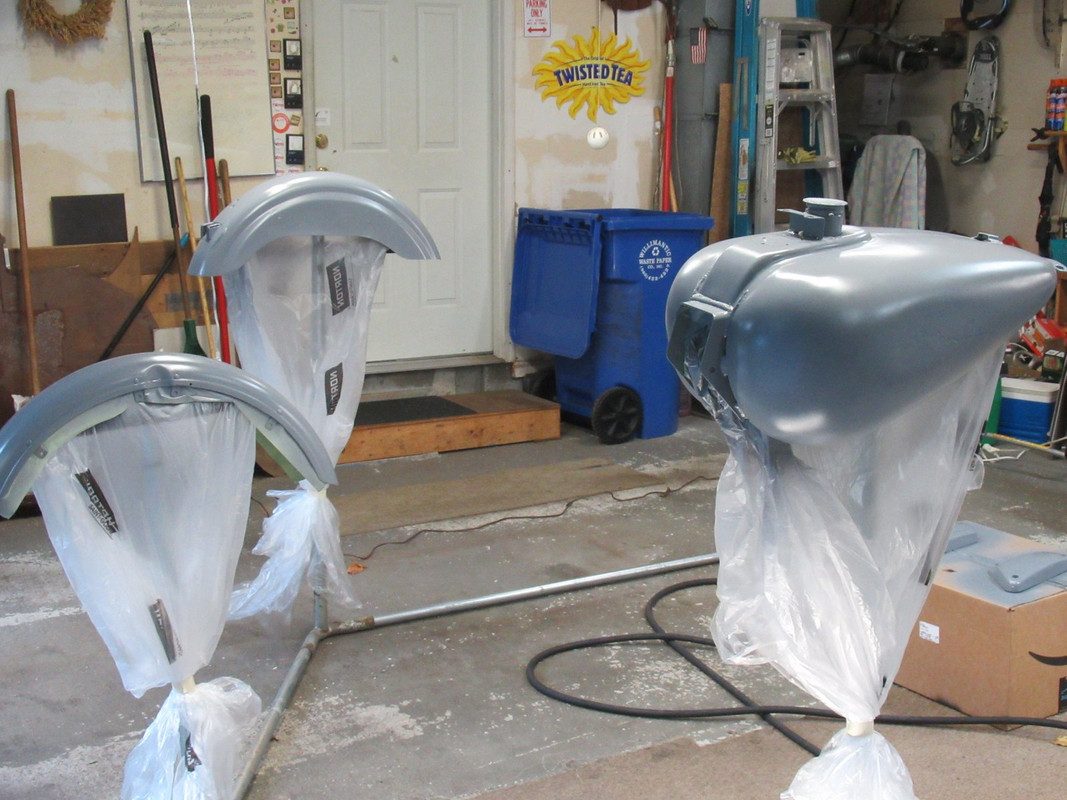
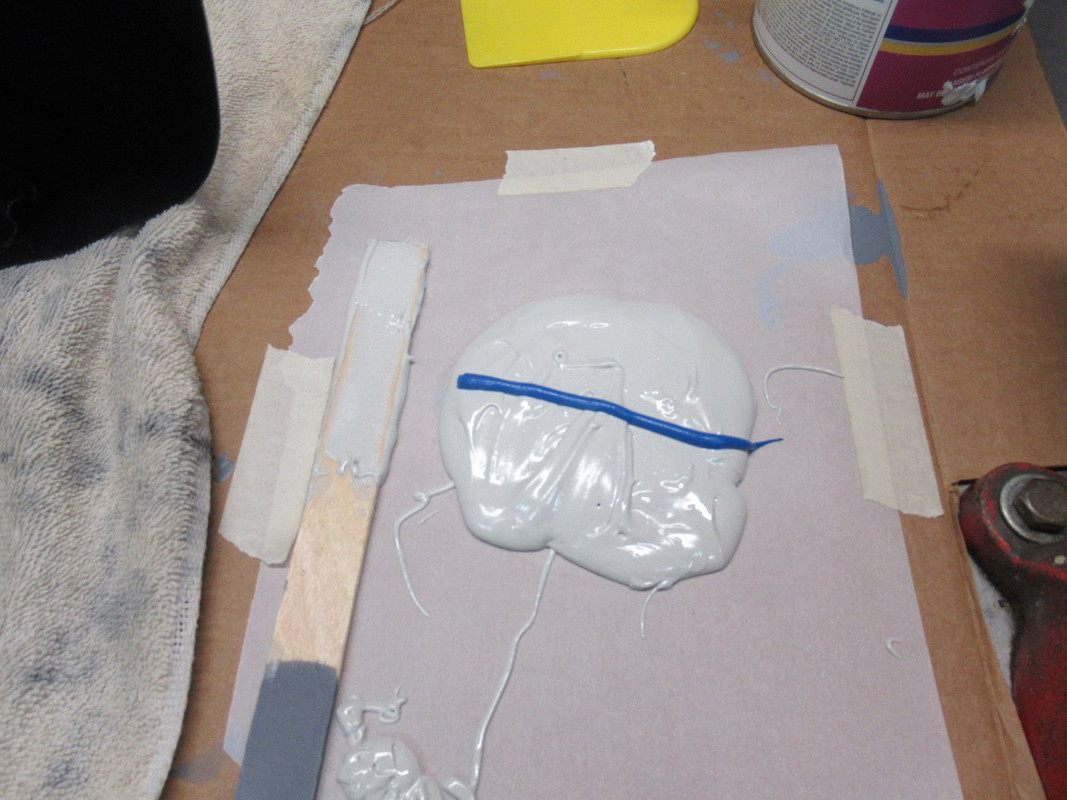
I'm using PPG Omni Epoxy Primer, and the supply house told me three times it goes on before body filler, so that's what I did:
I'll give them a few days to cure then do body filler, sandable primer, and another coat of epoxy primer before paint. I'm looking forward to making progress.
Mike is the guy - you will be back with YA. Know I should have had mike do it and now i need him to fix what the other guy did
You are right, of course, but someone on a different forum found these for me! So I can just repair mine good enough to sell or save for another project.
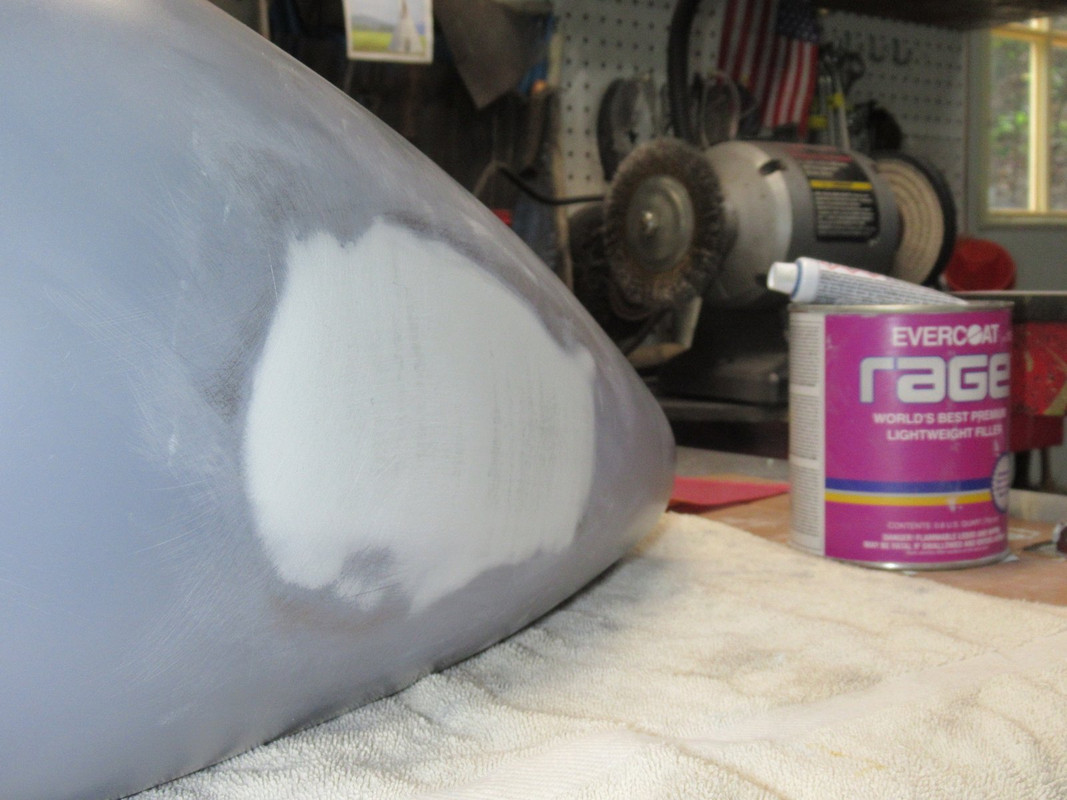
Today was another productive day – put on a couple layers of body filler!
Evercoat is the gold standard for body fillers. I used their Rage because Ultra was too expensive, and I am not a production shop.
First scuff the areas lightly with 80 grit and green scuff pad in the holes. Then mix a ribbon of hardener with a 4″ puddle of filler. Nice of them to use a 4″ diameter can that I can use as a gage.
Two layers of filler got the tank almost perfect. Use 80 grit to get the filler close, then contour with 120 and then finally with 220 grit to smooth and feather the edges. The key to a good contour is close your eyes and feel the surface. Your fingers will tell you if it's right. I had something to do this evening so I’ll finish tomorrow.
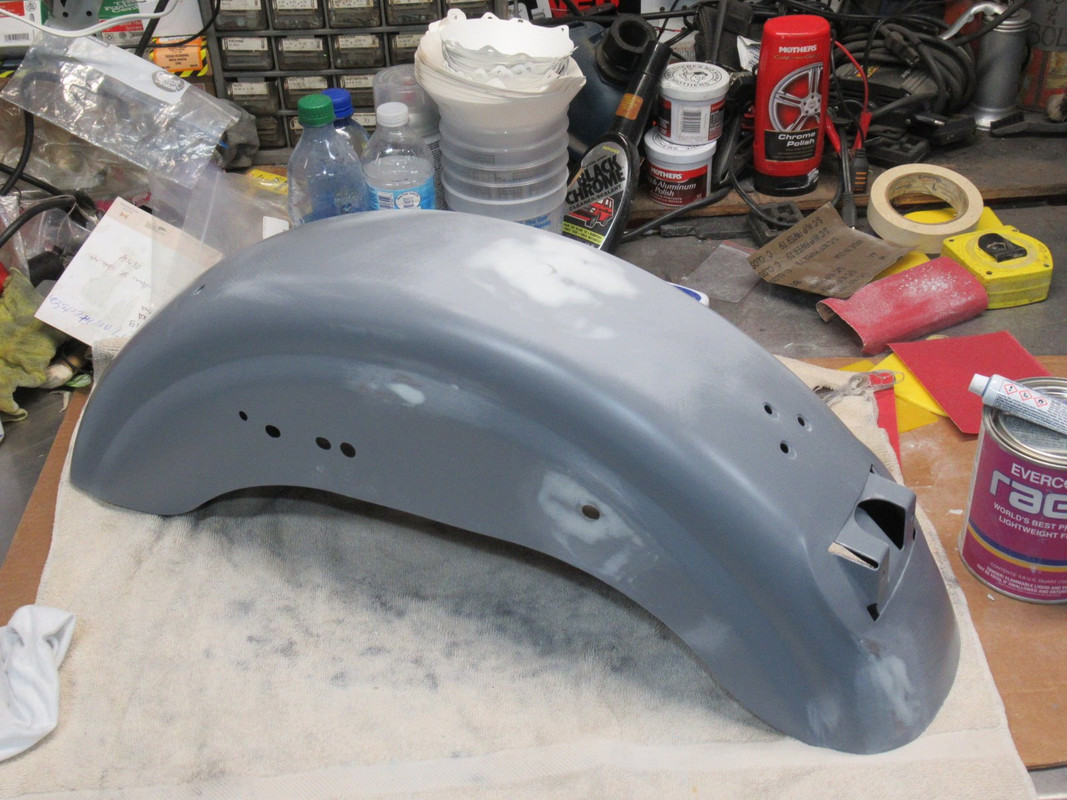
Rear fender had a few wobbly places. I hammer and dolly’d them close, and they came out good with filler. The rear seat bolt hole needed the most work. There is a screw on the inside to protect the hole. I’ll clean that up when it’s ready for primer.
Since body filler absorbs water, I’m storing the parts inside.
The next few days will have low humidity, so I’m looking forward to more progress.
My fingers told me a couple places needed a little more filler, so I scuffed them up before mixing a small batch.
Then I sanded all the parts with 220 grit and looked around for shiny spots.
I mixed up a couple batches of glazing putty. It uses half the amount of hardener, but still kicked quicker than the filler. Wasted a bunch, but got all the parts finished. This goes on very thin, and is for pinholes, etc.
Then it was time for three coats of Omni 2K High Build Primer Surfacer 15 minutes apart.
I'll let them cure for a while then do the finish sanding.
7 Surprising Harley-Davidson Products that Are Not Motorcycles
Slideshow: The bar-and-shield logo shows up on far more than motorcycles, some of the company's most unexpected products have nothing to do with riding.
Slideshow: From the troubled AMF years to modern misfires, these bikes earned reputations for reliability issues, questionable engineering, or disappointing performance.
Crazy Bunderbike Build Looks Amazing, But Is It Impossible to Ride?
Slideshow: The Swiss custom shop has taken a Harley Softail and stretched it into something so long and low that it looks closer to a rolling sculpture than a conventional motorcycle.
Engraved Rebellion: Inside Bundnerbike's Glam Rock II
Slideshow: A standard cruiser becomes an intricate metal canvas in the hands of a Swiss custom house known for pushing Harley-Davidson platforms far beyond their factory brief.
Slideshow: Harley-Davidson's challenges aren't abstract; they show up in dropping shipments, shrinking dealer traffic, and strategic decisions that aren't yet translating into growth.