When you click on links to various merchants on this site and make a purchase, this can result in this site earning a commission. Affiliate programs and affiliations include, but are not limited to, the eBay Partner Network.
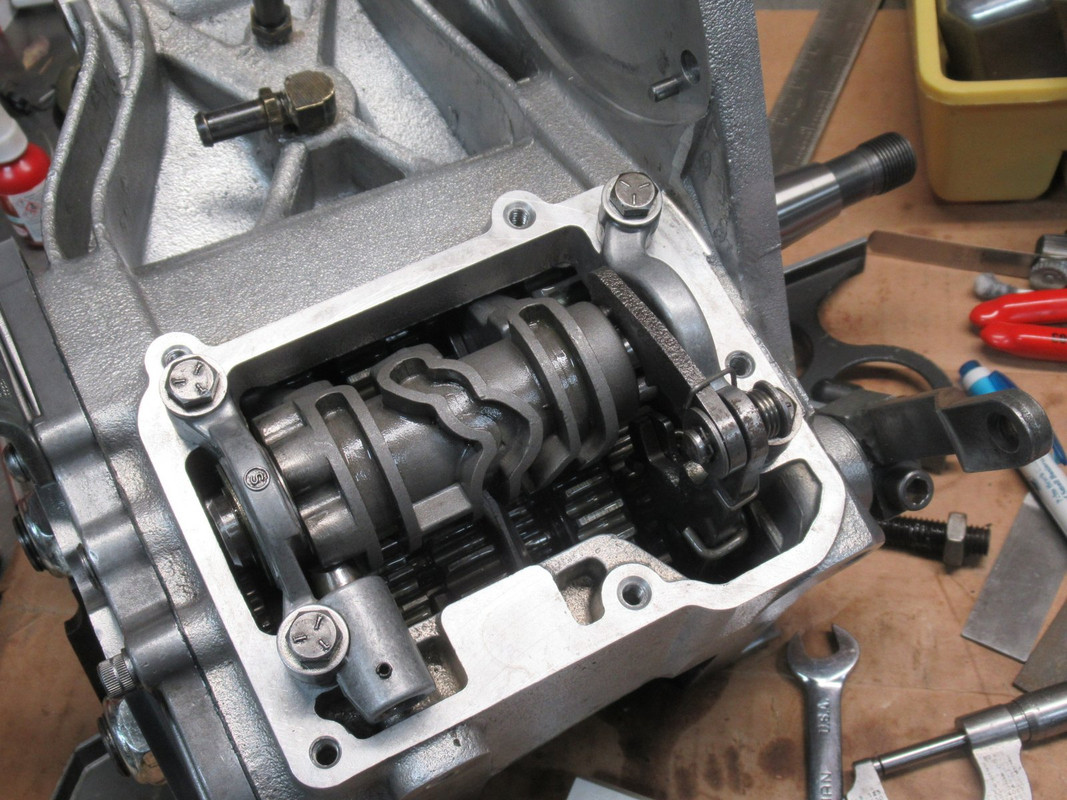
I spent a lot of time verifying the location of the shift drum. Harley manual says 3.043" from trap door surface to center of middle shift groove. I forgot to measure it before installing the gears, so I had to work off the outer machined surface of the trap door. It appeared it was .012" or so off. Another method was measuring from the outer machined surface of the mounting bracket to the groove, 1.992", and it was also off by .010 or more. IDK if that was the original setup, but there were two inner shims there, .031" and .017", total .048", which seems a lot. Subtracting .012" leaves .036", so I used the .035" shim in the pack. The outer shim worked out to .031" to give the correct .004" free play. Done
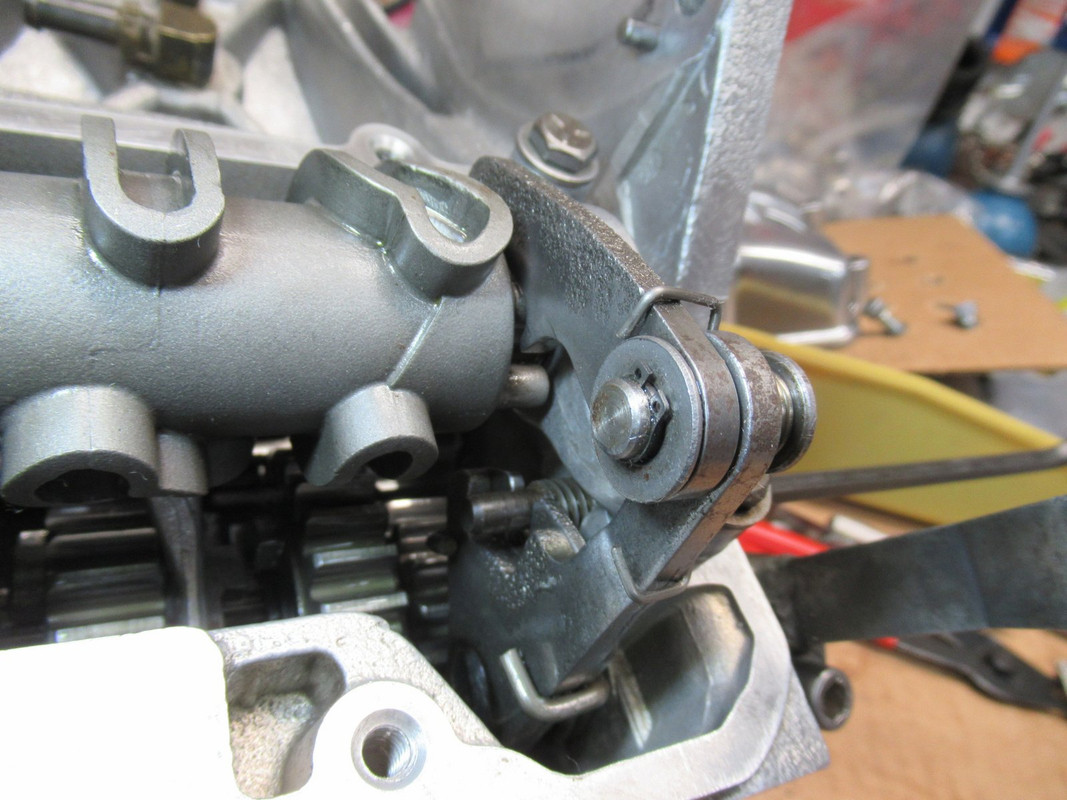
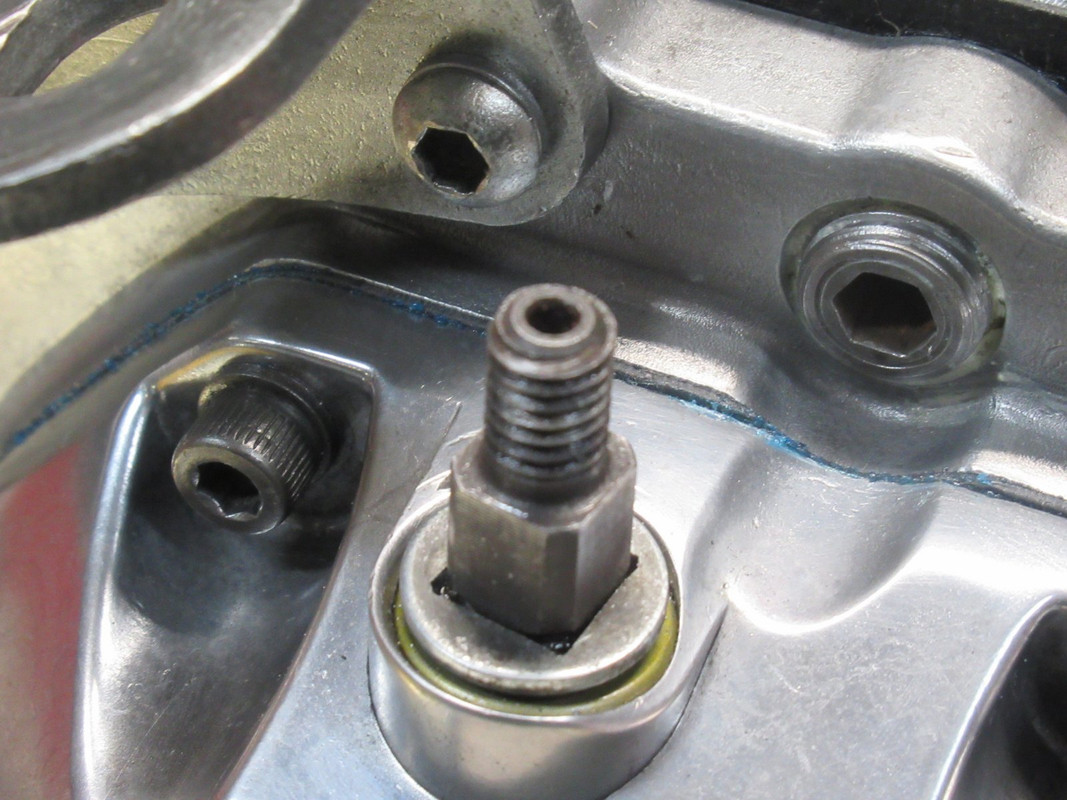
Next thing was installing the pawl spring adjusting stud, and making sure the shift pawl was centered.
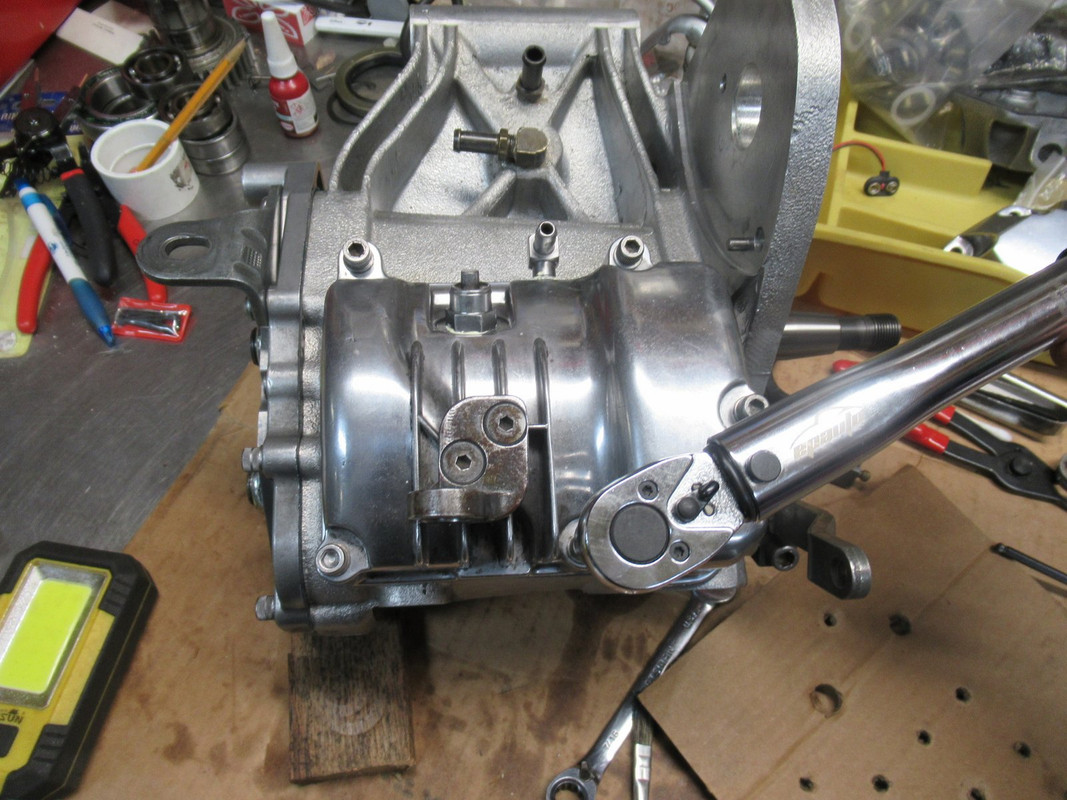
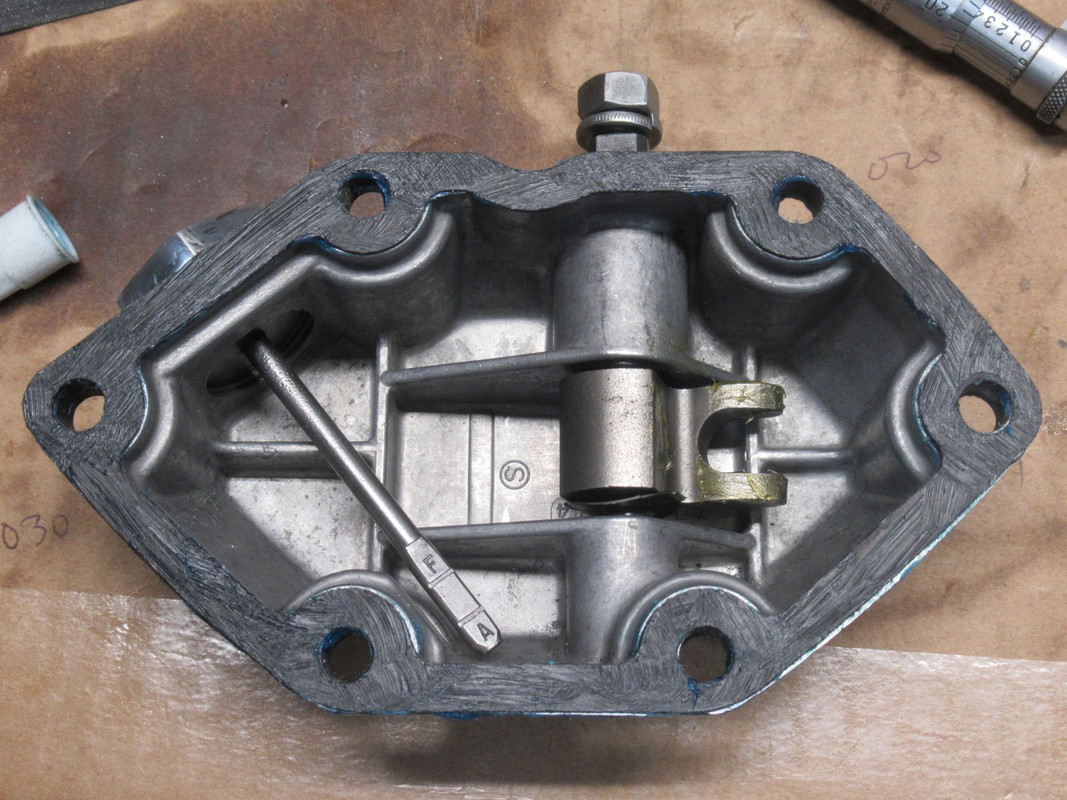
Then came the neutral switch and vent in the top cover, gasket and torque to spec:
I updated the clutch release shaft and finger to the later version with a bushing and oil seal. The parts are similar but not the same:
Everything fit up to this point.
However, he clutch cable lever didn't fit on the shaft, the newer one is .018" bigger, so the square hole needed some work with a file to fit. It was also a little short, so I had to make this spacer washer so it would tighten down:
I replaced the throw-out bearing with a made-in-USA Torrington bearing, and buttoned it all up:
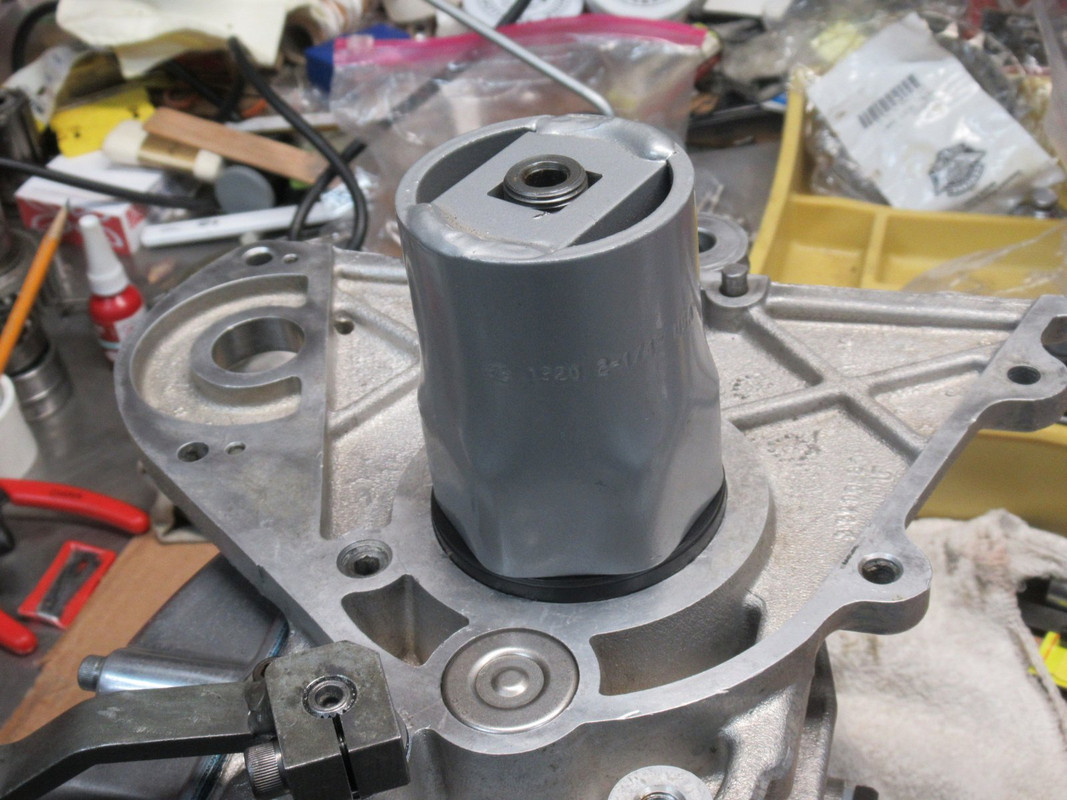
Lastly, I installed the main drive gear seal. There is an expensive tool to drive it in square, but fortunately for me, a 2 1/4" socket 3/4" drive lines up on the shaft and keeps the seal aligned:
The only thing left to do is machine the sprocket spacer for the later model quad ring so it doesn't leak. Until then, it's done
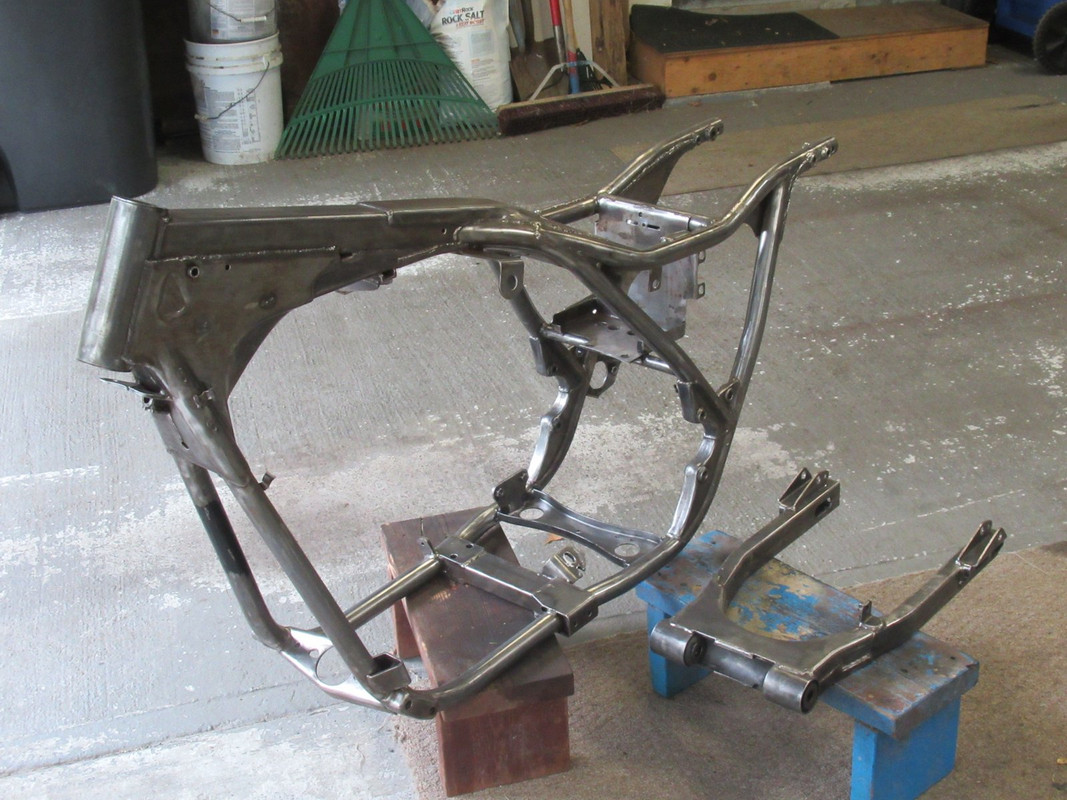
Next is to clean and paint the frame so it can start going together!
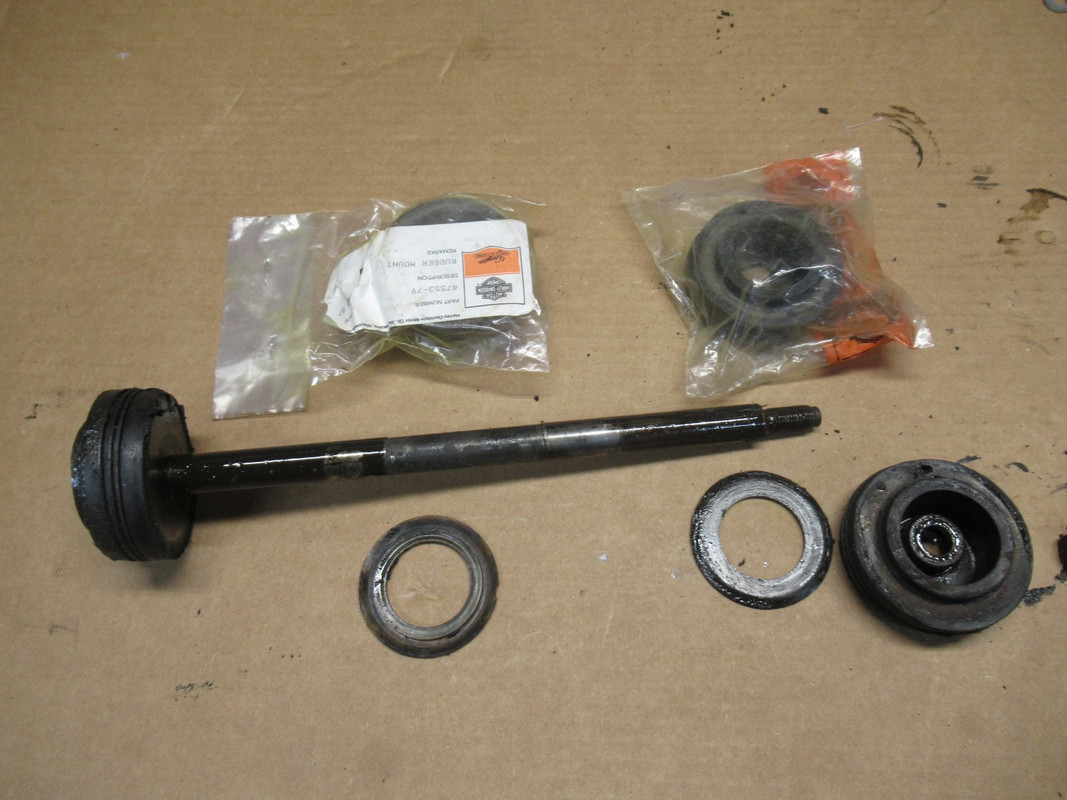
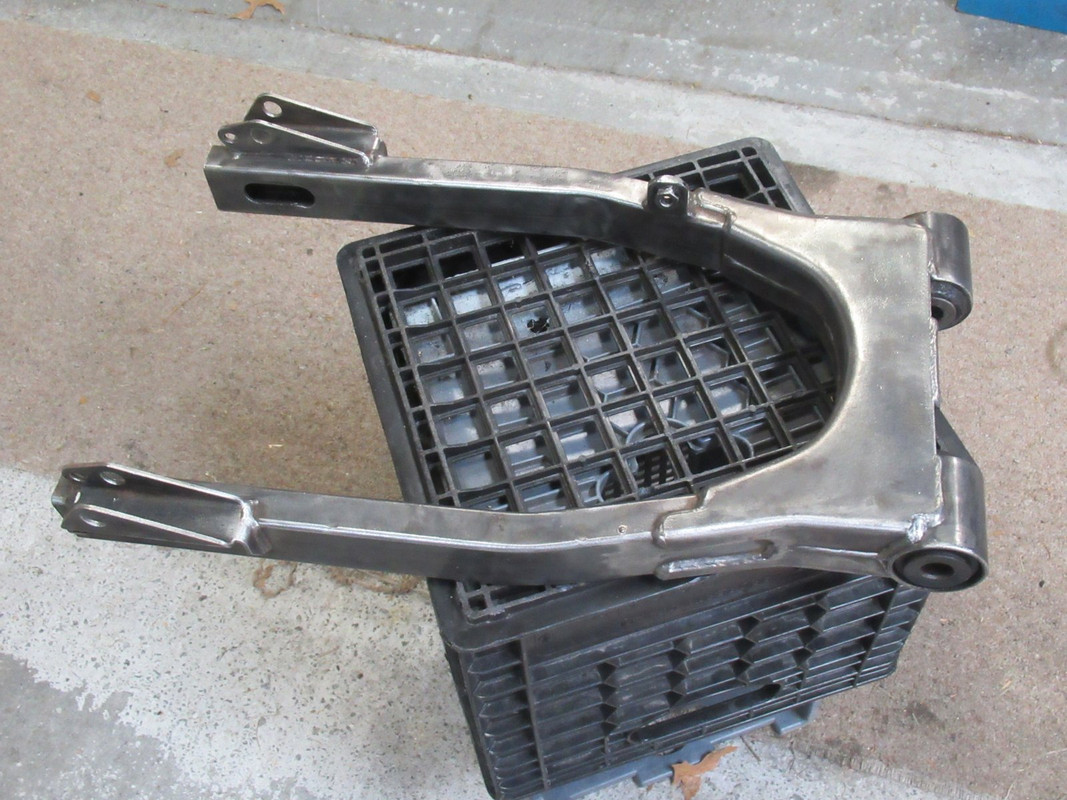
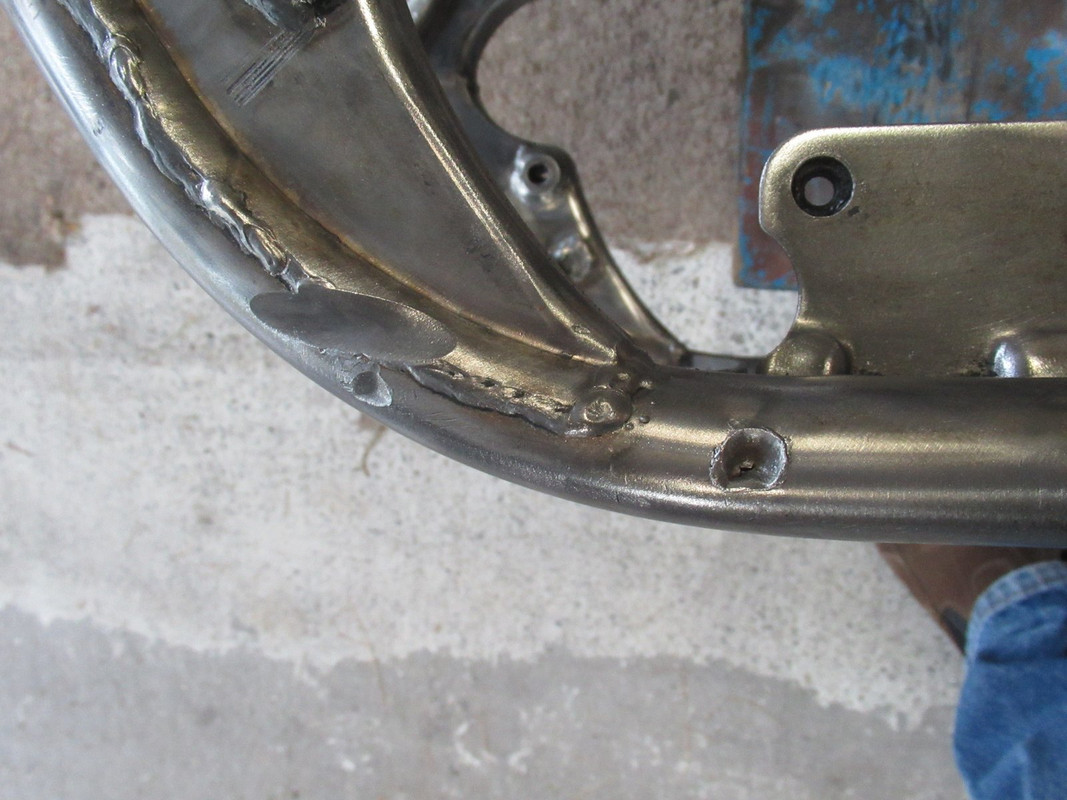
Yesterday and today were good days to spend in the garage. Wife at work, and rain/drizzle all day. Now that the transmission is done, it's time to get the frame ready for it. It took all day but I cleaned off the old paint and rust. First disassemble the swing arm, I have some NOS -79 rubber mounts to reinstall:
Before and After:
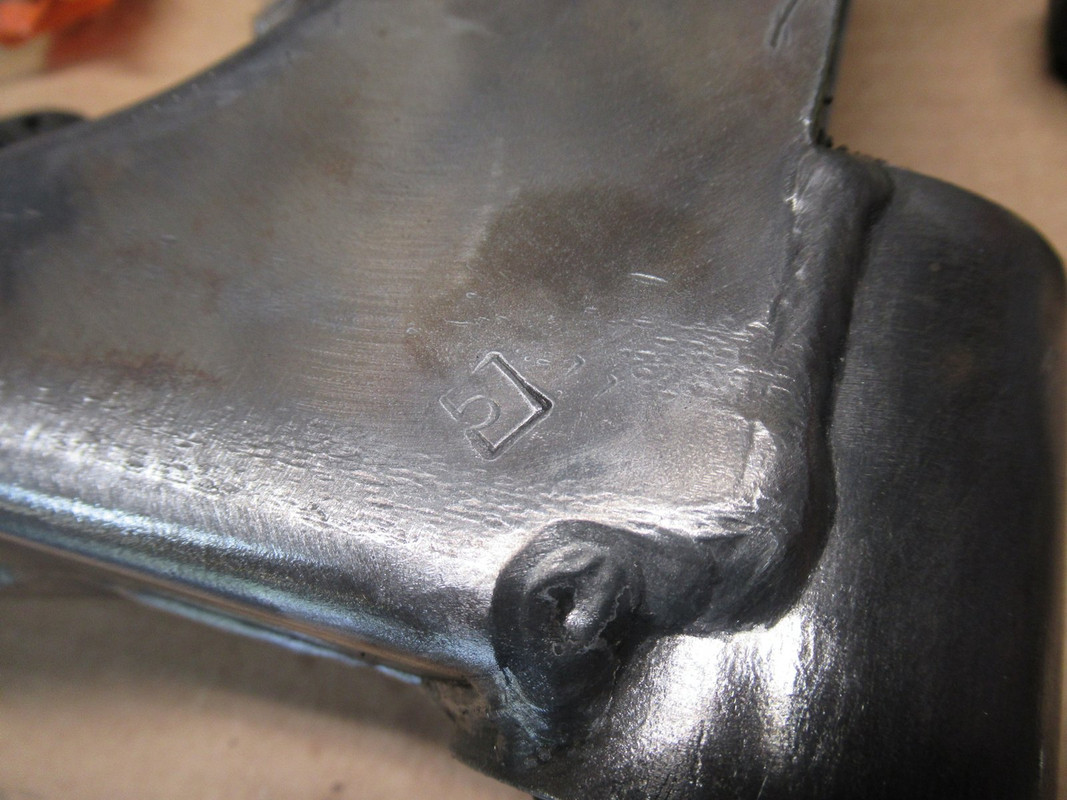
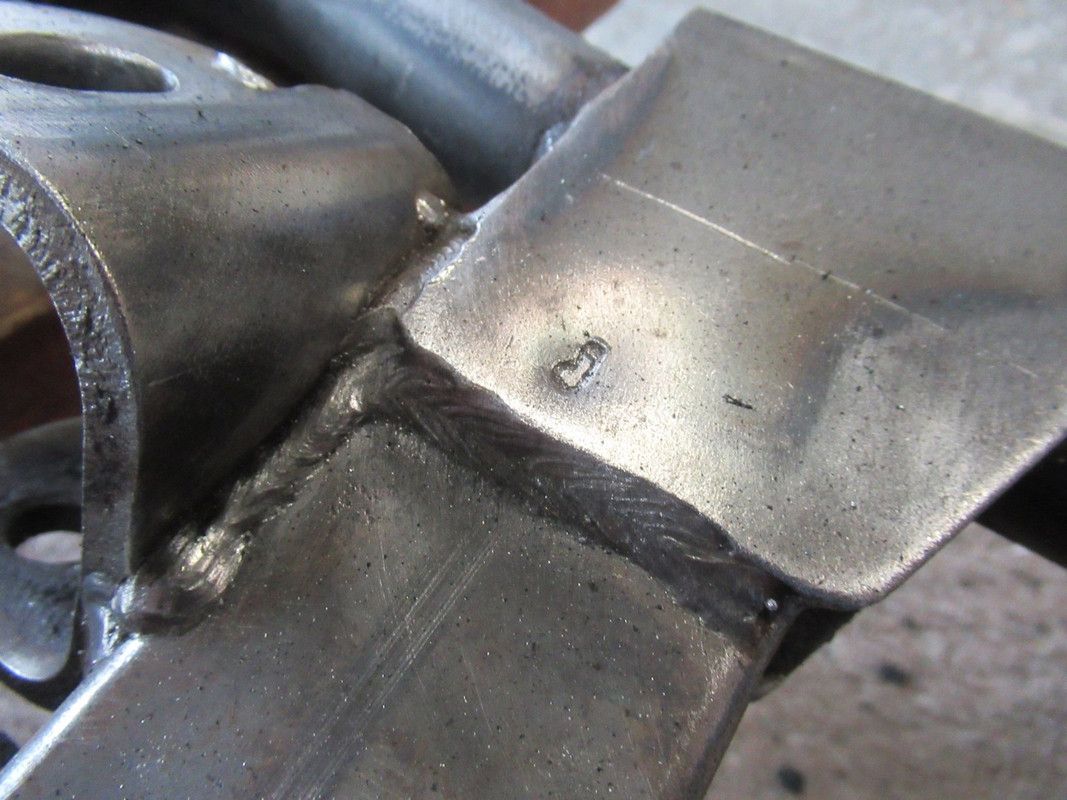
There was this manufacturer's stamp on the underside. I'm sure someone knows what it represents:
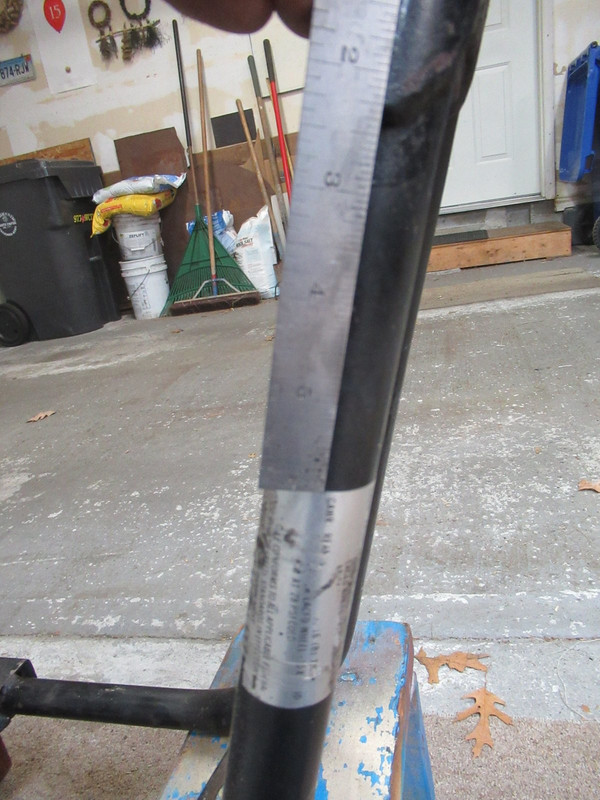
The frame was a lot more work, but it's all clean too. Before stripping it, I measured the position of the sticker:
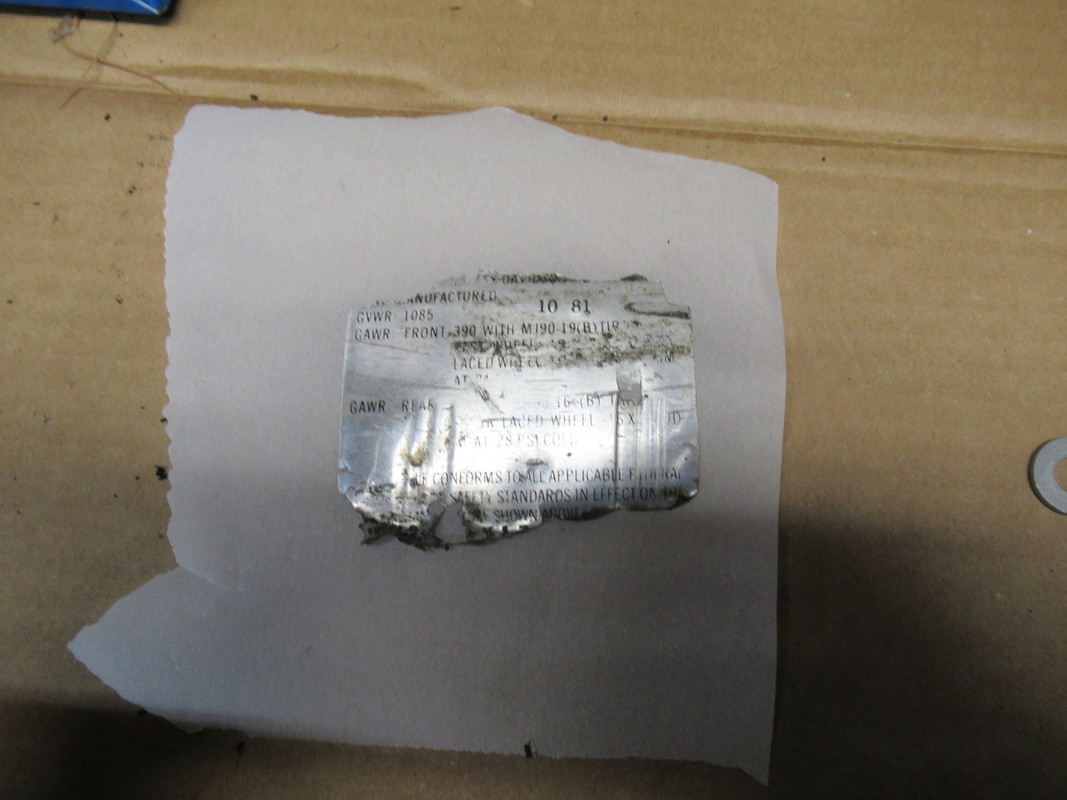
Then peeled it off with a hair dryer and putty knife. I started with a heat gun, but that actually melted the sticker, even on low ! I see there are reproductions on ebay, but I'm not sure how to stamp the VIN and date of manufacture on it.
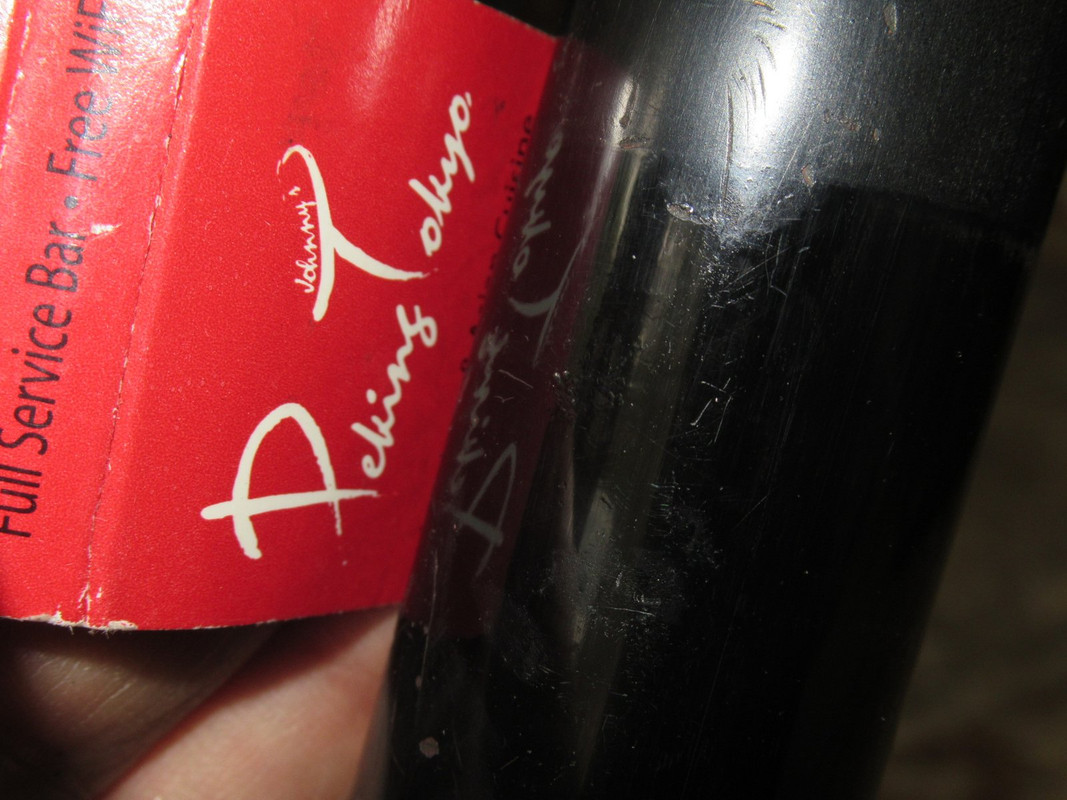
I thought the frame was painted what the car people call Chassis Black, it wasn't very shiny, but under the sticker the original paint was quite glossy.
I'm going to use etching primer and experiment with different blacks to see what works best. I've got a few suggestions from people who do this for a living, but still open for more.
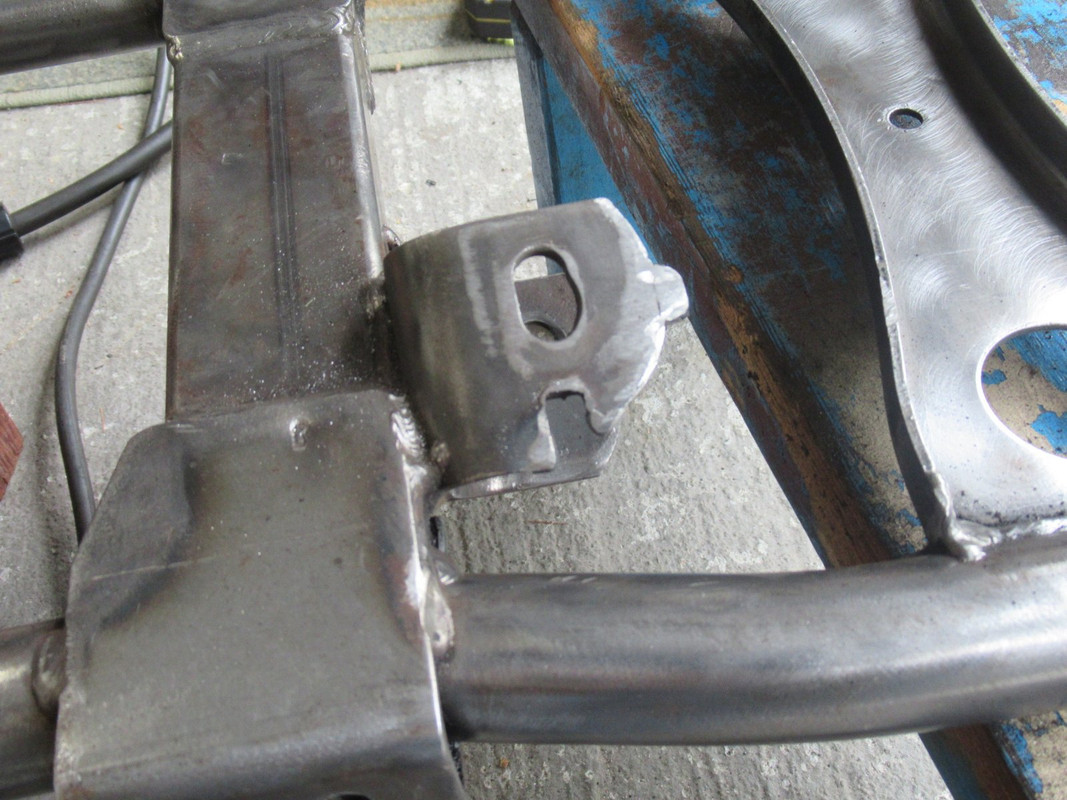
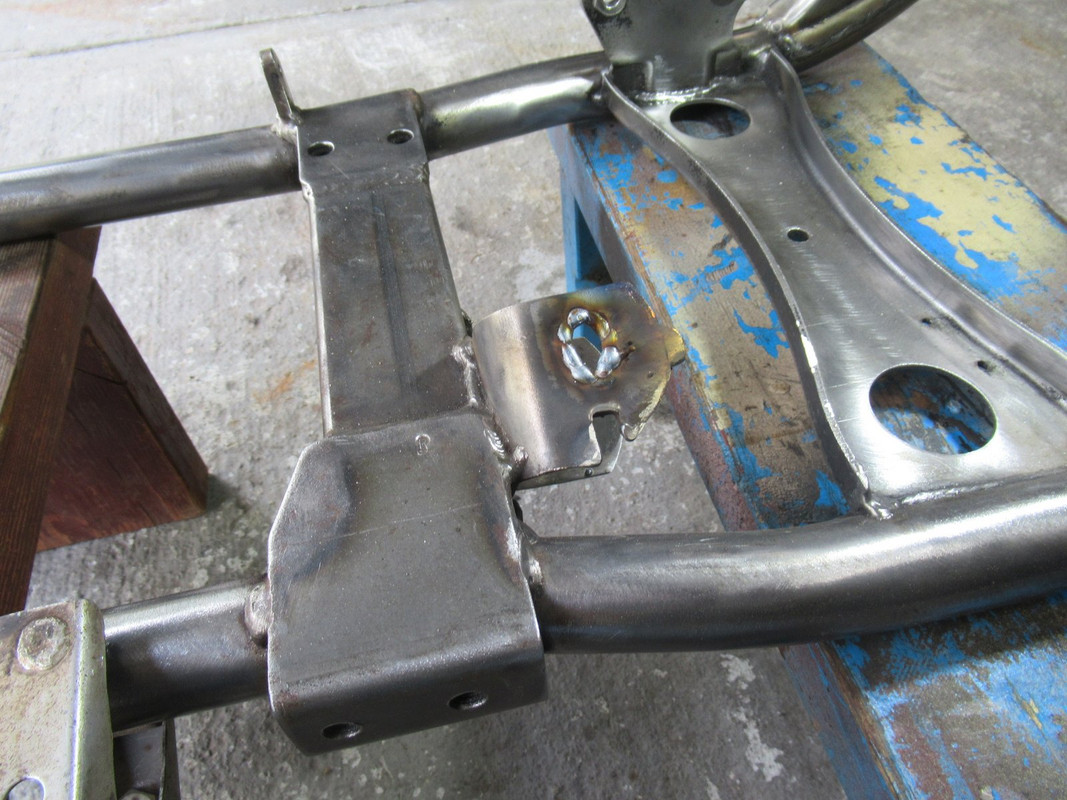
The kickstand flopped around really badly, and this is why:
I welded up the two stops, but I'm not sure if the holes for the pin were worn that badly, or it's the wrong size pin and side stand, so I did nothing for now. The pin is 3/8" diameter, but the holes are 7/16". Anybody know what's right?
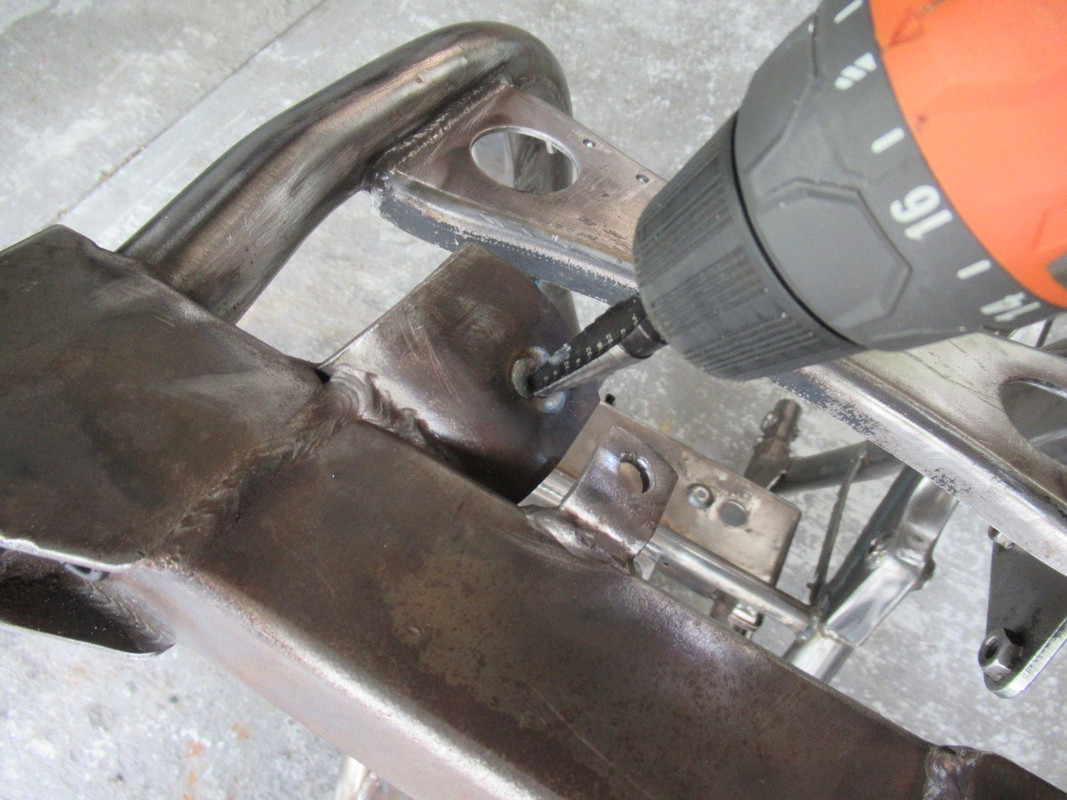
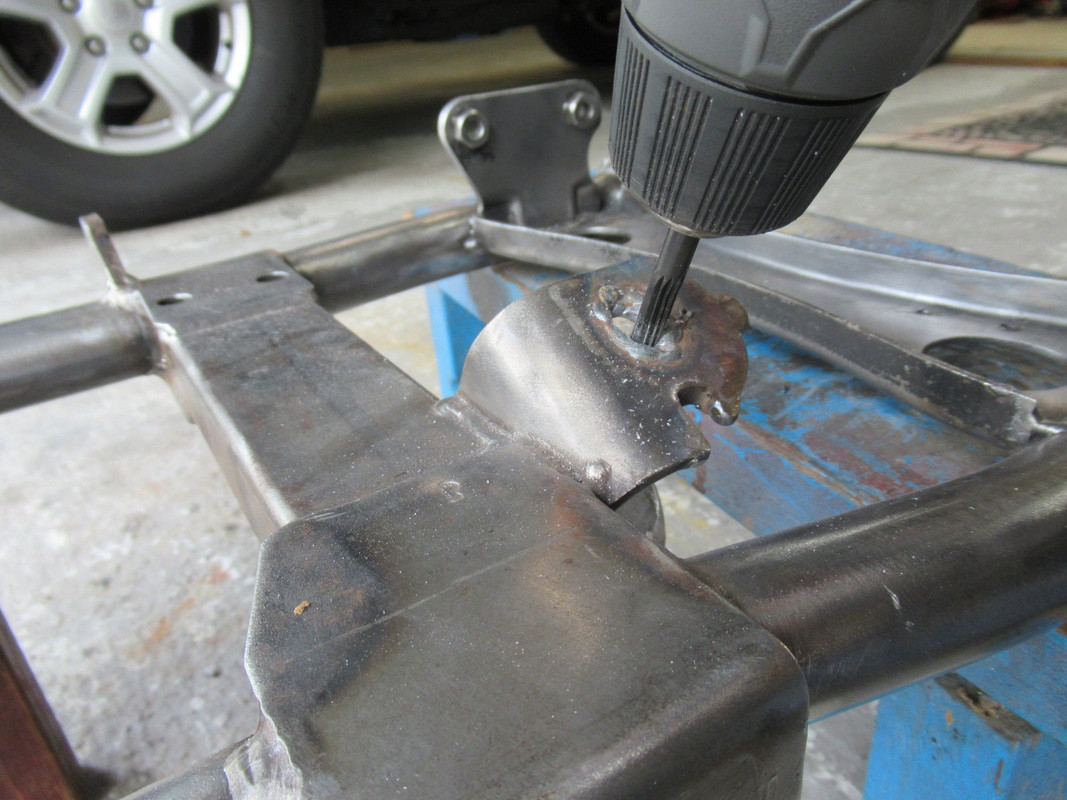
It didn't take much thinking to realize the hole was worn, who would install the wrong side stand? So, back to welding and fitting:
A step drill (unibit) was perfect for the uneven welded hole.
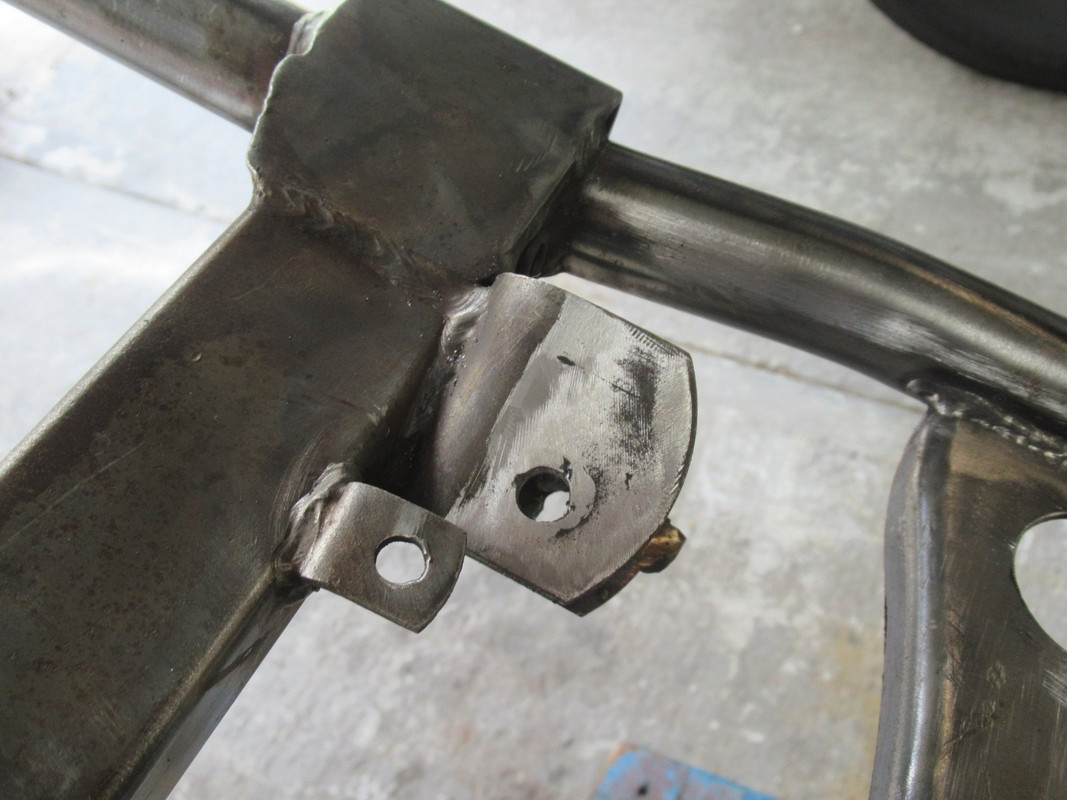
I finished it with a normal 3/8" bit, and the easy side was done:
The slot on the other hand was a bit more challenging. I started with the unibit, but it would bounce around too much, so I had to buy a rotary file to shape it:
7 Surprising Harley-Davidson Products that Are Not Motorcycles
Slideshow: The bar-and-shield logo shows up on far more than motorcycles, some of the company's most unexpected products have nothing to do with riding.
Slideshow: From the troubled AMF years to modern misfires, these bikes earned reputations for reliability issues, questionable engineering, or disappointing performance.
Crazy Bunderbike Build Looks Amazing, But Is It Impossible to Ride?
Slideshow: The Swiss custom shop has taken a Harley Softail and stretched it into something so long and low that it looks closer to a rolling sculpture than a conventional motorcycle.
Engraved Rebellion: Inside Bundnerbike's Glam Rock II
Slideshow: A standard cruiser becomes an intricate metal canvas in the hands of a Swiss custom house known for pushing Harley-Davidson platforms far beyond their factory brief.
Slideshow: Harley-Davidson's challenges aren't abstract; they show up in dropping shipments, shrinking dealer traffic, and strategic decisions that aren't yet translating into growth.