When you click on links to various merchants on this site and make a purchase, this can result in this site earning a commission. Affiliate programs and affiliations include, but are not limited to, the eBay Partner Network.
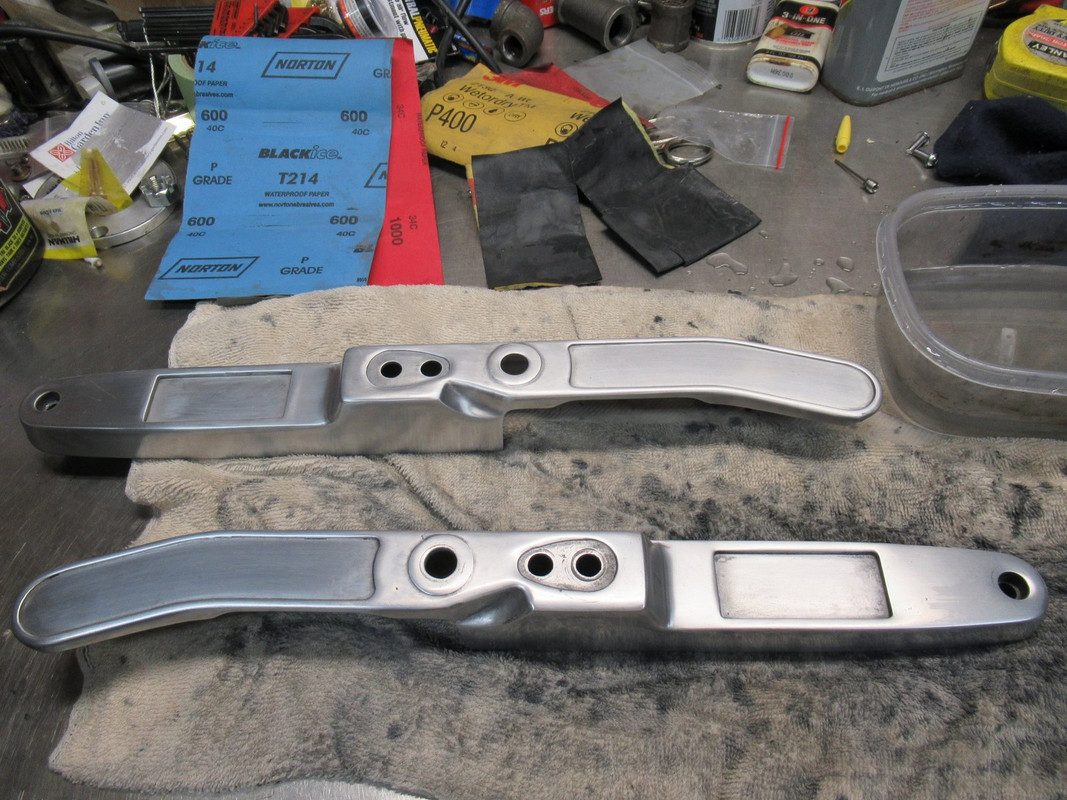
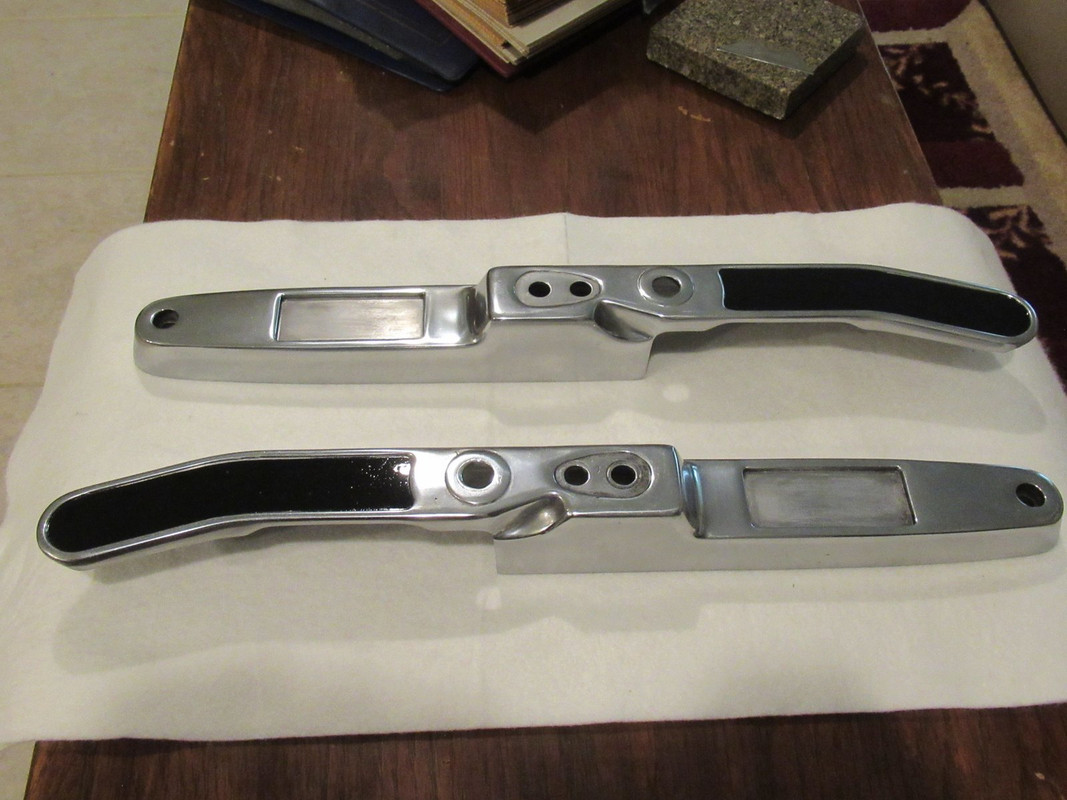
Hurricane Henri caused a little havoc, but nothing too bad. Gave me some time to work on the bike. Decided to polish the rear fender struts. First thing was to sand them. One was in good shape, only needed 600 and 1000 grit, but the other was stained badly and I wound up using 320/400/600/1000 to get it good enough to polish.
I used Eastwood products, red and white rouge with hard and soft cotton wheels.
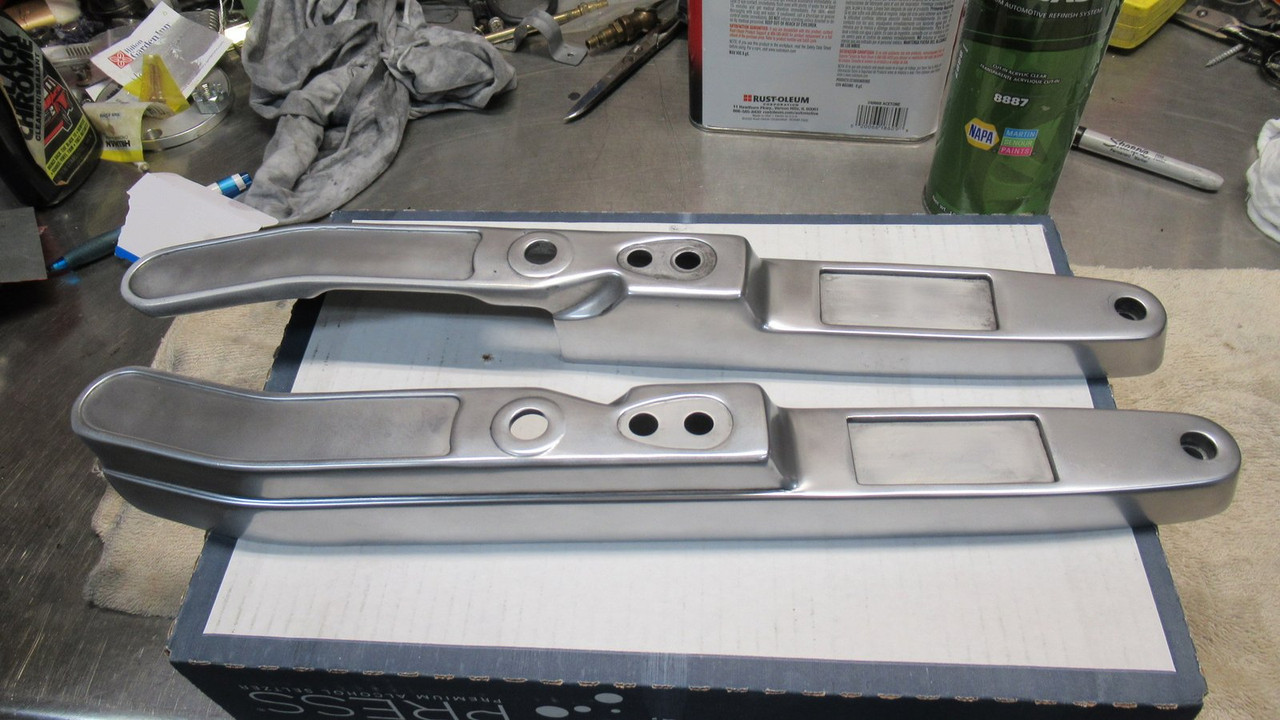
I should have known better, but thought I could get away with spraying with clear and quickly bringing inside but the humidity clouded up the paint almost immediately!
Luckily acetone removed it, and I could touch up the polishing and then spray in the air conditioned unfinished bonus room.
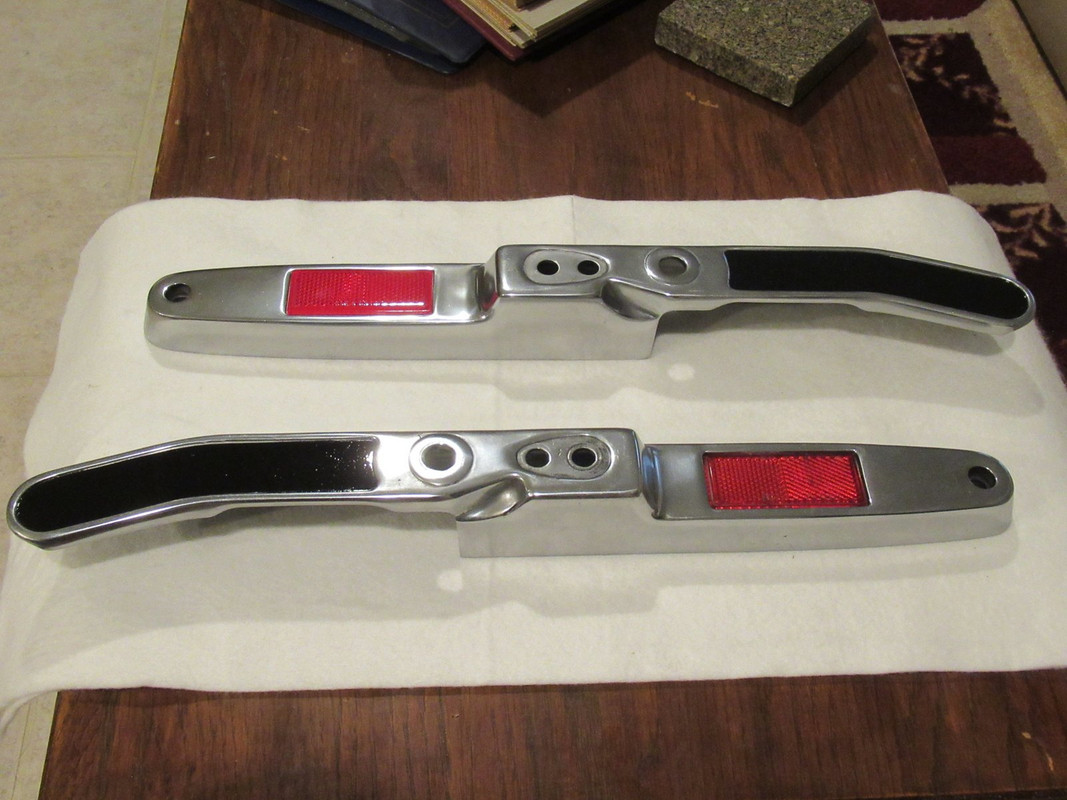
I'll let them cure for a week, then mask and spray the black insert and put in NOS red reflectors.
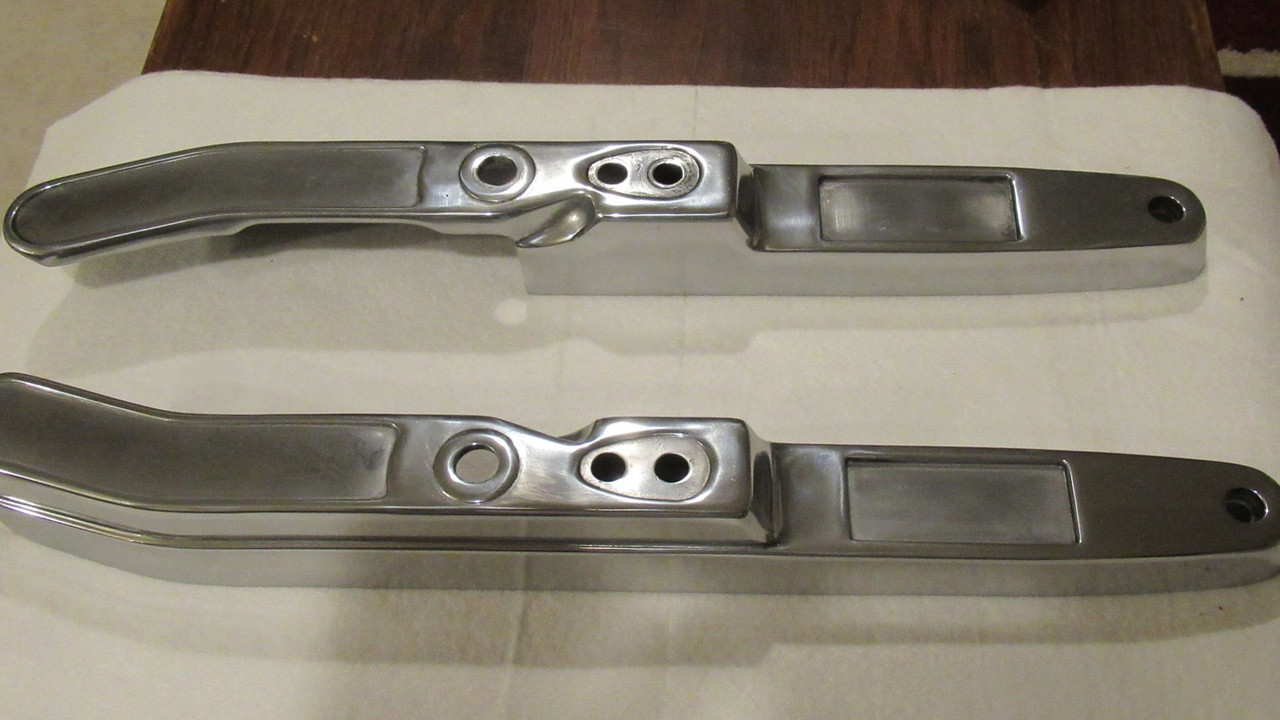
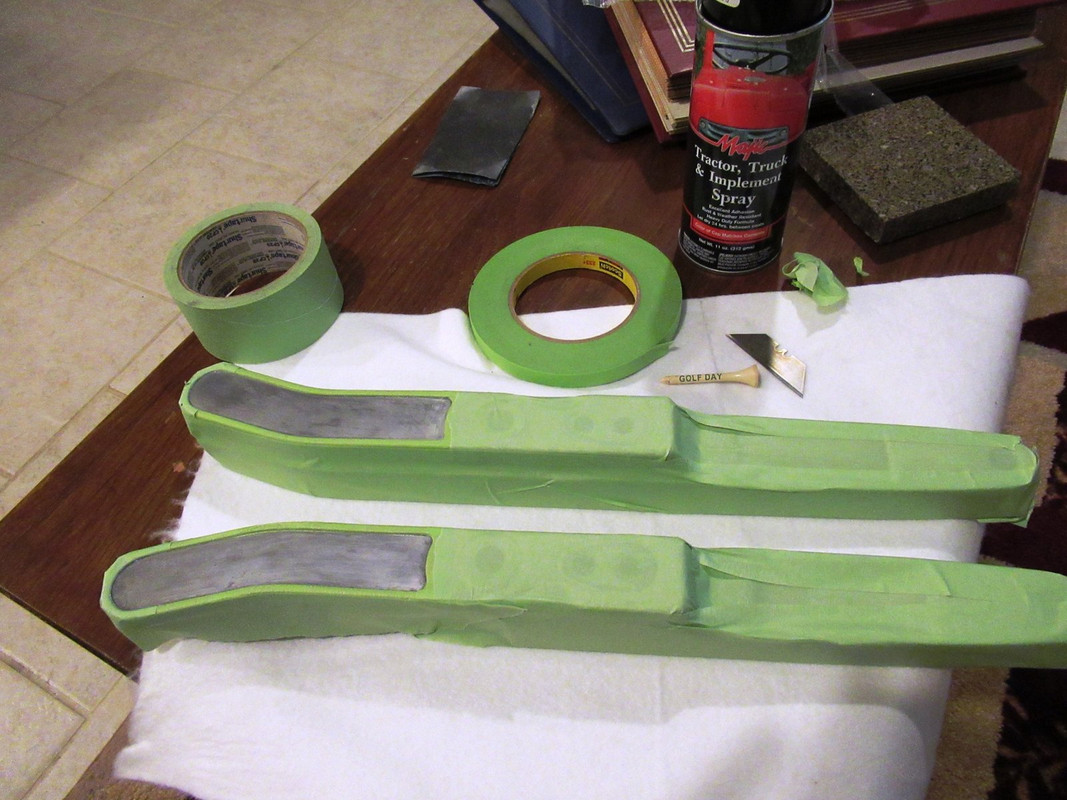
With the paint cured, I masked the areas to be painted black.
Brought them upstairs and sprayed with Majic Tractor paint. I let it dry for five minutes then removed the masking tape. That will give it a soft edge.
I stuck the reflectors in to see how good they look. I'll peel the tape and do it right tomorrow after the paint fully dries.
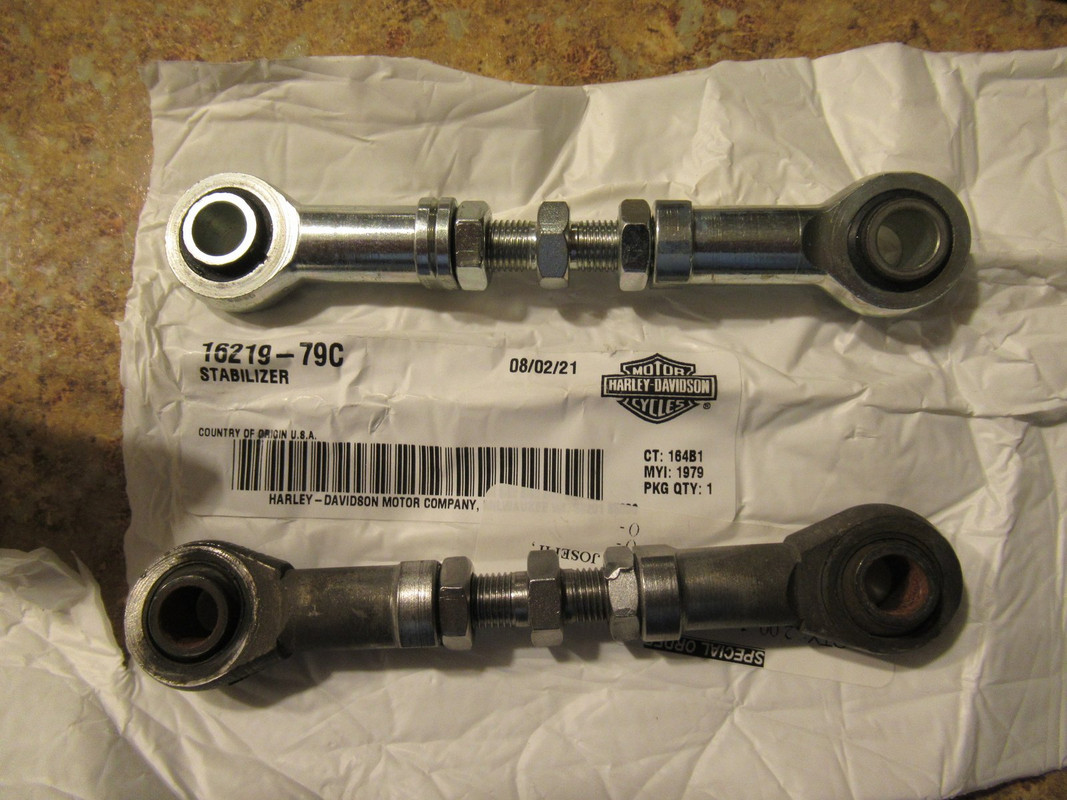
The new HD motor stabilizers finally came in. They are not exactly the same as the originals, but will work so much better.
16219-79C is the part number, so the MoCo modified and and hopefully improved the design at least three times. Not good for AMCA, but probably real good for your bike. Carry on.
16219-79C is the part number, so the MoCo modified and and hopefully improved the design at least three times. Not good for AMCA, but probably real good for your bike. Carry on.
Yes, that's what I'm thinking. At least they aren't chrome and made in China like all the aftermarket ones.
Hi Joe,
i just got this in the mail today ,thought you might like to see this , its a 1982 Harley Model Brochure & it features the New FXRS in Black & Red two tone paint . . .
1982 model brochure, features the New FXRS, the 1982 FXSB Sturgis, 1982 Low Rider, 1982 Wide Glide . . .
this first year bike came in Vivid Black & Black & Red two Tone ! & dual disc Brakes , cool !
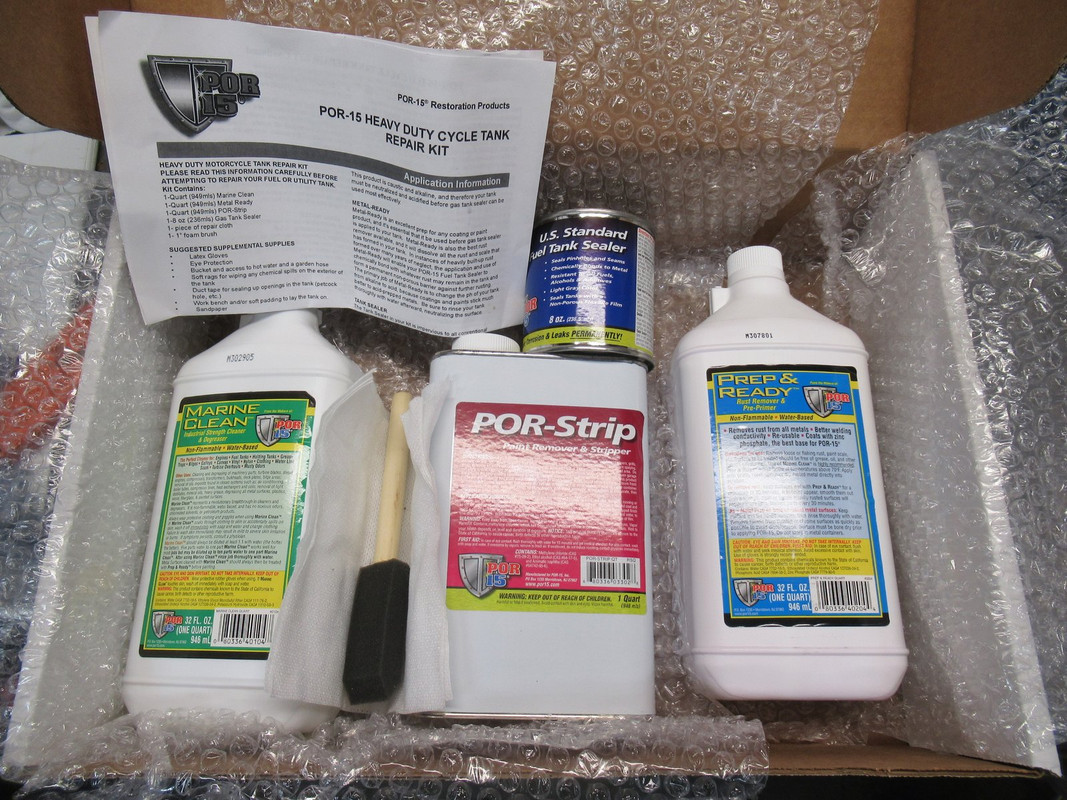
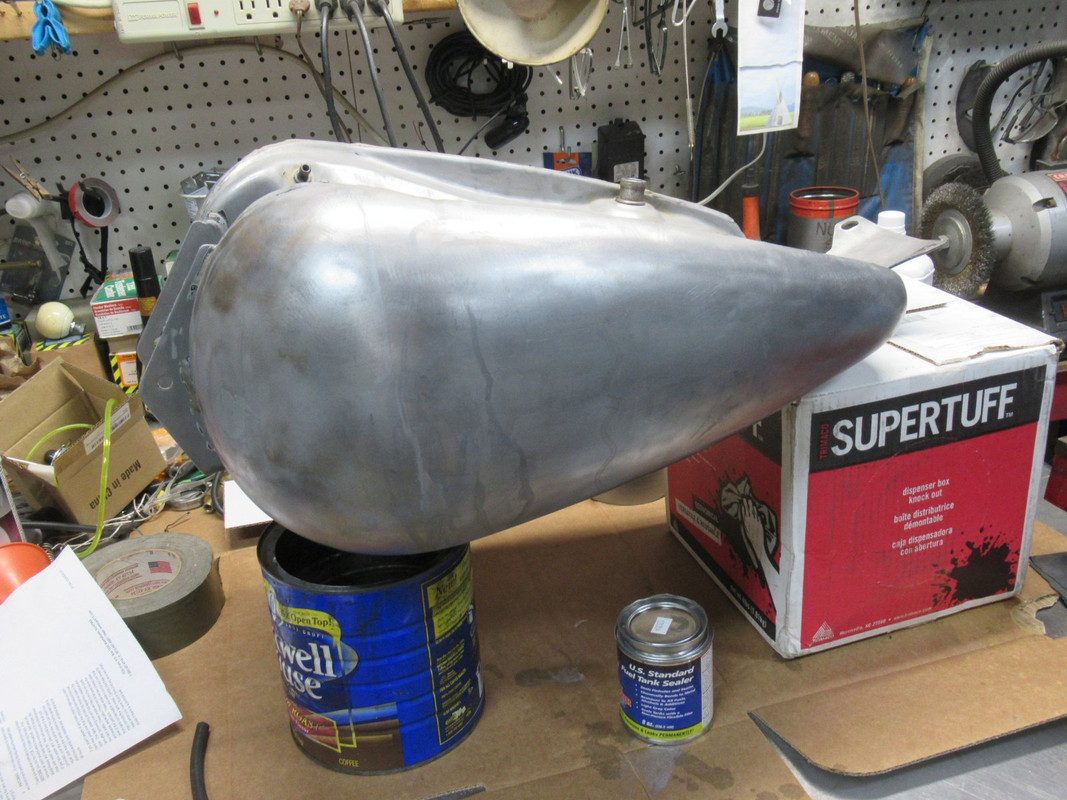
Today I took out the gas tank and sealed the inside with POR-15 gas tank sealer. It is a system that I have used before, but you have to follow their instructions exactly to get good results.
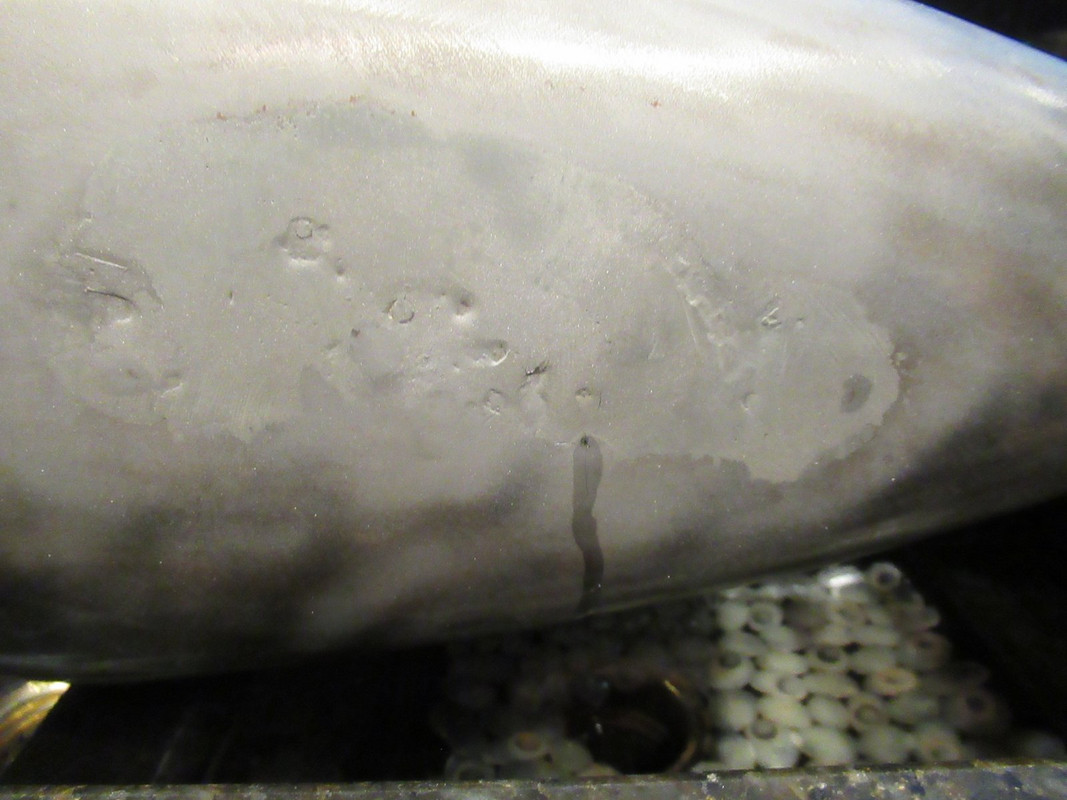
Since this is a virgin tank, I didn't have to use their stripper to remove any prior coatings. First product I used was Marine Clean, that dissolves gum and varnish. You have to dilute it to make half a gallon of caustic material. Wearing gloves, etc, I sealed up all the openings and swished it around for 20-30 minutes and discovered my dent repair left a pinhole!
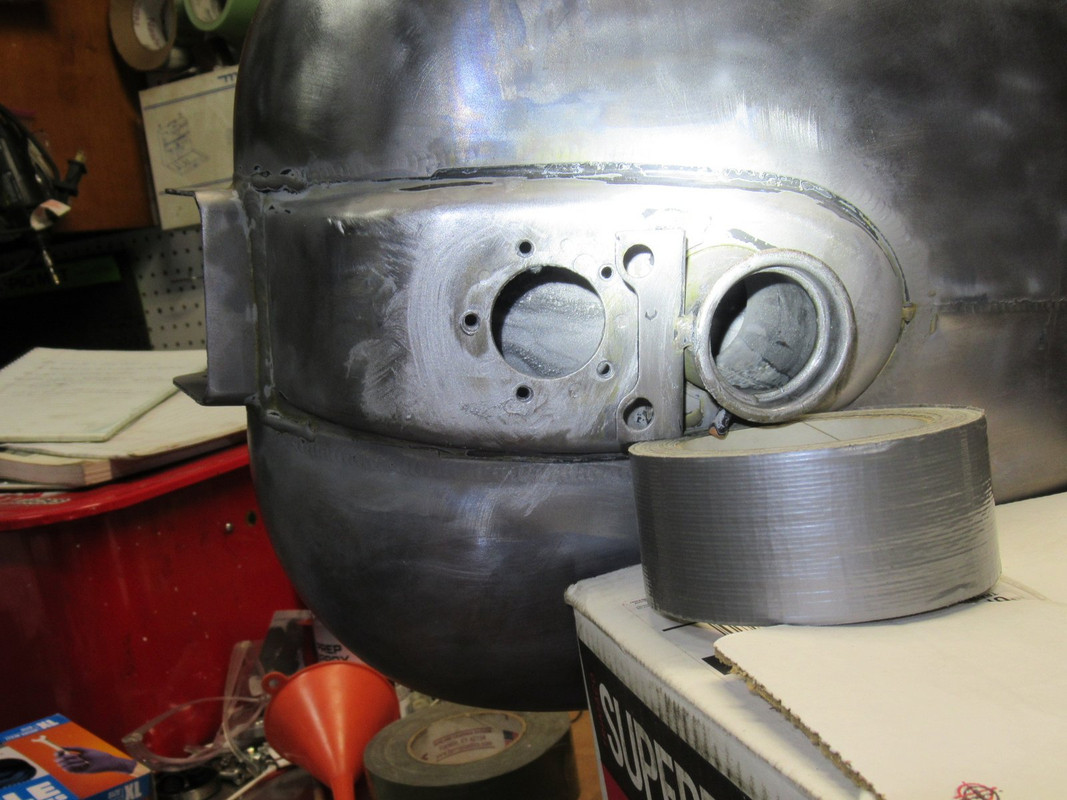
I tried to seal it with solder, but even with paste flux, it didn't seal. So plan B is to rely on the POR-15. They give you material to do this from the outside, so I hope it works.
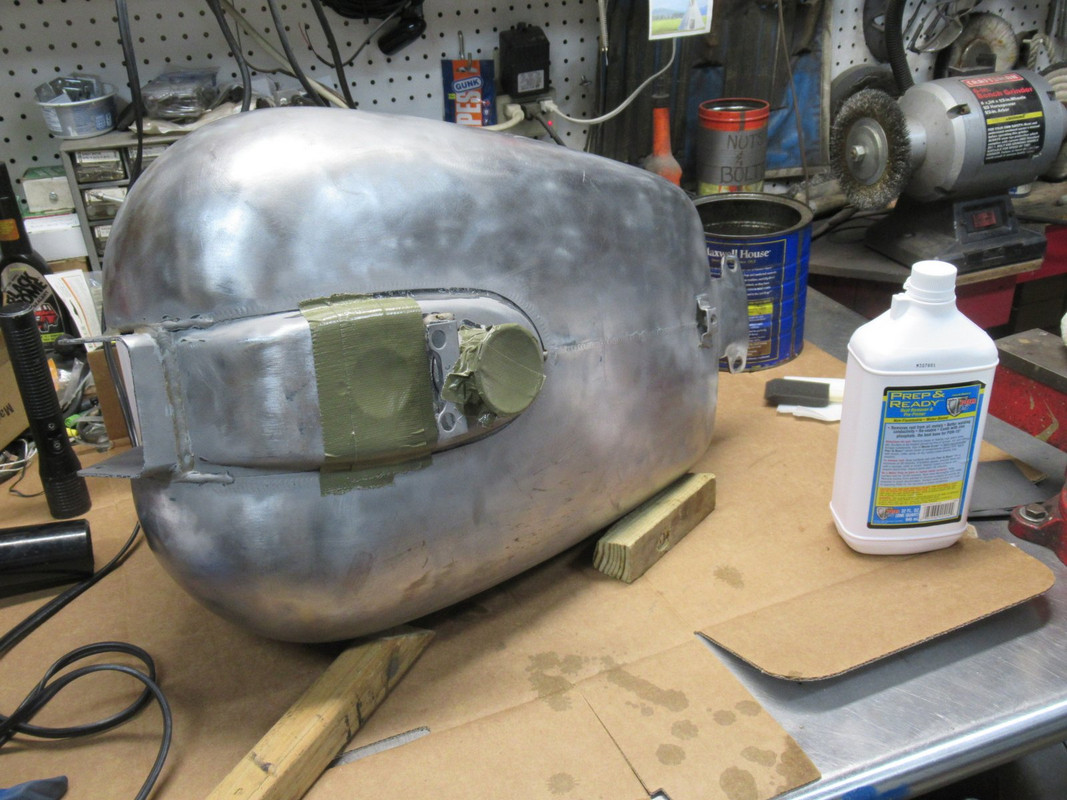
Next step is called Prep & Ready, which is a purple acid that etches the metal and helps the sealer adhere. You put the quart in and after swishing around, put the tank in various positions for 20 minutes each to let the magic happen.
I also put some on the outside of the pinhole to prepare that area while soaking the other side:
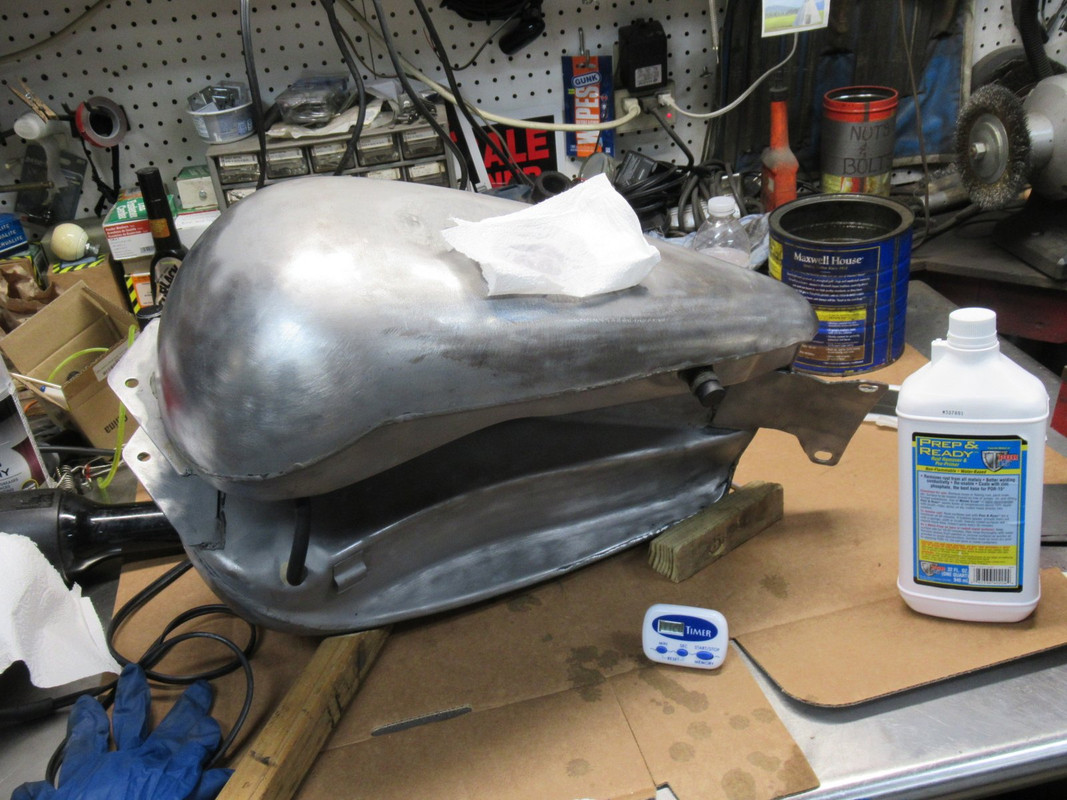
After five or six 20-minute sessions, I drained and rinsed the tank and using a hair dryer, compressed air and a heat gun, got rid of all moisture inside the tank. This is the key to success.
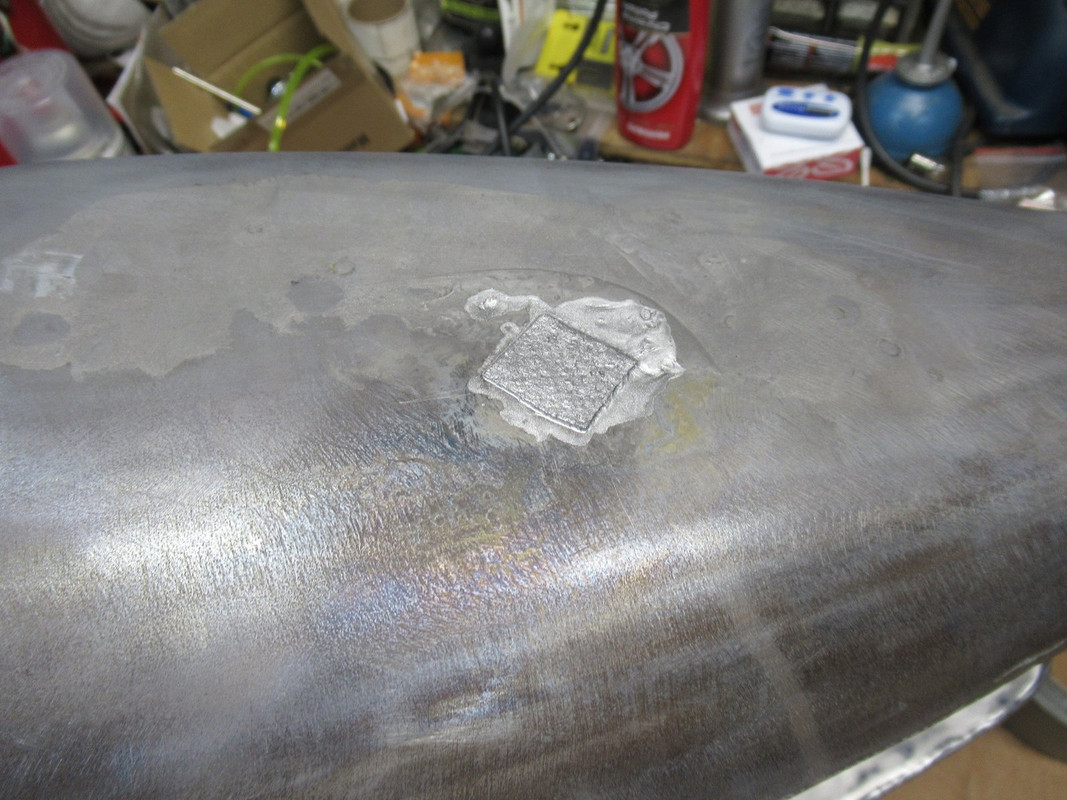
To get a good seal on the pinhole, they say to coat liberally with sealer, apply a piece of cloth they provide, and cover with more sealer.
Then pour in the can of sealer and swirl around slowly to give the entire tank a good coating. Once that is done, drain the tank for at least half an hour so there is no puddling. Lucky for me the FXR tank has an opening for the gas gauge sender that does not protrude into the tank like the filler and petcock openings. This gave me a good drain of all three products. With the tank upside down, the crossover tubes stayed clear too.
Finally take a q-tip and clean out the threads for the sender.
It takes four days to fully cure. Hopefully soon the humidity will be gone and I can start working on the outside of the tank and the fenders.
7 Surprising Harley-Davidson Products that Are Not Motorcycles
Slideshow: The bar-and-shield logo shows up on far more than motorcycles, some of the company's most unexpected products have nothing to do with riding.
Slideshow: From the troubled AMF years to modern misfires, these bikes earned reputations for reliability issues, questionable engineering, or disappointing performance.
Crazy Bunderbike Build Looks Amazing, But Is It Impossible to Ride?
Slideshow: The Swiss custom shop has taken a Harley Softail and stretched it into something so long and low that it looks closer to a rolling sculpture than a conventional motorcycle.
Engraved Rebellion: Inside Bundnerbike's Glam Rock II
Slideshow: A standard cruiser becomes an intricate metal canvas in the hands of a Swiss custom house known for pushing Harley-Davidson platforms far beyond their factory brief.
Slideshow: Harley-Davidson's challenges aren't abstract; they show up in dropping shipments, shrinking dealer traffic, and strategic decisions that aren't yet translating into growth.