When you click on links to various merchants on this site and make a purchase, this can result in this site earning a commission. Affiliate programs and affiliations include, but are not limited to, the eBay Partner Network.
Okay I'm gonna risk sounding ignorant here. I was at the ol's house after I'd just installed the flush mount LED fuel gauge n cap. I parked in her driveway on an incline. when I left I got on my bike turned it on and backed down the hill. I hit the starter at the bottom of the drive way. I noticed a strong raw fuel smell before I pushed the starter switch. Did I wait too long before hitting the starter switch. Never noticed this smell before. Did I flood it a little? Thanks much for any info. Running strong otherwise.
Okay I'm gonna risk sounding ignorant here. I was at the ol's house after I'd just installed the flush mount LED fuel gauge n cap. I parked in her driveway on an incline. when I left I got on my bike turned it on and backed down the hill. I hit the starter at the bottom of the drive way. I noticed a strong raw fuel smell before I pushed the starter switch. Did I wait too long before hitting the starter switch. Never noticed this smell before. Did I flood it a little? Thanks much for any info. Running strong otherwise.
Could have just been venting from the overflow. Did you fill up the tank prior to that?
Sometimes I think they just fart gas from mystery holes. I came home from a ride the other day, parked her and dropped my gloves on dismount. When I bent down to get them I smelled overwhelming gas smell. Damned if I could find any leaking anywhere. Looked for twenty mins. and nothin'. It finally subsided but I still have no idea. I've had it overflow sitting in the sun after a fill up before and and it didn't reek as bad as this day. Who knows?
I'm ordering my black fork sliders and am having a heck of a time trying to find a post on changing them out. Can someone point me in the right direction. I have the service manual, but I also like to read other peoples instructions / experiences.
Could have just been venting from the overflow. Did you fill up the tank prior to that?
That was it man. I did top it off on the way over. Thanks. I also used the blue loctite on the cable clamp. Just got it snug and left it alone. Thanks for that info too. Ride Safe.
[QUOTE=scrappy35;13904107]I'm ordering my black fork sliders and am having a heck of a time trying to find a post on changing them out. Can someone point me in the right direction. I have the service manual, but I also like to read other peoples instructions / experiences.
I think Sgt Jim had a good write up on this, in this thread, quite a long time ago?
Hello guys,
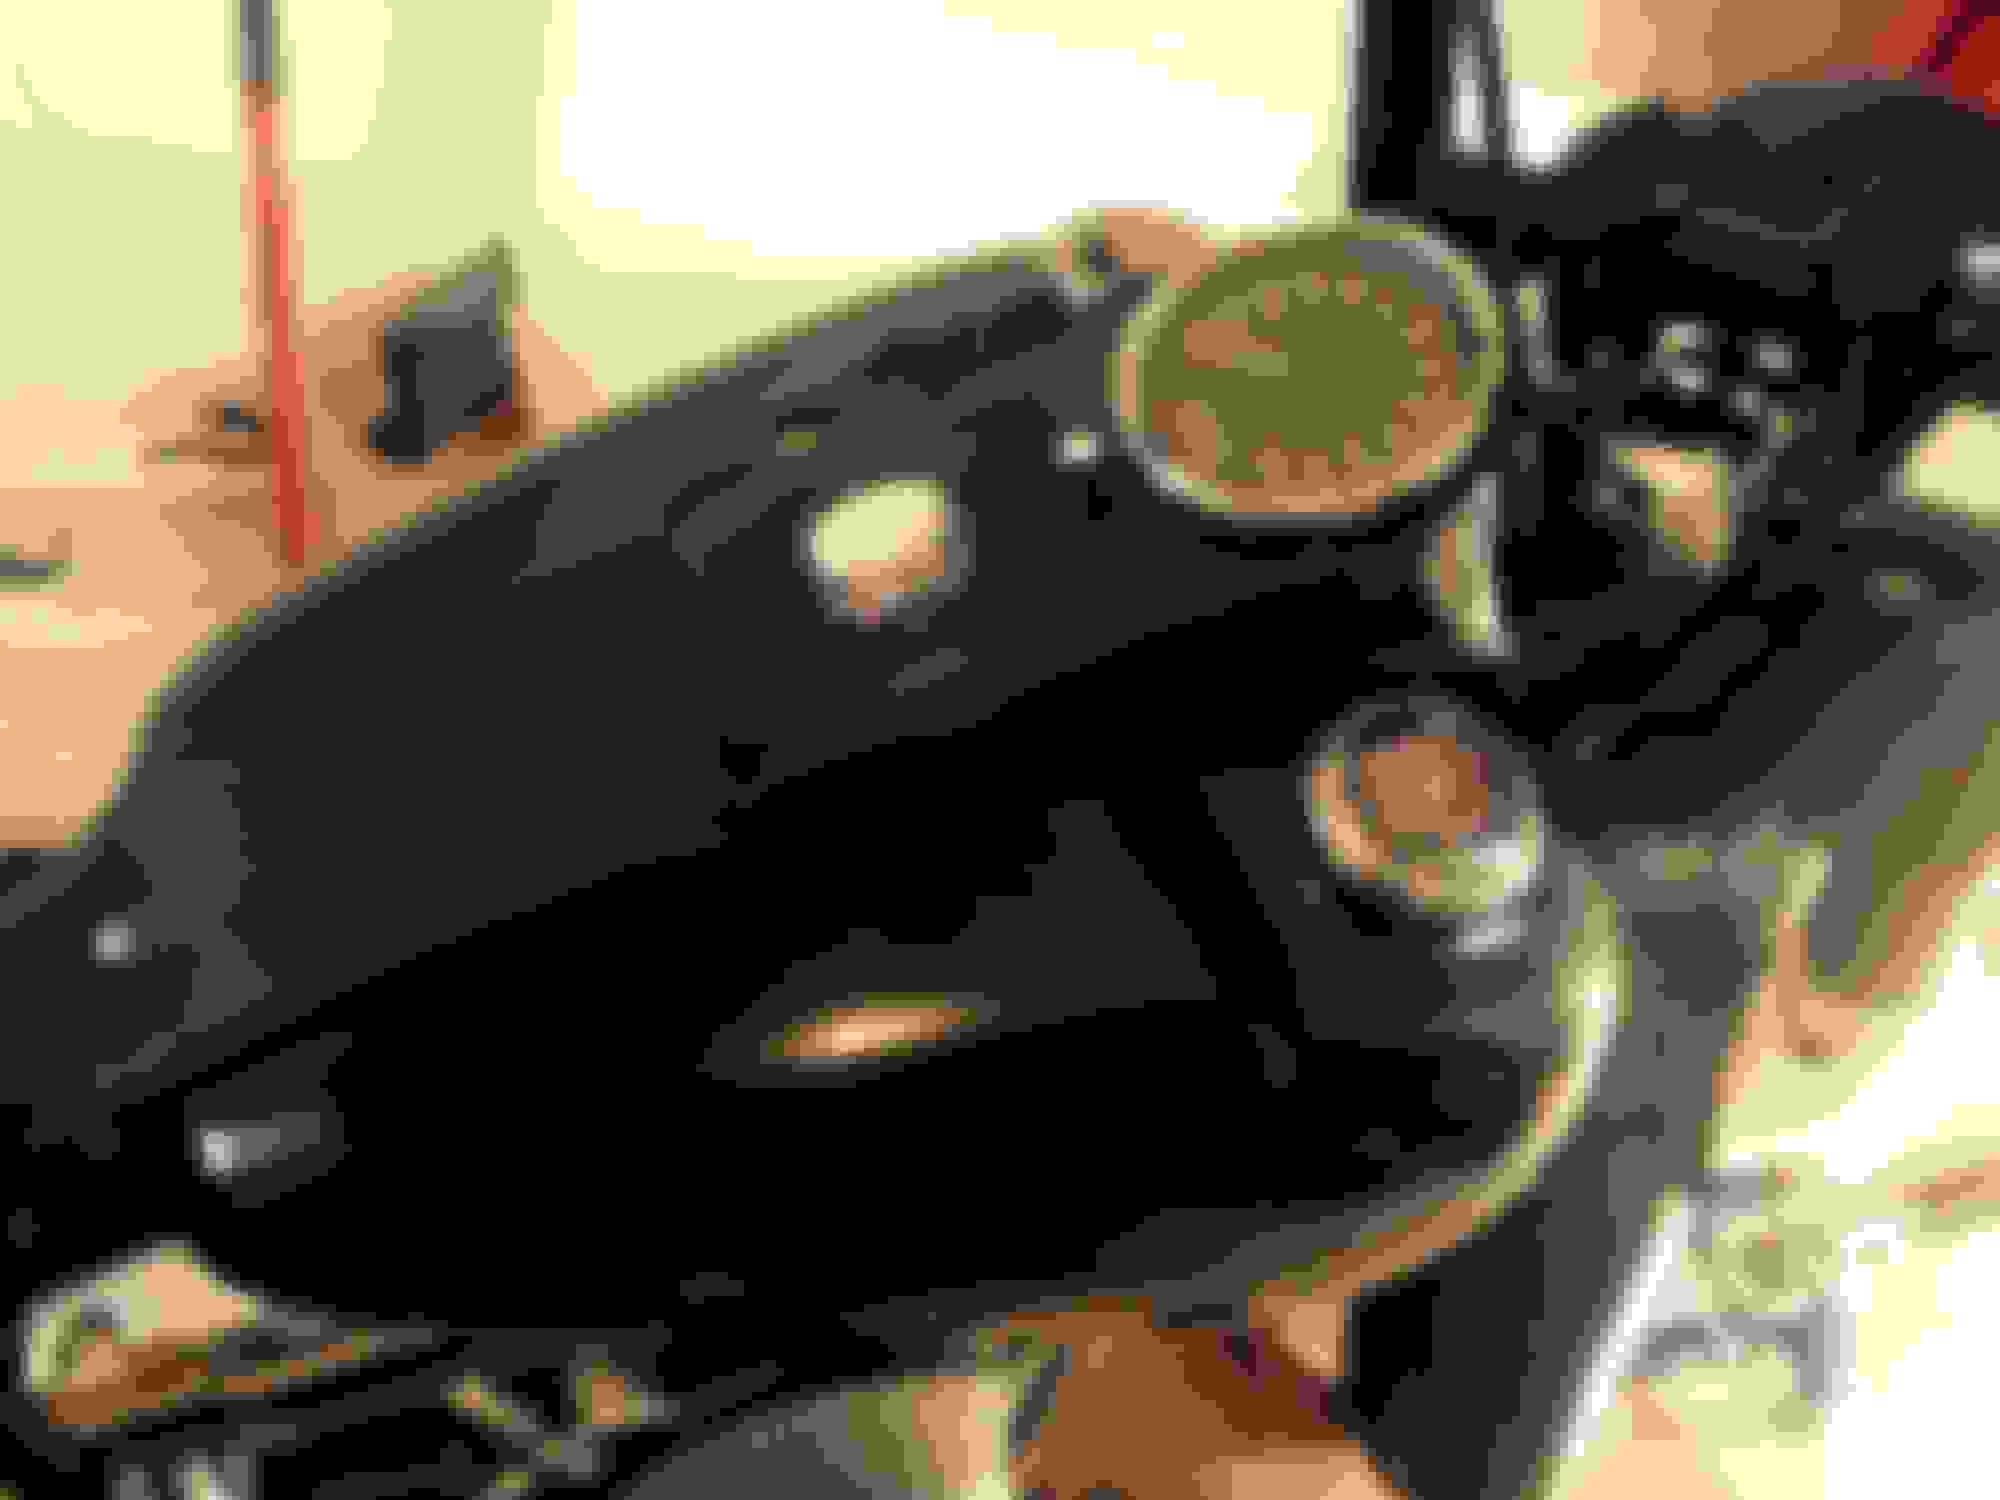
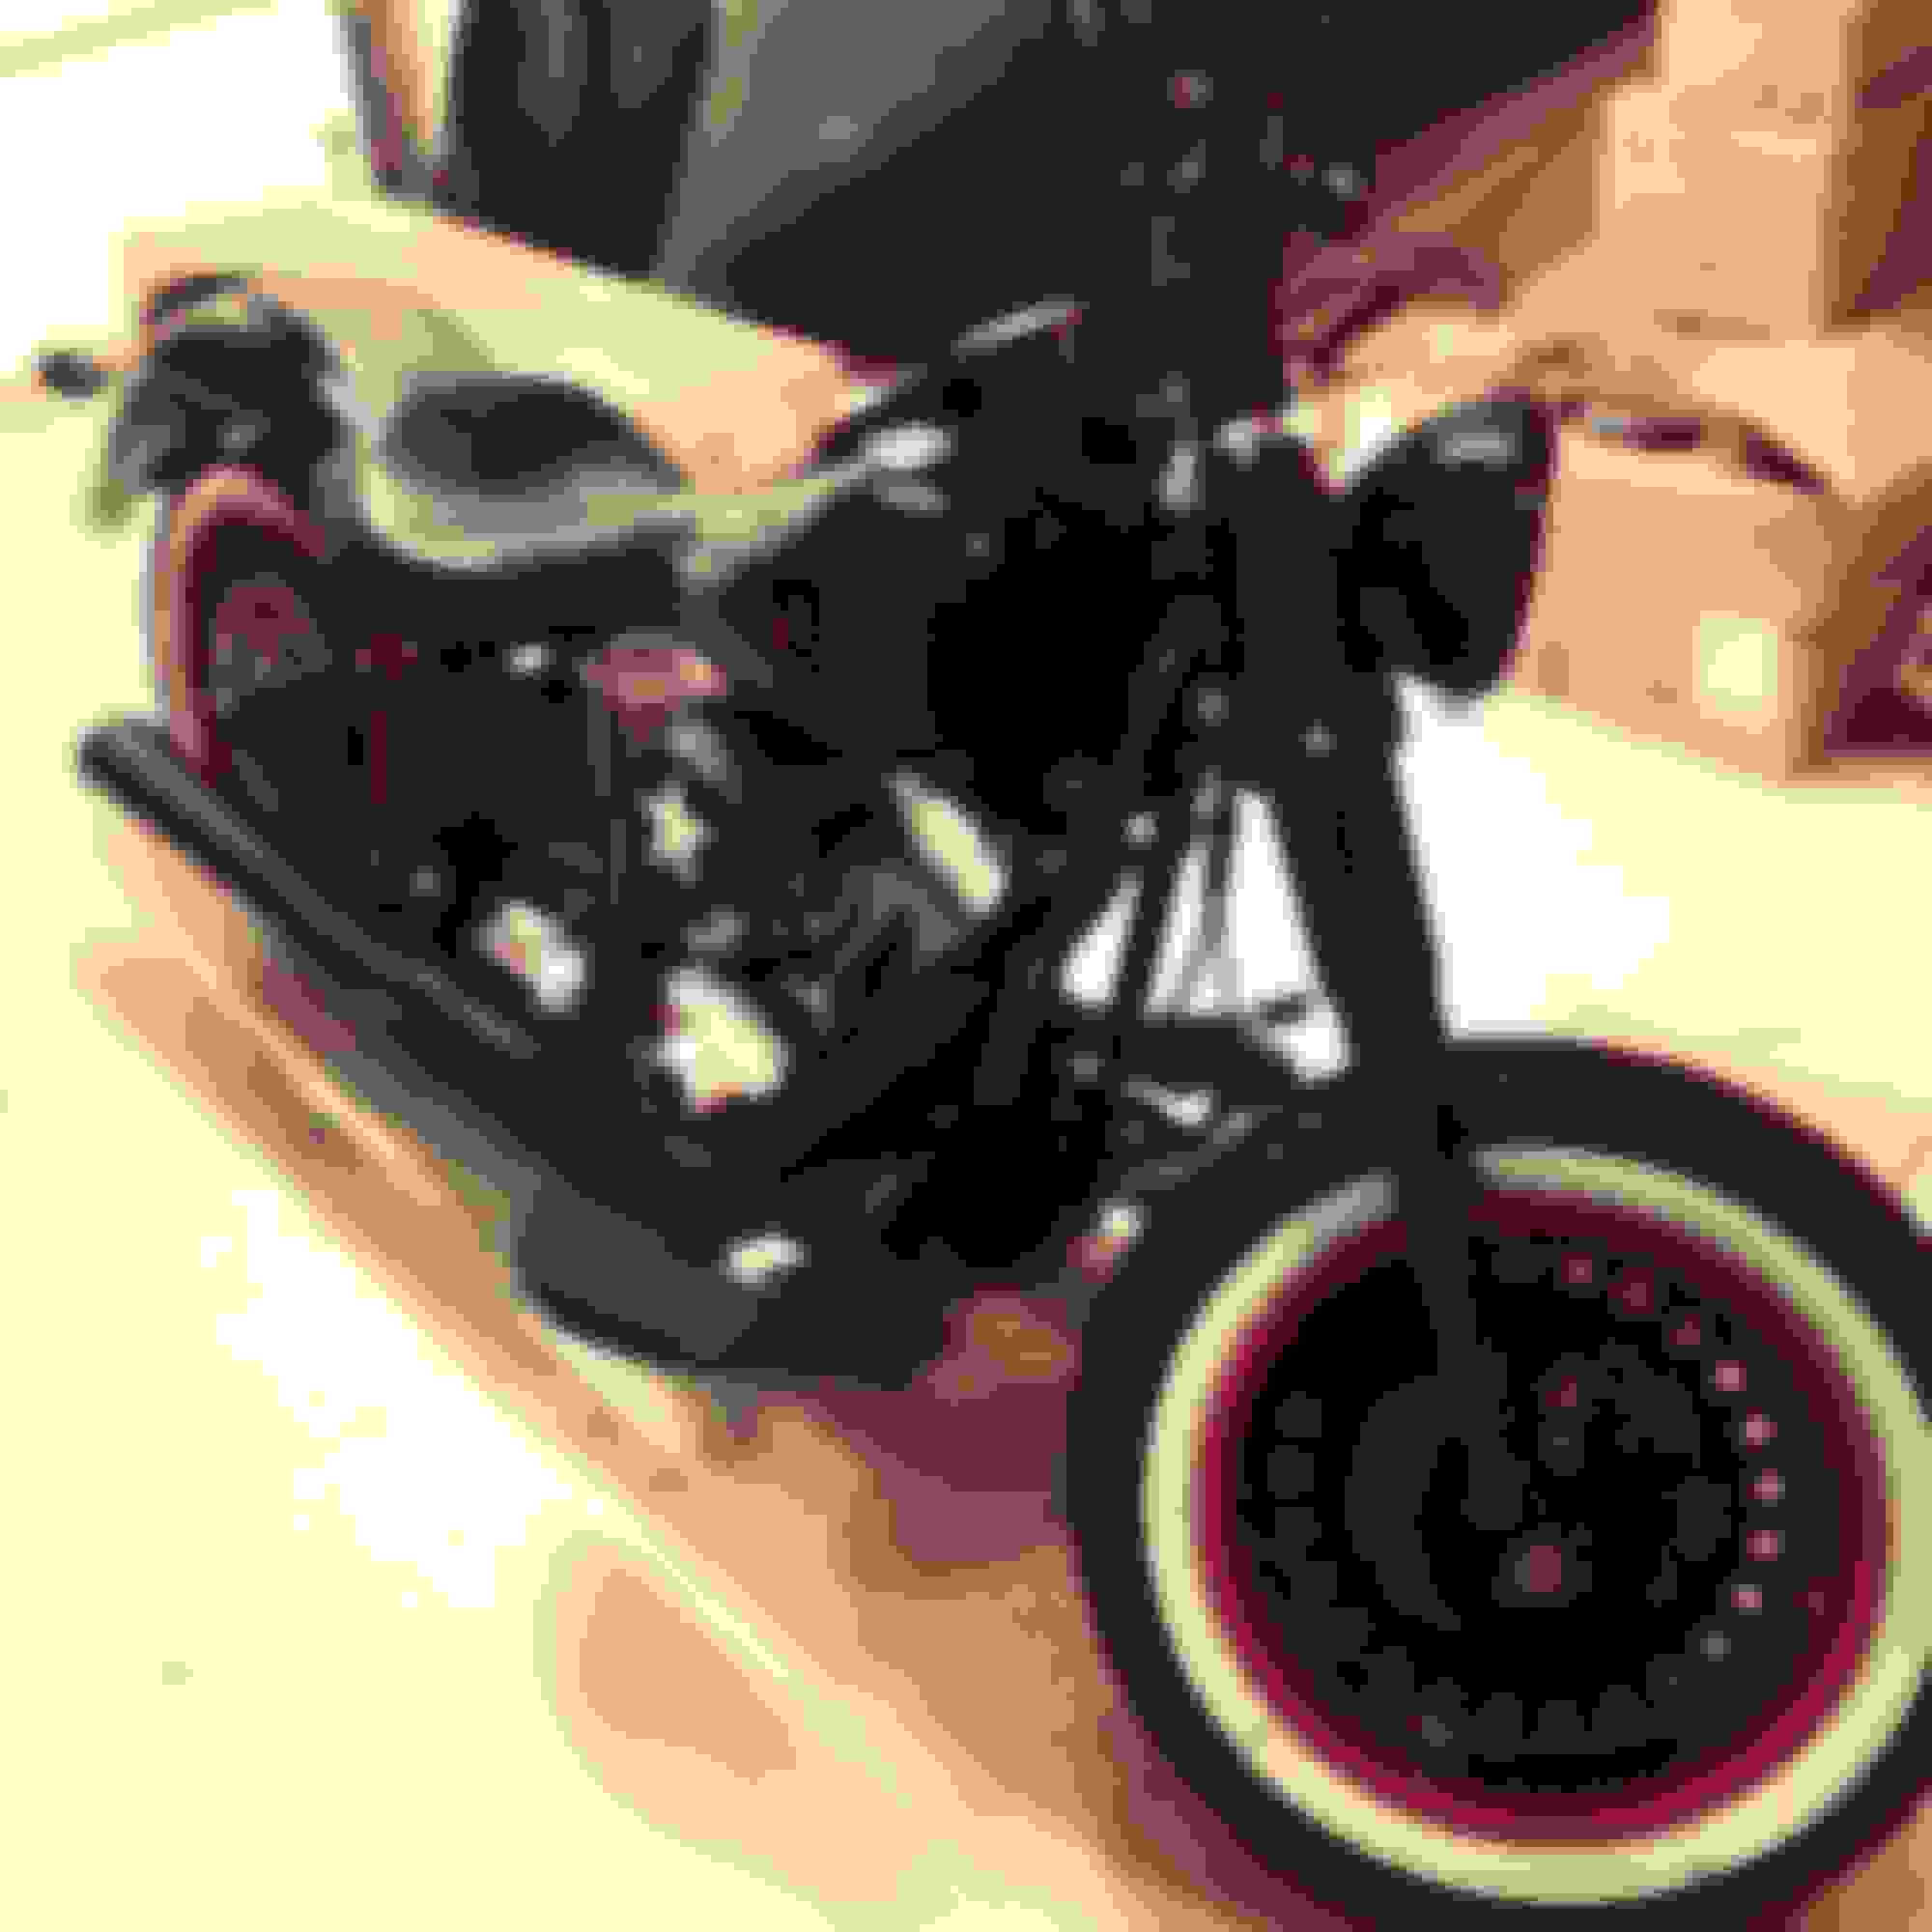
Just wanted to post my winter project on the '13 Lo. Had the wheels, dash panel, and pulley powder coated, found some white walls (we'll see how they ride) painted fork lowers and bassani road rage 2-1 with a FuelMoto tuner. Going for that rat rod look.
ehhh edit.. no that's the wrong one. i'll keep digging for it.
It's a pretty simple process.. basically... drain the oil from the forks (remove top cap, and drain plug from bottom-rear of fork), remove the forks from the bike, stand them straight up with some kind of padding underneath (folded towel works), have a buddy grab hold of the lower end and push downwards, you grab the fork tube, push downwards, then with all your might, slam that bitch upwards. it'll break the seal loose (you're going to want new seals about every time you do this, they're like $10 each). That removes the lower from the upper. The springs are enclosed in the upper-fork, so there's no need to worry about them exploding everywhere.
However, if you're disassembling the upper fork, you're going to want to take some precautions.. because once you remove that cap from the top, that spring is going to want to blow out from there.
Overall it's a pretty simple process. With a buddy, probably about 20 minutes (after draining) to get them off from the bike and remove the lowers from the uppers.
Sooooo, I couldn't stand it any longer and ordered the freight train nacelle today from Kutter. Anybody got any advice on any road bumps to avoid installing it? I know about using the extra washers on the retraining ring but other than that it looks pretty straight forward, no? Because I have BR's risers I won't be using the riser cover for it, so no problem there, although I might have to grind the nacelle a little, we'll see. I'm hoping between BR's 1 1/2" bars and risers and this freight train nacelle, that the front end will end up looking "substantial"! It never ends!!
7 Surprising Harley-Davidson Products that Are Not Motorcycles
Slideshow: The bar-and-shield logo shows up on far more than motorcycles, some of the company's most unexpected products have nothing to do with riding.
Slideshow: From the troubled AMF years to modern misfires, these bikes earned reputations for reliability issues, questionable engineering, or disappointing performance.
Crazy Bunderbike Build Looks Amazing, But Is It Impossible to Ride?
Slideshow: The Swiss custom shop has taken a Harley Softail and stretched it into something so long and low that it looks closer to a rolling sculpture than a conventional motorcycle.
Engraved Rebellion: Inside Bundnerbike's Glam Rock II
Slideshow: A standard cruiser becomes an intricate metal canvas in the hands of a Swiss custom house known for pushing Harley-Davidson platforms far beyond their factory brief.
Slideshow: Harley-Davidson's challenges aren't abstract; they show up in dropping shipments, shrinking dealer traffic, and strategic decisions that aren't yet translating into growth.